Nick loves learning about the history of things. He loves old maps. He loves nature and land. And so I had this thought that I would make him some ‘Topography’ art of our acreage for his birthday!
I found a website that allows you to see the topography of your property. For those of you that live in town, your topography might not be as interesting, but it’s fun to find out… right? (p.s. I’m in no way affiliated with this website. I just found it and was delighted that I could have access to the topography of our acreage!)
Once you’re on the website, click on Download Topo Maps, and type in your address and zoom in as close as you want to your property. Take a screenshot and crop around your property in a photo editing software.
This, my friends, is the topography of our acreage.
My very first thought was to cut layers of felt in different colors.
But then I learned how to use the scroll saw, and my life was changed. This is the one I use and it’s A.M.A.Z.I.N.G. But if you’re looking for a more mid-range (read: less expensive) then this one is also great quality and handles well! Whatever you do, don’t buy a scroll saw in the $100-$200 range. You’ll regret it for sure.
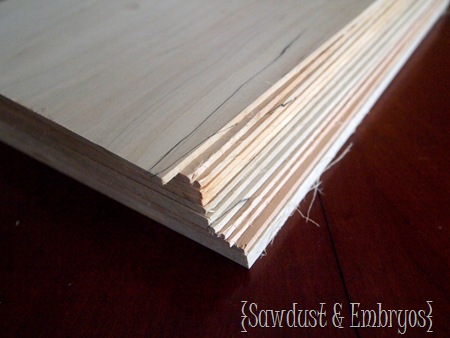
Start with a stack of 1/8” wood. I had our local lumber yard plane them down for me, and cut them to 8.5 x 10.5 inches. You’ll need as many pieces of wood as there are ‘layers’ of land on your topography. I made sure I had a couple extra… just in case.
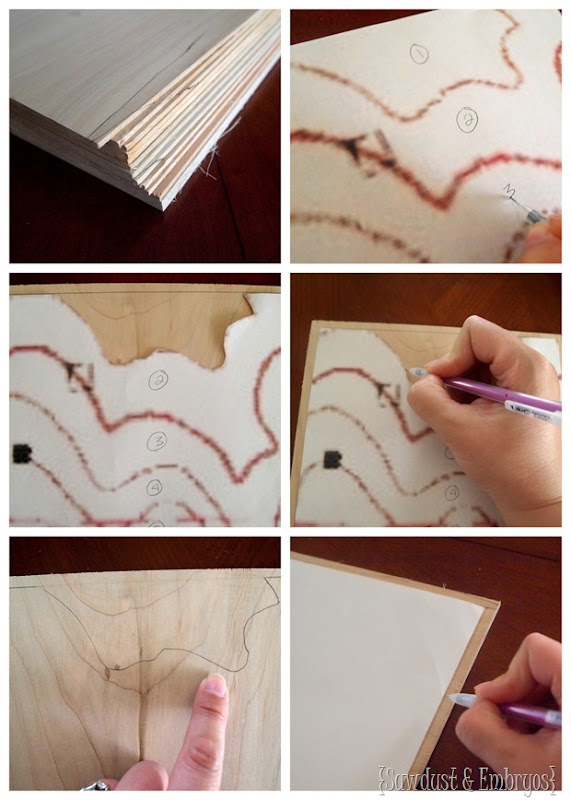
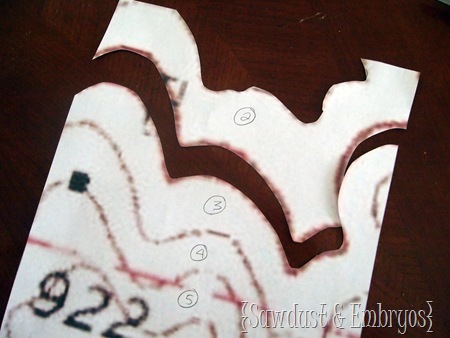
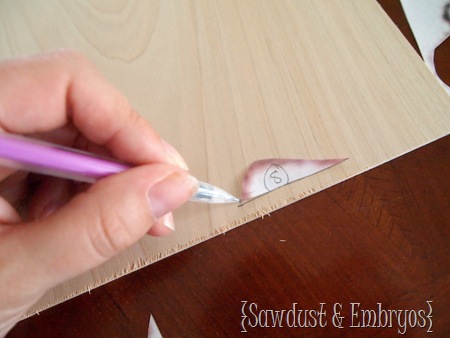
Next, you’ll print out your topography, number the layers, cut them out one at a time, and trace them onto your boards (I traced around the perimeter of the paper as well, because I wanted a border of wood. You can do it however you want!).
NOTE: Make sure you’ve taken into consideration the direction of which layers go ‘down hill’. Think about your property, where it slopes, and which way is North. I almost cut my layers opposite of the way they should be!
Do this with each layer one at a time, using a new board for each new layer… right down to that last little lump!
Next I headed out to the garage! I drilled a hole in the corner of each board, and then fed the scroll saw blade through and reattached it. (make sure your saw is unplugged first!) If you’re making yours without the wooden border, you can omit this step!
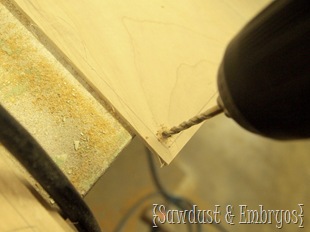 |
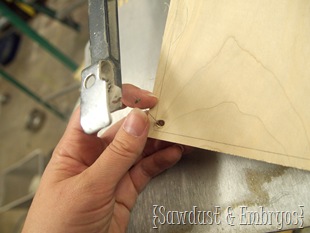 |
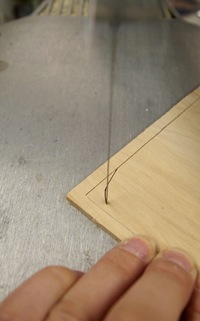
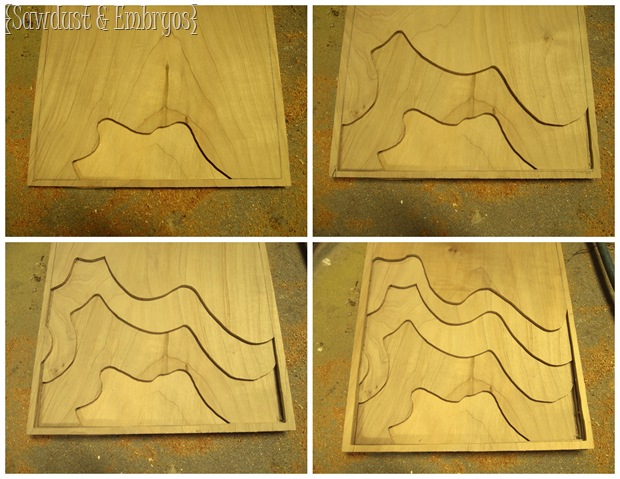
Then just start sawing away! I worked my way around the outside corners first, then ended with the curvy part. The best way to do corners is to saw all the way to the corner, then back up an inch or so, and curve past the corner and keep going. Then when you’re done, you can go back and clip off that little corner by coming at it from the opposite direction.
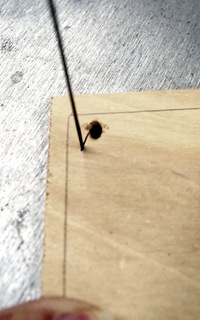 |
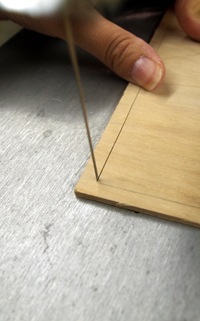 |
 |
Keep on going right down the line… one board at a time. It so much fun to see it coming together right in front of your eyeballs.
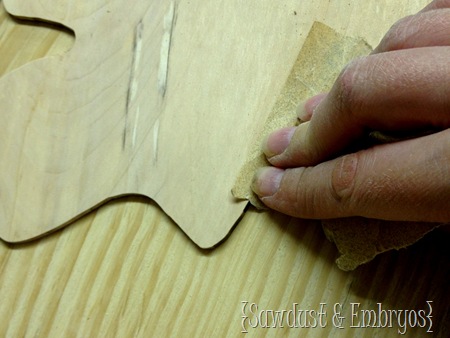
Lightly sand each ‘layer’ so the edges are smooth.
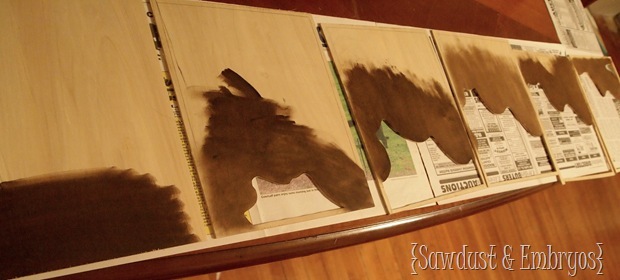
You can do different colors of stain for each layer if you want, or try for an ‘ombre’ effect. I decided to use 1 can of stain (Rustoleum Dark Walnut), and just make the layers randomly different deepness of color.
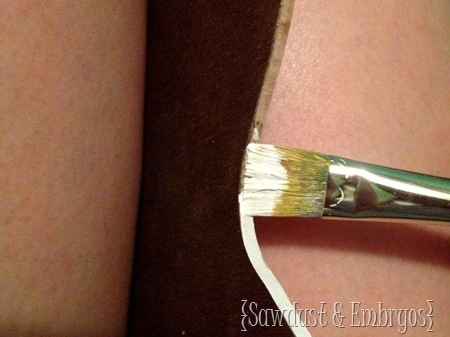
Then, using a small craft brush, I carefully painted white acrylic paint on the edges of each layer. I want the layers to really contrast so that they stand out!
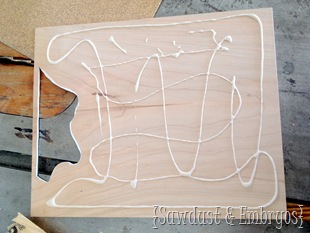
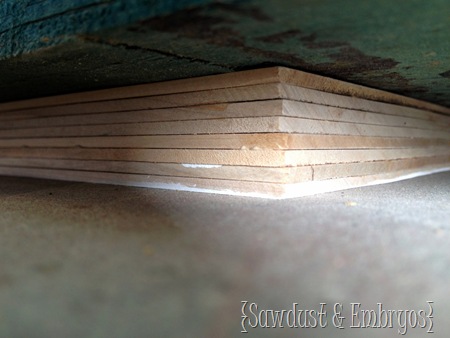
FINALLY… it’s time to glue these suckers together! I used a small brush to get glue on those narrow edges.
 |
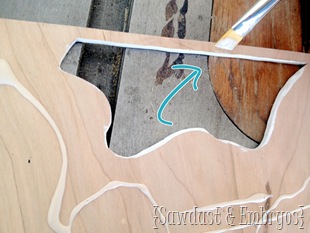 |
Make sure everything is lined up real perfect-like, and then set something heavy on it for a good couple of hours. I recommend using that time to bake something that involves some combination of peanut butter, chocolate and oatmeal.
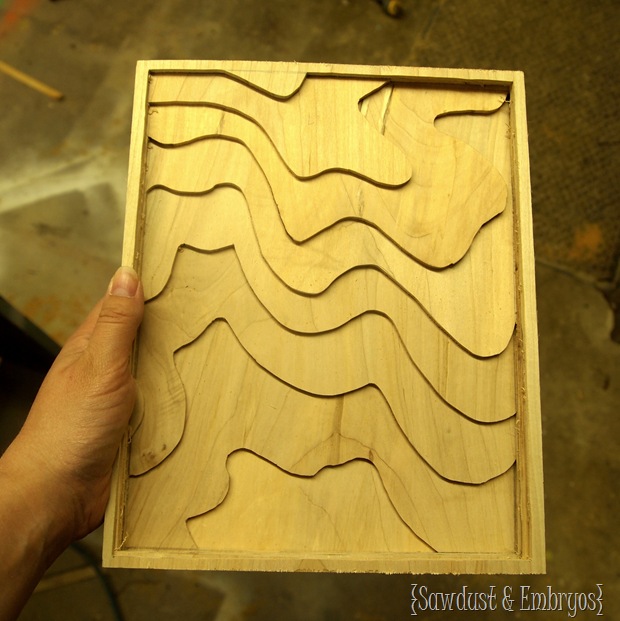
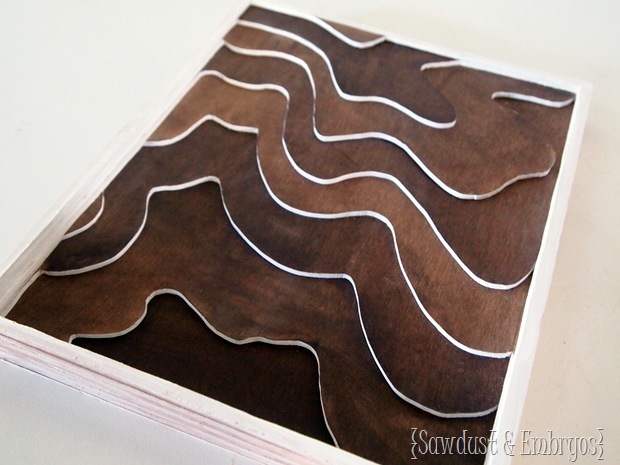
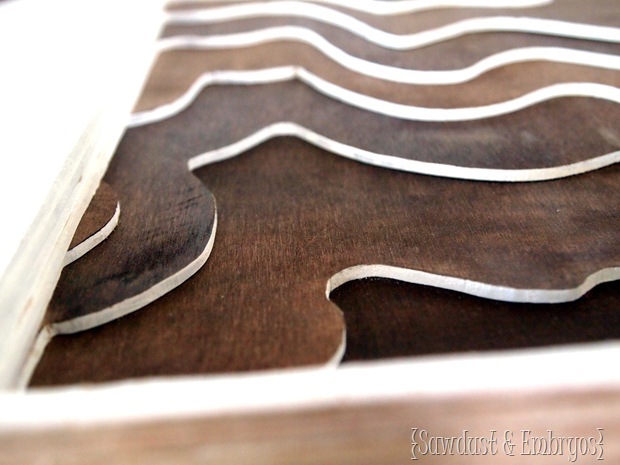
Once that glue is dry… you’re done!
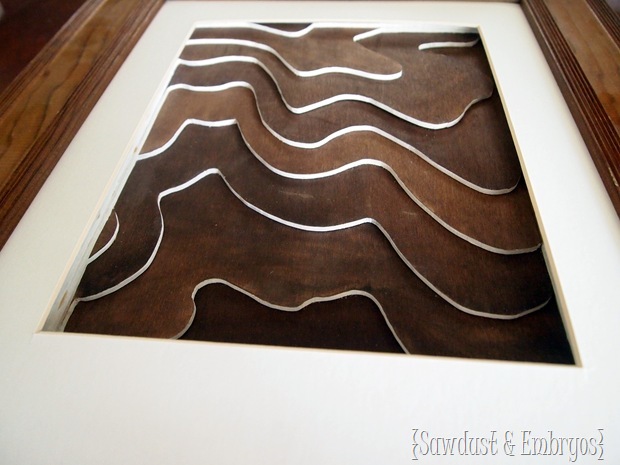
I’m planning to have this thing professionally matted and framed, but for now… I just laid a matte and frame on it so you can see how great it looks. Can you picture it on our gallery wall? I think I’ll go with a white frame instead of wood though.
Have a fabulous weekend!

Thanks for pinning!




This is wildly cool. I’ve now blown an hour studying the topography (and a few other points) of our land. SO COOL! Pinned, because I’m doing this! Thank you!!!
So pretty. I’m inspired to try this. When I use your link, it takes me to a waterproof paper site that has basic maps. Will you please post information for the topography map site?
That’s so weird that the link changed. This IS a pretty old post, so I shouldn’t be that surprised I guess. LOL! I found another site and replaced the link in the post. I’ll put it here for ya too!
https://www.usgs.gov/core-science-systems/ngp/tnm-delivery/topographic-maps
Inspired by yours and a few other similar projects I’ve seen, I made this map of our family property in southern Utah. Great work.
http://www.flickr.com/photos/mathesonmd/9233496138/
OH MY GOODNESS! This is amazing! So intricate! It puts our little piece of land to shame… GREAT JOB!
How in the world did I miss this post?! I read them all…. glad I saw it now though. This is gorgeous! You are really putting the scroll saw to work, good for you! When I was a kid we would go to Big Basin (State park in CA) to camp in the summer. They had a topography display of the region in the little museum and I was always so fascinated by it. Pinned!
Beth, that’s so cool!
This is absolutely beautiful. Wonderful idea.
Okay…NOT fair that you come up with these ideas on your own….
It’s AWESOME!!!!
SO COOL. I love this and it came out gorgeous!!
Kudos to you for coming up with something so original and cool. And no, I never have the problem of remembering how I come up with my ideas (I never come up with any….lol)….
This is super cool! I am a geologist and so anything topo map related is already up my alley. Great job!
This is beautiful! I love how creative and original this is. I love how personalized it is too. Good job!!!
Super original, me encanta.
Beth!! That is GORGEOUS!! You amaze me, girl! Love it.
I saw (pardon the pun) something similar years ago. It was in a store out west (Canada) that sold hardwood floors. They had a huge wall feature of the whole country (like 12ft wide) and each province was done in a different hardwood. I was awestruck, to say the least. Now I was a scroll saw!
Love, Love, LOVE!
I’m seriously in awe of your brain sometimes!
Those are very cool! I know that is something that my dad would really love. The only problem is picking which piece of land to use! And you are right, I have never seen anything like that any place else. It is an original! Just like you! Thanks for sharing.