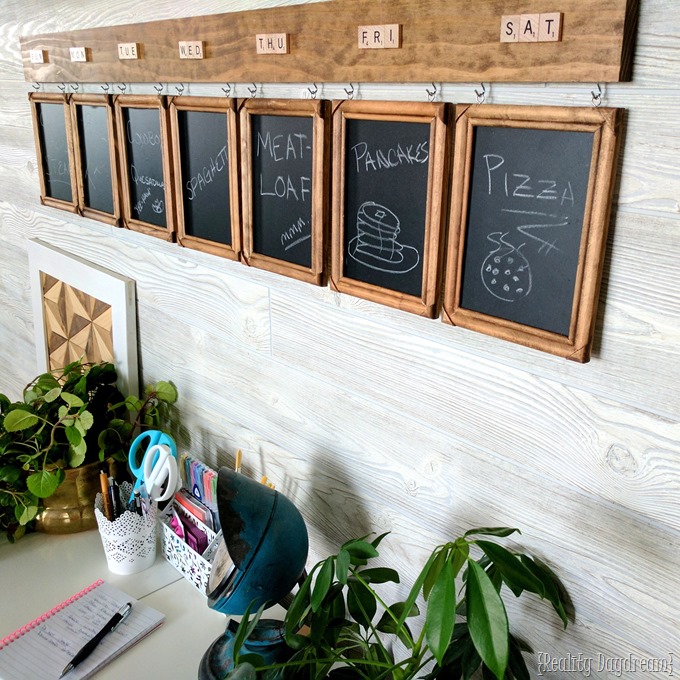
Make meal planning easy and FUN with this DIY Chalkboard Menu Board! It’s simple to make, and only takes minimal DIY skills!
So we’ve talked about menu planning (or lack thereof CAN I GET AN AMEN) here at Reality Daydream on several occasions. You know I’m not a planning-type, but I do love a good list. And that’s why THIS METHOD works sooooo good for me and the fam. We rock this method. And I know a lot of you do now too now! It just makes so much sense.
But I happened to also know that there are a lot of weird people out there who actually like to plan what their family is going to eat in advance. I’m not one to judge that which I do not understand. So this goes DIY Menu Board out to all you planning-types:
 *this post contains affiliate links*
Chalkboard Frame Menu Board
Supplies:
- 7 cheap frames (we chose 5×7 size, similar to these) …but seriously, just go to the dollar store
- Roll of chalkboard vinyl
- Small eye hooks
- Small cup hooks
- 1/3 pine board (at least the length of your 7 frames)
- Wood stain
- Scrabble Letters (optional)
As far as DIY projects go, this Menu Board is easy and such instant gratification! Let’s get to it!
Chalkboard your Frames!
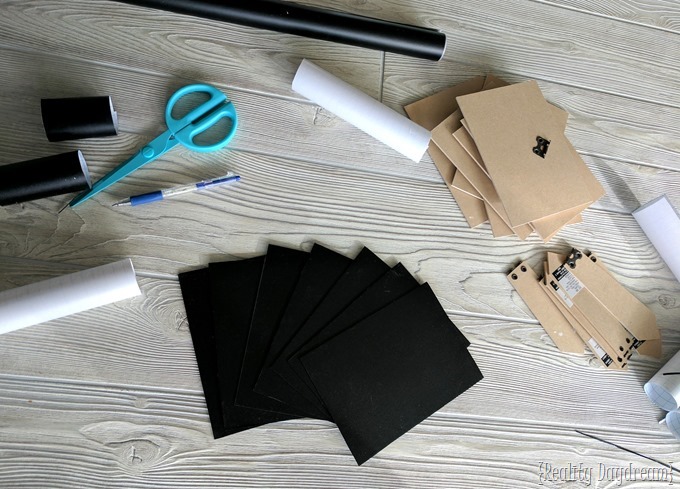
After taking the backs and glass out of the frames, unroll your Chalkboard Vinyl, trace the outside of the glass (from the frame) on the backside of the vinyl, and cut it out with a scissors.

Peel off the backing, and slap it onto the picture frame glass! OKAY, don’t just be nonchalant about it… for real. Be slow and careful about lining the corners up. And if you don’t get it right the first time, it’s really easy to just peel off and start over! It was actually a lot easier than I was thinking it would be.

Repeat with all 7! Also, I decided to break off the little kickstand on the backing of the frame. You won’t need it to hold your frame up since it will be dangling from the wall.

Stain the Wood!
For this menu board, I chose to stain the unfinished wood frames a medium brown (this shade). Go ahead and stain that 1/3 board while you’re at it too! Or you could paint them all. Or leave them unfinished.
You do you1
I wanted about a half-inch between the frames, so I found a scrap piece of wood about the right thickness and used it as a spacer while laying out the frames and keep things consistent.

Install allllll the Hooks!
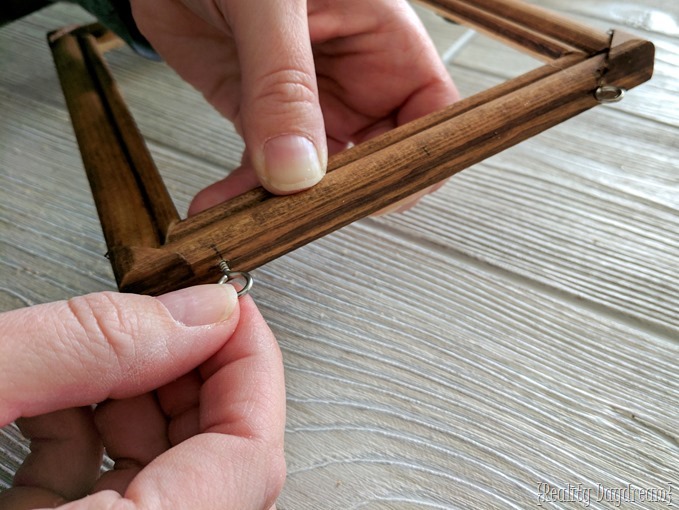
I marked where they would each go on the 1×3 board, and also marked 1” in from both top corners of the frame so I would know where to screw in the eye hooks of my menu board. PRO TIP… drill a pilot hole. It will saaaave your fingers from certain death.

Assemble!
Time to pop in the glass and frame back! <<sooo satisfying!
Then line up your frames according to your markings on the 1×3 board, and mark where your cup hooks should go. And gather up your helpers to drill those pilot holes on your menu board!

Add the Scrabble Tile to your Menu Board! (optional)
Here’s my favorite part of all (minus watching that cute chubby girl turn cup hooks) these Scrabble tiles for the days of the week! DID YOU KNOW you can purchase just the Scrabble Tiles on Amazon?! You do now! You’re welcome!

*NOTE: you could use a vinyl decal for this, or a stencil with the first letter of each day of the week. Make your menu board your own!*
We lightly marked the center of where the 3- digit day of the week would go for all 7, and then applied a dot of wood glue to the backs and stuck them on!


Pretty simple eh? Your menu board is DONE! We used a router to add ‘key hole’ hooks to the back, but you could also just use a couple saw-tooth hooks like these if you don’t have a router. Now hang that sucker up on your wall in the kitchen or near your family’s command center!


I gave this meal planning menu board to my friend Amber since she’s organized enough to actually think IN ADVANCE about what food she might want to prepare for her family. And since I’m the non-planning type, I’ll just stick to my method.
What about YOU? Do you plan out meals for the week? Or just wing it each day? Do you think you’ll try this super simple DIY project? I hope you do! And pleeeease tag me on social media when you do! We’re @RealityDaydream on Facebook and Instagram!
~Bethany
~~~~~~~~~~~~~~~~~~
Thanks for pinning!


I love the stain you used on the wood for this project! What shade did you use? Thank you for sharing!
I believe it was Rustoleum Golden Oak!
Very cute and useful.
This is so cute, Beth! Pinning and sharing.
I love your menu board!!! Such a great idea! (And I love the folders to hide your kids’ artwork 🙂 )
Cute idea but I want to know what those big binders are for on her shelves? If it’s what I’m thinking then I’m in love!
Those binders are where my twins keep their ‘precious’ artwork. I make all the ‘non-precious’ artwork disappear while they’re sleeping. 🙂