Making a cutting board almost seems like a right of passage into the world of woodworking. It’s one of the easiest woodworking projects you can tackle, and is perfect for beginners! So whyyyyyy has it taken me so long to build a cutting board myself? I DON’T KNOW! But it’s never too late, right?
Of course there are lots of really cool patterned cutting boards you could make if you love intricate and tedious woodworking. But today, I’m going to make a basic stripey cutting board using scraps of hardwoods we have lying around our woodshop. And to make it even more fun, I’m going to try my hand at arranging the boards into ombré order!
*This post contains affiliate links.*
Easy Ombré Cutting Board
Supplies
- Scrap wood (hardwood preferably!)
- Wood Glue
- Pipe Clamps
- Butcherblock oil
- Orbital sander
Optional: Belt sander, router/roundover bit
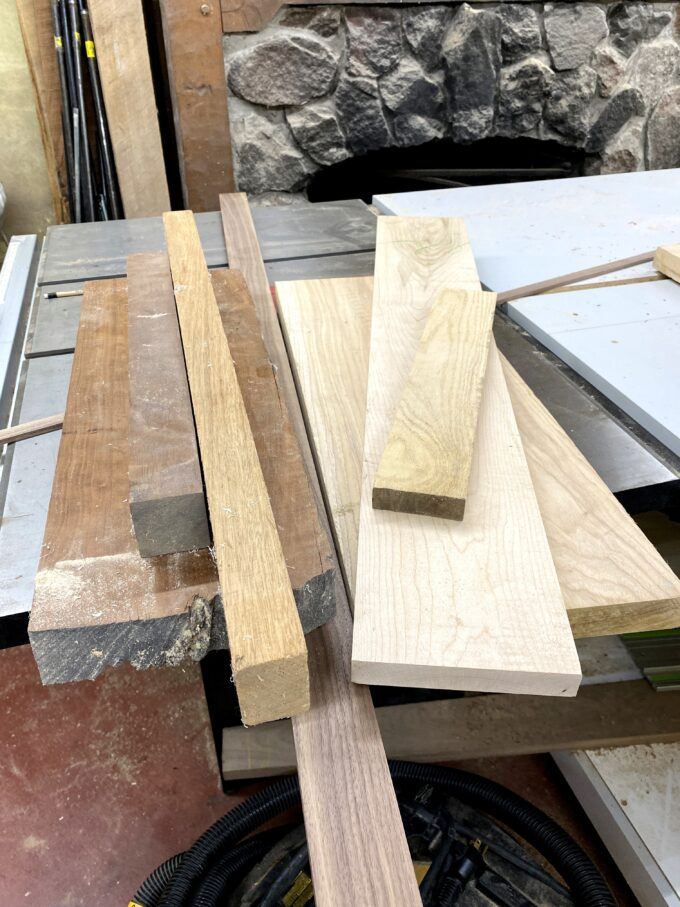
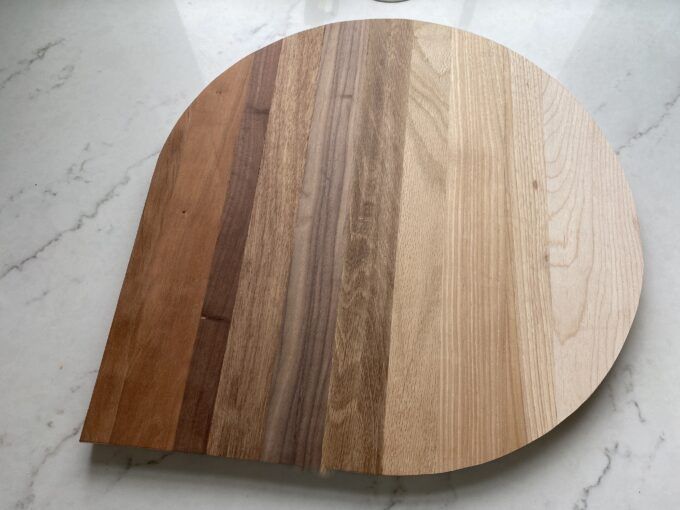
I cut them into strips of varying widths, planed them all to a 1″ thickness. I tried to arrange them in ombré order, but knowing that the tone of the wood changes when oil or sealant is applied, I knew I was going to have to do some testing.
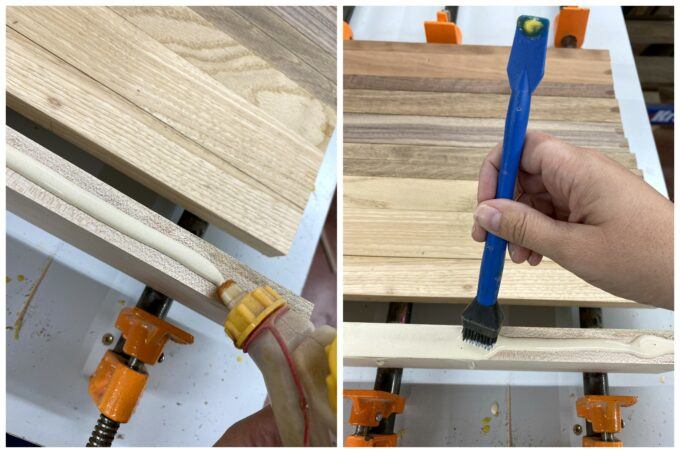
I used a small craft paint brush, and dipped it into butcherblock oil, and made a small mark on each board so I could see their true colors. I definitely ended up putting them in a different order than I thought I would.

I laid out 3 pipe clamps, and arranged my boards in the order I want them. Then one at a time, I turned each board, applied glue, spread it out with this handy silicone brush, and pressed together with the previous board… until there’s glue between them all!
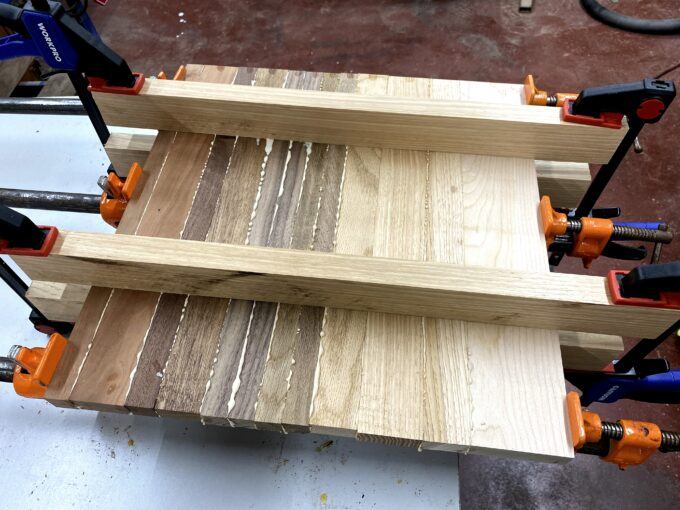
Then tighten those clamps down!


If your boards start to buckle a little under pressure, you can always clamp two boards above and below in the same direction as the pipe clamps. As pictured below.
After about a half hour, take the clamps off and scrape off as much of the excess glue with a putty knife. It’s important to do this before it dries rock hard!

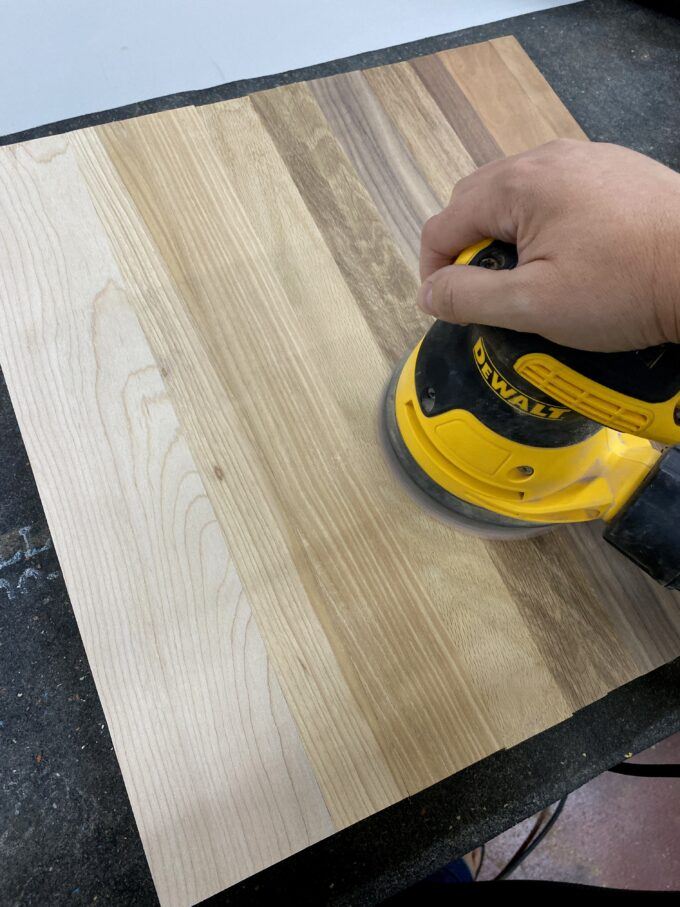
Wait another hour before sanding. I started out with an orbital sander, but switched over to a belt sander to move things along more quickly. Start with a low number of sand paper (MORE gritty) like 40 or 80, and make your way up incrementally to 220.
If you have a scroll saw or jigsaw, you have the option of making a fun shape with your cutting board! Why would you choose to have a rectangle cutting board when you could have a TEARDROP-shaped cutting board.

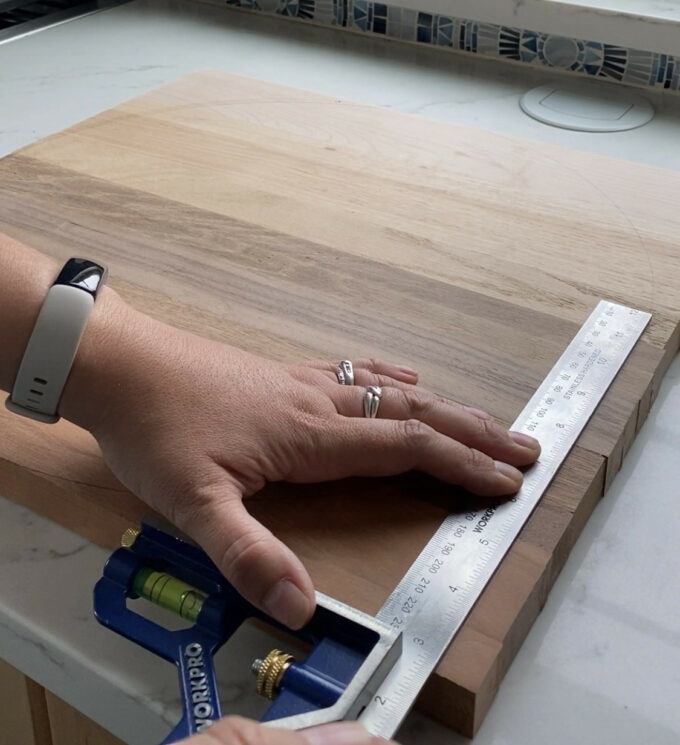
I looked around my house for things that are round and the right size to use as a template for tracing my circle, and this giant stainless popcorn bowl was the perfect size!! I traced around the bowl 3/4 of the way around, and then used my L-square to finish off the straight edge to make my teardrop.
I decided to use my scroll saw to cut out the teardrop shape. Since I’m using hardwoods, I was wishing I had a beefier blade… I broke 4 cutting out this cutting board! I shared a whole blog post about how to choose the right scroll saw blade if you’re unsure.
Sorry about how fuzzy these scroll saw pics are. I had to get screenshots from a video.

I used a 1.5″ forstner bit to drill a good size hole using my drill press, but you can totally use a regular drill too. Just do your best to make sure you’re drilling straight down into the cutting board.

Since I wanted the edges of my cutting board to be a bit rounded, I decided to route the edges using a roundover bit. This is totally optional!
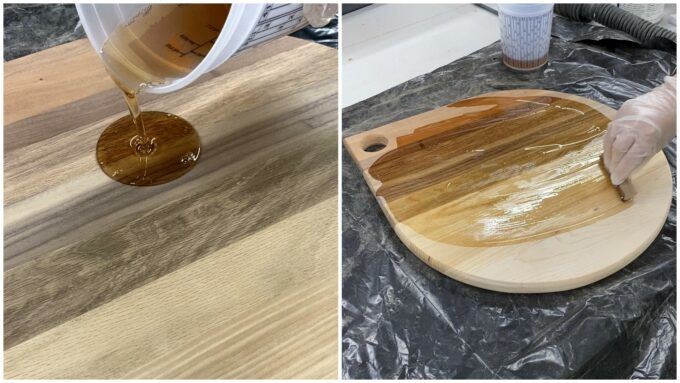
Sand the heck out of your cutting board until it’s as smooooooth as a baby’s bum. Then apply your sealant/oil of choice!! I used this Butcherblock Oil. It’s soooooo satisfying seeing those rich colors and woodgrain come to life!!!
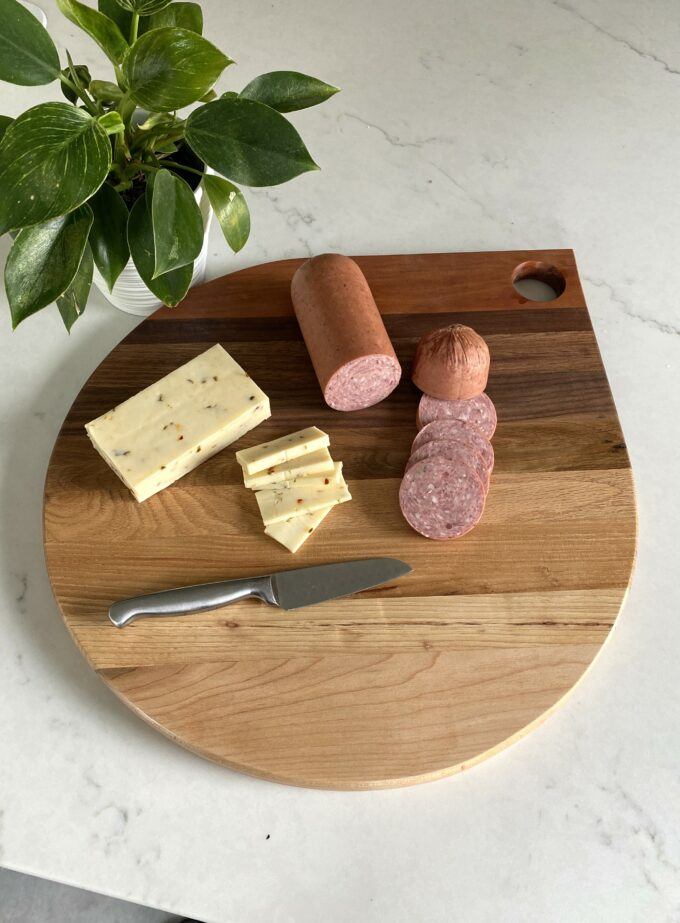
YOU GUYS… this was such a fun project, and I’m so proud of this cutting board I made using scrap wood!


I hope you’re inspired to build yourself a cutting board too! Or at LEAST tackle that pile of scrap wood in your woodshop. 😉
If you DO tackle a project inspired by one of our tutorials, pleeeeease tag us on social media! We’re @RealityDaydream on both Instagram and Facebook!!
~Bethany
~~~~~~~~~~~~~~~~~~~~~~~~~~~~~
Be sure to check out our master list of DIY Handmade Gift Ideas!

AND! Be sure to check out all the other scroll saw projects I’ve done (and one my daughter did!) by clicking the image below! Lots and lots of scroll saw inspo!!

Thank you for pinning!!

Related:
-

Have you seen those 'nesting' cutting boards where the two cutting boards fit together like…
-

I occasionally talk about our love for our whole grain Pumpkin Oat Muffins (that can…
-

Hey friends! I recently shuffled some things around in my studio, and it really got…
Looks really clean! Great Instructions.
1 suggestion I would make is to makr sure you alternate the grain going up and down so the wood stays flat and doesn’t end up bowing
Very Pretty. So much so I probably wouldnt use it.
Beautiful!
Rite of Passage…I went from let me create a rectangle that will be a garden bed to “why not build a loft bed with stairs in the two weeks before Christmas and keep it a secret”…I think I’m more intimidated by the cutting board!
I love seeing the transition from raw to oiled!
Beautiful!!!!
Love love love it!!!
It’s so gorgeous- you make it look so easy! I love it in your kitchen with your beautiful plants! 🪴
Absolutely Gorgeous… is something I never thought I’d find myself saying about a cutting board, however it is exactly that!✨
And I couldn’t be more thrilled that you posted this when you did because my builder husband just brought me home a very similar pile of wood scraps! As a new DIY’er, I hope mine will turn out half as beautiful as yours did! Great Job!
It turned out beautiful and looks lovely with your tile! Great job, Bethany!
Beautiful Beth!!!!
Your pride is well deserved!