You may have guessed from our last post that we’re definitely in the holiday spirit! So when Lowes challenged us to create a DIY ornament… it felt fitting that it should have an serious industrial feel, while still being festive and cheerful!
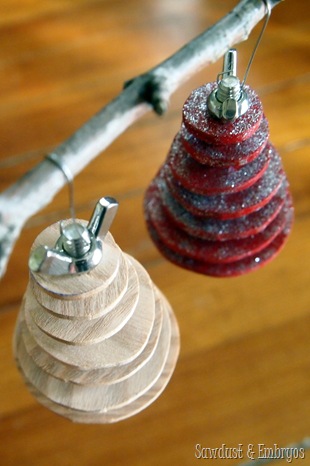
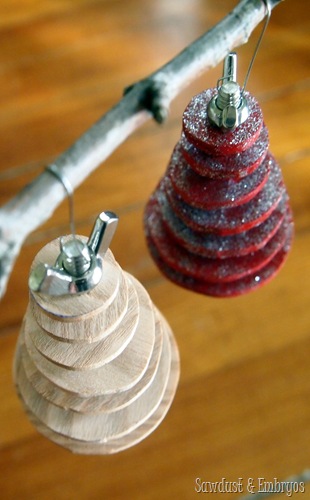
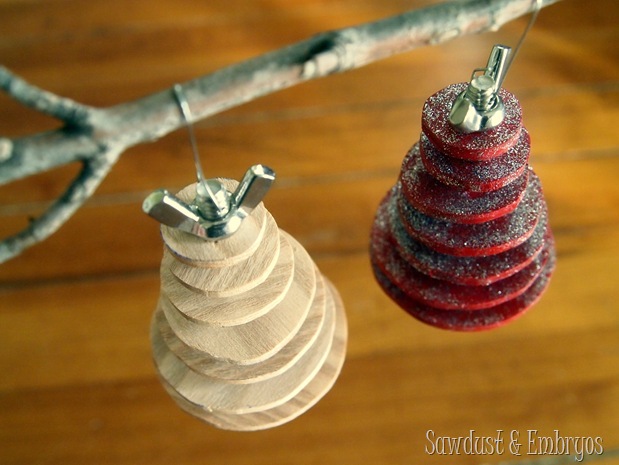
So today we’re going to show you how to create your own little industrial tree ornament using very basic hardware and wood!
 |
 |
All we needed for this project was:
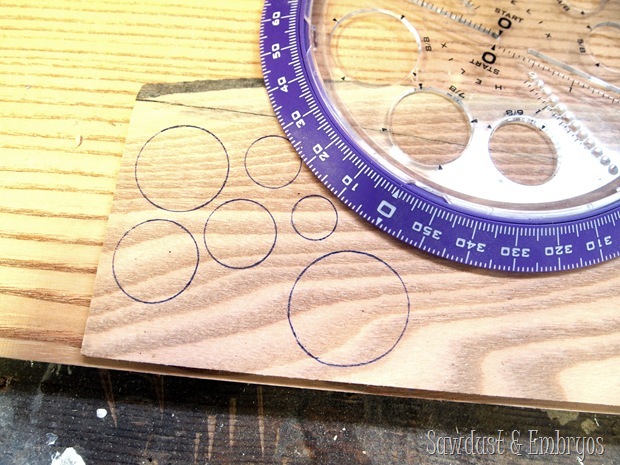
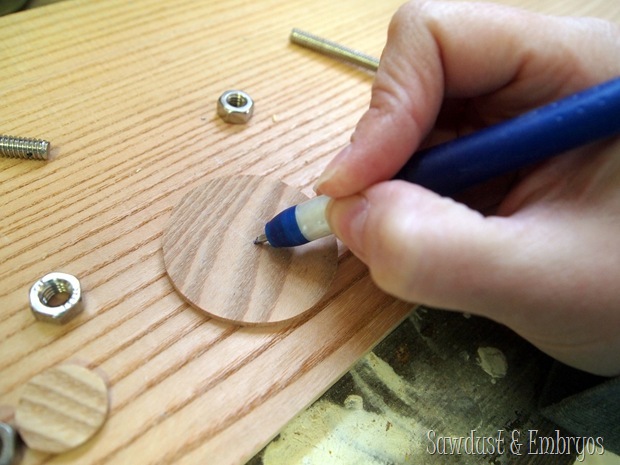
Then I traced out a bunch of circles in various sizes. You could use a compass for this, or trace circular things that you have around the house. I had this handy little plastic thing that had circle cutouts which was perfect!
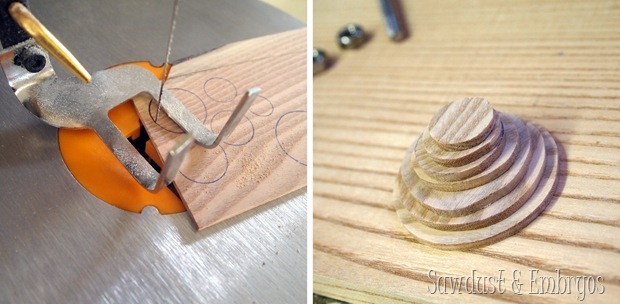
Then I cut these circles out with my scroll saw.
Meanwhile, Nick was helping me prep the bolt to be the ‘tree trunk’! He used a nail set and a hammer to make an indentation where we was planning to drill (a hole to string up the ornament). It would have been better to use a punch for this, but we didn’t have one… so we just went with it. Then, using the drill press and a 1/16” titanium coated bit, he drilled straight through!
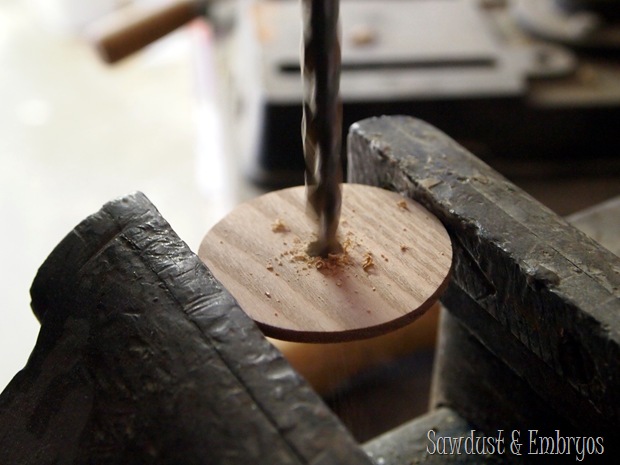
I marked the center of each disc of wood (not exact, just eyed it) and drilled with a 5/16” bit just wide enough to slide those suckers right onto the bolt!
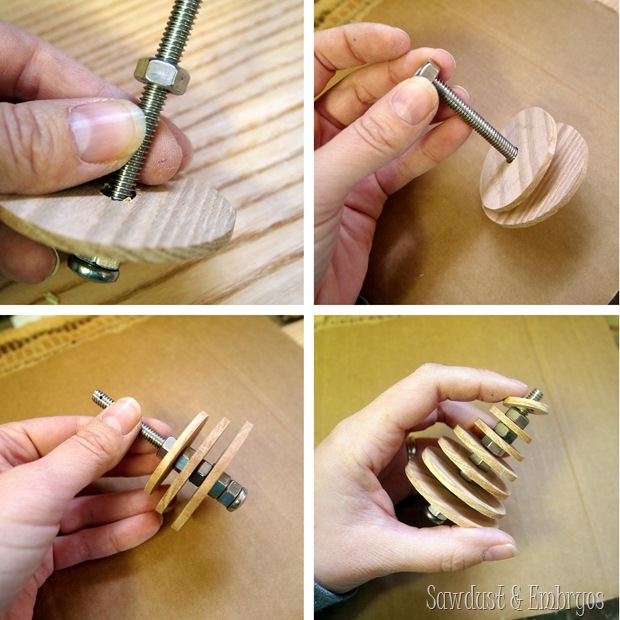
We put two nuts at the bottom of our ‘tree’, and then largest to smallest discs.. alternating each one with a nut to space them out.
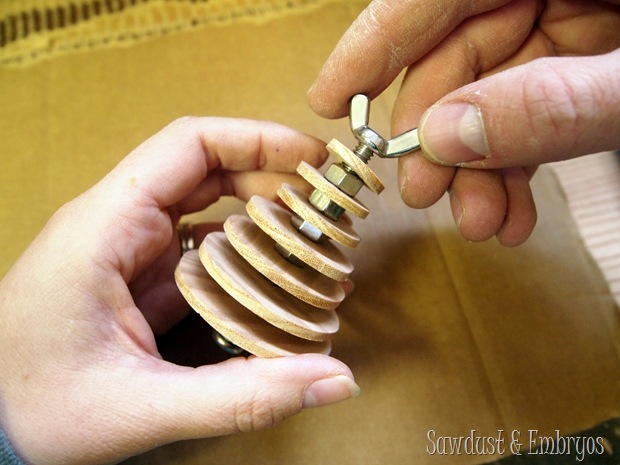
Finally, we topped ‘er off with a wing nut at the top to hold everything in place and act as the ‘star’ at the top! *in the pic below, can you tell which hand is mine and which is Nick’s? HINT: I moisturize
For kicks, we made a second one and spray painted the discs glittery red before assembling with the nuts. You could do a combination of colors, or even alternate painted discs with wood discs. Or do different stains and make it ombre… THE OPTIONS ARE ENDLESS!
I think I might paint one orange for Della since she DESPERATELY wanted the orange (dead) Christmas tree when we went to cut down our tree last week. HA!
I love combining shiny glam with a rugged industrial style. And who doesn’t love getting a gift that’s made with your own loving hands? NOBODY. That’s who.

 |
 |
Are you guys doing any Christmas crafting or ornament-making? I thought about making a paper garland this year so the girls can tear one off each day in anticipation for Christmas Day… but I decided to wait till next year. I think they’ll understand it and be more excited about it.
Disclosure! we’re SUPER HONORED to have been chosen as a “Lowes Creator”, and were provided with a Lowes gift card to help with the cost of supplies… but as always, all ideas, thoughts and opinions are 100% our own. Because that’s how we roll yo.
You can also sign up to receive a free Creative Ideas Magazine, which is loaded with inspiration! There’s also a magazine app so you can have inspiration on the go!



Those are so cute! (And HILARIOUS that Delia wanted the dead tree! Leave it to kids to see beauty in everything!)
Oops – sorry for the mispelling – Della!
so cute!! I think in the holiday off season you’re going to need to stock up on all these awesome ornaments so the shop will be ready for next year… I love these and the states!!
Love the ornament – if you stick a teeny tiny ball (foam?) on end of the bolt, the wing nut becomes angel wings & you really have an angel on top of the tree. 😉
Starting this project later today!! Can’t wait!
You guys are awesome. End of story.
Love it! Now if I can only find time with all my other crafts to make one before Christmas!
What a clever, creative idea! You guys are awesome… and it’s been WAY too long since we’ve hung out!
Love the mix of the wood and hardware! These are so creative! I like the wingbolt at the top! These are so so cute. Great project!