Recall for a moment my indecisiveness.
For some reason, pulling the trigger on anything curtain-related makes me feel a little anxious and itchy. I liked each of these swatches for my dining room for different reasons, but none of them were screaming PICK ME! And I gave them several months for them to speak to me.
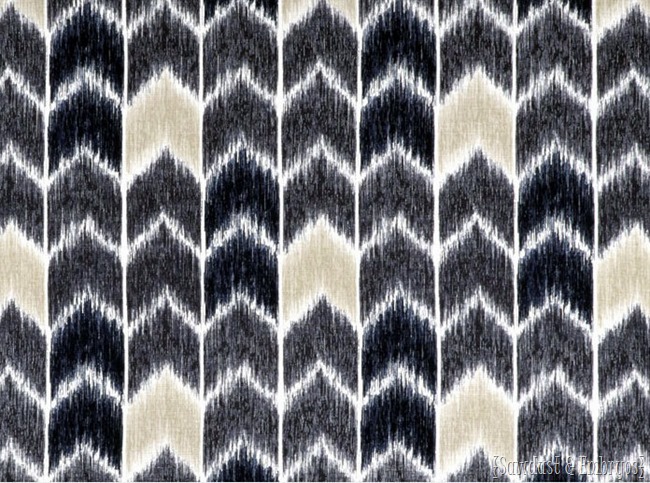
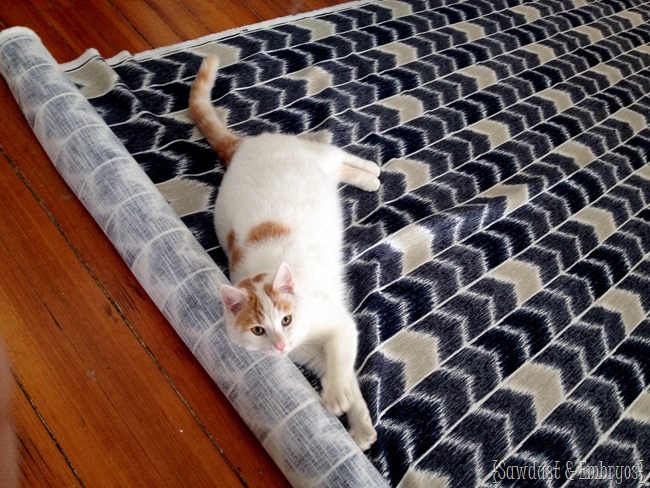
Until one day, the Online Fabric Store posted this fabric on their instagram.
I loved EVERYTHING about it. And it had to be mine.
The varying shades of charcoal, the pattern/texture, the boldness and informality.
I put on a low-cut shirt, and batted my eyes as I emailed Online Fabric Store to see if they’d want to partner with us on this project. They were awesome enough to say yes, and all the village people rejoiced. Including the village animals.
I’ll admit, I thought a good sewing project would be a nice low-activity project for my full-term pregnant self, but after crawling around on the floor measuring and pinning, not to mention my bad posture while ironing… well let’s just say I had some aches.
But that’s not the point! They turned out awesome!
I followed this VERY detailed tutorial by my girl Allison from House of Hepworth. Since she already went through the work of laying out every microscopic detail of this project, I’m just going to walk you through a bit of my process.
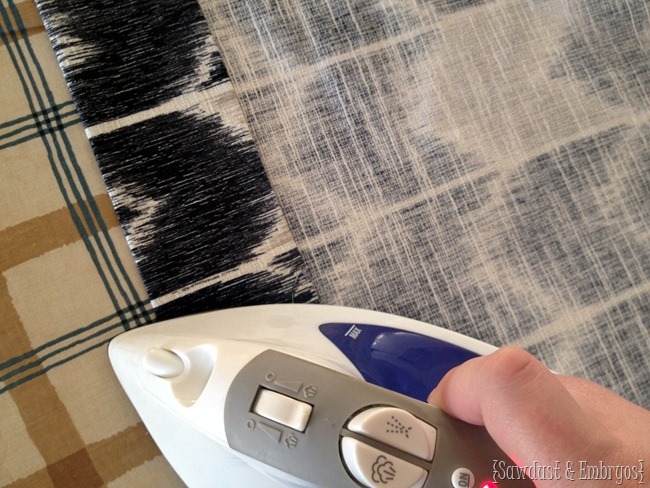
My favorite part of Allison’s ‘way’, is that she has you iron everything that needs to be sewn… making the sewing part a snap!
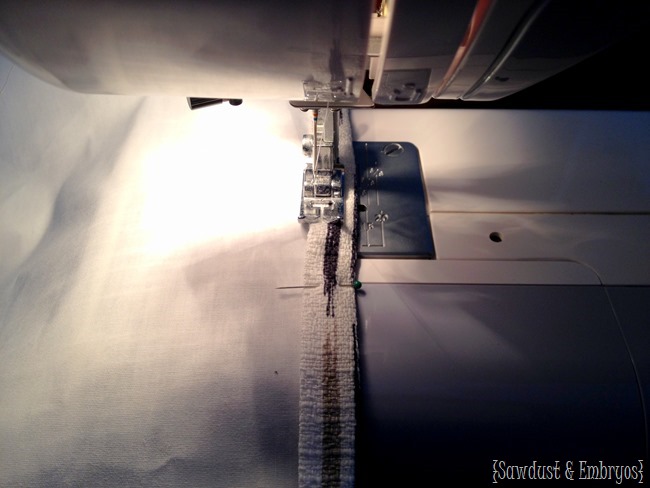
I’m still a little timid on the sewing machine, so it’s good for me to throw in simple projects like this where it’s just a bunch of straight lines… to rebuild my confidence. (this is the sewing machine I use… and it’s an awesome combo of simple with the option of being more advanced too)
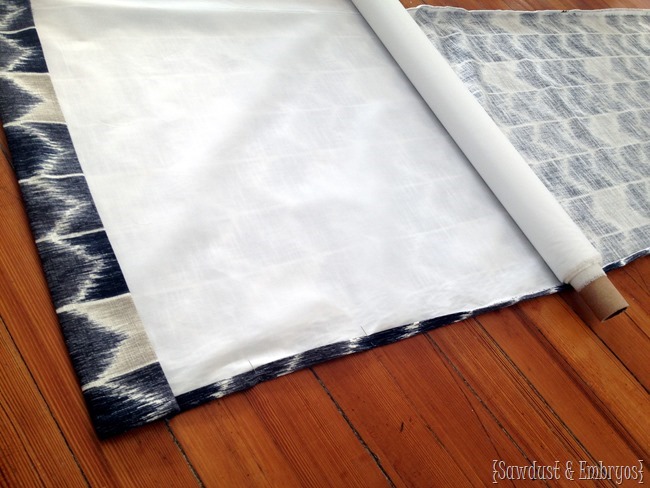
The curtain liner (also from OFS) just gets pinned right under the ‘lip’ of the edges… so simple. Then stitch a straight line! The hardest part of this sewing adventure was refilling my bobbin thread when it ran out.
No, I don’t want to talk about it.
The only part left un-sewn at this point is the bottoms that will need to be hemmed to the perfect length.
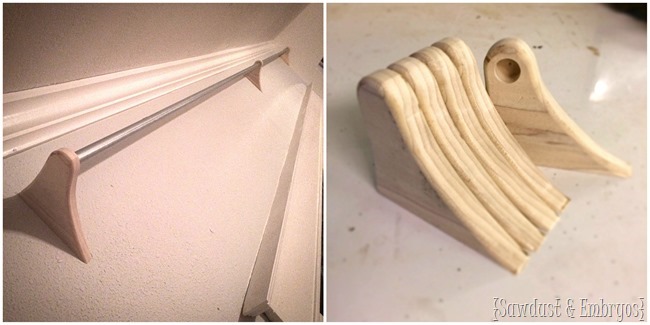
As you may well know… curtain rods can be pricey. And I really just wanted something simple because I don’t think the curtain rod should catch your attention. So I had Nick pick up some electrical conduit FOR TWO DOLLARS (whaaaa?), and he fashioned me some brackets from wood. These are basically the same thing as a towel rack (like this), that we’ve been using as inexpensive curtain brackets since way back when we did these curtains.
You may have gotten a premature preview if you follow Nick on Instagram… he’s a lot more ‘free’ with his teasers.
We primed and painted all pieces with RustOleum Oil Rubbed Bronze, and bought these curtain rings at Walmart.
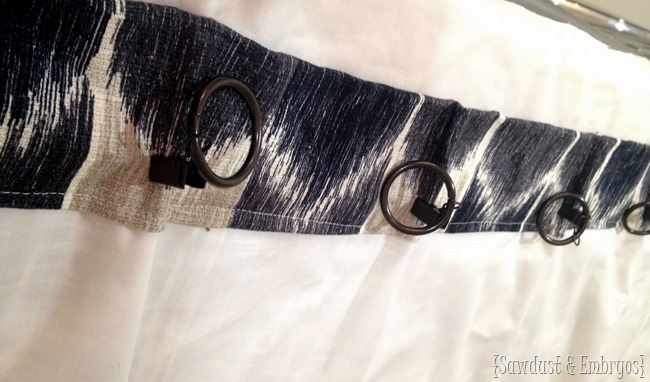
I followed Allison’s faux pinched pleat tutorial by clipping on the rings down a few inches behind the top of the curtain like so.
We strung the conduit rod through the rings, and flung them up on the wall. I grabbed my pin cushion and sat on the floor pinning up the excess length so I would know exactly where to hem each panel. This is the homestretch!
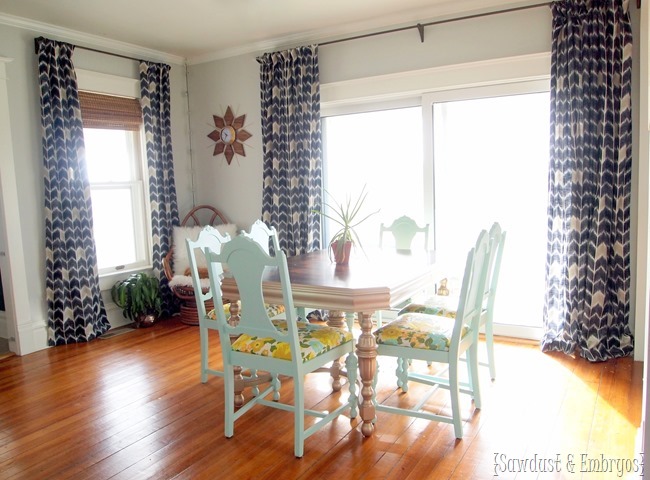
After removing the panels, hemming, and putting them back up… we’re left with this magnificent view.
I’m painfully aware of how badly we need a rug under our dining table to ground everything. I’ve been keeping my eye out for 8×10 linoleum remnants… but they’re much harder to come by than the 6×9 that we used last time to make our linoleum area rug.
Anywho.
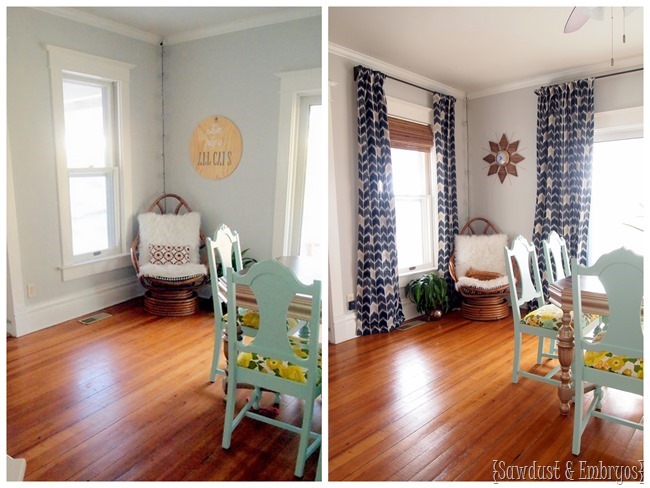
My favorite little corner.
Don’t mind the lazy cat sleeping on the fluffy chair. He didn’t even TRY to look cute for this pic.
Also, I swept up week-old dried chunks of play-doh in the interest of staging purposes. You’re welcome.
Check out what a difference curtains can make to a room!
Are you guys tackling any sewing projects lately? Happy Thursday!



Wonderful post. it is useful and informative post. Thank you for the sharing about curtains. Thank you.
Superb blog. I really loved it. Thanks for your sharing
Beth,
I’ve never posted but follow you regularly. You truly are an inspiration. Not only are you creative and talented in your work, but you are a great example of beauty – inside and out, bravery, and compassion to your girls and to us readers. Keep doing what your doing. You’re moving mountains, even if you can’t see them 🙂
That print is amazing!
Gorgeous fabric! I just love this print!
http://www.lee-lee-land.com
Beth, The fabric is unbelievable! Love it! Your curtains are beautiful! Gotta say that fabric would have spoken to me, too. Since it is still on the rolI, you did not prewash. Are you concerned about anything shrinking once they are washed? That is always my concern, once the sewing is completed.
Is it just the lighting, or did you paint the conduit ????
Yes Carol! We painted both the conduit and the wooden brackets with RustOleum oil-rubbed bronze!
Yes! We painted the conduit and the wooden end pieces with an Oil Rubbed Bronze spray paint. We love how it turned out!.
Geez S…rude much? If it rubs you the wrong way, then just don’t read the blog. I love the curtains Bethany! I definitely agree that curtains make all of the difference in a room. Good for you that you have these great companies to partner with. I have been following the blog for a long time, but this is the first time I have commented. Keep up the good work!
It rubs me the wrong way that you’d beg a company to give you free stuff as a “partner.” Where’s your disclosure? Your blog, your perogative, but it’s a turn off.
I can appreciate your opinion on this matter. We try to keep our sponsored posts to a minimum so we don’t come across as freeloaders. Honestly I didn’t have to ‘beg’ OFS for fabric. We have an awesome relationship with them, and they’re always happy to send us fabric for our various projects because it gives them exposure. It’s a mutually beneficial relationship. They even email from time to time to ask how I’m feeling or how my pregnancy is going, or to discuss the woes of parenting.
Unlike the vast majority of DIY blogs, we’ve made a decision to limit the number of companies we ‘partner with’ to a select few that we ACTUALLY love their products and company, and want to endorse. It’s no different than Michael Jordan wearing Nike’s.
As for the disclosure, I did disclose that we received free product from OFS, otherwise I wouldn’t be getting nasty comments like this one. As long as I make it clear in my post that I received product for free I am covered. I like to make it fun and work it into my post with some humor so it doesn’t seem like a stuffy serious ‘disclaimer’ at the end of my post.
You go Beth!
Unlike ‘S’ I appreciate the way you incorporate the partnership into the blog post. When it’s at the end of the blog post it does have that ‘urgh another advertisement feel’. Makes it more personal! 🙂
P.S. It’s really neat that OFS made it personal on their side too! Civil niceties really help build loyalty! *cough* take notes S *cough*
Boo!
“as I emailed Online Fabric Store to see if they’d want to partner with us on this project. They were awesome enough to say yes, and all the village people rejoiced. ”
AND
“The curtain liner (also from OFS) just gets pinned right under the ‘lip’ of the edges… so simple. ”
How many times do you need it mentioned for it to rub you the right way?
Also, OFS shows up in blue as a direct link to their online store. Did you check it out? It’s a great price for them to pay for free advertisement like this because Beth and Nick have a lot of fans. And it’s not impacting your life at all you know, even if you have to pay for your fabric, because the tutorial is FREE so say thank you.
Thank you Beth. Love the curtains.
Well, I now need this fabric in my life!
Looks fantastic!!
I don’t usually comment, but I had to say I laughed out loud when you mentioned sweeping up dried chunks of play doh. My three year old is obsessed with play doh and I find it everywhere no matter how hard I try to get her to keep it at the table! Glad to hear I’m not the only one fighting the never ending battle!
These weren’t too bad… although they did take longer than I expected. Most likely because of our giant sliding doors that needed giant curtain panels. HAHA!
These look so great! Proud of you! I totally spaced sending a fabric contribution (baby boy 4 born last week). Are you still receiving them? Do you need a different size? Binding? I love to quilt.
I love that fabric. They turned out so great with the pinch pleat. I think that fabric would make great pillowcases!
I agree Lindsay! I was hoping to have a little extra fabric to make so throw pillows… but alas I had EXACLTY the right amount. Oh well 🙂
What a transformation!! Love love love it. Your starburst clock also ties together the new Roman shades perfectly!
Bethany you did a beautiful job! Your “favorite little corner” looks fantastic with the curtains and the retro clock you made! That, to die for, clock is perfect in the dining room and compliments your beautiful stained table top. Bravo little mommy!
What’s funny is I sew all the time and for some reason sewing curtains and clothing scare me. You are way braver than I could ever be.
You have NO idea what perfect timing this post is for me!! I will be checking out the conduit now. I have a very long wall and I don’t want to do separate rods. Thank you!!!
I thought I was the only one scared of putting up curtains!! I finally took the sew-some-curtains-plunge and it wasn’t as hard as I expected! I’m so happy with the results!
Here’s the process I used: http://riggshomeatlast.blogspot.com/2013/05/custom-drapes-with-grommets.html
Good for you! And I love that you went with grommets! They look so polished and clean! Thanks for sharing.
What is the paint color on the walls? I love it:)
Thank you! The color is Sherwin Williams ‘Site White’. We love it!
They look so great, especially paired with those new Roman shades! I’m still terrified of my sewing machine, but I keep wanting to believe that I could do curtains. After seeing these I might have to try!
If I can do it, YOU CAN DO IT! It’s just straight lines!