A couple weeks ago, we posted about a dresser we refashioned for a client for her daughter’s room. It turned out so fun!
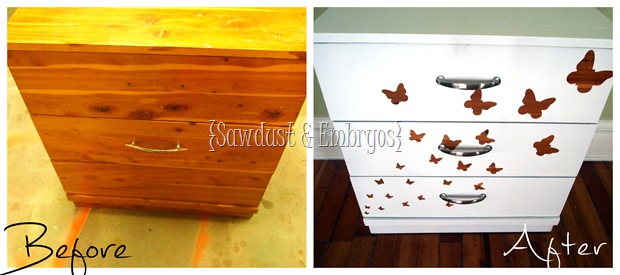
Our client, Dawn, had another smaller dresser that she wanted to coordinate without looking like a ‘set’ and without being too matchy matchy. Here’s the before!
When we went to sand things down to prep for priming, we noticed some severe damage and chipping of the wood veneer on the sides.
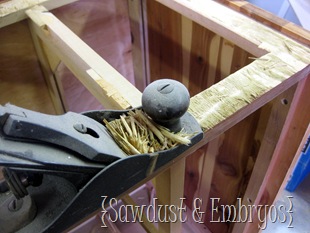
This is a tough situation because there’s nothing you can do to repair this… except just to replace the sides. Which we Nick did. He ripped the sides off and smoothed down the wood where it had been glued.
 |
 |
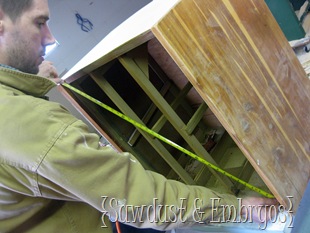
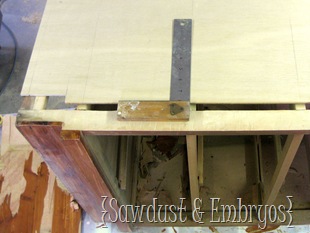
He measured out some 1/4” wood and cut it to size.
 |
 |
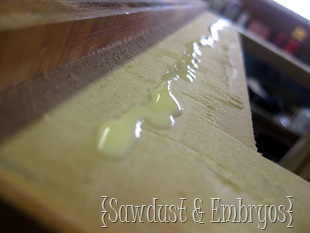
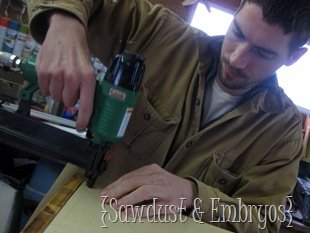
Then glued it into place and nailed ‘er down! That thing’s not going anywhere!
 |
 |
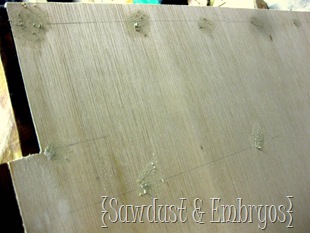
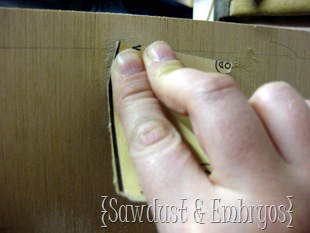
Now that we had nice smooth sides, we needed to fill the nail holes with wood putty before painting. Because they were such tiny little holes, the wood putty dried in a couple hours and we sanded it smooth!
 |
 |
Now that the body of the dresser is ready for priming, I’m going to show you what I did with the drawers! I wanted to do a vinyl application on the drawers… because it’s one of my favorite techniques! Since the dresser already had beautiful woodgrain (cedar) and a thick lacquered finish, I left them as-is.
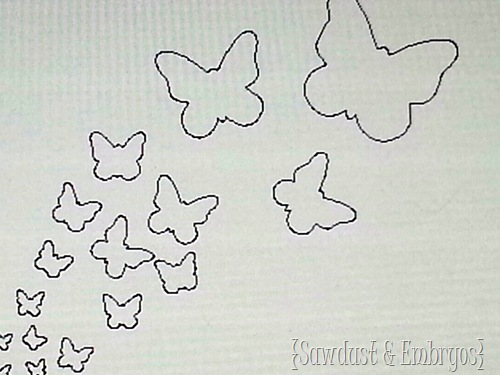
I suckered Dana into cutting some vinyl for me… lots of little butterflies! All different sizes! Here’s a screen shot of her computer program in action! (she has an Etsy shop here and you can custom order vinyl!)
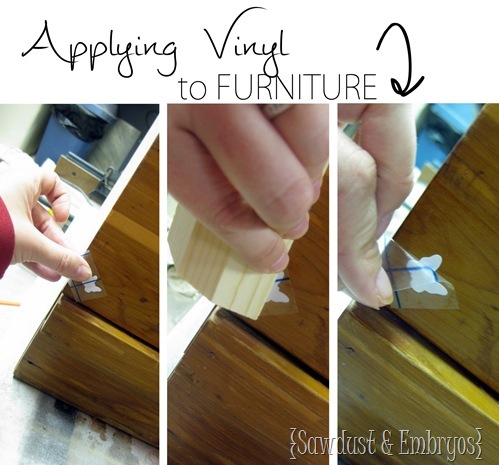
Just peel off the backing, press the vinyl in place, press it down with something flat (a credit card or piece of wood), and peel off the transfer paper!
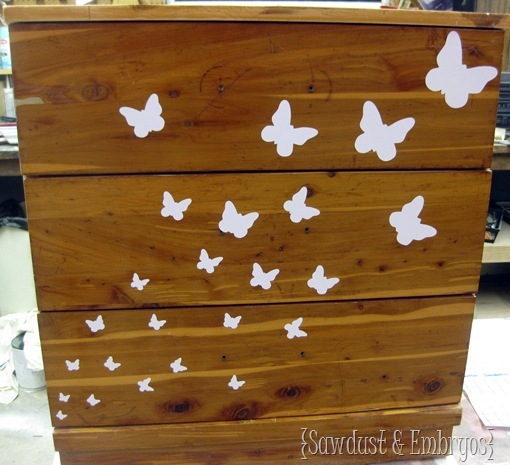
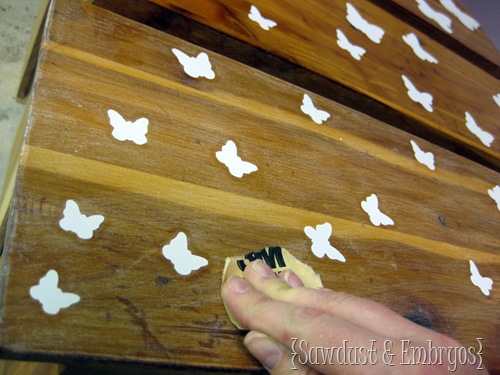
And then I just started placing the butterflies here and there!
Here’s what it looked like once I had all the vinyl butterflies on.
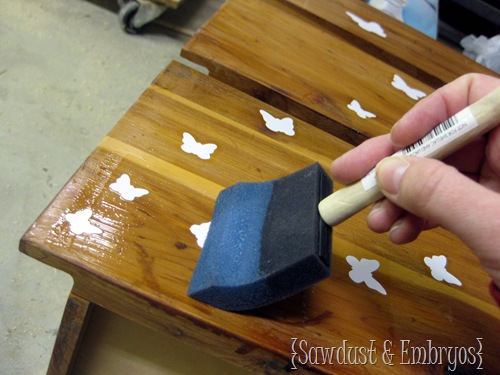
Then I polyed to seal the butterflies down and prevent any paint from seeping under the edges.
After the poly dried, I lightly sanded all the drawers with 220 grit sandpaper… right over the butterflies! This is so that the paint will stick better and provide a more durable finish.
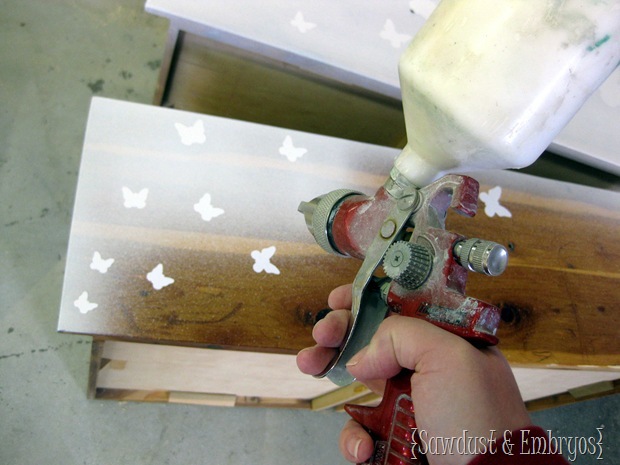
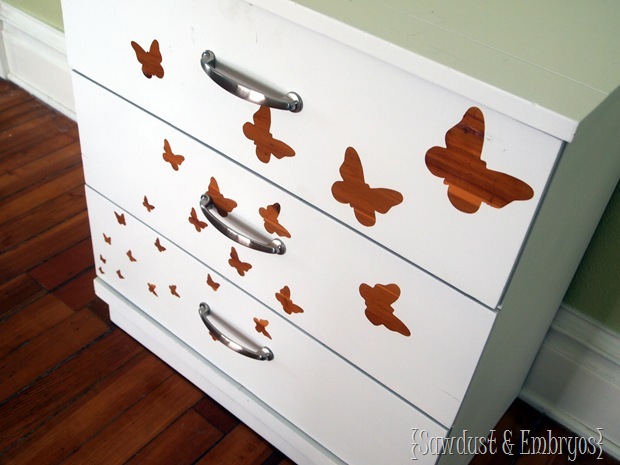
FINALLY it’s time to prime and paint! We painted the drawers and the body of the dresser a crisp clean white!
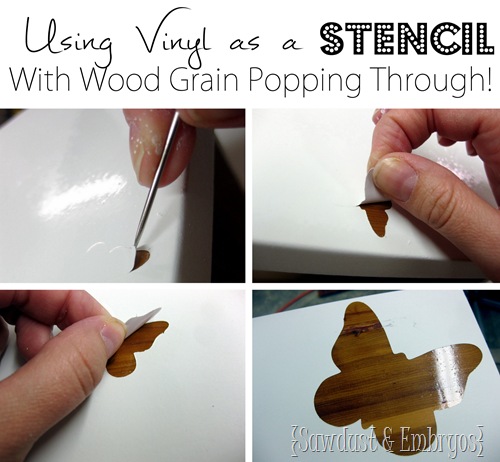
We gave it 2 coats of primer and 2 coats of white paint. Soon after the very last coat, I took a needle and started picking at the edges of the vinyl butterflies.
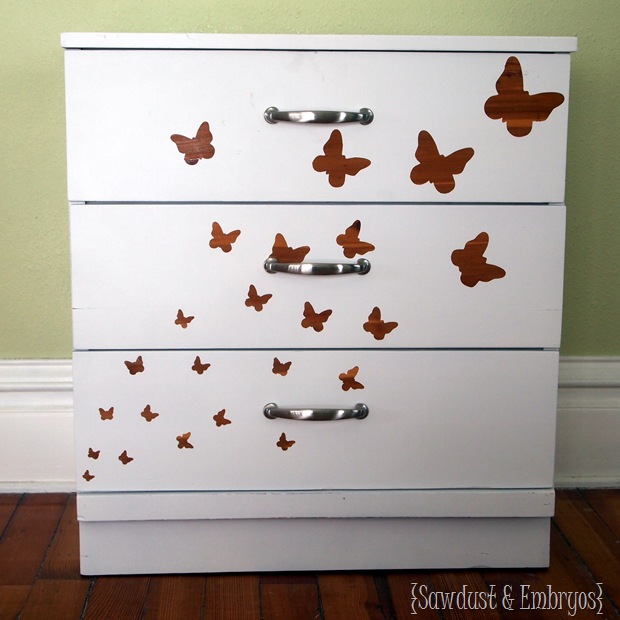
And we were DONE.
I know this post seems long and like this project was a lot of work… but 90% of the work done on this dresser was replacing the sides. It’s such a simple technique to slap on some vinyl, paint, and peel it off!
And the combination of wood grain and painted furniture could be a good compromise if you and your spouse have different preferences. (I’m sure that NEVER happens though)
Super simple peeps!
To see other projects where we’ve used vinyl as a stencil, click here!
Now I’m going to get back to my hum-drum-Monday-blues-slash-winter-blues-slash-potty-training-adventures. Time to find something new to paint I think!






Hi. Bought a coffee table on craigslist- it was advertised as solid wood but after my hubby brought it home we saw it is veneer. It was supposed to be my first try with painting furniture. Since the veneer was in good shape I decided to paint it. We sanded, repaired ( with bondo) two places where veneer was coming off ( my husband is car mechanic and can also paint cars) sanded again. Then my husband primed and painted the table with latex paint with paint gun. The veneer came of while painting in several other places so he repaired it again and again. After he brought it home the next day I decided to glaze the table. It was weird- the glaze dissolved the paint and primer in several places and I have spotted one more place where the veneer lifted off the surface….. Long story short- will never again working with veneer and could u tell me please how come glaze dissolved the paint?? Thank you in advance. Jowita
Amazing Beth. Quick question, did you poly only on top of the vinyl butterflies or the whole surface?
We polyed over the whole surface.
HAHA! The first time I replied my auto correct changed ‘polyed’ to POLYESTER… HA! 🙂
Adorable, Sweet, Cute, so so so special….. Love it! Dee from My Painted Stuff.
Wow, Beth, I LOVE the finished product and the tutorial is outstanding. I have been wanting to do something similar but have been a little freaked out by it…I think I’m good now! You are so talented!
Very cute! very talented. How is the potty training going? Mary in NY
Hi Mary! Potty training is going OK. We started potty training Dell on Sunday and just put her in undies… cold turkey! Like we did with Pais. The first day was touch and go, the second day (yesterday) we didn’t have A SINGLE ACCIDENT! But now today we’ve had a couple, including Paisley (UGH, I hope she isn’t regressing). I keep reminding myself the fortune we’re saving by not having to buy diapers! 🙂
TALENT!!!!!!!! It turned out better than what I was imagining!!! love it!!!
This comment has been removed by the author.
I love the effect of butterflies swarming out. What a lot of work having to replace the sides too. But it looks great.
This is so precious! I LOVE the pattern!
Good luck everybody~~~~
great work:)
this is so cool ty