So we made friends with the lady (HI DAWN!) that bought our burnpile buffet… I mean, how could we not when we grew so emotionally attached to a hunk’o’wood? We considered asking for visitation rights, but decided that would be weird.
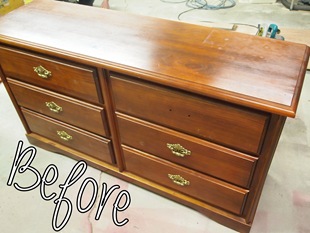
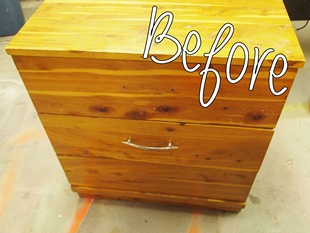
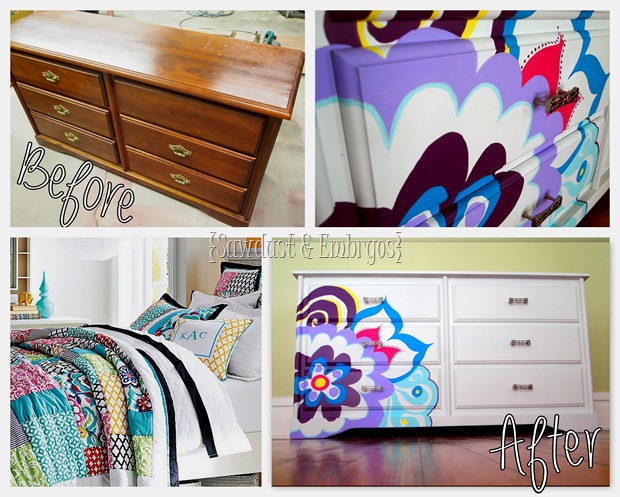
We were delighted when she contacted us with a commissioned project for her daughter Allie’s room! She has two mismatched dressers that she’d like to coordinate without being too matchy-matchy.
 |
 |
Instead of telling us exactly what to do, Dawn wanted us to use our creative juices. This usually makes me VERY nervous, because everyone has such unique taste in furniture. But when she showed me her daughter’s comforter to use as inspiration… well lets just say I got really happy. It’s goa-geous.
She did ask the both dressers be painted white as the base color. Today we’re only going to discuss the longer dresser of the two.
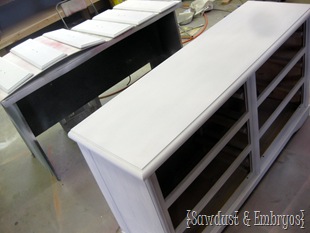
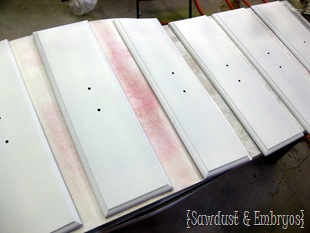
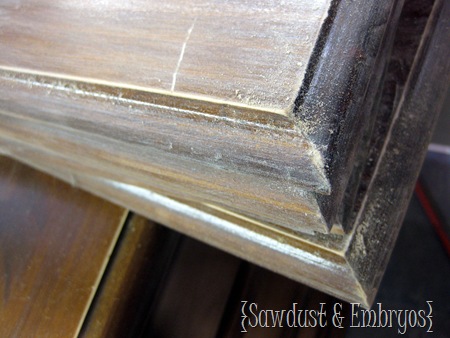
We started by removing the drawer fronts (we don’t usually do this, but on this dresser they came off really easy and it saved us a bunch of unnecessary taping). Then we sanded everything down with 100 grit sandpaper. You can use a deglossing solution too if you prefer… the point is to get the surface dull and ready to accept some primer!
And then we primed and painted white!
 |
 |
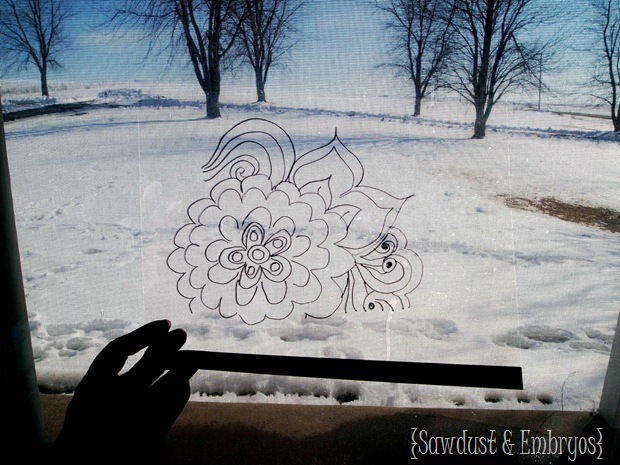
I had a hard time deciding on a pattern. I kinda knew what I wanted… but not really. So I did some google image searches till I found a few things that I liked, and then sketched out this design onto a transparency using a Sharpie.
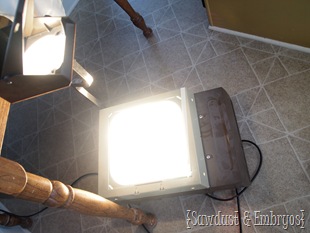
Then, you guessed it, I used my overhead projector to project the image onto the dresser!
 |
 |
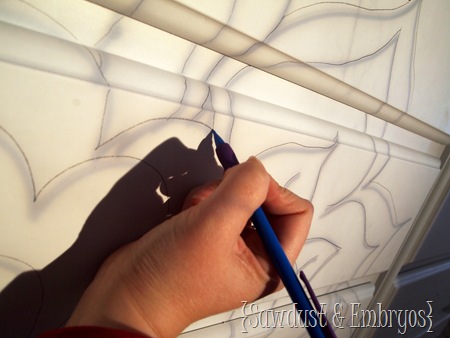
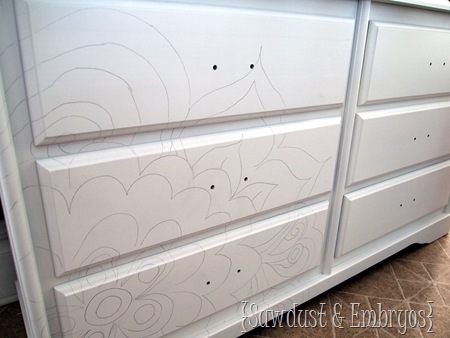
I just used a regular pencil and lightly traced the image on!
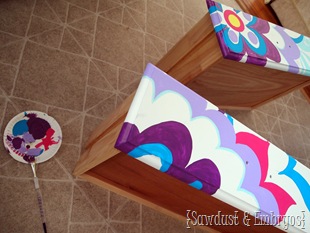
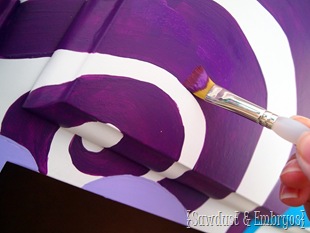
Think of it as a coloring book my friends. Stay in the lines, and you CAN’T go wrong.
 |
 |
I worked on this off and on for a weekend before it was completely done. It’s good to take breaks, because it can get tedious… or stressful if there’s toys and poop flying through the air all around you.
Additionally, some colors had better coverage than others, so I had to do 2-3 coats. That dark purple hated me.
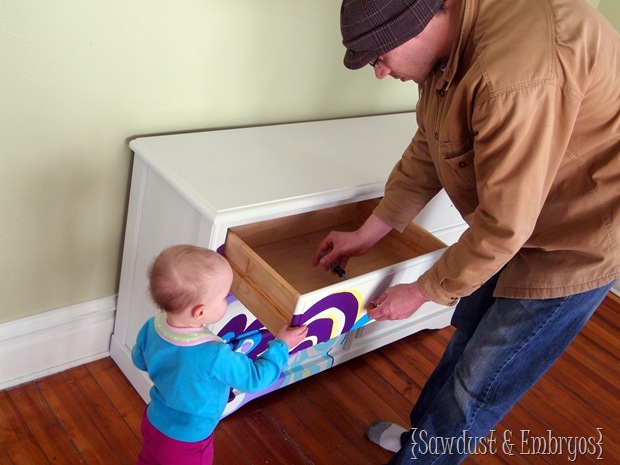
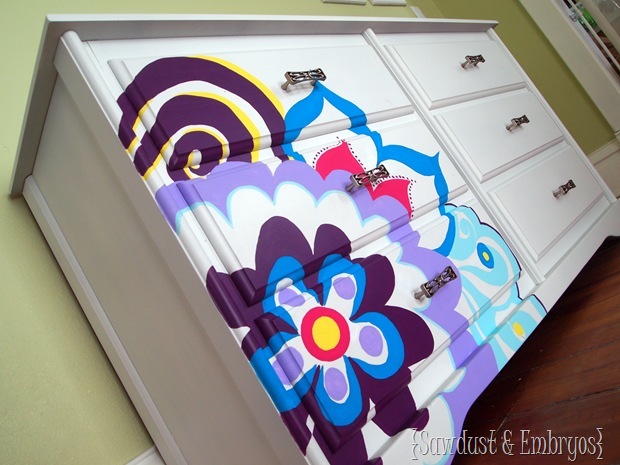
Della helped her daddy put on the hardware.
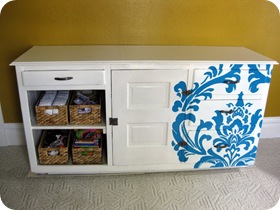
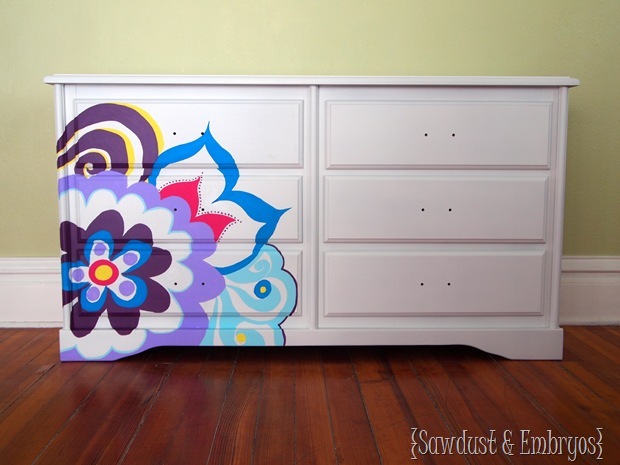
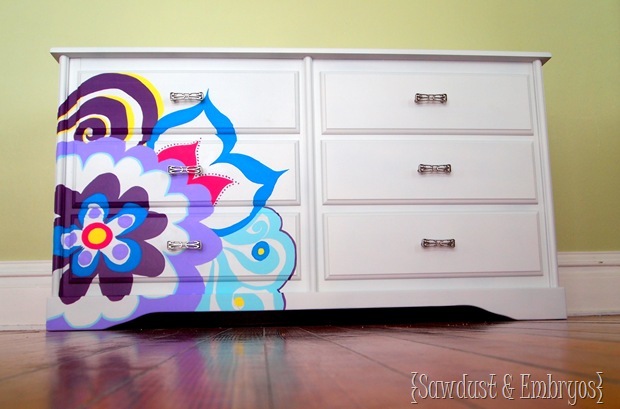
I love doing projects like this… with bright happy colors.
And I think it’s going to look amazing in Allie’s room with her pretty comforter!
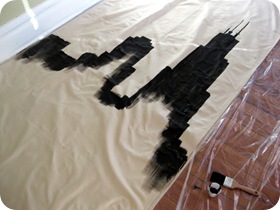
We often get asked where you can buy overhead projectors. Occasionally you’ll see them for sale on craigslist, but your best bet is to call your local library. They often have them on hand and will lend them out for free!
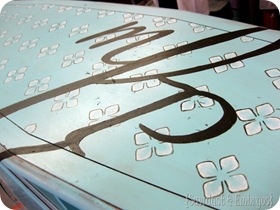
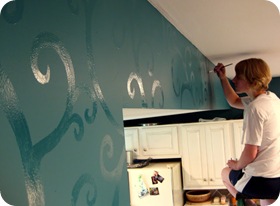
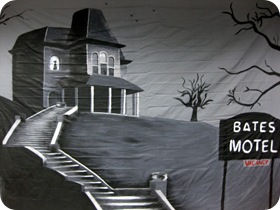
We hope you enjoyed this little transformation as much as we did! Be sure to check out our other projects that we’ve used an overhead projector below!. Happy Monday!
 |
 |
 |
 |
 |
 |
 |
 |




This is super groovy! Thanks for posting! LOVE all the before/after pics!
I’ve used a similar technique for years. Instead of an overhead projector, I’ve used a projector that you place the image under the projector and it projects it larger onto the wall. You can adjust the size by moving the projector closer or further from the wall and focus by turning the lens barrell. (Poor description, I know). Pros & Cons compared to a “traditional classroom” overhead projector:
Pros- 1.) You don’t need any films or transparencies. 2.) You can use any flat image, you don’t have to copy or trace first, you can place the projector on top of a book, coloring book, photo, etc. I have even used precut wooden letters/shapes. 3.) Images project in color or black & white. (depending on original image used) 4.) This type of projector can be purchased at craft stores. (I got both of mine at Hobby Lobby, called “Projecta Scope”, had this smaller one for over 15yrs and still works like new, & “The Tracer”, larger image area & can enlarge 2x – 14x) 5.) Costs less than a new overhead projector. (Mine were $19.99 & $49.99 before 40%off coupon). 6.) Uses easily found, regular household use bulbs. (Mine use 75 watt bulb & 23 watt fluorescent bulb) 7.) Can project printed photos. So you could take a photo of an interesting pattern you find, print it like a regular photo, place it under the projector & recreate that pattern on your wall. (I’ve projected photos on a white sheet and used as backdrop for photographs. Have to be creative w/ lighting since flash can cause projected image to not be clear.)
Cons: 1.) Limited by size of original image you can use. (My smaller projector has a 3″x3″ image area & larger projector is a 5″x5″ area.) 2.) Room must be dark to clearly see projected image. (Depending on quality of original image.) 3.) Can be limiting on how large you can enlarge original image. (I haven’t had a project that I couldn’t enlarge enough either by adjusting distance from the wall or enlarging my original image w/ a copy machine, scanner, or printer) 4.) Focusing abilities can be limited. (Again, depending on quality of original image.)
Sorry this is so long, but I hope it’s useful information for those that don’t have access to an overhead projector.
After you finished the coloring of the flower, did you coat the entire dresser with something, or just leave it at that? And what type of paint did you use to paint with? Gorgeous btw!!!!
The flower was painted using acrylic paint, and we sealed it afterward with PolyCrylic. Hope this helps! If you give it a try, we’d love to see pictures when you’re done!!
I wanna see the other dresser!
We’re WORKING on it, we’re WORKING on it! Been a little preoccupied with the Living Room crown molding… should have the dresser ready in the next couple days!
This is awesome! I aboslutely love that dresser! I’m feeling inspired by all of your DIY projects!
ummm….I just broke out in a sweat. This is a….mazing. I am totally doing this to something someday in my life. I love painting furniture and I have only done solid colors. Today my world has changed!
(Boy am I feeling dramatic!)
Seriously though, looks amazing. Whata statement piece. What kind of paint did you use for the flowers?
x
suzanne
http://www.smallchangesbigimprovements@gmail.com
Hi Suzanne! You are too kind! If you DO give it a go, you’ll have to send us pictures! It really is a fun technique. 🙂
I just used acrylic craft paints.
I have am overhead projector I scored at a thrift shop for $10 and the bulb just went out a couple weeks ago. Any chance you would know off hand where I can get replacements?
Cecilia, you can get replacement bulbs at Staples (that’s where we got ours but I’m sure any office supply store would have them)… but they are SPENDY! I think $35 bucks or so. At least you got a SWEET deal on the projector itself! Good luck!
Wow, her daughter is going to love this dresser! It’s gorgeous!!
Debbie 🙂
Amazing! You are so very talented. This looks wonderful with the comforter. I can’t wait to see what you do next.
This is wonderful .using projector is brilliant idea.I am really wondering about your next project
I love the idea. Did you already have an overhead project or did you have to rent or borrow. I am thinking of using this on my walls at home. Love it
We do have our own overhead projector… I think my mom picked it up at a garage sale. I’m SOOOO grateful, because we use it so much!