It’s no secret. We’re a little obsessed with Molly Long Photography. One of my favorite things is to get updates on my Facebook newsfeed when Molly adds new photos she’s taken. (If you don’t follow her on FB, you totally should!)
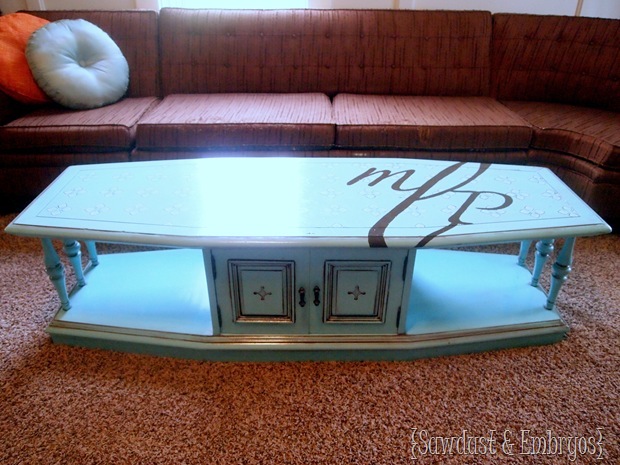
After Molly took the girls’ newborn pics over a YEAR ago (crazy!), we’ve been fortunate enough to become friends with Molly! And recently, she asked us to fix up a coffee table for her new studio! We were more than a little excited. And we had JUST the piece for her!
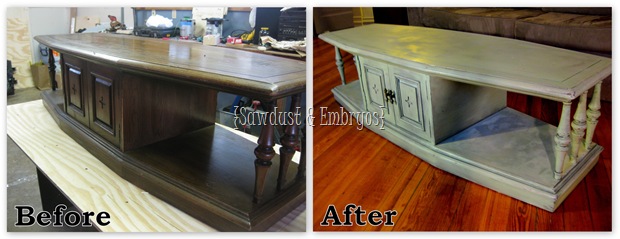
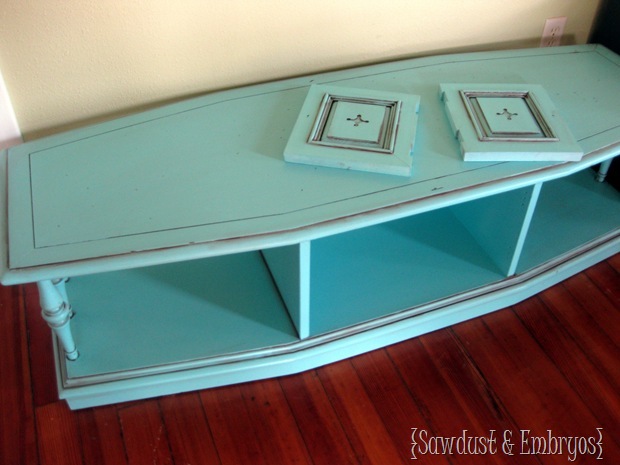
THIS… is the very first piece of furniture I ever painted/glazed. Even though I was an amateur and did a terrible job so long ago, it’s a little sentimental.
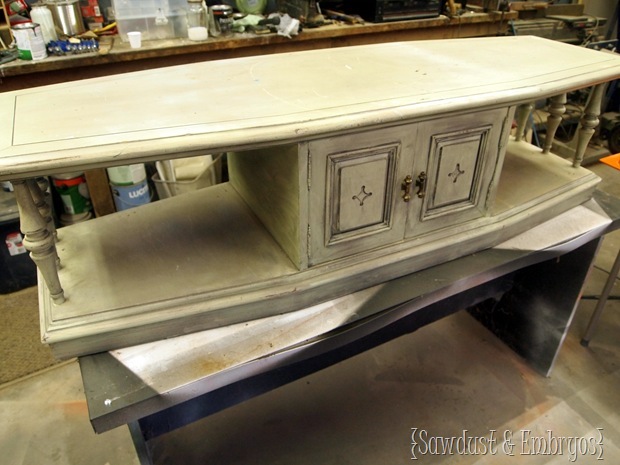
First we heaved this big lady up onto our ‘exam table’.
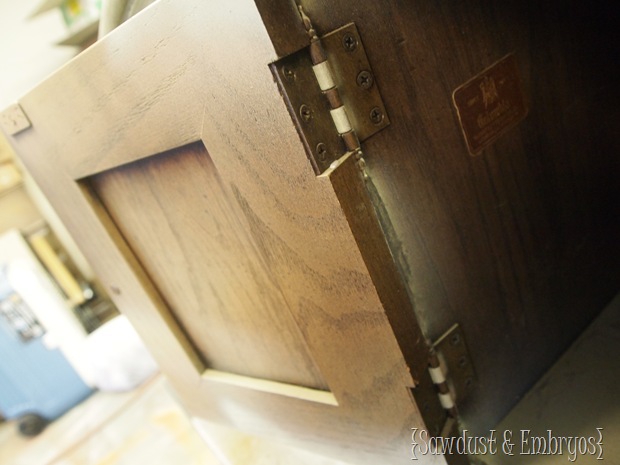
When we were prepping her for a new paint-job, I chuckled to myself when I noticed how I hadn’t even bothered to remove the doors and hinges when I painted last time. AND, I didn’t paint the back of the doors or inside the… cavity. LAZY ME!
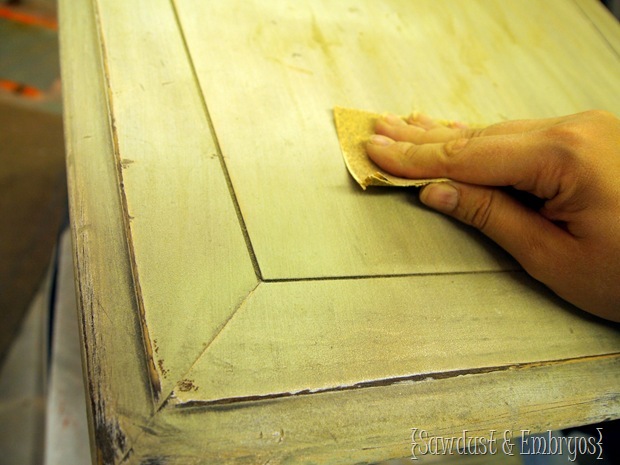
The previous finish was a little crusty, because many years ago, I had decided NOT to sand between priming and painting. (Oh the things we learn the hard way!) So I sanded everything down with 120 to knock down the crustiness and make her smooth and ready for prime!
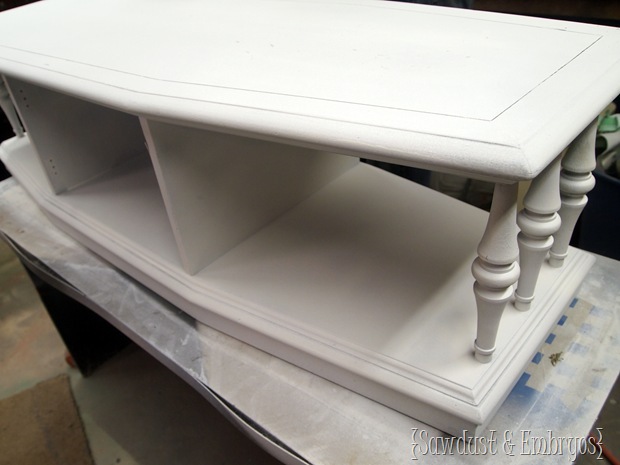
We could have skipped the priming step on this, because the piece was already primed and painted. But there’s something about having a crisp blank slate to start with. And the new color always goes on brighter and more evenly when applied over prime. Kilz is BY FAR the best.
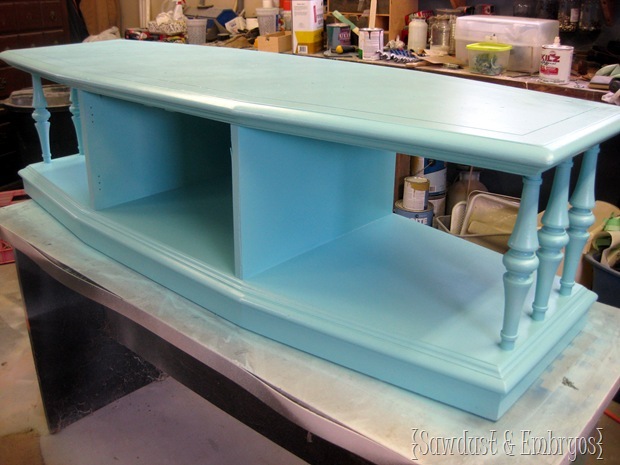
One of Molly’s signature colors is a light aqua-type-teal. So Krylon Blue Ocean Breeze was the obvious choice. (we lovingly call it Eloise blue these days)!
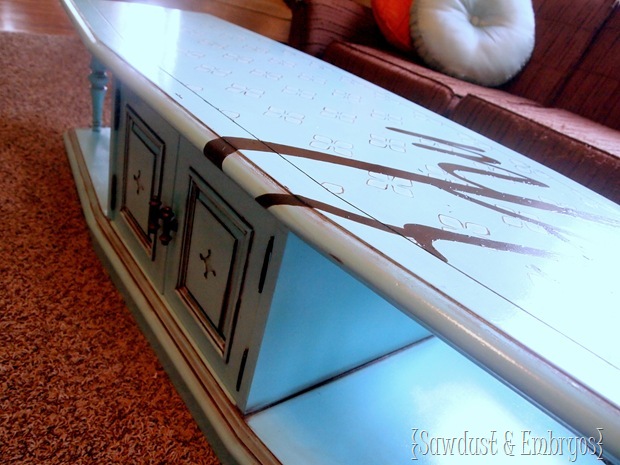
Using the techniques from our Glazing Tutorial, we I skillfully glazed her down to bring out the details. This is our go-to technique glaze.
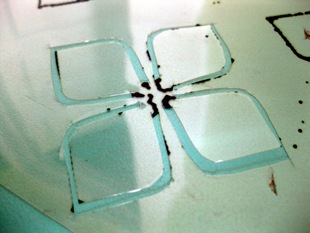
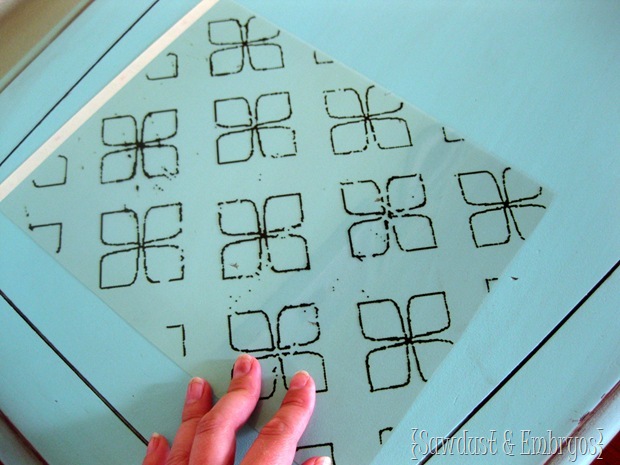
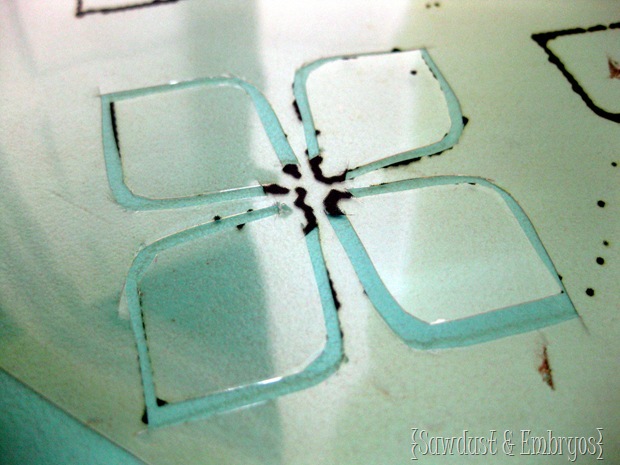
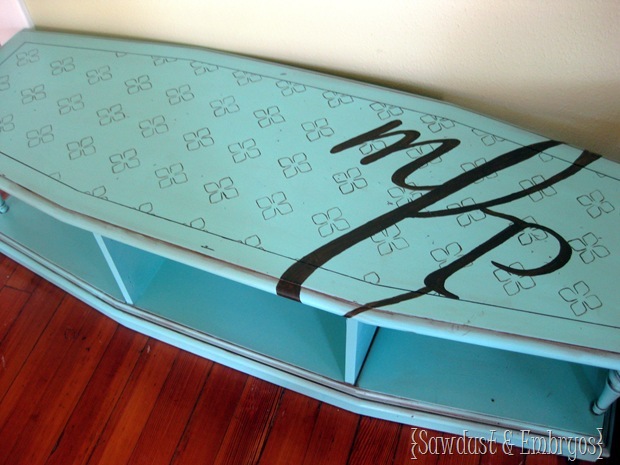
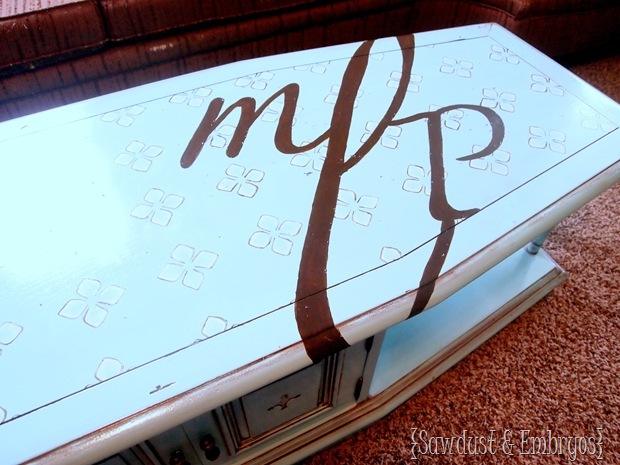
I wanted to have a little extra detail on the top to make it feel custom and special, so I blew up a design that Molly uses on her Gift Cards, and using my Stencil Making Techniques, created a custom stencil!!!
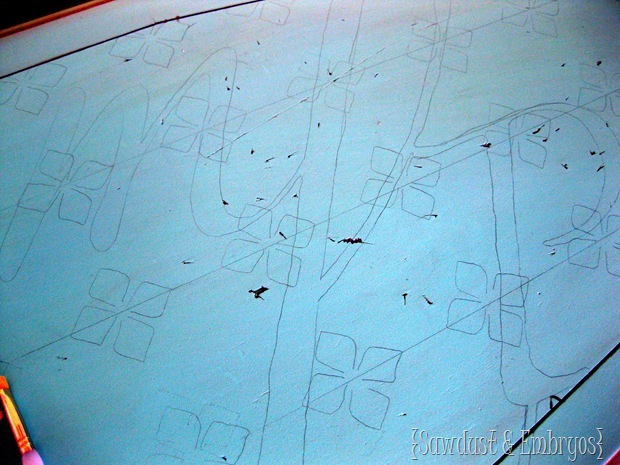
After cutting out the design with my Exacto knife, I lightly traced the design with a pencil.
THEN! I used Molly’s MLP Logo, printed it on a transparency, projected it onto the top surface, and traced with a pencil as well!
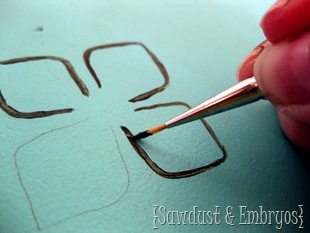
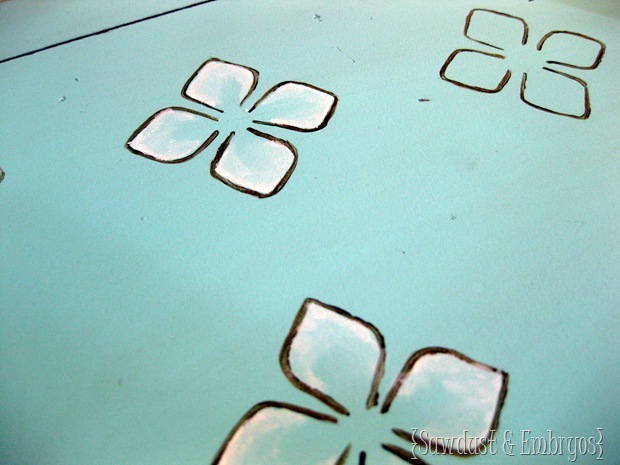
And then I got busy hand-painting all those little clover-designs! It was a time-consuming project, but always super fun for me!
 |
 |
And after I got the MLP logo painted on in the same Chocolate Brown, it looked like this! (it looks black in this pic, but it’s really brown!)
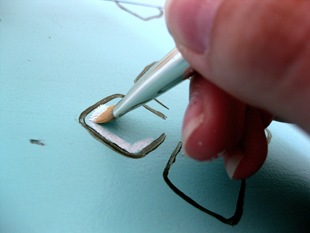
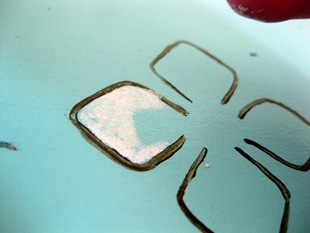
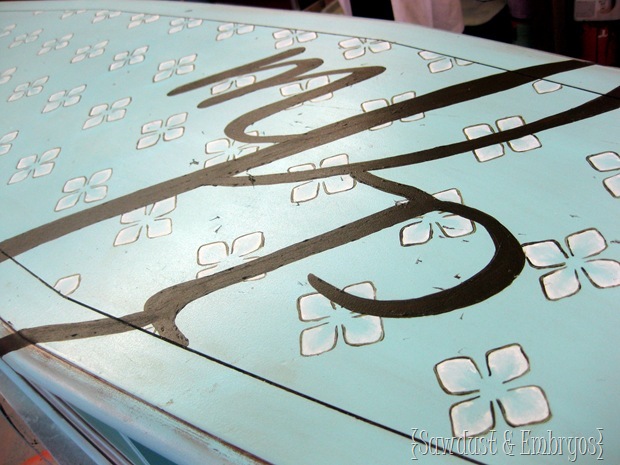
The clovers were fun, and added that extra touch that I was wanting, but it still seemed like something was missing. So I decided to go at it with a little white paint. I dabbed some on in each ‘petal’ and smeared it a bit with my finger.
 |
 |
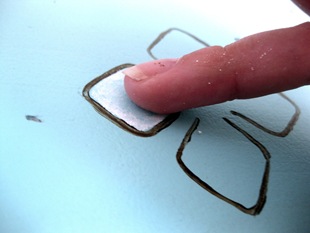 |
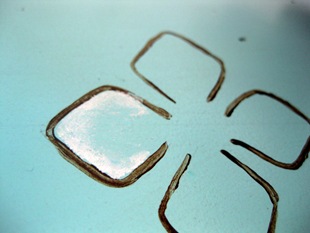 |
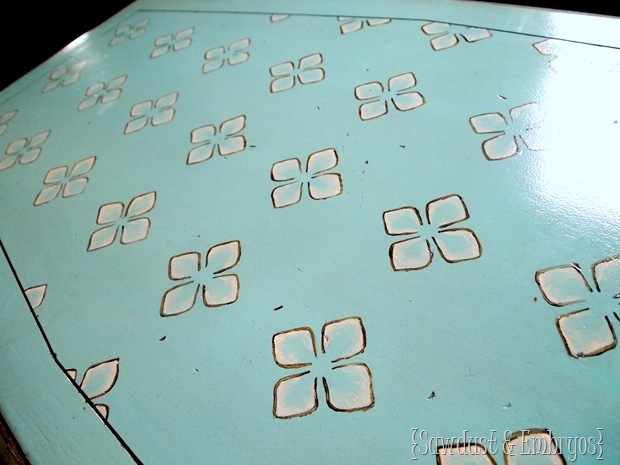
LOVE this so much better!!!
We sealed with Minwax poly HIGH GLOSS to make her so sleek and shiny, not to mention super durable.
I can’t wait to see this pretty lady all up in Molly’s new sweet studio.
This coffee table has had several identities in it’s lifetime, but this last one is by far the best! And I’m SO glad my sentimental coffee table is going to a friend!
If Molly lets me, I’ll be sure to get pics of this baby all up in her studio (which, if I’m lucky, I’ll get to help decorate!!). Stay tuned for that!
~Bethany
*this post contains affiliate links





GREAT Job! I liked how you added the coffee tables bio. beforehand and your trial and errors w it 😉
The finished piece looks amazing!!
Love it! Much better than it’s previous state. Molly will LOVE IT! It is also a good size for little kids climb on! Good entertainment for them!
Cleaver, I love it. Babies, need pics of babies! ha. Mary in NY