• Home
  • About
  • Tutorials
  • Recipes
  • Furniture
  • Contact
    • Contact
    • Infertility
    • Disclosure
    • Privacy Policy
  • Shop
    • Facebook
    • Instagram
    • Pinterest

Reality Daydream

The Dream is Free, The Hustle Sold Separately

  • Home
  • About
  • Tutorials
  • Recipes
  • Furniture
  • Contact
    • Contact
    • Infertility
    • Disclosure
    • Privacy Policy
  • Shop

Bathroom Vanity Painting Treatment Tutorial

May 13, 2013 by Bethany Sy

Top of the mornin’ to ya! I’m feeling pretty chipper today, knowing that we have GORGEOUS weather ahead of us this whole week. On the agenda? Plant the veggie garden! Nick is outside tilling as.we.speak. We’re a little behind, I know… but we like to break the mold.

SPEAKING of mold…

Just kidding. No mold that I know of.

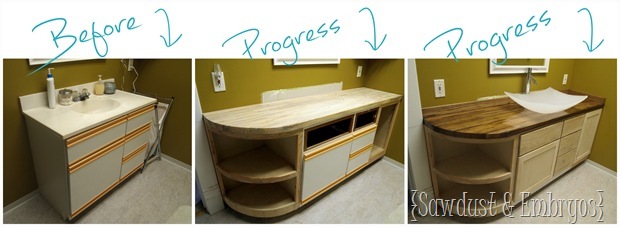
So yo, I painted the vanity base in the upstairs bathroom, and did a little ‘treatment’ to it that turned out fabulous. But before I break it down, let’s review and reminisce together over the progress photos of said vanity. Cue the music (think Enya).

upstairs bathroom vanity2

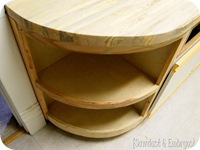
As you can see, we extended the vanity to fill the whole wall and maximize what limited space we have. This added tons of storage, and well… it just looks better. We also built a butcher block counter (tutorial in the works!), installed a new faucet, and vessel sink! This is where we left you last…

P5010119

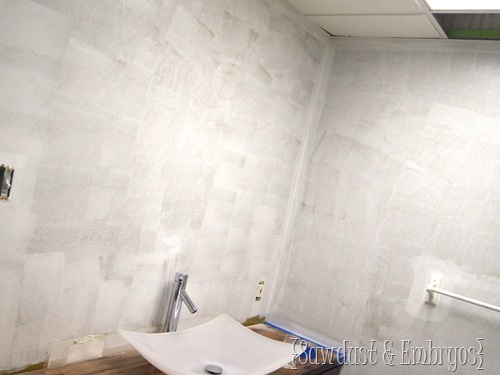
Since then, I primed the g-awful putrid green walls, because it was cramping my style and preventing me from enjoying our sweet vanity to the fullest. Still haven’t decided between white walls and light gray, but there’s no rush just yet. I’d much rather live with streaky primer for a time.

P5100216

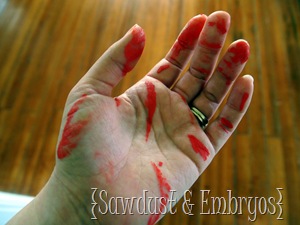
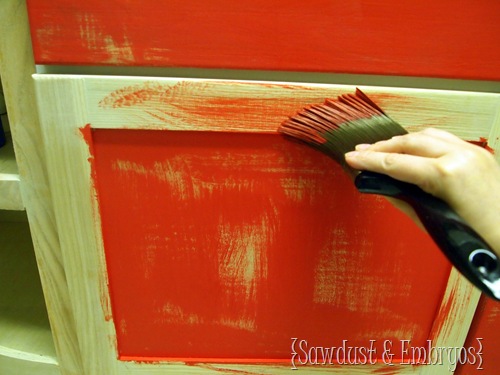
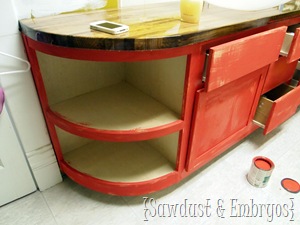
After sanding the base baby’s-butt-smooth, I dry brushed on some BRIGHT RED paint… being as careless as possible and leaving wood showing through here and there.

P5090200

I’m not a red kinda girl, and for a split second, I thought about leaving it (!!!).
P5090203 P5090207

But instead, I dry-brushed on some gray (leftover from my hallway stencil project), and left some of the red peeking through here and there.

P5110219

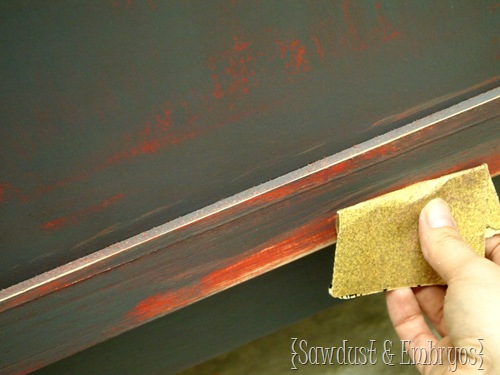
After letting that dry, I went at it with some 100 grit sandpaper. I just wanted to smooth out any brush-strokes and rough up the edges and corners where ‘normal’ wear and tear would happen on an old piece of furniture.

P5110225

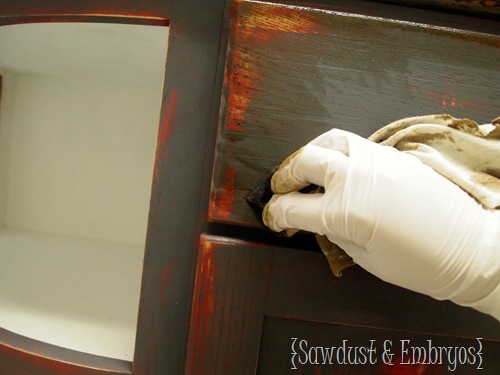
I took a rag, dipped it in Rustoleum Golden Oak Stain, and wiped it on to make the spots where there’s exposed wood look more aged, and just generally make the whole piece look more weathered and authentic. Then I wiped the stain off with a dry cloth.

P5120336

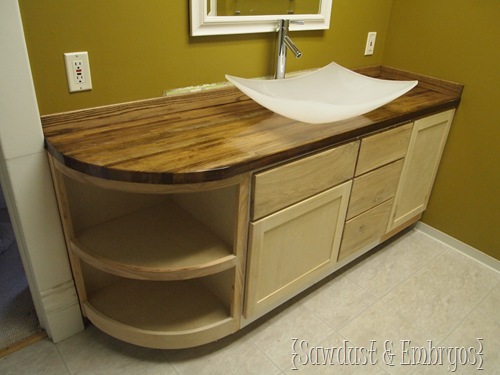
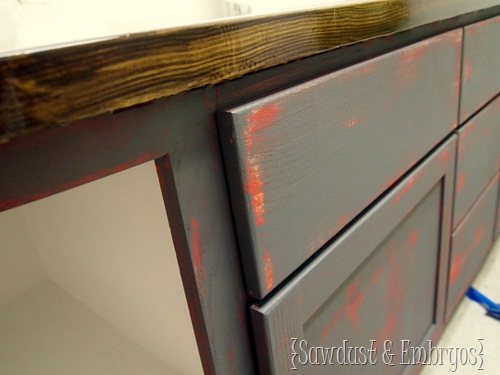
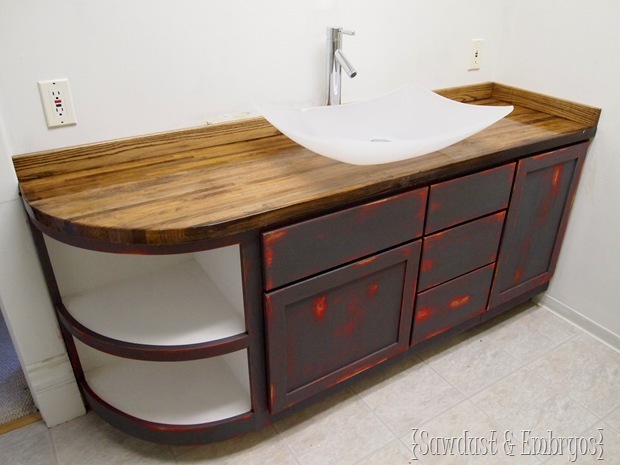
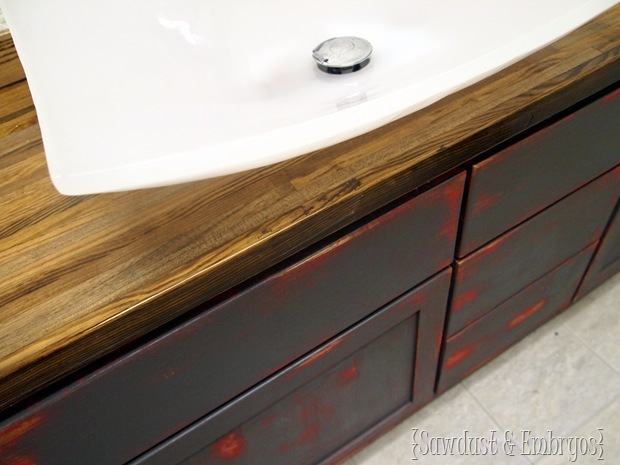
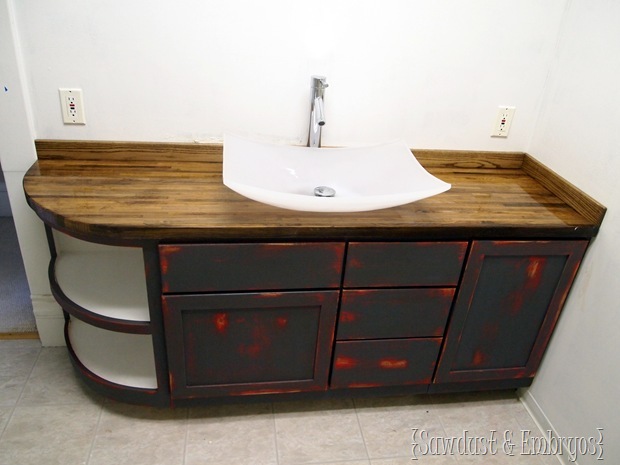
I love how the the butcher block countertop is so glossy and chic, and the base is so rugged. Contrast at it’s finest!

Dry-brush and stain for a weathered rustic look {Sawdust and Embryos}

Glossy Butcher block counter with rugged dru-brushed base {Sawdust and Embryos}

I’ve got an idea for the backsplash that I’m 95% crazy-excited about, and 5% terrified that it’s not going to turn out as planned. How’s that for a cliff-hanger?

Bathroom Progress- glossy butcherblock counter and weathered dry-brushed base {Sawdust and Embryos}

We’re loving how the bathroom is coming together, and I’m so glad that the construction part is over with so I can participate! And Nick is enjoying the break and spending his time in the garden and chillin with the babes… SO CUTE.

Sawdust and Embryos

To catch up on our bathroom vanity progression, check out these posts!

Extending the Vanity

Custom Bathroom Vanity and Butcher Block Counter {Sawdust and Embryos}_thumb

Installing a Faucet

Simple Instructions for Installing a Vessel Sink Faucet {Sawdust and Embryos}_thumb

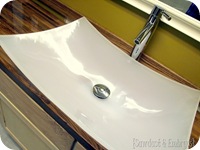
Vessel Sink

Sink {Sawdust and Embryos}

Bethany {Sawdust and Embryos}

Related:

  • Master Bathroom Update

    If you've been following along on the 'gram or Youtube, you know we've been turning…

  • Master Bathroom Reveal

    WHAT A JOURNEY! What a labor of love! What a pain in the booty! I…

  • Centerpiece Tray Tutorial
    Wooden Centerpiece Tray Tutorial

    I have a fun and easy building project for you! And while I do end…

About Bethany Sy

Nick and Bethany Sy are the creative free-spirits behind DIY/Lifestyle blog, Reality Daydream. They recently purchased a historic mansion and have been documenting the ups and downs of renovation and making this home their own... all while sharing tips and tutorials along the way! When they found themselves in the trenches of infertility, they started a journey that would prove to be their most important DIY project ever, and have 3 beautiful girls to show for it. <3

« Life Update.
brb »

Comments

  1. 14

    eVIE says

    May 19, 2017 at 8:37 pm

    I am replacing the broken jars with colored pebbles from the dollar store

    Reply
    • 15

      Bethany Sy says

      May 20, 2017 at 11:15 am

      Oooo COOL! Send me pics when you’re done!

      Reply
  2. 16

    SC Dean says

    May 28, 2015 at 11:59 am

    Did you replace the doors on the vanity?

    Reply
    • 17

      Bethany @ Sawdust and Embryos says

      May 30, 2015 at 7:06 am

      Yes we did build new door/drawer faces to match the addition on the vanity.

      Reply
  3. 18

    Nicole Goodwin says

    May 16, 2013 at 7:07 pm

    I get such a kick out of your new sink, it doesn’t even look attached. When I saw the pic I thought, how does the water drain if it’s just on top of the counter 🙂 So fancy!

    Reply
  4. 19

    Kenz @ Interiors By Kenz says

    May 15, 2013 at 4:09 pm

    It looks great 🙂 You did a great job! I’m really excited to see the mystery backsplash. I love seeing your vision come together.

    Reply
  5. 20

    Kristin says

    May 15, 2013 at 3:51 pm

    The vanity looks awesome! Love it =)

    Reply
  6. 21

    Anonymous says

    May 14, 2013 at 4:49 pm

    That you love it is all that matters! For me, I’m not into the shabby chick look, but I appreciate the how-to about it all anyway.

    Reply
  7. 22

    Maite - vitoma says

    May 14, 2013 at 11:06 am

    Excelente trabajo.
    Bss.

    Reply
  8. 23

    Anonymous says

    May 14, 2013 at 7:43 am

    I apologize in advance if I hurt your sentiments but I am not digging the combination and distressed treatment AT ALL!! In general, I am so over the distressed shabby chic look. I was secretly wishing you would have done it an emerald shade.. to offset the utterly butterly gorgeous countertop.

    xoxo

    Reply
  9. 24

    Mindy Schaper says

    May 14, 2013 at 1:56 am

    Hm… Definitely an unusual combo. Enjoy it! The counter looks great and the sink is fantastic.

    Reply
  10. 25

    Meredith says

    May 13, 2013 at 9:55 pm

    Where did you get the new doors for the vanity?

    Reply
    • 26

      Beth @ Sawdust and Embryos says

      May 13, 2013 at 11:09 pm

      Nick built them custom!! He’s so dreamy. 🙂

      Reply
  11. 27

    Terry Moore says

    May 13, 2013 at 9:18 pm

    I love the paint treatment. I think a very pale gray wall color would set it all off nicely, but then again, I don’t know what your backsplash is going to look like. Have you checked out how we fixed up a rental property on my blog yet?

    Reply
    • 28

      Beth @ Sawdust and Embryos says

      May 13, 2013 at 11:10 pm

      Love your kitchen!!!!!

      Reply

Leave a Reply Cancel reply

Your email address will not be published. Required fields are marked *

Recipe Rating


  • Facebook
  • Instagram
  • Pinterest
  • RSS
  • YouTube
We are Nick and Bethany! Welcome to our blog, Reality Daydream where we share our DIY adventures!
Click here for lots of art projects using only wood stain on furniture!!
Please feel free to share or pin my posts! You're welcome to use ONE of my images (no collages or pinnables) with a link back to the corresponding post. Please do not edit or crop that single image in any way. Improper use of my photos, ideas or words is a violation of copyright. Thank you!

Categories

Attention: Almost any do-it-yourself project involves risk of some sort. Your tools, materials, and skills will vary, as will the conditions at your project site. Reality Daydream has made every effort to be complete and accurate in the instructions of the plans on this website. Reality Daydream will not assume any responsibility or liability for damages or losses sustained or incurred in the course of your project or in the use of the item you create. Always follow the manufacturer’s operating instructions in the use of tools, check and follow your local building codes, and observe all commonly accepted safety precautions.


Copyright © 2025 · Modern Blogger Pro On Genesis Framework · Customizations by Sweet Theory Designs · Privacy Policy · Log in