One of my fave blogging buddies, Stacy from Not Just a Housewife, has a monthly series where she sends a couple bloggers the same exact item to do with whatever they want. Each month it’s a different item, and each month it’s different set of bloggers… and each month the outcome of people’s creativity always astounds me! Stacy calls it Styled X3.

So obviously with such a fun premise, I’m super excited to be a part of this collaboration this month! I was so anxious to see what item would show up in the mail! And then it came… THE WOODEN BOWL! (aff link)
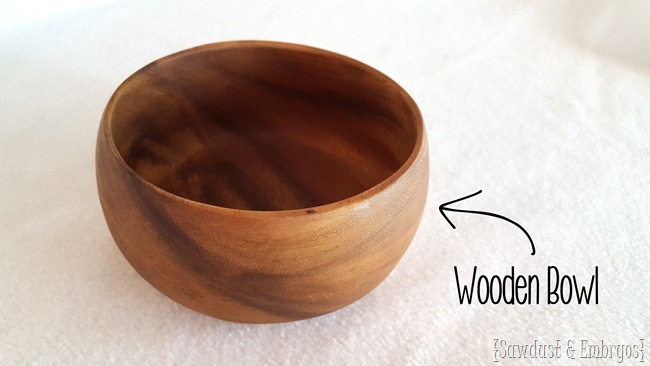
The ‘challenge’ isn’t supposed to be complicated… just find a unique way to use (or ‘style’) the piece in your home.
Well the same day this bad boy arrived in the mail, my bestie Dana showed up with margs to watch Big Brother (pleeease say you watch too! I want Johnny Mac to win!), and we stayed up late into the night laughing and brain-storming all kinds of crazy ideas of what I could do with this little wooden bowl.
When Dana and I ‘brainstorm’, we call it Brain Vom. We should totally Periscope next time this happens… me-thinks it would be hilarious to watch.
I could list off all the different hair-brained ideas we had for this bowl, but I’m just going to tell you that I decided to keep it somewhat simple to keep with the premise of the challenge. Cutting it up into a million tiny wooden pieces to make a mosaic backsplash for my girls’ play kitchen just seemed like it wouldn’t fit the theme of the collaboration.
But I couldn’t just leave it ‘as is’ and throw a succulent in it (of course you know that I have NOTHING against succulents… I actually have a fun-slash-cute project coming up that involves succulents!).
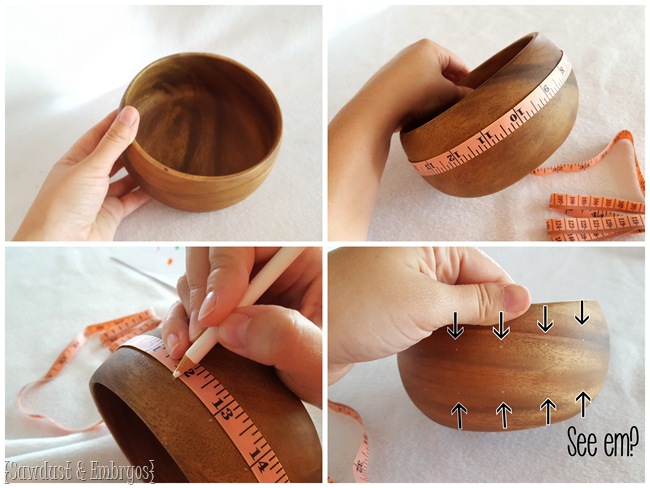
So let’s do this, eh? I took one of those fabric tape-measure thingy’s and wrapped it around the bowl about an inch from the top, and marked every inch with a white colored pencil. Then I did the same an inch below that so there were two rows of white dots right above each other. Follow?
Then I headed out to the garage to get a little destructive!
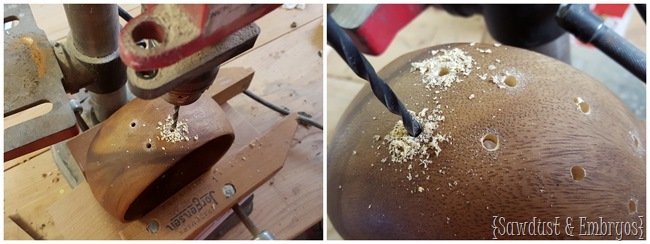
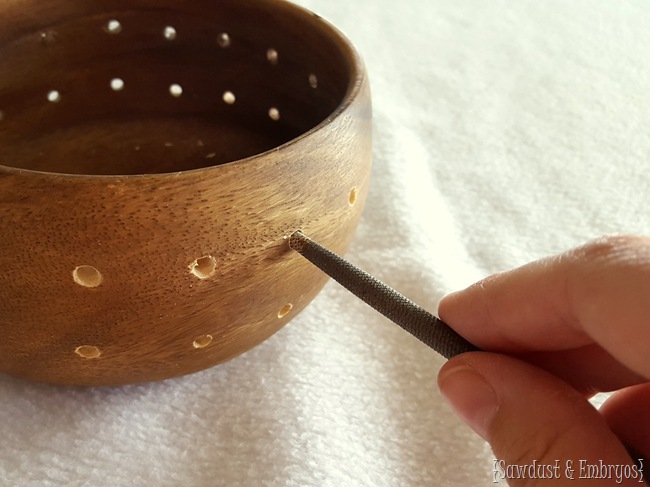
As you can see, I used a drill press (with 1/8” bit) and had the bowl in a clamp to keep it from walking away from me. It felt a little wrong the first couple holes I drilled… but then it was just AWESOME.
If you follow my hubs’ blog (The Sawdust Maker), you know that we like to play around with different types of wood… so when I saw that this was ‘Acacia’ I was pretty excited! So exotic sounding! And look how much contrast there is in the varying woodgrain.
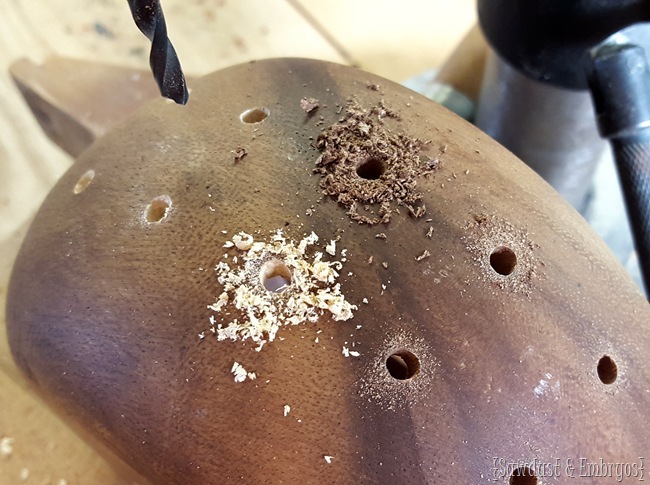
I used a rounded file to ‘sand’ the holes and smooth out the rough edges a bit.
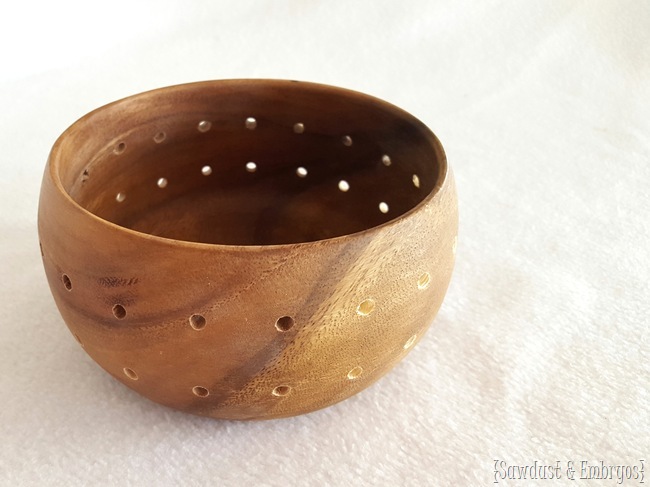
Next it was time to play around with some ribbon? Lace? Twine? I was having wayyy too much fun.
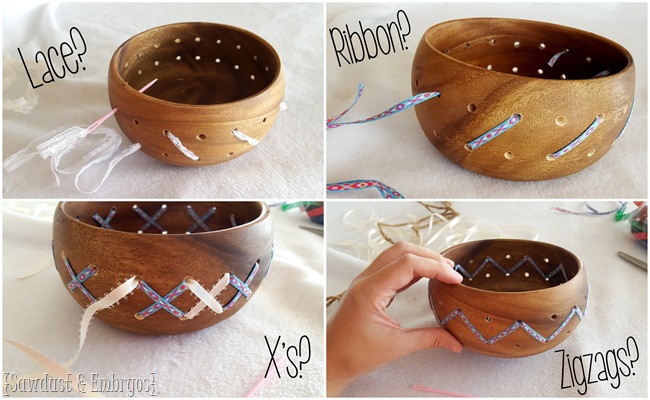
Annnnd I wasn’t the ONLY one having fun with my ribbon stash.
Thank goodness for yard sales with cheap bags of yarn, lace, beads, doilies… YOU NAME IT. My stash is extensive. And it needs to be organized asap. But that’s another post for another day.
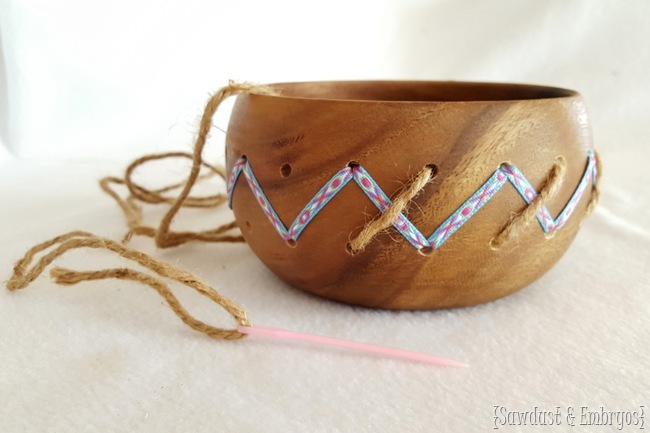
The following is the ribbon / twine combo I decided on in the end. I just used a plastic needle to weave them in and out to form these contrasting zigzag patterns!
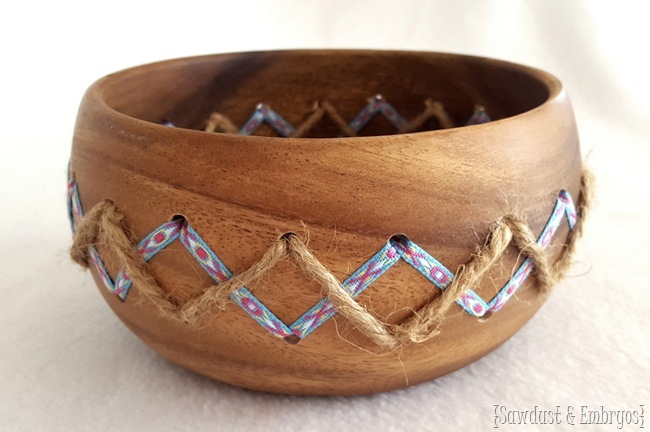
Of course I’m sure you’re realizing by now that these modifications are just embellishments to basically make the wooden bowl have a creative vibe and give it some personality and flare. But I wanted to use this bowl to store some art supplies, so I needed an insert to help keep things upright inside. I thought about using toilet paper rolls… but that seemed a little ghetto.
But we had some PVC pipe lying around in the garage that would do just fine! It was a little smaller than I would have preferred… but it works! Huzzah!
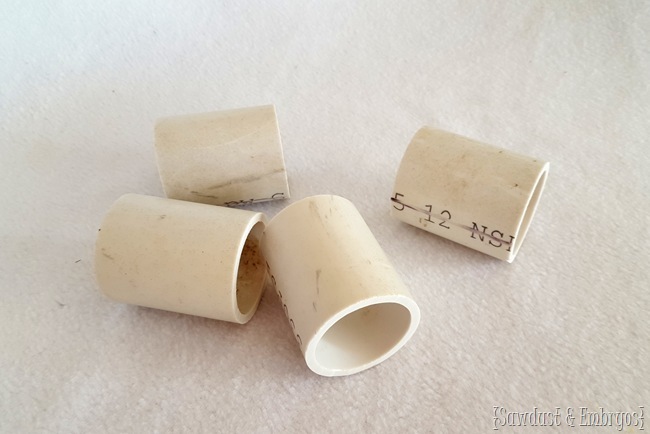
I used some hefty 3M double-stick adhesive tape to affix these 4 tubes together like so.
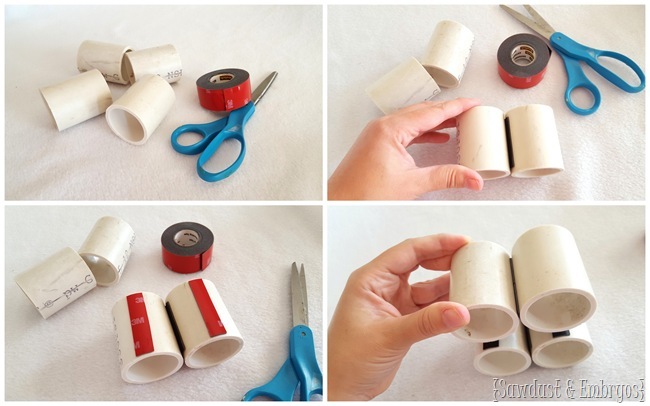
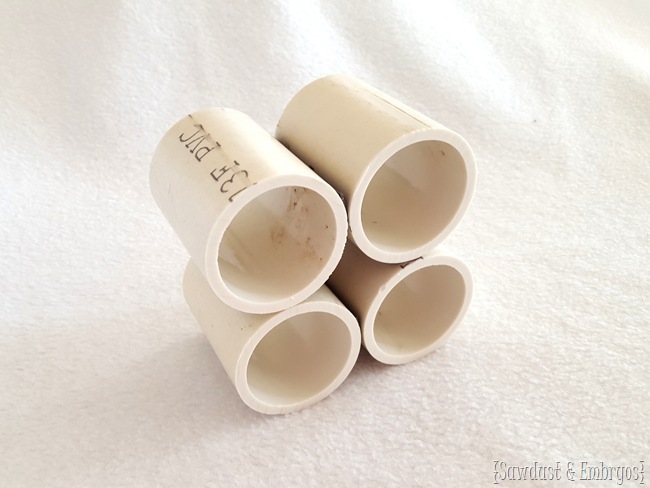
Then I just popped that sucker into the wooden bowl!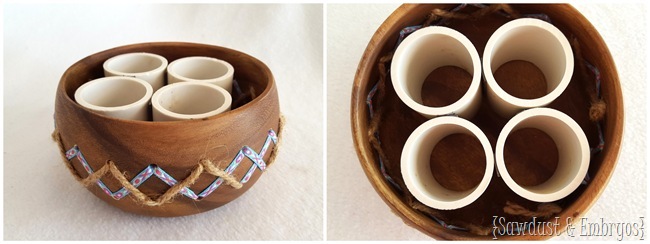
I thought about using more of the double-sided adhesive to affix the PVC ‘unit’ to the bottom of the bowl, but I knew I might want to take it out and use the bowl for a variety of things. Plus, it stayed put like a champ after being loaded up with art supplies.

I first put in the girls’ cute little crafting supplies, but I quickly decided THIS BABY IS MINE! Allll mine. Mine mine mine.
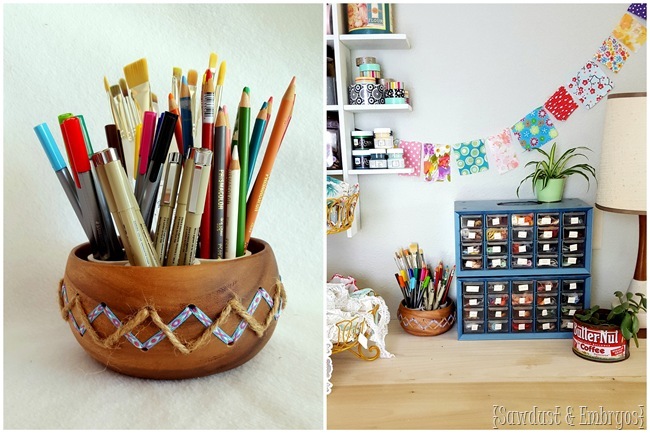
No matter what’s being organized or displayed in this little guy, I think we can all agree he’s pretty cute. No?
What would YOU have done with this little wooden bowl if it showed up on your doorstep WITH NO INSTRUCTIONS WHATSOEVER?!?!
Be sure to check out what Stacy (Not Just a Housewife) and Rebecca (The Crafted Sparrow) did with the exact same wooden bowl! Isn’t it amazing how our creative minds are so unique and… creative. Wow, good thing I’m not a ‘creative writer’, because that last sentence wasn’t very creative.
I’ll stop now.


Oh this is a lovely idea. Very inspireing, the twine and the ribbon combination works so well.
Oh and also your room is so lovely and colourful…. I love it!”
Thank you! I <3 color!
Love it! Yours is the best…just saying. 😉
Haha! 😉 you’re too kind
woot woot! BRAIN VOM!!! super fun night!! GO JMAC!!!!! coolness on the bowl!! love the twine & ribbon contrast with the beautiful wood of the bowl!!
You nailed this one Beth! I would have stopped with the holes and the burlap ribbon, thrown some balls in it and called it good. Your brain thinks at a much higher level than mine does!!! Love it!
Lol Renee! Thanks 🙂 …and there’s nothing wrong with your idea either 🙂
That is very cute. I would have taken it and set it on a table…haha just kidding. I don’t know, I’m not that creative, but you did a great job.
p.s. I want Johnny Mac to win too…yay!
Yay for Johnny Mac! 🙂 Do you think they’re going to back-door Vanessa this week?!
I think Steve might be too scared to do it. They should have done it so many times or else she will definitely win, but that would make it exciting if they do.
What a neat idea – I just found you from Stacy’s blog. I love it here- Subscribing!
Bethany You are very creative!
Carole @ Garden Up Green
Yay! Welcome! 😉