• Home
  • About
  • Tutorials
  • Recipes
  • Furniture
  • Contact
    • Contact
    • Infertility
    • Disclosure
    • Privacy Policy
  • Shop
    • Facebook
    • Instagram
    • Pinterest

Reality Daydream

The Dream is Free, The Hustle Sold Separately

  • Home
  • About
  • Tutorials
  • Recipes
  • Furniture
  • Contact
    • Contact
    • Infertility
    • Disclosure
    • Privacy Policy
  • Shop

DIY Industrial Christmas Tree Ornament

December 3, 2013 by Bethany Sy

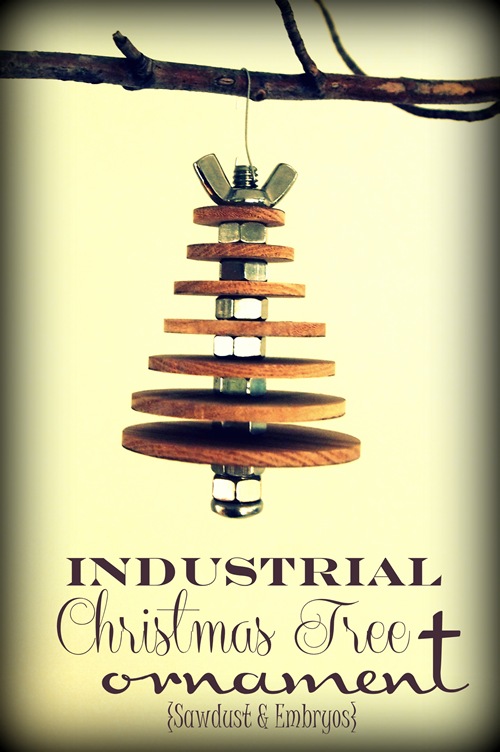
You may have guessed from our last post that we’re definitely in the holiday spirit! So when Lowes challenged us to create a DIY ornament… it felt fitting that it should have an serious industrial feel, while still being festive and cheerful!

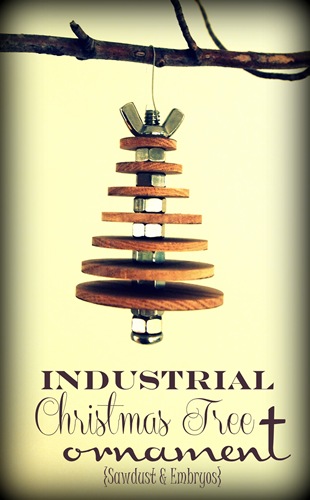
So today we’re going to show you how to create your own little industrial tree ornament using very basic hardware and wood!
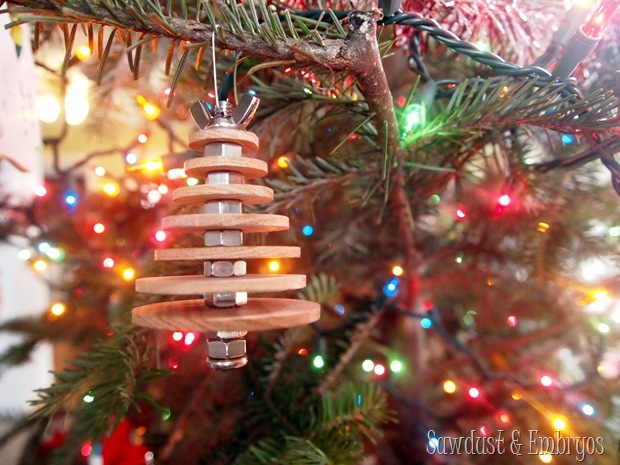
Industrial Christmas Tree Ornament... completely customizable! {Sawdust and Embryos} DIY Industrial Christmas Tree Ornament... using basic hardware and wooden discs {Sawdust and Embryos}

All we needed for this project was:

  • 1 3” bolt
  • 8 nuts
  • 1 wing nut
  • small slab of 1/8” wood

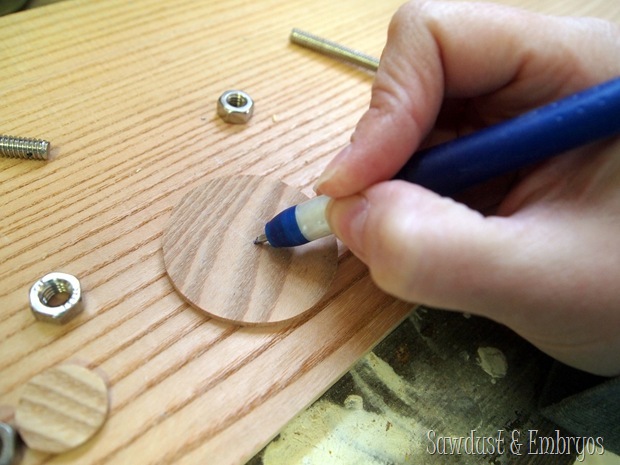
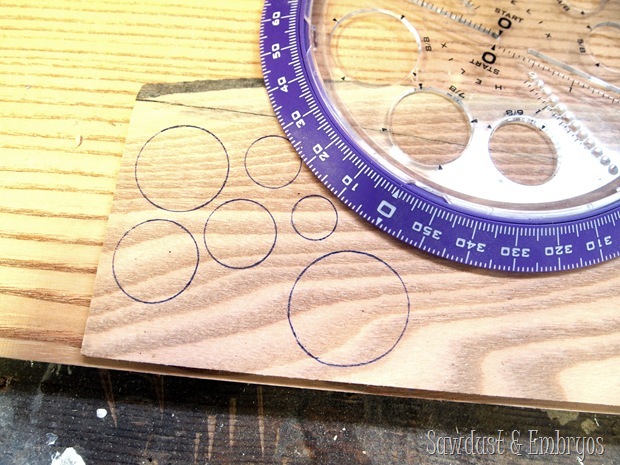
Then I traced out a bunch of circles in various sizes. You could use a compass for this, or trace circular things that you have around the house. I had this handy little plastic thing that had circle cutouts which was perfect!

Instructions for making your own Industrial Tree Ornament {Sawdust and Embryos}

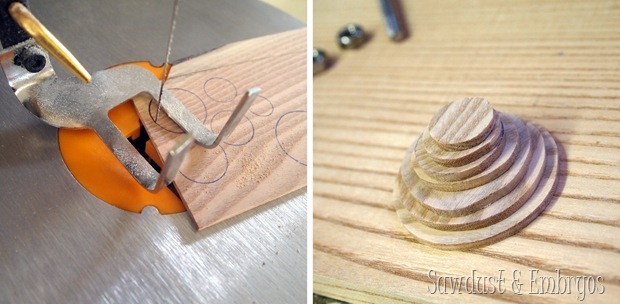
Then I cut these circles out with my scroll saw.

DIY Christmas Tree Ornament {Sawdust and Embryos}

Meanwhile, Nick was helping me prep the bolt to be the ‘tree trunk’! He used a nail set and a hammer to make an indentation where we was planning to drill (a hole to string up the ornament). It would have been better to use a punch for this, but we didn’t have one… so we just went with it. Then, using the drill press and a 1/16” titanium coated bit, he drilled straight through!

circle tree ornament1

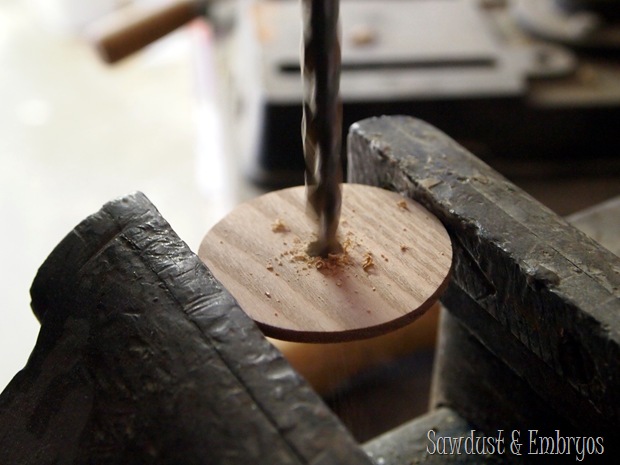
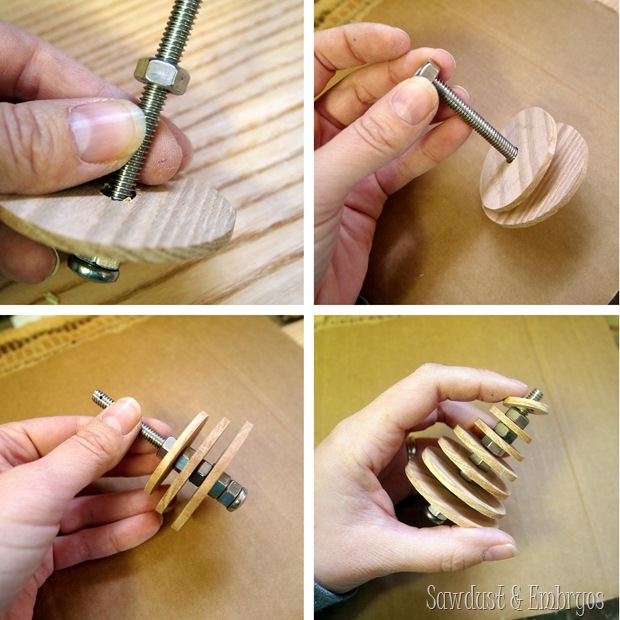
I marked the center of each disc of wood (not exact, just eyed it) and drilled with a 5/16” bit just wide enough to slide those suckers right onto the bolt!

Create an intustrial tree ornament using basic hardware! {Sawdust and Embryos}

DIY industrial tree ornament using hardware and discs of wood! {Sawdust and Embryos}

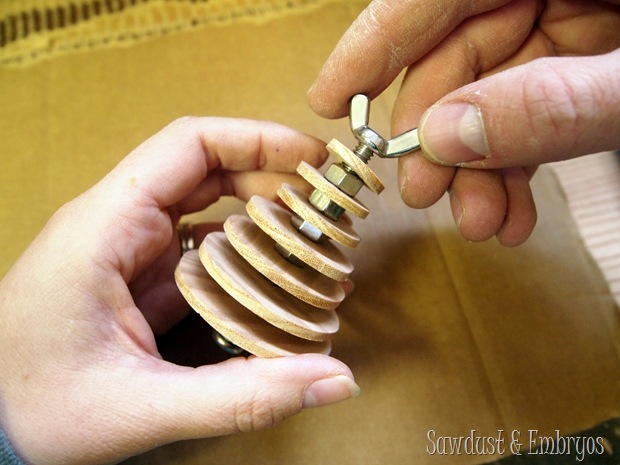
We put two nuts at the bottom of our ‘tree’, and then largest to smallest discs.. alternating each one with a nut to space them out.

Make your own industrial christmas tree ornament using basic hardware and wood discs! {Sawdust & Embryos}

Finally, we topped ‘er off with a wing nut at the top to hold everything in place and act as the ‘star’ at the top! *in the pic below, can you tell which hand is mine and which is Nick’s? HINT: I moisturize

Make your own Industrial Christmas Tree Ornament using basic hardware and discs of wood {Sawdust and Embryos}

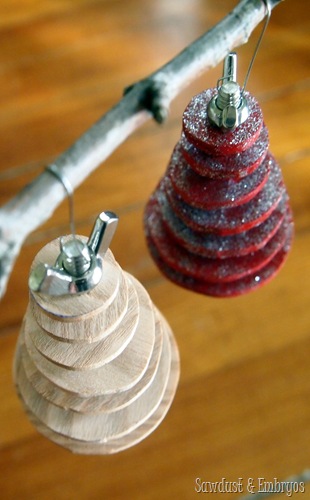
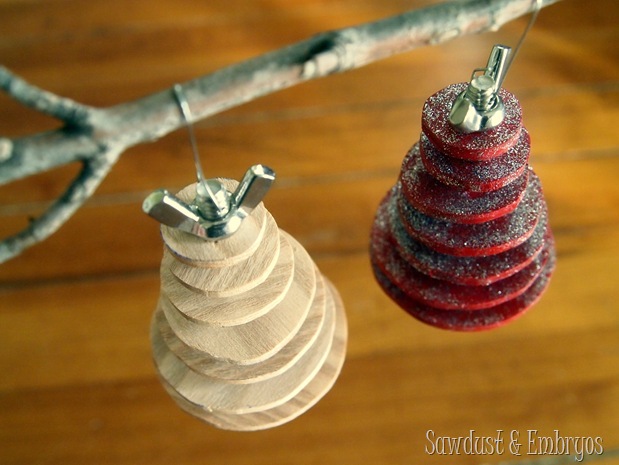
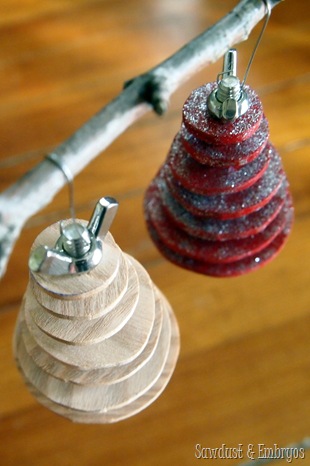
For kicks, we made a second one and spray painted the discs glittery red before assembling with the nuts. You could do a combination of colors, or even alternate painted discs with wood discs. Or do different stains and make it ombre… THE OPTIONS ARE ENDLESS!

Make your own DIY Industrial Christmas Tree Ornament! {Sawdust and Embryos}

I think I might paint one orange for Della since she DESPERATELY wanted the orange (dead) Christmas tree when we went to cut down our tree last week. HA!

I love combining shiny glam with a rugged industrial style. And who doesn’t love getting a gift that’s made with your own loving hands? NOBODY. That’s who.
DIY Industrial Christmas Tree Ornament... using basic hardware and wooden discs! {Sawdust and Embryos}

DIY Industrial Christmas Tree Ornament... using basic hardware and wooden discs {Sawdust and Embryos} Industrial Christmas Tree Ornament... completely customizable! {Sawdust and Embryos}


Are you guys doing any Christmas crafting or ornament-making? I thought about making a paper garland this year so the girls can tear one off each day in anticipation for Christmas Day… but I decided to wait till next year. I think they’ll understand it and be more excited about it.

Have an inspired day!Sawdust and Embryos


Disclosure! we’re SUPER HONORED to have been chosen as a “Lowes Creator”, and were provided with a Lowes gift card to help with the cost of supplies… but as always, all ideas, thoughts and opinions are 100% our own. Because that’s how we roll yo.

Lowes Creative Blogger {Sawdust and Embryos}

You can also sign up to receive a free Creative Ideas Magazine, which is loaded with inspiration! There’s also a magazine app so you can have inspiration on the go!
Related:

  • Plant a Tree for Arbor Day!

    I, for one, LOVE trees. When we bought our home, there were 4 trees on…

  • DIY fabric-wrapped bulletin boards
    DIY Fabric-Covered Bulletin Tutorial

    My kids are getting to the age where they want to tape pictures, cards, notes...…

  • Iowa Gift Guide
    Shop Local - Iowa Christmas Gift Guide

    Friends! The holidays are sneaking up on us, aren't they? This year, more than ever,…

About Bethany Sy

Nick and Bethany Sy are the creative free-spirits behind DIY/Lifestyle blog, Reality Daydream. They recently purchased a historic mansion and have been documenting the ups and downs of renovation and making this home their own... all while sharing tips and tutorials along the way! When they found themselves in the trenches of infertility, they started a journey that would prove to be their most important DIY project ever, and have 3 beautiful girls to show for it. <3

« Christmas Tree Traditions
Recipe for Red Velvet Brownies »

Comments

  1. 8

    Katie @ On the Banks of Squaw Creek says

    December 14, 2013 at 3:41 pm

    Those are so cute! (And HILARIOUS that Delia wanted the dead tree! Leave it to kids to see beauty in everything!)

    Reply
    • 9

      Katie @ On the Banks of Squaw Creek says

      December 14, 2013 at 3:41 pm

      Oops – sorry for the mispelling – Della!

      Reply
  2. 10

    Stephanie @ Sandpaper and Glue says

    December 9, 2013 at 7:20 pm

    so cute!! I think in the holiday off season you’re going to need to stock up on all these awesome ornaments so the shop will be ready for next year… I love these and the states!!

    Reply
  3. 11

    Ami A in LA says

    December 9, 2013 at 5:48 pm

    Love the ornament – if you stick a teeny tiny ball (foam?) on end of the bolt, the wing nut becomes angel wings & you really have an angel on top of the tree. 😉

    Reply
  4. 12

    Leanne says

    December 9, 2013 at 1:11 pm

    Starting this project later today!! Can’t wait!

    Reply
  5. 13

    Mindy says

    December 5, 2013 at 10:38 pm

    You guys are awesome. End of story.

    Reply
  6. 14

    Kelley says

    December 4, 2013 at 11:53 am

    Love it! Now if I can only find time with all my other crafts to make one before Christmas!

    Reply
  7. 15

    Meagan Dobbs says

    December 3, 2013 at 2:31 pm

    What a clever, creative idea! You guys are awesome… and it’s been WAY too long since we’ve hung out!

    Reply
  8. 16

    Kenz @ Interiors by Kenz says

    December 3, 2013 at 12:12 pm

    Love the mix of the wood and hardware! These are so creative! I like the wingbolt at the top! These are so so cute. Great project!

    Reply

Trackbacks

  1. 16 Cool Wooden Christmas Tree Ideas | Guide Patterns says:
    September 8, 2015 at 12:29 pm

    […] Industrial Christmas Tree Ornament […]

    Reply
  2. DIY Industrial Christmas Ornament | MAKE says:
    December 25, 2014 at 9:01 am

    […] get the full tutorial on this project head over to the Sawdust and Embryos […]

    Reply

Leave a Reply Cancel reply

Your email address will not be published. Required fields are marked *

Recipe Rating


  • Facebook
  • Instagram
  • Pinterest
  • RSS
  • YouTube
We are Nick and Bethany! Welcome to our blog, Reality Daydream where we share our DIY adventures!
Click here for lots of art projects using only wood stain on furniture!!
Please feel free to share or pin my posts! You're welcome to use ONE of my images (no collages or pinnables) with a link back to the corresponding post. Please do not edit or crop that single image in any way. Improper use of my photos, ideas or words is a violation of copyright. Thank you!

Categories

Attention: Almost any do-it-yourself project involves risk of some sort. Your tools, materials, and skills will vary, as will the conditions at your project site. Reality Daydream has made every effort to be complete and accurate in the instructions of the plans on this website. Reality Daydream will not assume any responsibility or liability for damages or losses sustained or incurred in the course of your project or in the use of the item you create. Always follow the manufacturer’s operating instructions in the use of tools, check and follow your local building codes, and observe all commonly accepted safety precautions.


Copyright © 2025 · Modern Blogger Pro On Genesis Framework · Customizations by Sweet Theory Designs · Privacy Policy · Log in