Hey All, Nick here.
I have been thinking a lot about wooden toys lately. I am not sure if it is because of the impact that Bethany’s Grandfather had on her family as a child (he was notorious for building toys for the grandchildren… like this dollhouse) or the fact that toys now a days are just LAME!
I have spent countless hours looking for sweet wind-up bath toys like the ones I had as a tot… only to come up empty handed. BOO!
So let’s go through this. Shall we?
The girls and I started by making a template (template is available to download here, Paddle Boat Template), using a French Curve and a little creativity. My intent was to keep it simple and keep the girls involved. Their boats were nothing more than scribbles; but they were boats to them.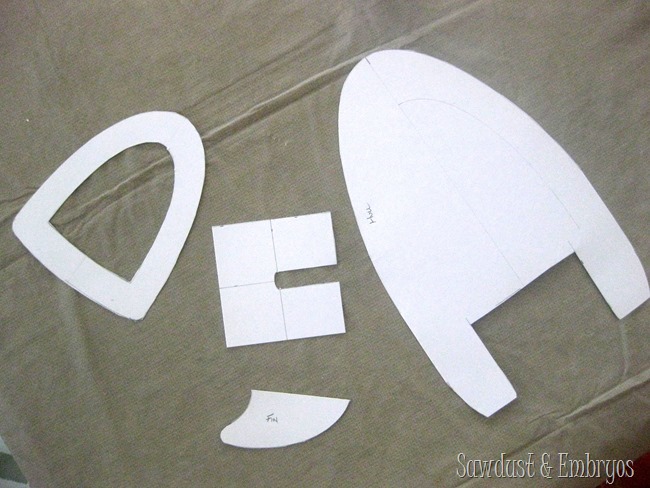
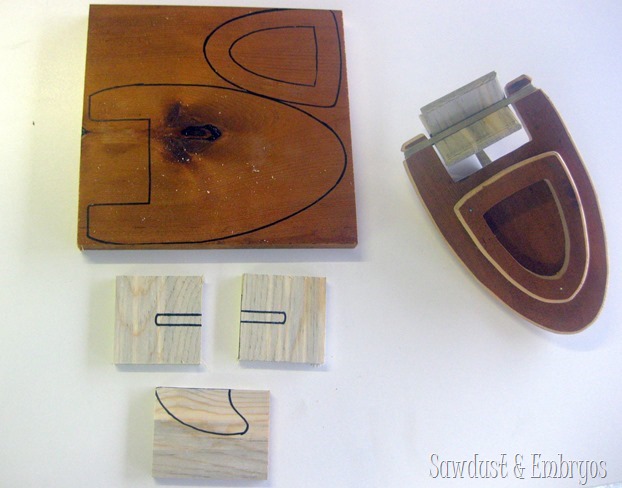
Once the templates were cut out, we drew them onto a 1” X 10” piece of scrap wood. This is actually a piece from a shelf the Bethany’s grandfather made her. The body of the boat has the 1” thickness, but the paddles and fin are made of wood that I planed down to 3/8”. You could buy 1/2” lumber though and it would be close enough.
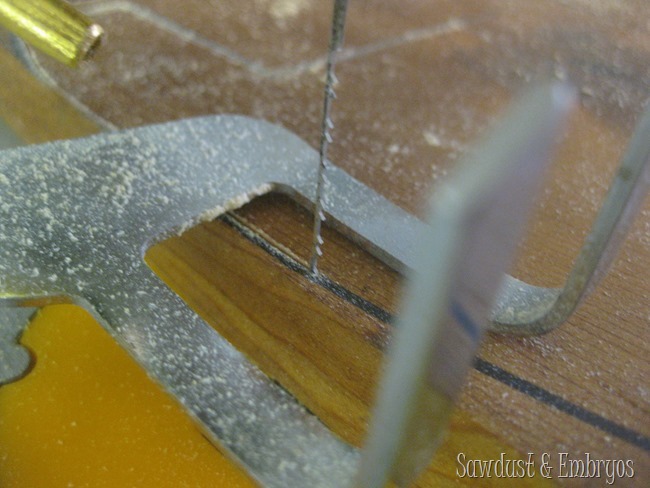
Then we cut all the pieces out on the scroll saw.
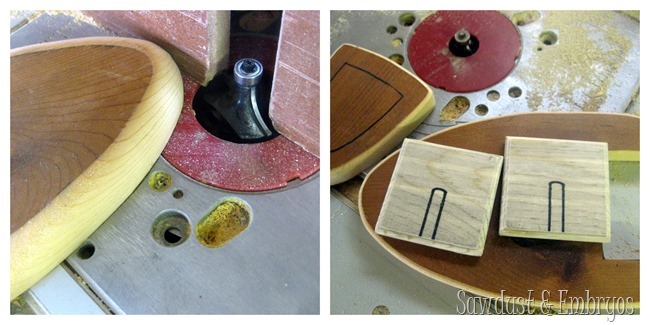
Then we routed the edges. If you don’t have a router you can plane it with a block plane, sand it, or leave it crude. It will function the same. I promise! The router bits are a 1/8” and 5/8” quarter round.
You can see I didn’t cut out the centers of these yet. I wanted to save that until after I routed to make it more rigid during routing.
I am going to share this step with you; because it was a part of the original design and looks awesome. However it was found that having a spindle for the paddle to spin on really compromises performance. I took mine out and use rubber bands.
When the girls get tired of playing with them I will but them back in for shelf value.
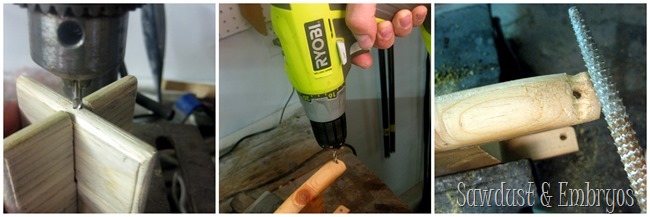
I drill a hole in the paddles just larger than a brass rod I had laying around (a metal hanger ought to work nicely). I put the paddle together to ensure the straightness of my drilling pattern.
Then I drilled larger holes in the hull of the boat 3/8” down from the deck and 3/8” forward from the stern (rear of the boat).
Lastly I used a rat tail rasp and ground a groove all around the hull of the boat. Providing a place for the rubber bands to rest.
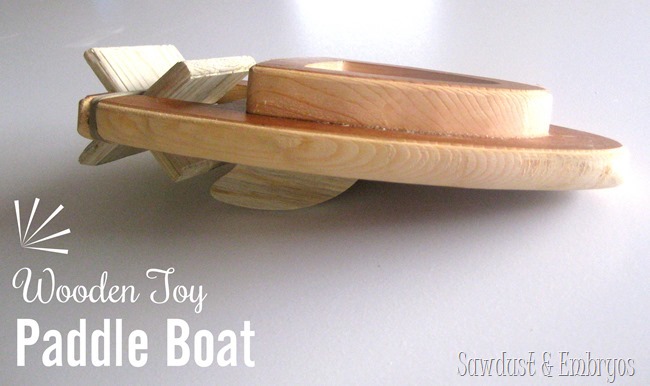
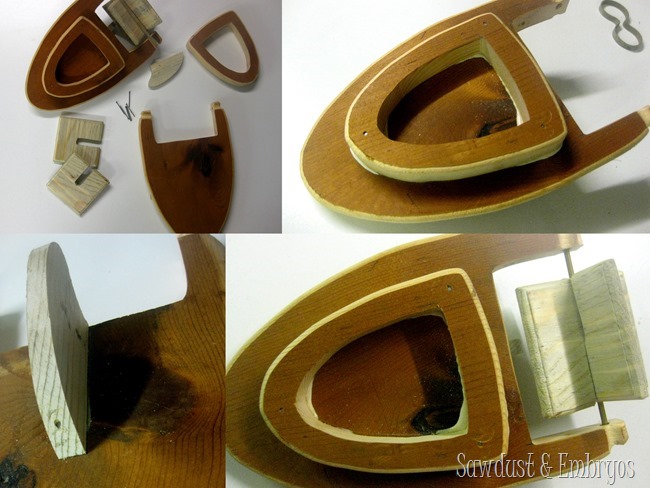
Then it was time to assemble! I glued and nailed the captains pit on using three nails, then flipped it over and glued and nailed the fin on. I put the fin on straight using a square and the other at a slight angle (to go in circles).
I then put the paddle together and shoved the brass rod through. It should spin freely. If it doesn’t don’t sweat it because after the first time in the water your going to remove the brass rod and use the rubber bands as the spindle.
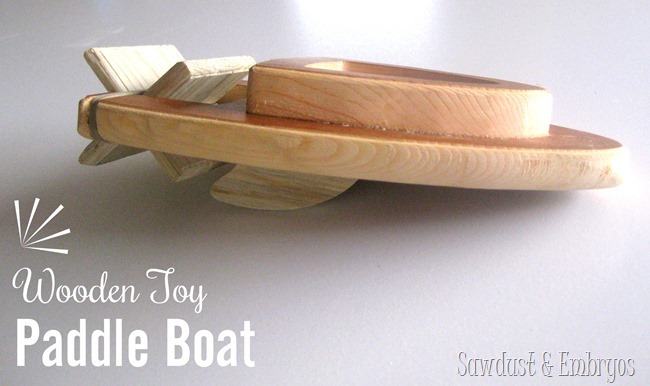
I completed this project in an afternoon and used materials I had laying around the garage.
We made a little home video of Paisley giving it a whirl in our little pool. Please don’t mind how dirty the pool is! I just mowed!
If you have children or grandchildren and are up for a challenge, you should take some time work with your kids and enjoy the memories! I know they will!
If you would like to make this boat, feel free to click the link here to download a PDF of the template I designed. Modify it however you like, and send us photos! We love to see your projects!
I can tell you that I already have plans in the making for another fun toy boat!
Stay tuned, and have a great day!


Adorable video.
How adorable was that video? Paisley is so “grown up.” I was laughing out loud. Bye, bye camera…too cute. Vikki in VA
It blew my mind watching Paisley pick up that pool noodle to haul her paddle boat back to the edge of the pool! Extremely resourceful for a 3 yr old! And those boats! Something that will have to wait for my grandchildren I guess. Tks for the share!
Thank you, Nick, for the wonderful boat plans. My grandfather and dad were great at making wooden toys, too. You are so right about the toys you purchase today. They are LAME…lucky if one of our grandkids gets to play with them once or twice before they break. My hubby has been wanting to find good wooden toy patterns so I know he says thanks too!
Your video with Paisley is soooo precious! Thank you for sharing it as well!
That video is ADORABLE. I love her little voice!
🙂 GREAT JOB!!! Sooooo fun!
That’s totally adorable!
Totally cool, Nick! Awesome Dad award to you, for sure!
That video of Paisley made me laugh out loud. I love to hear their little voices talking so big! 🙂