Hello, Hello… Nick here!
Every once in awhile, Beth will let me out of my cage to get on here and write… Woot! I think that with all the hustle and bustle of guest-posting over at 5D5W and House of Hep has tuckered her out just enough to let me try my hand at things!!!

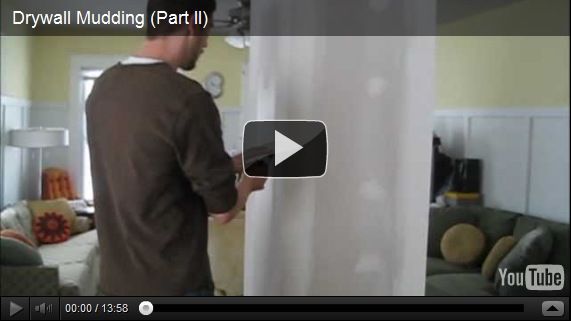
Well, I’m pleased to say that after 3 weeks in the making we can present to you Part II of our mudding drywall Trilogy (!!). If you missed the first and you’re here for the informational purposes I would recommend going back and watching Part I, But if you’re just here for a jolly good time then please sit back, relax and enjoy the show. (Or pin for later)
Without further adieu!
There you have it. Are you starting to feel like a Pro? well equipped? * pat on back, deflate head *
I should say that if you are wanting to fan the drywall even more you can go to a 12” and beyond mudding knife. I have even seen videos where people have gone to the extent of rolling on a thinned out mixture of compound to achieve a super finish.
Here at the S&E we pride ourselves with quality… and for us, fanning out to 10” will suffice in this scenario. That is a decision you too will have to decide for your project!

Do you have any questions? What projects have you been working on? What projects are in the planning stages? Do you have any projects have been in limbo forEVER?
")
Related:
-

I have a fun and easy building project for you! And while I do end…
-

My kids are getting to the age where they want to tape pictures, cards, notes...…
-

I've been needing to figure out a solution for my overwhelming plant propagation situation for…
Nice video. Say, can you do one about floating mud around mud rings that stick out of the wall? I cant find that on youtube.
Oh and Thanx!
Great tutorial guys! I so wish we would have had this when we ripped out the plaster/lathe in our living and dining rooms. We live in a 120 year old home and NOTHING is square. Our mudd/tape job was pretty novice but it is adequate I suppose. We chose super dark paint colors that seem to hide imperfections pretty well. We’ve been having a few problems since though.
I was wondering if you might have some tips for hanging drywall in an old home for future projects? It seems like nothing we did helped the drywall hang flush so there were significant uneven seems to try and hide. When we had everything painted and went to mount our tv, one of they drywall screws actually popped straight through in the middle of the wall. It’s such an eye sore. Is there a good way to repair/hide something like that?
I always enjoy this blog and my husband has loved all of Nick’s “man projects” as well! Keep up the good work guys!
Aleasha,
Great news, our house is 113 yrs old and nothing is square!
We shimmed all of our drywall so that most of the seams are flush. There is one area on the ceiling that I am kicking myself for not double checking the shims or taking the time to ensure flushness. I will post about it when we get to that point.
I am not entirely sure what happened with your drywall screw, but if you want to email, I’d be more than happy to offer some suggestions. sawdustandembryos@gmail.com
oh my heck. It is looking SO good! I can’t wait to see it all the way done! We have a nook under our stairs that was AWFUL to drywall and mud. … It’s still not done. We’re working on it. Slowly, but surely.
Hey Kenz,
Thanks for the praise, mudding drywall is definitely a time consuming, detail oriented, labor of love. We too are looking forward to seeing the finished product.
I was looking at the nook you guys are working on last week. What a great transformation of space!
P.S. I wanted to add a link to your project so others can see what an awesome job you guys are doing.
http://interiorsbykenz.com/we-fear-the-scale-for-good-reason/#more-4832
Wow, thanks Nick! I just adore you and Beth and your precious babies 🙂