So HEY! I’m super excited to have my bloggy friend Kristen stopping in to share her vast photography knowledge with us (but mostly ME… I need to learn this stuff!). I’m i love with her blog!
Hi friends! My name is Kristen and I blog at Capturing Joy. I’m so happy to be here today! I started blogging as a portrait photographer sharing photo tips and sneak peeks, but I love the diy creative world and have dipped my toe into many home projects, recipe shares, parties, fashion, and life stories as a momma to 4 as well. I’d love to have you come say hello and see my past projects!
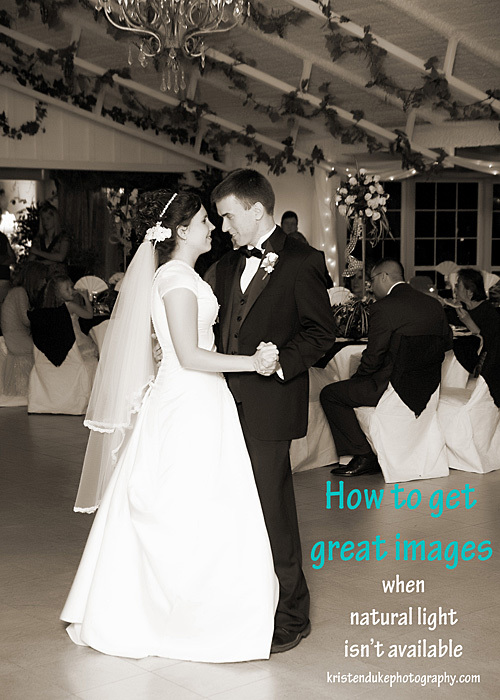
I am a HUGE lover of natural light, I love the beauty that the sun brings to my images, but when it’s late at night, great natural sunlight isn’t available. Though my camera can handle a higher ISO (1600 or so), the light from lightbulbs just doesn’t give me what I want, so I’ll pop on my flash. (If you don’t know what ISO means, check out my book, Say NO to Auto to learn how to shoot in manual settings).
I know there are many bloggers out there who are photographing product in the evening when the kids are in bed, its quiet time, and the natural light is gone. I used to photograph weddings, I had my flash waiting in my bag for the reception, when most of the lights go out for the dance time. My flash helped me capture all those fun dance moves! I should add that there is a dramatic element to images without using external flashes, but beginner to intermediate photographers generally want to SEE what is going on.
1. Dedicated flash I show people at my Say NO to Auto workshops that my Canon 5D doesn’t even have a pop up flash–not even an option for me! I have a hot shoe at the top of my camera ready to receive my Canon speedlight 580 EX flash when I need it. Sadly, I know I don’t use it to its full potential. I just pop it on, turn it ON and shoot.
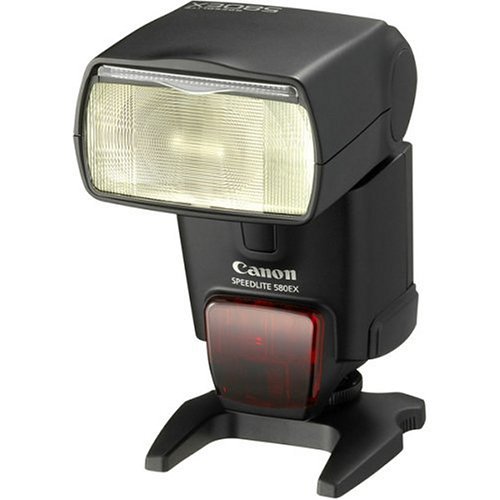
Before this, I had a 430 flash, but found it wasn’t as powerful. The cool thing about the Canon 580 (and comparable Nikon SB 800) is that it can be used as a slave, or off camera light, if you ever do set ups with backdrops and studio lighting.
The dedicated flash also has a swivel top up and down and right and left. When I use it, I am often bouncing that light off of the ceiling. Seems like an odd concept (did to me at first) but light actually bounces! Bouncing diffuses the light a bit so it isn’t so harsh. It really is prettier. Below is a shot taken of me at a wedding in 2007. Lightsphere diffuser perched atop my flash.
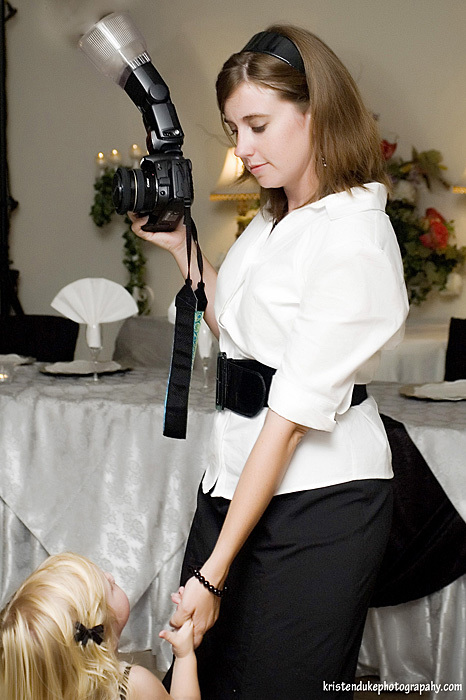
I purchased a lightsphere (clear object on top of the flash above) a few years ago that works as a diffuser. It is an attachment to the front of my flash that softens the harsh light. In my example below, image #1 I bounced the light off of the low ceiling straight up. It bounced back down in an uneven patter. #2, I bounced my light at an angle and it was prettier, but still dark. Image #3, I used my lightsphere and put the diffuser cap on and pointed it straight towards my subject for nice pretty light.

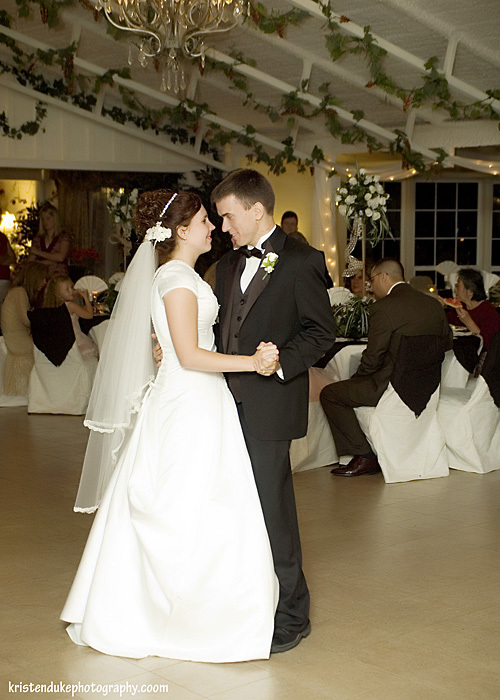
Below is an image from a wedding reception. It’s dark everywhere with a slight ambiance lighting. My flash (with diffused lightsphere attached) created just enough light on the couple to capture the sweet moment.
2. Natural Light Lamps These lamps are used to simulate natural light. I have never used these, but have heard great things about them. This seams like a great option to use for those bloggers wanting to take pictures in the evening and show off their product well. They provide controlled light during the day or night. (Lots of people who live in gloomy cities also like these to boost their mood that comes from dreary days–has been recognized as an effective therapy in treating Seasonal Affective Disorder). They are fairly affordable starting at $40 depending on the lamp.

Here are a few options I found. 3. Lightscoop the lightscoop is a little attachment that can be placed on top of your pop up camera flash to diffuse the light upward. I do have my 20D that I will use the pop up flash when its all I have, and for $30, I’d say its worth a try…examples on their site.

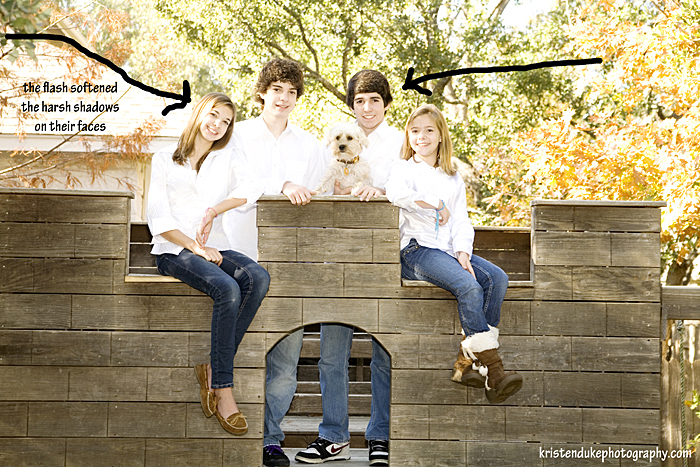
Another time when it’s helpful to use the flash, is if you have a group of people under a tree and the sun comes shining through and casts awful shadows of tree limbs onto the faces of your subjects. The flash will help even the light.
Lastly, here is an image I took in a clients backyard. I did the majority of the photo session using the natural light, and looked for the best pockets of great light. At the end, they wanted a few on their playscape, but the lighting was awful with the noon day sun shining through a tree. I pulled out my flash, and was able to soften the shadows from the tree. I wish I had a before picture that showed the shadows, but I don’t.
If you look closely, you can see them lightly on their faces, but if I didn’t point it out, it wouldn’t be as noticeable. Though I still prefer the overall look of the natural light, it was a great option to photograph in a spot the clients really wanted.
I hope this helps you see there are different options when it comes to photographing people or things at night, or less than desirable lighting. Thanks for having me, Beth!
Ooooh, great tip on the lightsphere! I’ve been looking for an on-camera diffuser like that. Clearly makes a huge difference!
Black and white photography always seems wonderful. Every shot is just perfect and having great look.
event photographers
Thank you, Beth, for having me! I am excited to have you guest for me soon;)
You got me again! I came to take a quick look at your guest post and here I am 1/2 hour later wandering through your blog. You have this way of making me go from post to post until I realize how much time I’ve wasted!(sorry I didn’t mean that in a bad way)
UM WOAH! That is insanely awesome that you got Kristen Duke to guest post on your blog! I love, love, love her!! How did you swing that?!
I know, right? I love her too! 🙂
Now that was really sweet….thank you;)