It’s been awhile since our last wall-removing update. It’s been slow-moving, especially with our weekend trip to Wisconsin and our weekend trip to Missouri. But Nick continues to plug away. Here’s where we left you last time.
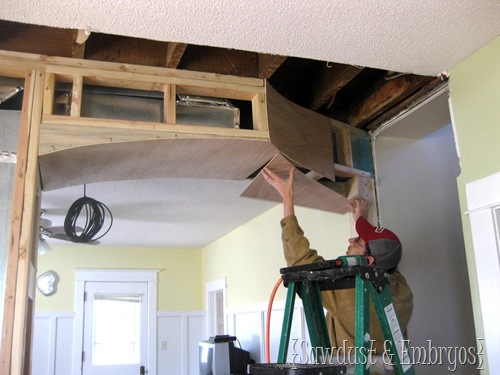
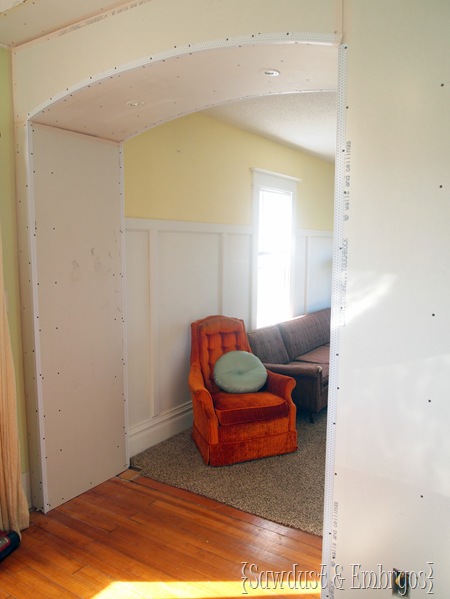
The duct work was completed, and the pillar and arches had been framed in.
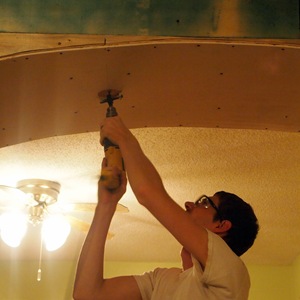
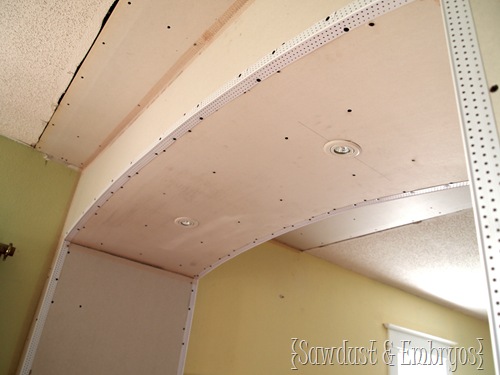
Nick had a genius idea to install little can lights in the arches. I can’t take ANY credit for this idea… it was all him!
 |
 |
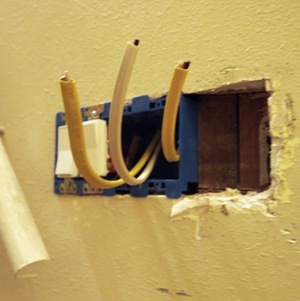
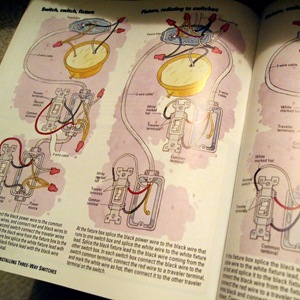
And then he wired them, along with the living room, dining room, and stairway lights to one hefty panel at the bottom of the stairs. Check out the electric schematics… looks pretty self-explanatory, right?
 |
 |
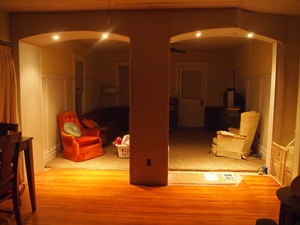
I’m totally kicking myself for not taking a night-time photo of the little arch-lights all lit up. It feels so fancy. I’ll post a pic of the lights to our Facebook page tonight if you’re interested. 🙂
UPDATE!!!! To my surprise… it got dark! And allowed me to take night-time pics!!
 |
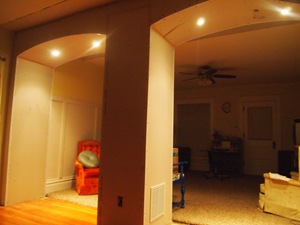 |
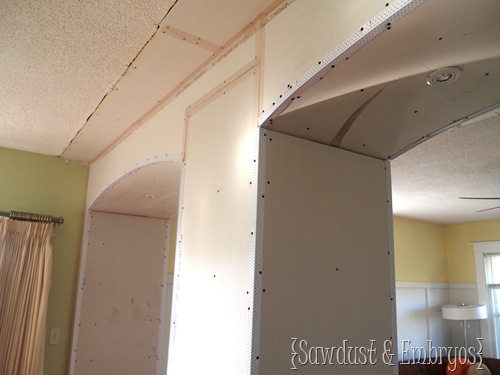
He drywalled everything in, all crisp-like. They make special 1/4” drywall especially for areas that are curvy… it’s thin enough that it bends, but remains stable once installed!
Nick rerouted the cold-air-return to the side of the ‘pillar’ so we could reclaim our walkway and not be tripping over vents and whathaveyou. There were some sparks involved.
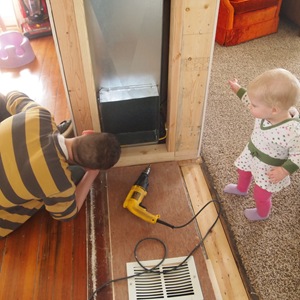 |
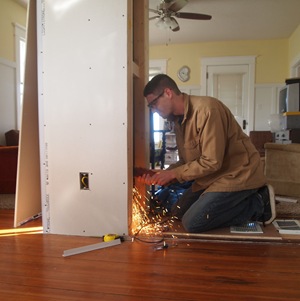 |
Still on the agenda?
- Repair floor where wall used to be (which involves hunting down some wood that somewhat resembles our existing 112-year-old wood flooring).
- Mud, texture and paint pillar and arches.
- Remove popcorn texture on ceiling in both rooms, mud drywall, re-texture. (We’re hiring this out…. MESSY!).
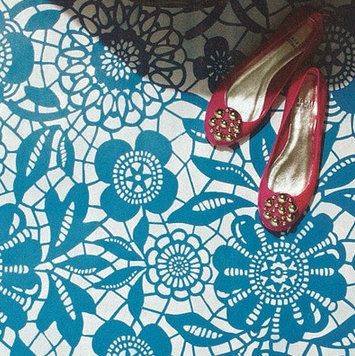
Once this checklist is completed, we can finally put up crown molding as well as the little shelfy-thing above the board and batten, and I can finally paint the wall above it! I’ve been obsessing over THIS stencil, but haven’t made any final decisions yet. What say you?
Ah-kay, so there’s a full update on our crazy-slow-wall-removal-situation.
Although it’s taken a LOT longer than we thought it would (don’t these projects always?), we ABSOLUTELY LOVE how open and airy our downstairs feels. And we cringe when we see pictures of the rooms when they were divided by the wall. Soooo worth it!
Of course that’s easy for me to say, considering I’ve been a spectator all this time, but I’d bet my first-born Nick feels the same way.
I hope you’re feeling very informed about our home-renovation happenings. I’ll be so glad when it’s completed! Thanks for coming along for this wild ride! We love your encouragement and support!
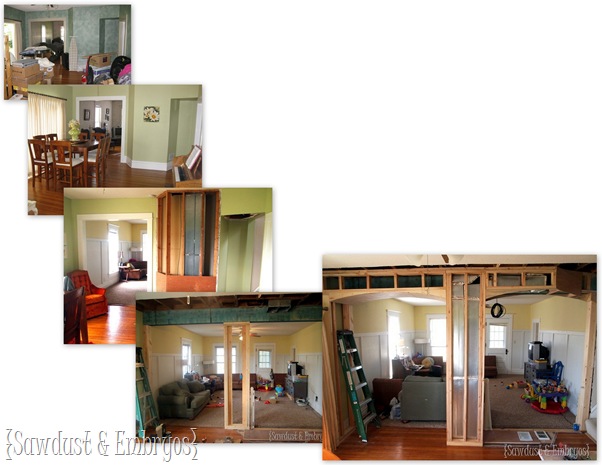
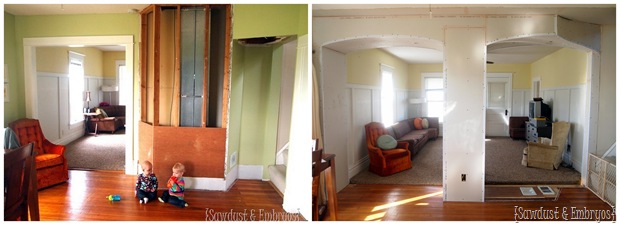


What a beautiful transformation!
http://www.ic-fhp.org/
Iowa City architectural salvage barn might be a good place to look for flooring! Looking good!
I love the way it looks and feels all open-y. =]
I love how this is coming along! So jealous of your handyman. As for the wood floors, I saw once on DIY where they removed some of the wood from the closet floor and used to to patch their dining room. If your closets have the same floor as the rest of the house it would totally work.
Renee! Great minds DO think alike~ he totally installed it on a dimmer… COOLEST THING EVERRRR!
I must say that Nick is truly a genius for coming up with the light idea. Make sure he installs a dimmer switch on those lights. Besides adding much needed light, having the dimmer switch will give you a great ambiance when you have the kiddies in bed and you two have the place to yourself! Just say’n!!
Wow…it is coming along.
Are you going to stencil in that same blue color or just use the pattern? Could be interesting either way. Just wondering. I love it done in lighter colors, but the bold would definitely make a statement.
I just haven’t decided yet… I’m thinking on the lighter side. I don’t want my walls to feel too chaotic! 🙂
It looks great and I LOVE it that you called Nick your first born. I literally laughed out loud! Love reading your blog!
I have that same (the lace one) stencil, but it cost me only $50 online, I wonder if the one you are looking at is bigger? I plan to use mine in the laundry room or maybe my master bedroom too.
The remodeling looks wonderful! Great idea on the lights. Isn’t it wonderful to have a husband that can do all of this? I can’t imagine being married to someone who isn’t handy with electrical, building, painting, etc., etc! Your house is going to be beautiful!
Love it, and I really like the pattern on the floor! Too sweet the girls checking on Daddy!
it looks awesome 🙂 and that stencil is really cool!
You must be ECSTATIC! It is looking so good. I can’t believe the transformation!