If you hadn’t already heard, our town was hit by a massive tornado on Thursday, and we spent the weekend picking up the pieces. Our new home was right in the path of the twister, but we were so lucky and sustained very little damage compared to our neighborhood and other parts of town. Just downed trees and debris everywhere in our yards.
It was a crazy experience to say the least. Our little town made national news, and we’re so grateful for all of you readers who reached out to see if we’re ok. I could write a whole blog post about these past few days (we were at the house when it happened), but I’m just ready to talk about something cheerful. Mkay?
The twins recently had a birthday (SEVEN YEARS OLD!), and I did a little DIY for them that I’ve been meaning to share with you.

*This post contains affiliate links*
Della is my girl that loves to collect little treasures. Jewelry, of course… but also rocks, gems, shells, fossils, marbles and pieces of broken glass. These things are of GREAT value to her. And she’s been wanting a ‘big girl’ jewelry box to keep her treasures.

I found this one on Amazon that was just perfect. Originally my plan was to have my friend Dana use her laser to put Della’s name and a little design on the outside of the jewelry box, right into the ‘leather’. But because of the material, it couldn’t be lasered on… so I had to get creative!
I decided to ETCH her name onto the corner of the mirror on the inside!
Dana cut me a little vinyl stencil to use with the acid etching paste. You could also do this on your Silhouette or Cricut.
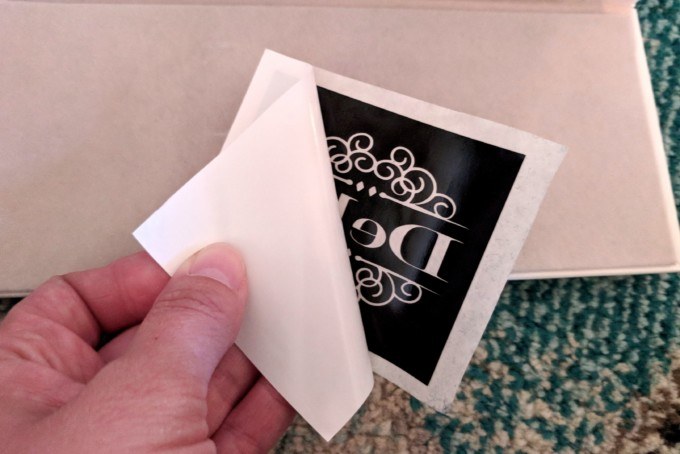
The stencil is cut backwards, because this is the sticky side that will press against the mirror!


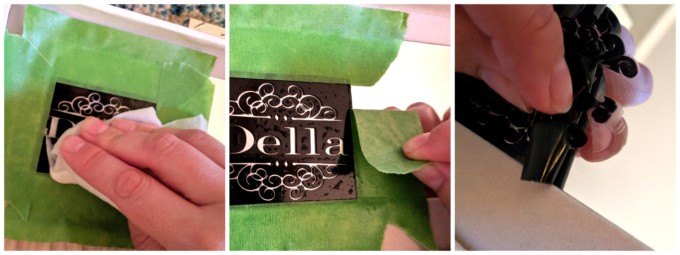
Now that we have our little vinyl decal stencil in place and pressed down firmly, I used some Frog Tape around the edges to keep the etching paste from spilling over the edges at all.

Time to slop on the etching paste! This is the stuff I use. One bottle of this stuff will last you for hundreds of etching projects. You only need to use about 1/4 teaspoon to etch something this size!

Using a craft paint brush, just start globbing the stuff on, making sure to cover all the mirror parts with a good layer of etching paste.


Normally, you should rinse the etching paste off with running water, but since the mirror is very much attached to this jewelry box, I didn’t want the velvet to get wet. So I just used several wet paper towels to wipe off the paste until I got it all. Then peel off the painters tape and vinyl decal.
It’s so amazing how the acid eats away at the mirror to create a dull, matte finish in those spots. You’d think it wouldn’t be very easy to see, but it’s surprisingly vibrant!

It turned out so cute, and most of all, Della LOVES it! It took her exactly zero time to fill this baby up with her treasures.

We had the same design lasered onto Paisley’s ukulele! Unfortunately you can’t etch onto wood with acid etching cream. But if you have a friend with a laser, the world is at your fingertips. 😉

Related:
-

I've had this idea in the back of my mind for quite awhile... why not…
-

We love the original wood of our library, and wanted to find a desk that…
-

This is a sponsored post written by me on behalf of Masonite Doors. All opinions…
Greetings from Alaska
Your idea has launched me back into time when I wanted to make lamp shades with silk. The wood shade is absolutely brilliant and I am happy to discover your mirror stencil and etch project. The jewelry box idea was so sweet, Id like to do the same for my daughter. The best part for we with your projects is the simplicity of the materials. I would like to know more about the stencil you used. It appears your stencil has an adhesive. What is this product called and how might I purchase it? or if Im not able to find it perhaps I can replicate the stickiness with other materials to make a stencil. I may have complicated things, I ol
Best Wishes
Tish
Hey Tish! I used a vinyl decal as the adhesive template. My friend, Dana, has an Etsy shop and I get all my sticky stencils from her! I’ll link her shop below. If you message her through Etsy and tell her about your project, she will design one exactly how you want it!
https://www.etsy.com/shop/decalsndecor
Happy birthday to the twins! What a cute project besides being meaningful . They will really appreciate those when they are old and grown! Thanks for the update on the tornado that went thru your town. Very happy to hear that you only sustained minimal damage to your place ! It could have been so much worse!!!! Someone was watching out for your little family!!
Happy Birthday to Della and Paisley!
Love how you personalised their gifts. Hapoy you all came through tornadoes stronger than ever.