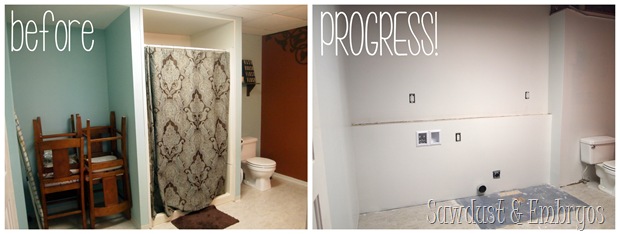
Remember how we tore out our stand-up shower with plans to make our giant downstairs bathroom into a dreamy laundry room?
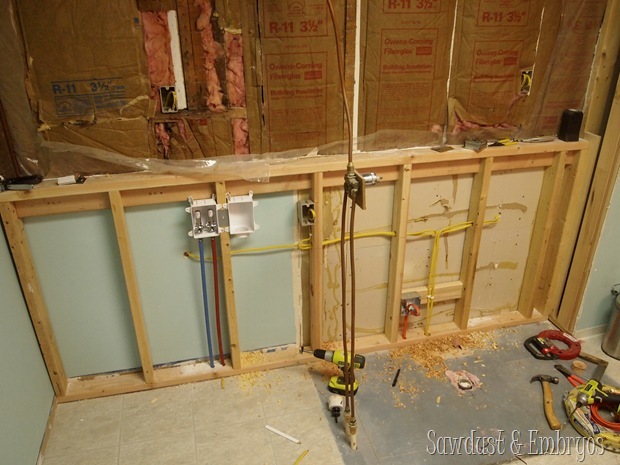
This project has been frustrating for me, because there’s not a lot I can do to help… and it seems like nothing is getting done. But the truth is that A LOT is getting done. It’s just not the pretty stuff. Check out all this wiring and plumbing. WOOF. My husband’s bag-o-skillz never fail to surprise me.
It turns out that a LOT goes into moving a washer and dryer. Color me naïve.
- Run Drain,
- Re-route Main Plumbing Line
- Re-Route Water Supply
- Run GFCI Power
- Run Power for Washer and install GFCI Breaker
- Run 30 AMP 240VAC For Dryer
- Re Wire Dryer
- Run Vent for Dryer Exhaust
- Insulate
- Sheetrock
- Mud
- Paint
- Install Flood Stop
- Test
This is not a tutorial on moving a washer and dryer, because that would take about 300 individual posts. We’re just going to break down the basics so you can see what we’ve accomplished so far.
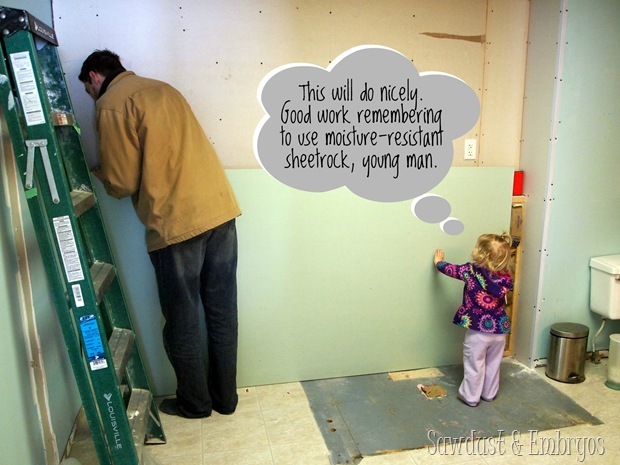
Once all that plumbing and electrical was done (which took weeks), it was time to insulate and drywall… which includes cutting perfect openings to match up with the outlets and water source. The girls love to supervise, naturally.
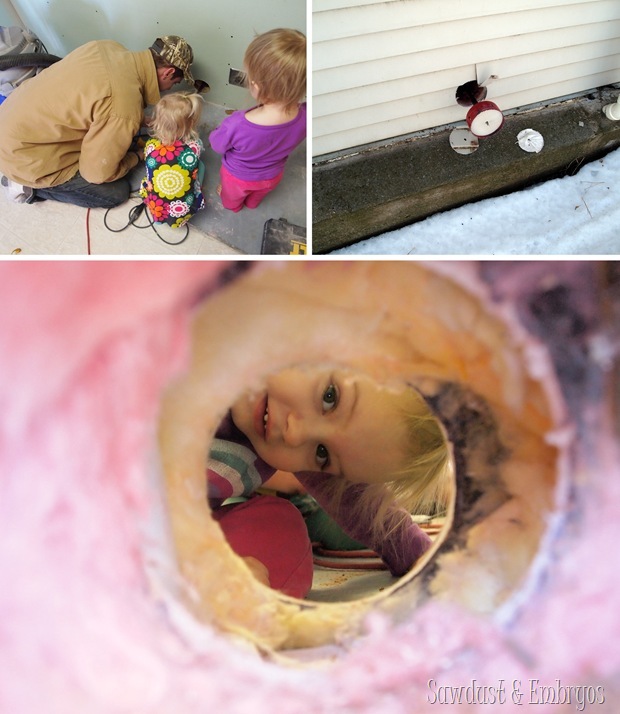
Then, using a 4 1/4” Hole Saw (which is basically a giant drill bit), Nick and the girls drilled a giant hole through the side of our house for the dryer vent.
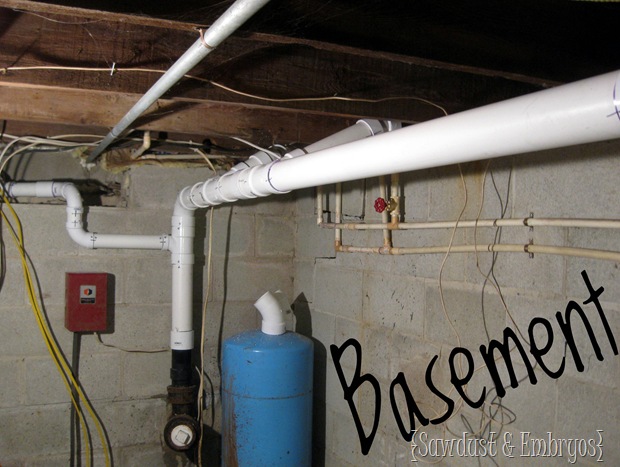
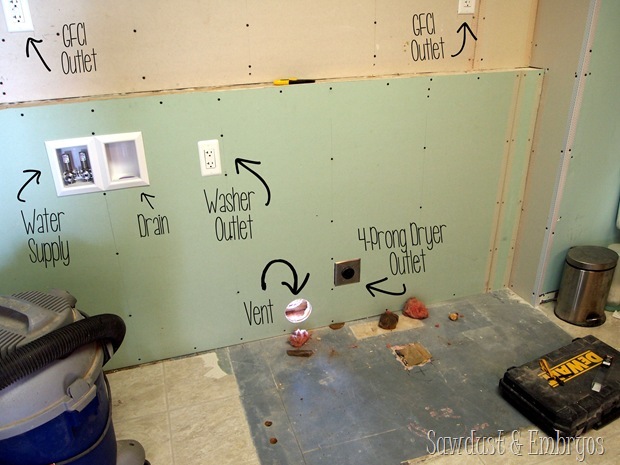
Now that it’s drywalled, here’s an image with a little explanation about all that’s going on behind this wall.
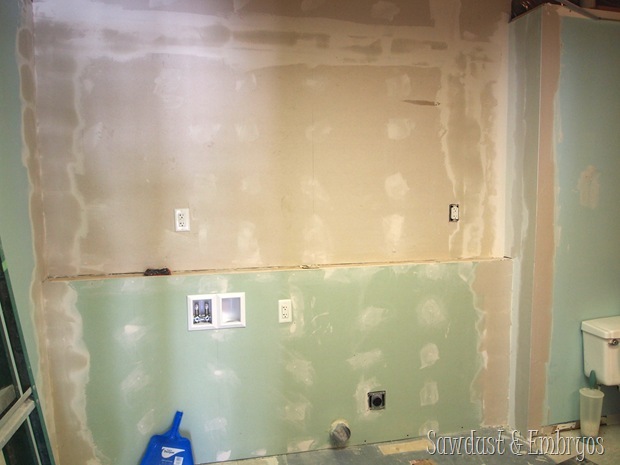
It was at this point that I was JUST SURE that we could finally move in the washer and dryer. But no… this boy of mine is sooooo thorough that he mudded all those screw holes despite the fact that there will be cabinets, appliances, and a backsplash covering the entire expanse of this wall.
And then he had to paint it.
I’ll admit, it looks pretty crisp and clean and fabulous. Like a blank canvas. I’ll also admit that I might be the most impatient person on the face.
And finally that glorious moment that I’ve been so ‘eagerly’ anticipating… LALALALA!
Yowza those things are big! Also, can we collectively ignore the flooring for now? Obviously it’s going to get an upgrade at some point.
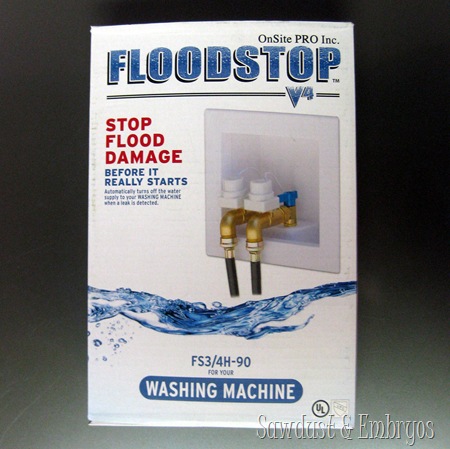
We installed a product called Floodstop that is designed to turn off the water at it’s source in the event of any leakage. Basically it protects your house from flooding… because a washer holds a LOT of water. They were awesome enough to send us their product to try out! You can watch this short video that explains how it works. Such amazing technology! This is especially important to us because directly below our washer (in the basement) is our electrical panel.
Obviously we have a LOT to do in this room. Here’s our breakdown:
- Tear out shower
- Reroute water/electrical for washer/dryer relocation
- Insulate/drywall/paint
- Move washer and dryer!
- Update flooring
- Fix ceiling and install recessed lighting
- Build custom cabinetry and countertops
- Replace toilet that gets clogged by even the smallest of turds
- Figure out wall color and backsplash options
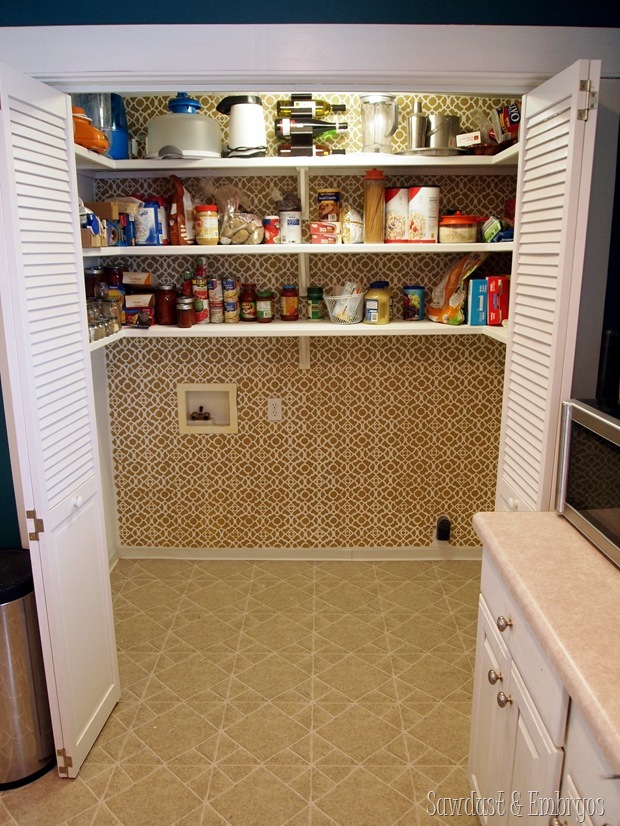
And I’m pretty darn excited about all the new space in my pantry! I still can’t believe our laundry has been mingling with our food supply for all these years. It’s taking a lot of restraint for me not to finish the pantry shelving all the way down… but we have enough other projects we’re in the middle of. (see list above)
Remember? MOST IMPATIENT PERSON ON THE FACE.
So that’s where we’re at with our ‘Operation Laundry Room’. This is going to be an ongoing room transformation that will likely take many months, so don’t be holding your breath or anything. Not only is it a labor intensive project, our funds are very limited so sometimes we just have to take a step back while we save for the next step. But I’ll be sure to update you from time to time. It’s all so exciting!





I have an older small mobile home my washer and dryer currently are hooked up in the bathroom but I would like to relocate into our small guest bedroom which shares a wall with the tub,sink and toilet is this doable
How much has this project cost so far?
I just signed up for your newsletter, so I haven’t seen past answers. My 85 yr old mother-in-law desperately needs her washer and dryer moved upstairs in a bedroom next to her bathroom. I have no idea what the cost could be and I am wondering if you could provide a rough estimate. Thank you.
Sorry Ellen, there are so many variables involved with doing this, I think it would be very difficult to give you an answer with any sort of accuracy. I would recommend getting ahold of a local general contractor.
So when I have a spare 20-30,000 bucks – I will be hiring you and Nick to come remodel my entire house 😀 I’m so impressed by all that your hubby does…I also am very impatient when doing home projects. I enjoy the work for about the first two days and then it just needs to be DONE!!!!!
You’re so sweet Windy! But believe me… I’m impatient TOO. Drywall dust and general chaos makes me break out in hives after a couple days. It’s a good thing Nick is persistent, because I’d probably throw in the towel or need serious breaks. 🙂
Wow! You guys have made a ton of progress! I feel like we’ve had our fair share of wiring/electrical/plumbing/framing/drywall projects to know the amount of hard work that goes into it, even though it’s not the “pretty” kind of project. That washer and drying set is INCREDIBLE! Lucky you!!
The plug in and water access are already there to create a coffee station!
THAT is an excellent point!
Good job Nick and Beth. Good way to reuse the extra space in your downstairs bathroom.
Bob
I can’t take ANY credit for any of this progress. Your son has so many skills!
I would love if you would show us a floor plan of your before and proposed after for the bathroom/laundry room redo. It is looking great so far 🙂
Monica, that’s a great thought! We’ll see if we can pull together some floorplans for our next ‘Operation Laundry Room’ post!
I always find it amusing when a “decorator” on one of those fix-it-up shows, says, “we’ll move the washer and dryer here.” As if it’s just like you push them over! Three Cheers for Nick for doing all the work!
NOOOO KIDDING! There’s so much more involved! I had no idea until we were in the throes of it ourselves. 🙂
Ooooh…. plug in the pantry! Before you just go slapping shelves in, consider the possibilities! There has got to be a way to use that! maybe some counter space in that area for somewhere to put things that take up space and run for long periods of time unattended? Like a breadmaker or dehydrator or yogurt maker? Or things like the soda fountains? Or maybe stick a chest freezer in there? So many possibilities!
Amber! We’ve definitely been throwing around some ideas like these for the pantry! I’m going to put the microwave and some small appliances in there for sure. And maybe a french press? I’m kidding! Or am I? Thanks for the ideas and being excited about our pantry outlet! Good attention to detail. 🙂