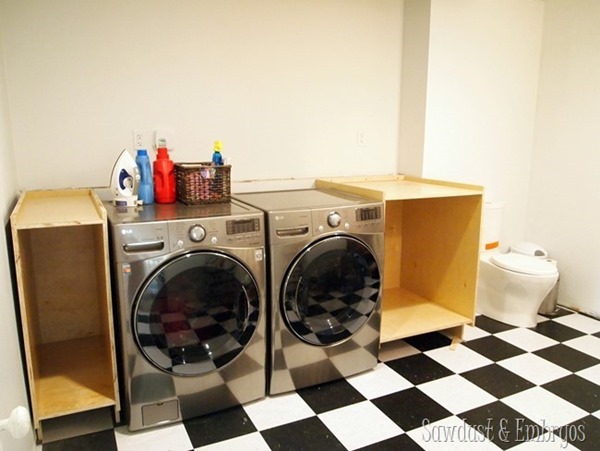
It occurred to me that we haven’t done an update on Operation Laundry Room since before Christmas. Oopsy! Nick has been finishing up some big things in this ‘luxury laundry SUITE’ (ha!) so I figger it’s time to let you in on the magic. This is where we left ya last time.
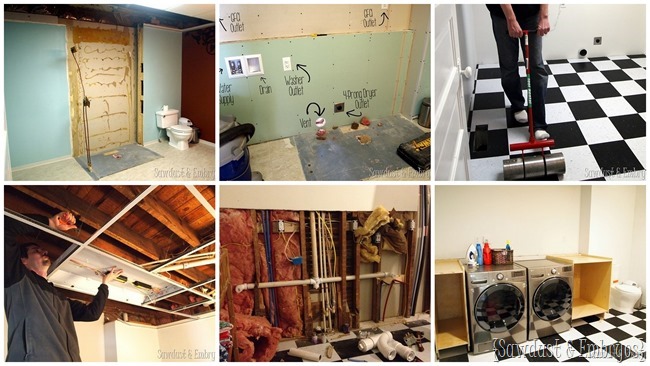
If you haven’t been following for the last year, click here for a quick update with before pics and details on what we’ve done so far.
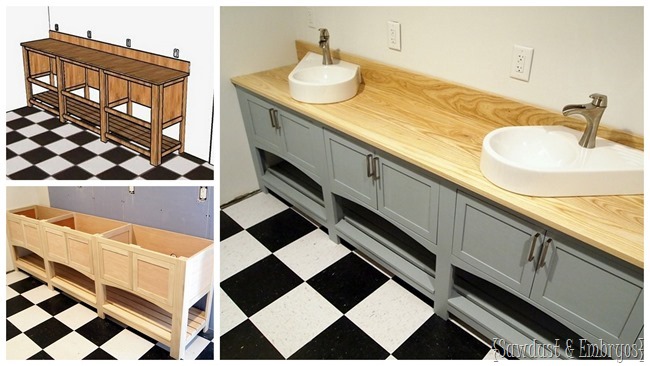
So as you know, the vanity was built from scratch from poplar, with a shaker cabinet style… designed and built by Nick.. So that left ‘us’ with the task of finishing the upper and lower cabinets on the opposite side of the room where the washer and dryer are.
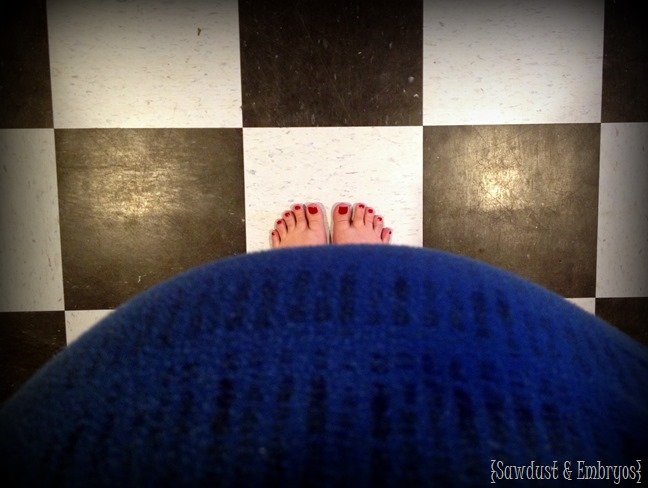
It’s a good thing this all falls into Nick’s domain, since I’m pretty much worthless right now in my 9th month of pregnancy. He’s a real trooper when it comes to helping out around the house, with the girls, AND with projects. And luckily, building things with his hands (and specifically carpentry) is a passion of his, so he enjoys it for the most part. If you follow him on Instagram (@thesawdustmaker) you’ve seen his enthusiasm for his craft.
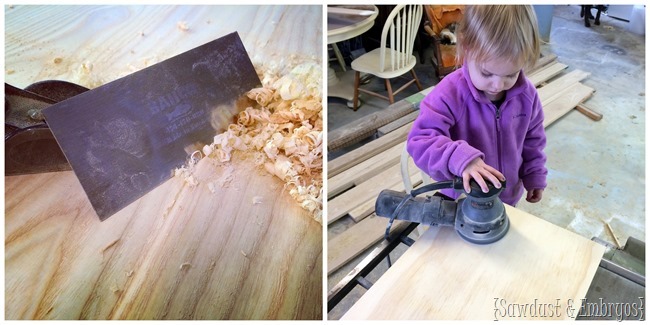
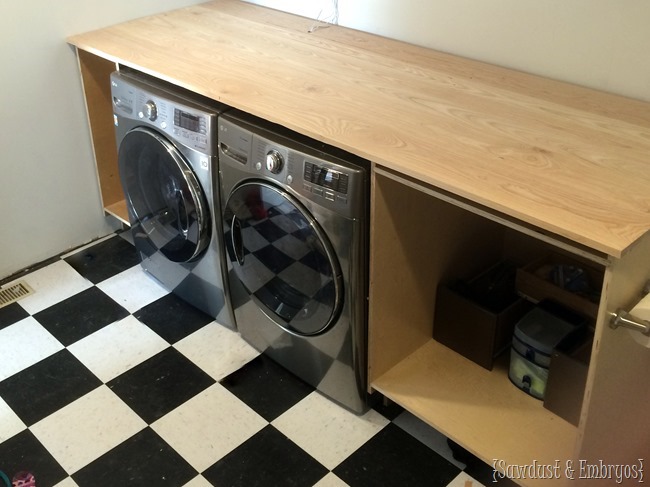
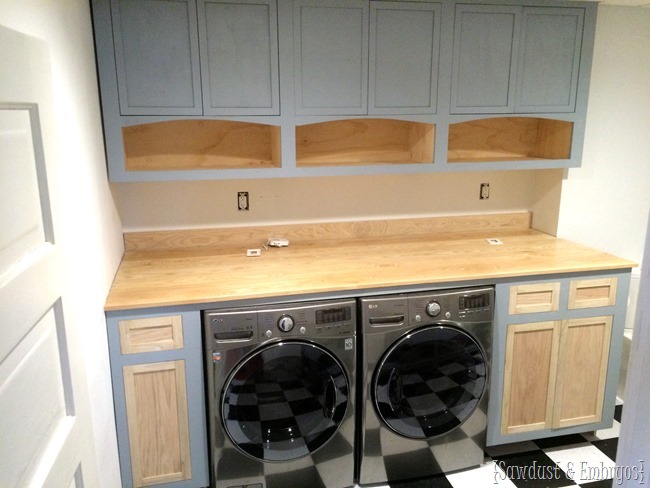
He wasted no time fashioning me a countertop (from Ash; same as the vanity) so I could use it for folding laundry. Nick scrapes, and Dell sands. It’s the agreement they’ve negotiated.
Having a giant counter above your laundry station is a MAJOR back-saver, and I can just grab things right out of the washer and fold them into piles on the counter. For the first time in my life, I usually fold the clothes while they’re still WARM!
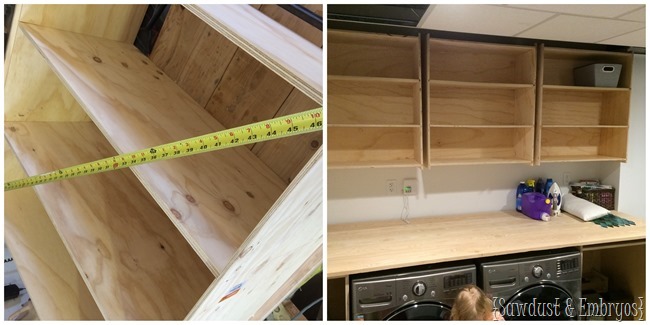
Then he tackled the cabinets above. Three separate shelving units went up first.
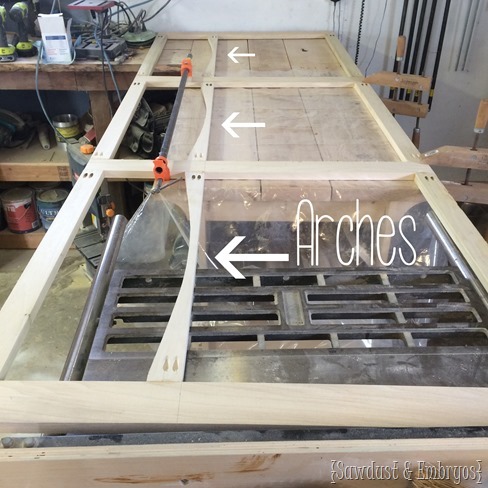
Then he built the ‘face’ of the cabinets. My favorite part of this is how he mimicked the arches that he did on the vanity.
Like an idiot, I didn’t think to take a picture of the cabinet face all installed before the cabinet doors got built and installed.
Beautiful, right? Obviously these cabinet doors aren’t painted yet in that pic, but it gives you a good idea how the cabinet face covers the shelving and creates 3 separate cabinet areas, along with 3 open shelves below. Sweet glorious organization.
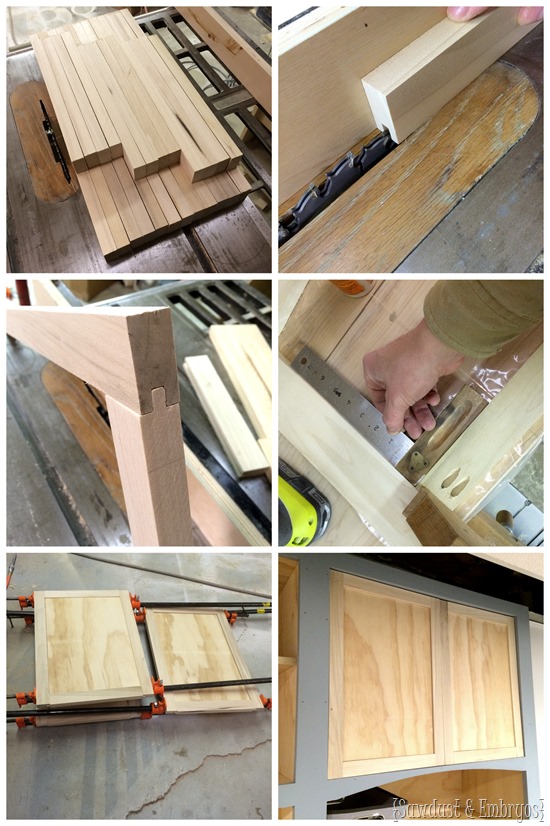
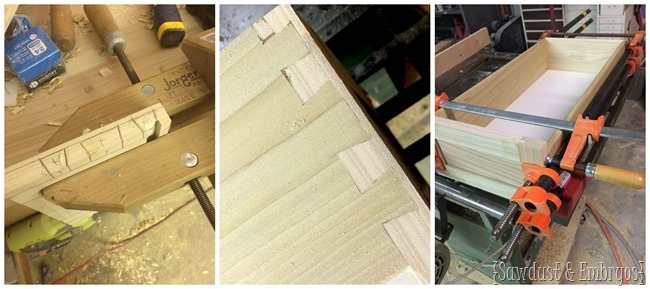
Here’s some detail on how these cabinets got built.
HIs attention to detail is insane. I’ve learned to appreciate how much pride he takes in his work. Look at these dovetail joints that he used for the drawers on the bottom cabinets.
Obviously this isn’t a tutorial, but I wanted to at least break down the basic steps of cabinet making… because I find it fascinating!
The majority of all the cabinetry got painted (‘Blue Arrow’ by Valspar) with the paint gun in the garage, but I’m in the middle of brush-painting those bottom doors and drawers and installing hardware as we speak! Ok not literally ‘as we speak’… but as soon as the small children are napping?
Ok fine… who am I kidding. I will be napping too.
But I can assure you it’ll be done before I go to bed tonight. Unless something silly like labor pains prevents me.
The backsplash is going up this week, so I’ll be back sooner than later. That backsplash… UGH! It’s totally going to ‘make’ the room, if ya know what I mean. We’re on the homestretch now, and are very excited to check this room off our list!
Though I have to admit… the homestretch of our pregnancy is far more exciting. Can’t wait to snuggle Baby Girl ASAP! Stay tuned for ALL THE THINGS!
![Building shaker style cabinets {Sawdust and Embryos] Building shaker style cabinets {Sawdust and Embryos]](https://realitydaydrm.com/wp-content/uploads/2015/02/Building-shaker-style-cabinets-Sawdust-and-Embryos_thumb.jpg)


I’ve really loved following Nick’s IG account and seeing all this come together. This laundry suite sure is sweet haha. But really, it’s pretty dang amazing! I might even actually fold clothes if I had a counter like that 🙂
I absolutely love this! We’re hoping to finish our laundry room this spring/summer. My husband isn’t quite as talented. He nabbed our cabinets (for FREE) from Craigslist. I can’t wait to have an area similar to yours.
That’s awesome! You can’t beat FREE!!
WOW! What a fantastic job!! I sure wish my laundry room looked half as good as that one. Ya wanna loan him out? 🙂 I love the way those arches match the vanity. You guys do such beautiful work.
Thanks Ali! He’s a keeper, right?!
Oh Beth, I’d say your Nick is a keeper for sure. (Like you had any doubt !) These cabinets are so stunning. I’m like you and fold my things right out of the dryer. What a blessing it will be to have that counter available to help with the folding. Thanks for sharing Nick’s amazing talent. Vikki in VA
I got pretty lucky with boy, huh?!
I love that arch!
Looks great. Any reviews on your sinks….working out well? We think they are quite cool
WE loooove these sinks… and the way they’re very narrow by nature is perfect for our long skinny vanity!! Here’s the link from National Builder Supply! http://www.nationalbuildersupply.com/duravit-architec-wall-mount-porcelain-bathroom-sink-0764650000-white-alpin/p264899