A few weeks ago, I was talking to Molly (at Molly Long Photography) about photography props and how expensive they could be, and she mentioned that she really wanted a wooden moon with a place to put a newborn. This got my wheels turning, and I saw an opportunity to play with power tools and use up some scrap wood!
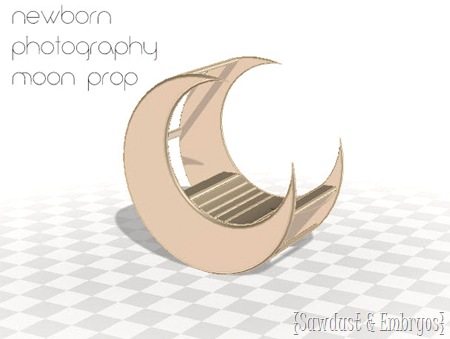
This is KIND OF a tutorial. But not super thorough… because I’m sure there aren’t a ton of you that have been dying to make a big wooden moon. But maybe it’ll get your creative wheels turning for something completely different! WHO KNOWS!
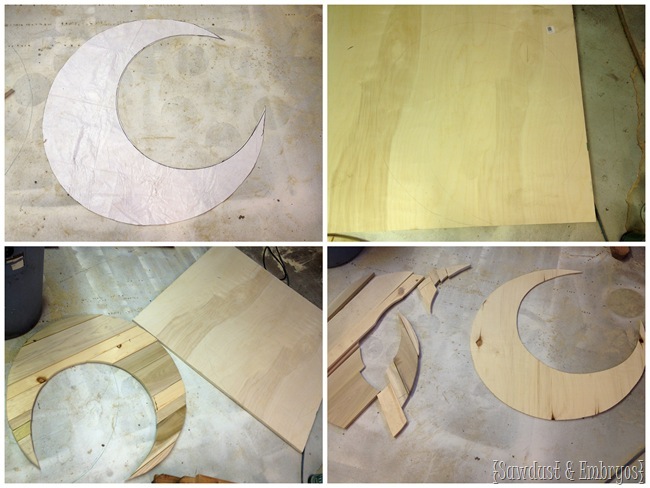
After doing some figuring, I decided the moon should be about a 3’ diameter circle, so I used an old vinyl tablecloth and cut the circle out to use as a template. Since I’ll need to cut two moons for the front and back side (technically it’s totally reversible!), I wanted to make sure I used a template so both moons would be identical in shape and size.
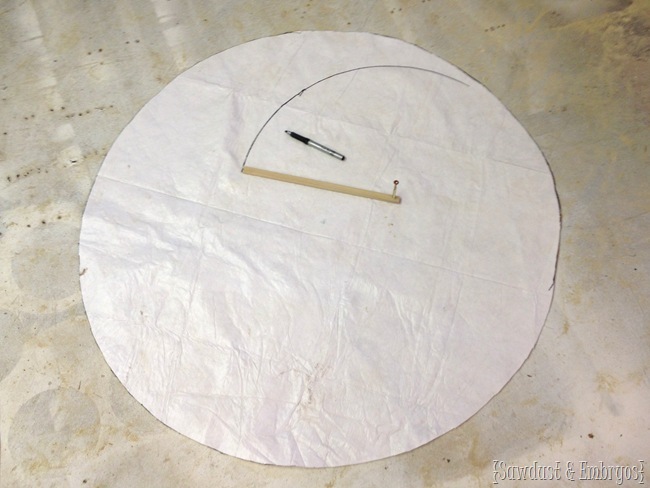
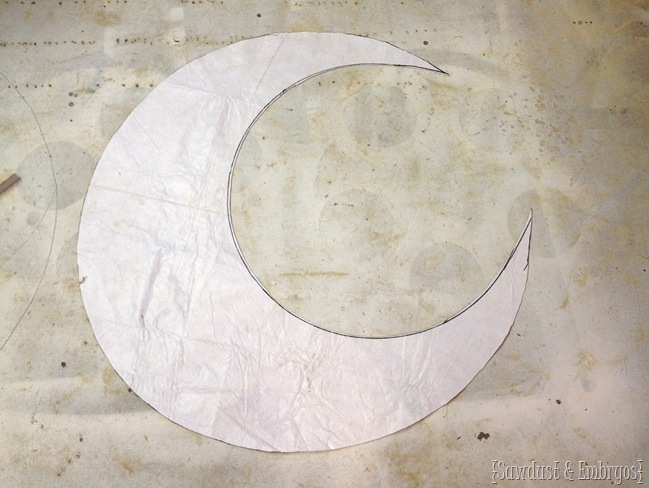
Then I cut a scrap strip of wood to 12”, screwed in a drywall screw just far enough that the point of the screw was sticking through the other side. The point of the screw helps me keep one side of the stick in place while I slide the other side in a circle motion and trace to make another smaller circle. Then I cut it out and have my moon template!
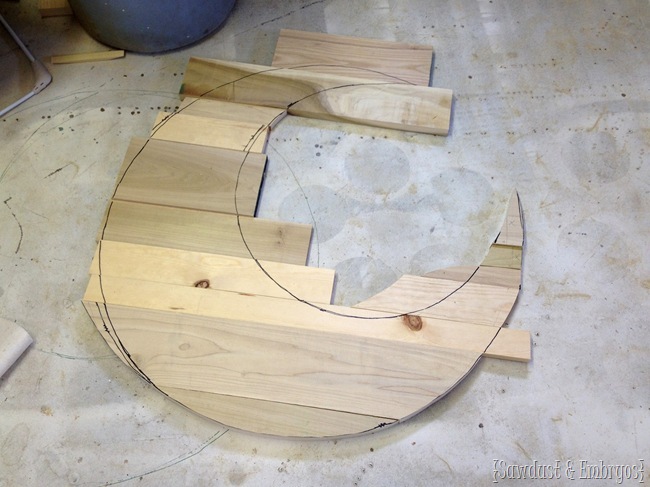
I grabbed a ton of pieces of scrap wood from our scrap pile… all different widths and thicknesses. I laid them out over my template. Then I traced out the moon shape onto the boards, and cut them one at a time with the scroll saw (you could also use a band saw or jigsaw for this). You can see in the pic below, I’ve got several of the boards cut to the shape already.
What’s that? You’re wondering where baby Cypress is while I’m doing this? Allow me to pan out a bit.
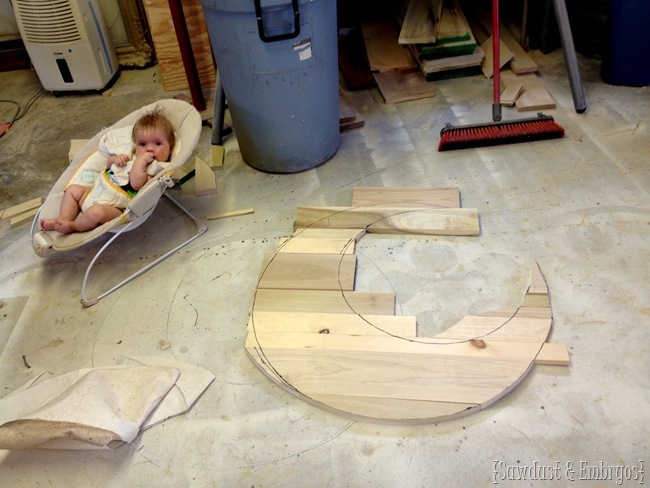
All together now… awwwwwww.
So once I had all these individual planks cut to the shape of the moon, I routed the edges of each board to be rounded and smooth.
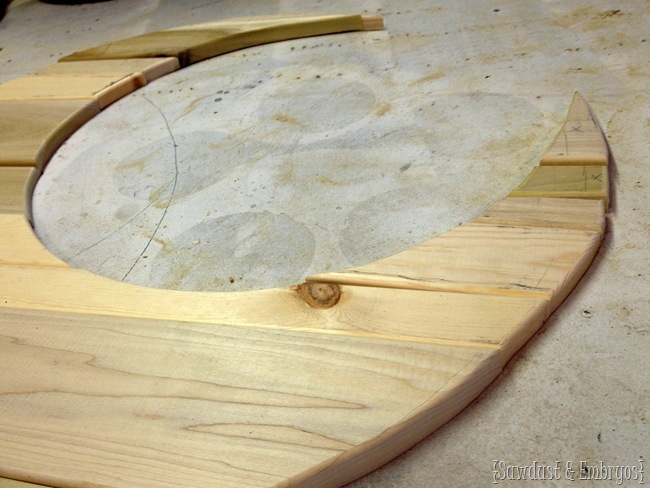
Then I cut a piece of cheap 1/4” plywood into the shape of a slightly smaller moon, and glued/nailed each plank onto it one at a time from the back side with my AirStrike. I don’t have a pic of this step, but it’s pretty self-explanatory.
For the second moon that will go on the back (which isn’t really the back since it’s reversible), I decided to just use a piece of plywood with a 3/4” thickness. I simply laid my template over the plywood, traced with a pencil, and cut with a jigsaw!
Since this photography prop is reversible, I asked Molly what colors she would like either side painted… and she said pale yellow for one, and pale blue for the other. DONE! I painted them before I went any further, because I wouldn’t want overspray with it being two different colors.
Then I started building a little perch where the baby would lay. I cut two boards to act as rails for the other boards to rest on. Does this make sense?
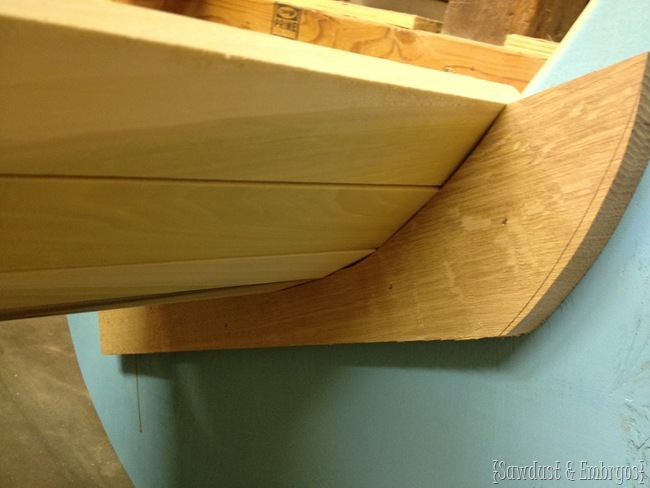
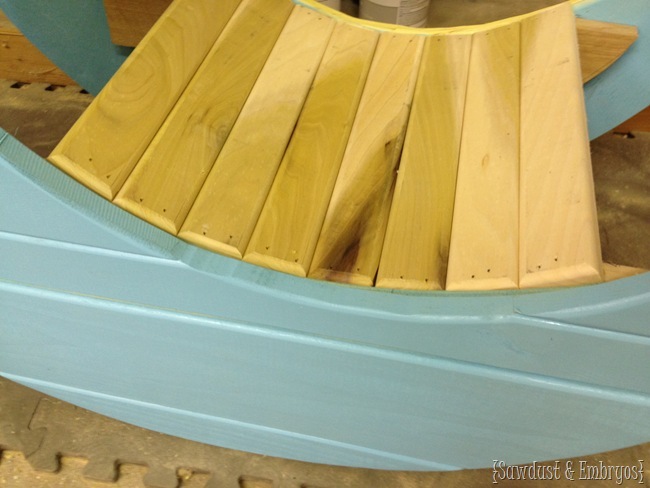
As you can see above, I cut 2” strips of wood so that this little perch could go with the same shape of the moon.
Then I just added a few braces (maybe 4 or 5) inside using pocket holes to make the whole thing sturdy and stable… and this sucker’s done!
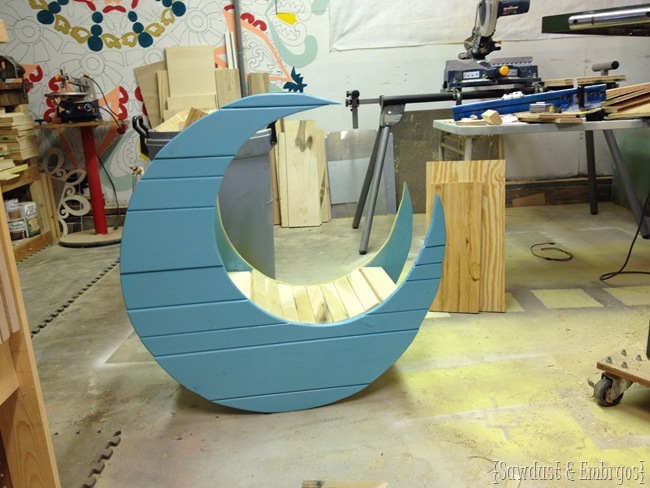
I forgot to take a pic of the yellow side, but luckily Molly had my back. Would you look at this adorable tiny newborn? I’m confident Cypress was NEVER that small.
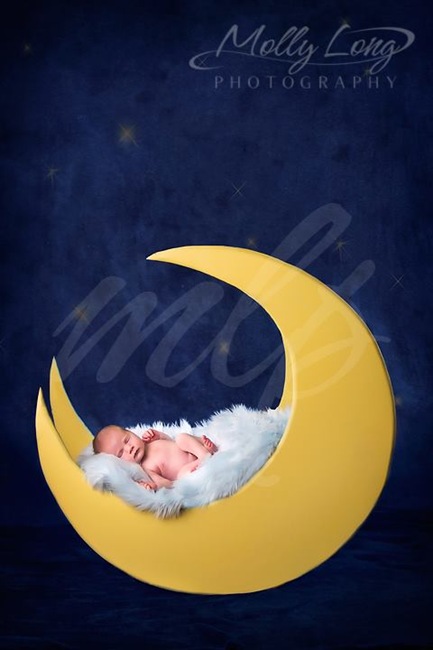
Doesn’t it make for such amazing / dreamy newborn pics? Of course it doesn’t hurt that Molly’s an insanely talented photographer. When she did Cypress’ Newborn Pics, I named her ‘The Baby Whisperer’.
I’m not gonna lie… there’s a part of me that wants to snuggle up on that fluffy moon and fall asleep myself.
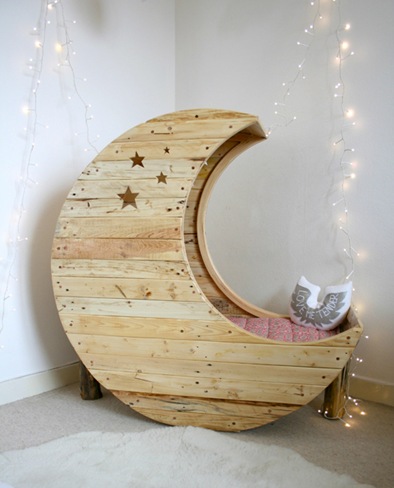
Which reminds me… have you seen those moon shaped toddler beds? Hold on, let me google…
FOUND IT!
So similar right?! You could use the same concept from this prop tutorial to build something like this for your tot, and just used the crib mattress / dimensions!
Anywho… hope you’re feeling inspired and creative, and go build/make something awesome this weekend!



Hola me podés pasar medidas por favor
A lovely moon. How did you prevent him from rolling? After all, it’s round at the bottom, isn’t it?
How do I keep this? I’m trying to mark it so I can try to make it this weekend.
Pin it to Pinterest! 😉
Lovely prop for newborn babies. Use of towels and fur can further enhance the photo shoot.
how wide across is it between the blue side and yellow side? (Where the baby will be)..Thanks for the awesome tutorial!
Right around a foot wide… enough for that teeny baby! <3
Every time I see this moon I get so ENCHANTED!!! I’ve got to add one of these to my photo prop’s!!
You got a great job! I’m photographer in a Turkey/İstanbul. I would like this moon. ıf you can this moons measurement ı would appreciate.You can contact with me here; guldenyilmazphotography@gmail.com 🙂
Hi! How did you fill in the areas between boards on the moon face? Did you fill it in or did you cover the whole thing with another material?
Thanks!
The inside of the moon is just hollow and open. I thought about filling it in, but it was already pretty heavy. And since it’s only used for photography, I knew it didn’t really matter what was in between. Hope this helps!!
Looks great! I made one too, over a year ago. http://followyourheartwoodworking.blogspot.ca/2013/11/moon-photography-prop.html
You are so ridiculously talented! Love this!
ooooooh super cool!!!! would be a fun rocker chair for me..I mean my cats.. 😉
Ohhh Dana. You’re my super-fan! And I’m yours 🙂