You all know I love an accent wall. Over the years I’ve done this geometric feature wall, this herringbone patchwork wall and this tone-on-tone glossy swirl accent wall. I even wrote a post sharing a big ol’ roundup of al my favorite accent walls from around the interwebs! And I had big plans for this studio space… involving another patchwork stenciled wall! ONLY DIFFERENT!

I should start by saying… I’m SO HAPPY I get to have my own creative space in this house! It’s such a dream come true to have a room all to myself to do my thing. And honestly, it’s going to keep our dining room table a LOT less cluttered now that I have a dedicated space for creating! I like to think of that as a family-wide WIN!
I actually put this room off for a LONG time, because of the painted-over grasscloth wallpaper situation. If you’ve ever removed wallpaper before, you know it has the potential to be a big PIA. Wallpaper is a crapshoot! It can be fairly straight forward, but often its a huuuuge undertaking involving lots of under-breath cursing.
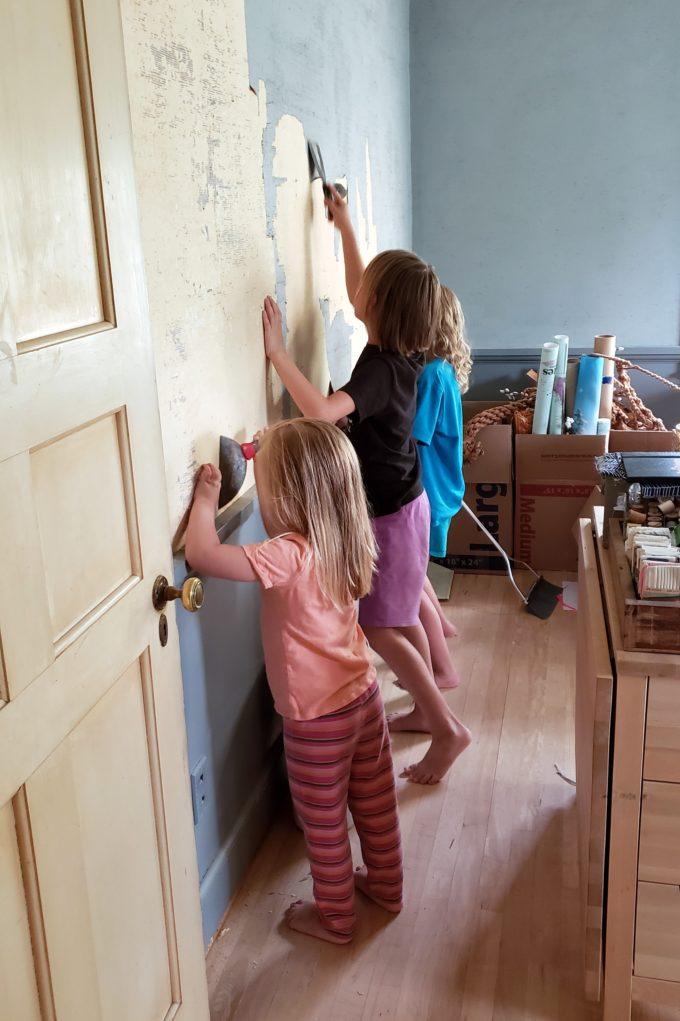
To my surprise, the painted-over grasscloth wallpaper came off WAY easier than I expected. Especially considering I had a handful of eager helpers. It’s SUCH a glorious thing when your kids are old enough (and yet still young enough to be willing) to help out with such tedious tasks!

Like most SUPER OLD wallpaper, this stuff came off in two layers. The first layer was the thicker/bulkier stuff that came off in big chunks (SATISFYING!) using a putty knife. And the second layer was more of a thinner/stickier situation that involved having to wet it with a spray bottle filled with water and letting it soak for a couple minutes before scraping off. And there’s the original plaster wall!
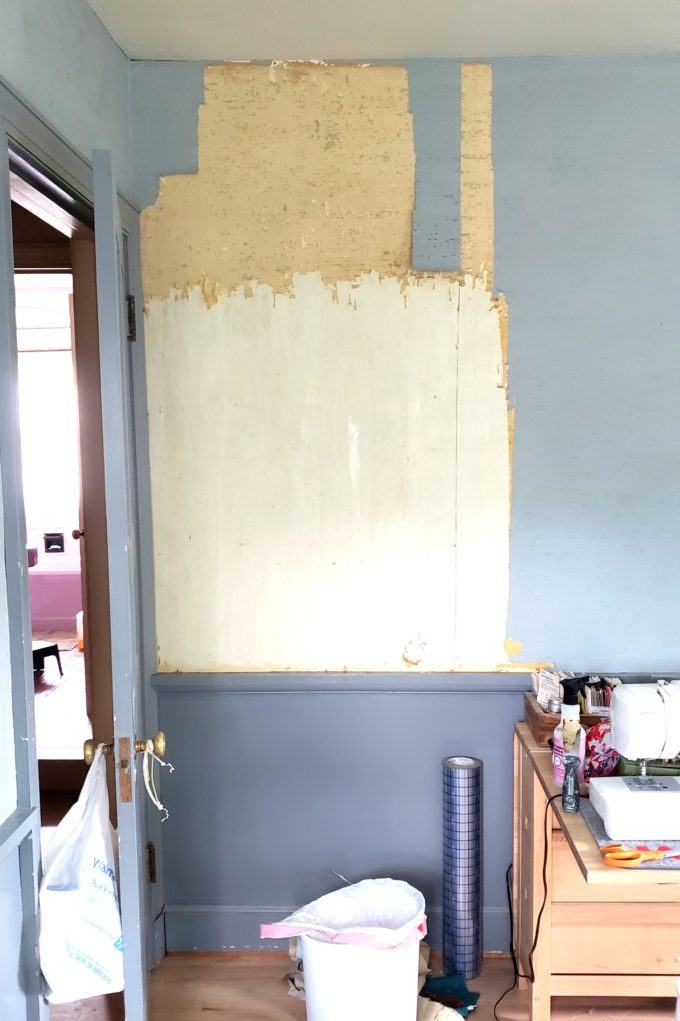
One thing you want to consider when removing wallpaper is to protect the floors beneath you! That wet adhesive hitting the floor will dry right to your floor and be very difficult to remove later! We learned this lesson when removing wallpaper in our dining room. Luckily our floors hadn’t been refinished yet, so it ended up being ok. 😉

Once we had all the wallpaper removed, it was time to paint everything! This room had been SO GLOOMY for SO LONG, that I longed for it just to be white and bright. So while I was rolling on primer and paint in another part of the room, this little one was ‘helping’ with a craft brush and acrylic paint. She felt like such a big kid!

I love a blank canvas! And I had been toying around with the idea of putting a fun wallpaper above the chair rail on all 4 walls in this room. But alas… WALLPAPER IS EXPENSIVE! And I just couldn’t pull the trigger. So I set out to make my own custom ‘wallpaper’ using my stash of stencils leftover from this project and this project!

My first thought was to do a harlequin/diamond pattern on this one wall above the chair rail. I did a little math on a paper towel, and started laying out my design and penciling little marks along the ceiling and chair rail.
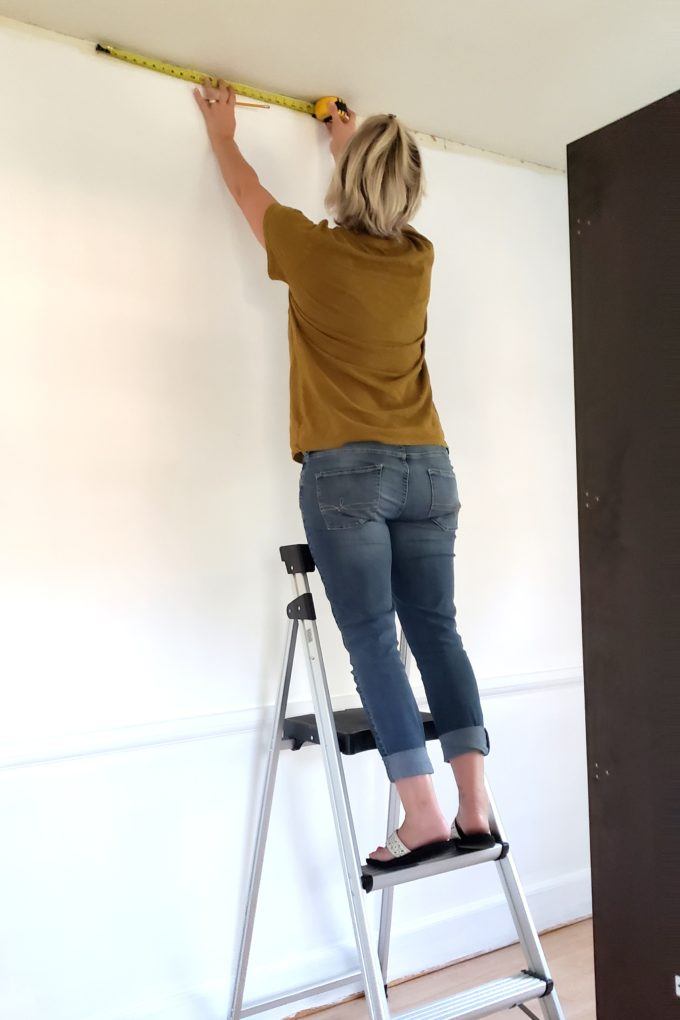
Della helped me pull the painters tape tight to make nice straight lines for my pattern. This diamond pattern went up SO FAST!
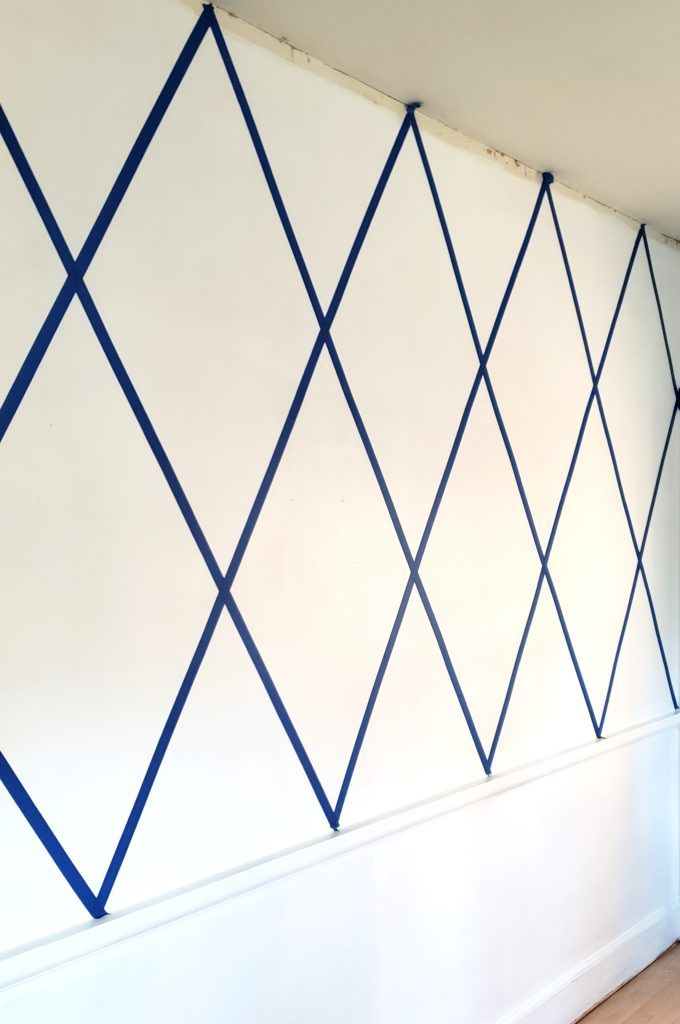
After the diamond pattern was up, Della had the idea to add some horizontal pieces of tape extending the length of the wall to make these diamonds into triangles. I wanted to validate her creative thoughts, so I said… LET’S DO IT AND SEE WHAT WE THINK!

And it was awesome. Sister has some brilliant ideas! And I loved being able to show her that I value her creative thoughts. She was so proud of her contribution to this project!
In fact, she (and her sister, Paisley) contributed a LOT in this project. Not only did they help a ton with wallpaper removal, they were also a huge help in stenciling!
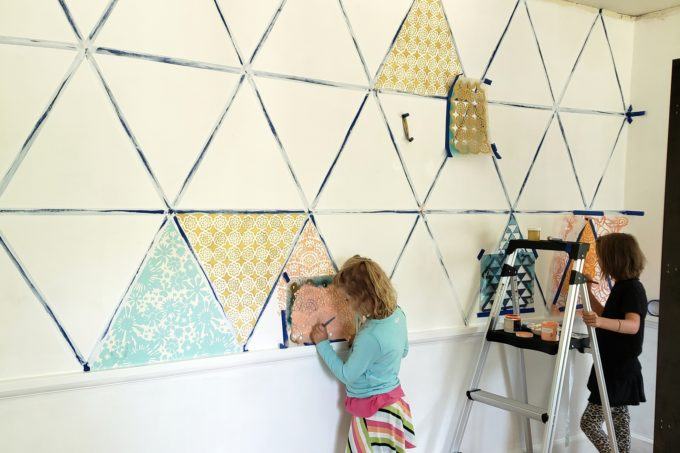
The thing about stenciling is that… IT’S NEVER PERFECT anyway. So since I already had to let go of any perfectionism I might have been holding onto, I might as well let the littles help out and make this tedious process go faster. Even the little one helped!

If you’re wondering how I landed on this color combo… I just went to my stash of paint and picked a handful that seemed unexpected and fun. Cause that’s how I roll.


We stenciled ‘cells’ here and there, and whenever we had 15 minutes to spare. And in the end, this project took about 3-4 days to finish. But pulling the tape off was SO SATISFYING!!

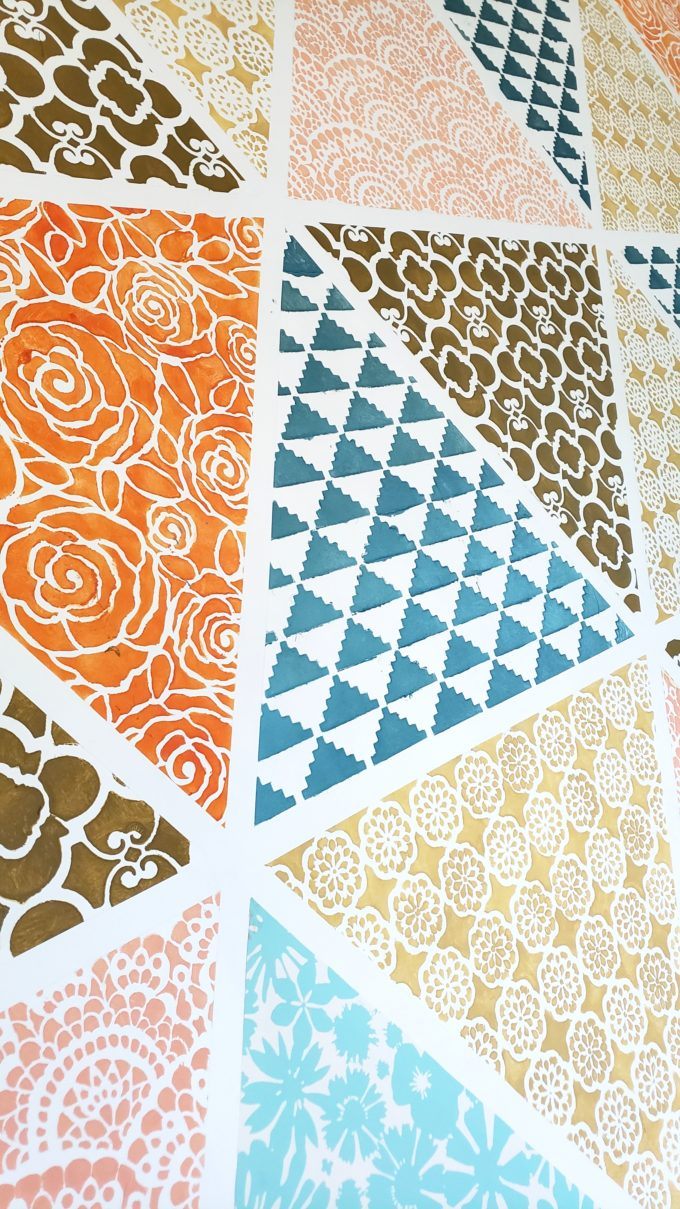
I love the playful colors and patterns, and this is the perfect accent wall for a creative space!
Eventually I’ll be getting my DreamBox organized (I hope to share that SOON!), but for now I just have a cute little sitting area on this side of the room so we can enjoy alllll of this amazing wall!


Last one! I promise!

This was such a fun project, and I loved being able to do it with my girls! I hope that they can see that all they need is a vision and some supplies to knock out a project!
As always, if you give one of our tutorials a try, please tag us on social media! We’re @RealityDaydream on both Instagram and Facebook. And be sure to follow our Instagram stories to watch everything go down in real-time, and see plenty of behind-the-scenes shenanigans!
Bethany
~~~~~~~~~~~~~~~~~~~~
Thank you for pinning!


Fantastic! (as usual) Is that THE orange picture chair?
Excellent family time. Creative, fun, inclusive, memorable. Perfect.
I love this!! Do you think you’ll leave the other walls white or paint them a coordinating color from one of the patterns? Or one solid coordinating wall? I just love color lol.
So creative! I loved watching it come together, along with your whole house, on Instagram 🙂
Della,
Your suggestion was spot on. The room looks great with the triangles. You watch, your idea is going to get copied by other people. Keep up the good ideas. I would love to see more of your creativity. Your sisters also. Suggest to mom that she do posts on what you guys come up with. You guys have awesome and inspiring ideas.
Maureen
Bethany,
This is so awesome! I liked the wall you did in the twins bedroom before but like this so much more. And your daughter was so right about the triangles. Sorry, I cant tell the twins apart or I would give her name credit. Are you going to put up trim between the triangles or leave it the way it is? Personally, I hate to paint but love to paper and stencil. I made a stencil for my daughter’s bedroom when she was an infant. Her aunt set me a calendar of firsts for her first year. It was done in rabbits and I took the picture I like the best and made a stencil out of it. It had different layers that lined up so I could put on the rabbits’ bodies and then their clothing and facial features being the last layer. Bought a special tool that heats up to cut stencils and burn wood just to make the stencil. Was afraid of Exacto knives at the time, lol. No, seriously, I was.
Wishing I had a creative space just for me. My craft and art supplies are spread out over two different households (VERY long story) and wish they were altogether and organized. SO very happy for you and the progress you are making with your new home. Love the kitchen and can’t wait for the big reveal. I am so very glad I found your blog years ago.
Maureen
Now I feel stupid! Della name is all over this post. How. I missed reading it I’ll never know. Sorry for my mistake.
Incredible! Looks like an amazing quilt on the wall!
I’m still on awe at how beautiful it turned out. I think its great that you used paint and stencils you already had. The best part, your girls got to help! What a wonderful experience for them. They’re going to be such awesome DIYers! You’re rocking the Mom thing!