• Home
  • About
  • Tutorials
  • Recipes
  • Furniture
  • Contact
    • Contact
    • Infertility
    • Disclosure
    • Privacy Policy
  • Shop
    • Facebook
    • Instagram
    • Pinterest

Reality Daydream

The Dream is Free, The Hustle Sold Separately

  • Home
  • About
  • Tutorials
  • Recipes
  • Furniture
  • Contact
    • Contact
    • Infertility
    • Disclosure
    • Privacy Policy
  • Shop

Mid-Century Modern esque Starburst Clock

January 12, 2015 by Bethany Sy

Dudes. Aren’t décor trends the weirdest thing? Whatever you think is hideous right now will be all the rage in a few years. Don’t remove that fruit-swag wallpaper border in your bathroom just yet!  I’m telling you… both of my grandmas’ homes could be all over Pinterest. Bright airy rooms, white walls, tons of green plants… and MID-CENTURY EVERYTHING!

All this to say…

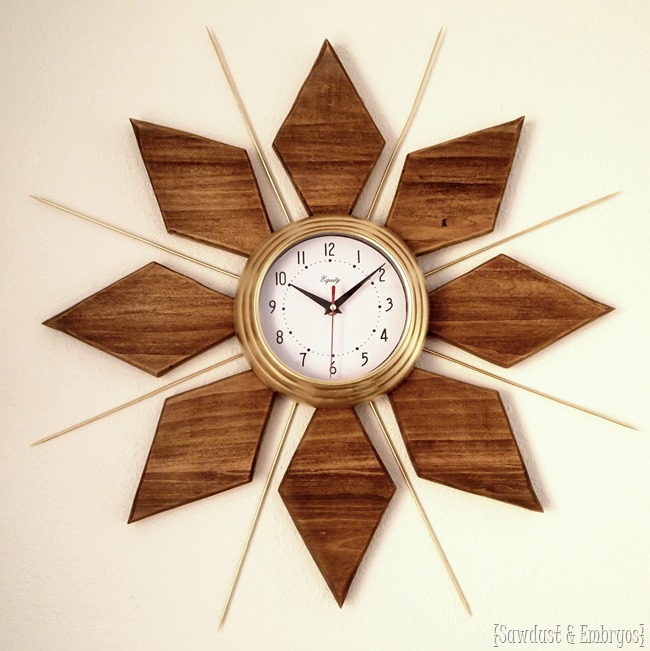
I decided to make a mid-century clock. And I wanted it to look legit old-school. Like straight out of your Grandma’s guest-room. I don’t actually want this clock for myself… it was more of just a challenge. And I think I nailed it!

DIY Mid-Century Starburst Clock... just like your granny's! {Sawdust and Embryos}

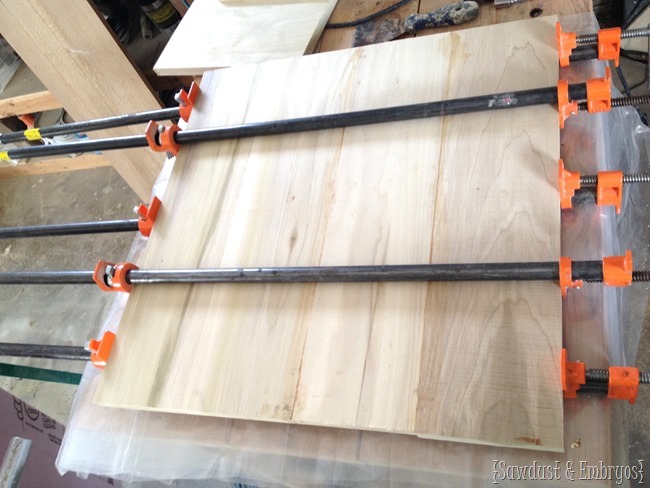
I cut a 12x poplar board into two 24” boards, and glued them together to be 24”x24”.

The beginnings of an authentic-looking mid-century clock {Sawcust and Embryos}

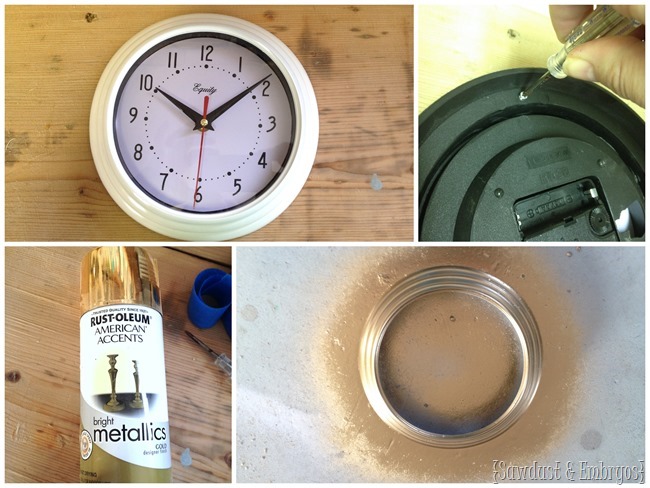
Meanwhile, during one of the many Sunday strolls through Lowe’s, I saw this little cheap wall clock. I can’t find the exact link, but this one is pretty close (I mean THREE DOLLARS?!). You just need a small and simple clock. You could even check out your local thrift store!

You’re going to remove the little screws in the back to take the clock apart, and then paint just the outer ring gold (this is my FAVE gold spray paint).

starburst mcm clock1

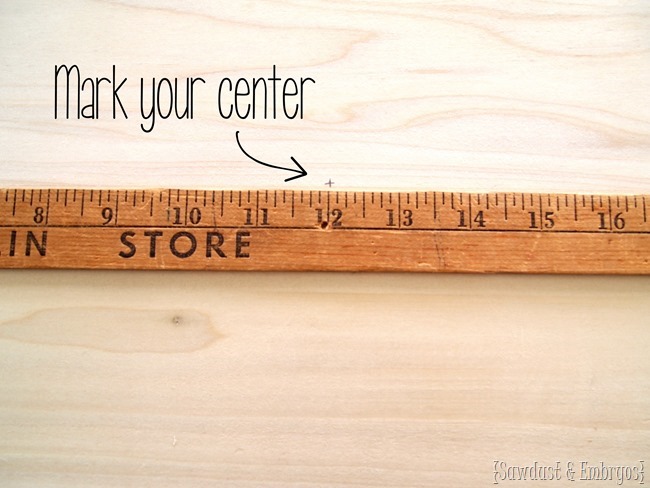
Now that the glue is dry on my 24”x24” board, I hand-planed the rough seam and sanded until smooth. Then I measured to find the center, and traced a post-it note. This will be cut out so that the battery on the back of the clock is accessible. Then I traced the perimeter of the clock (making sure it’s centered!

DIY Starburst MCM Clock {Sawdust and Embryos}

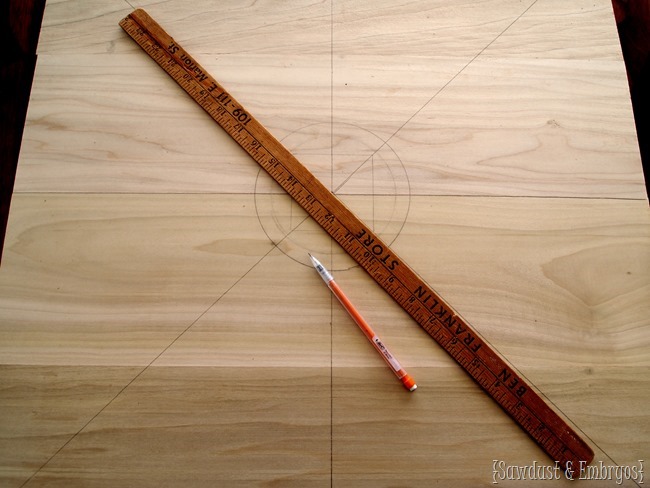
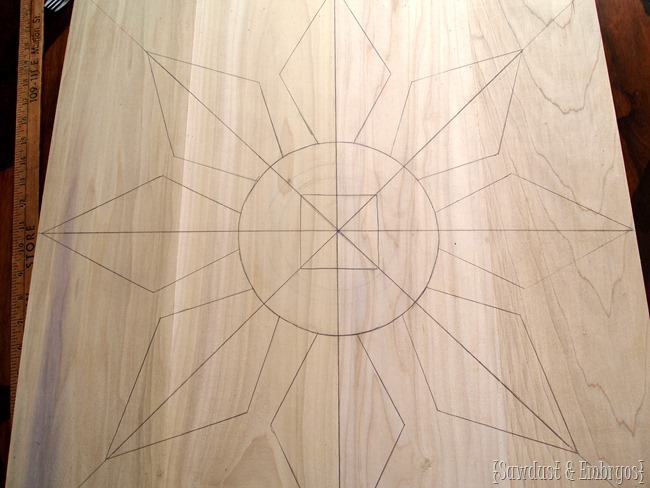
Using a yard stick, I divided the board into 8 equal sections with a pencil.

Make your own MCM Starburst Clock {Sawdust and Embryos}

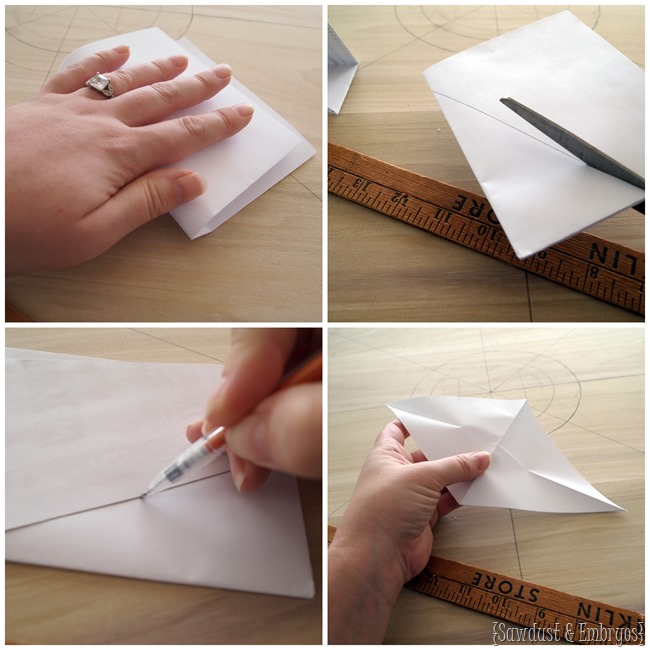
Next, I folded a piece of printer paper into fourths, drew a straight line diagonally, and cut it out to create a diamond. You might need to play around with this to get the right angle for the diamond you want.

starburst mcm clock3

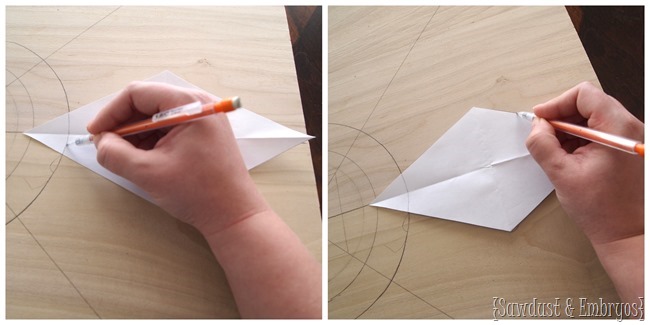
I laid out my diamond template so that the one peak reached the edge of the wood, and the other peak overlapped the clock circle by at least an inch. I traced the circle onto the inner peak of the diamond to make sure it would line up perfectly each time, then traced the diamond.

starburst mcm clock4

After tracing all 8 diamonds, this is what I had! It looks complicated… but it’s not. Trust me.

DIY Mid-Century Modern Clock {Sawdust and Embryos}

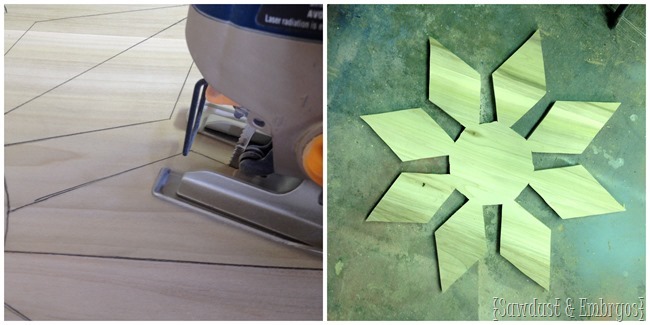
Now it’s time to cut it out! I just went at it with my jigsaw and followed the lines. I tried to be as precise as possible with the diamonds… but the circle doesn’t matter much since it’s going to be hidden by the clock. I ended up cutting past the circle a bit so that it wouldn’t show around the edges of the clock.

starburst mcm clock5

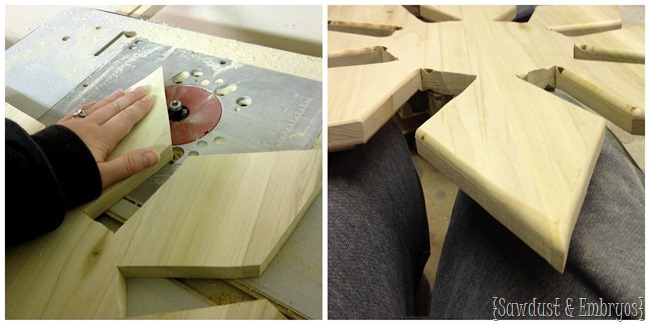
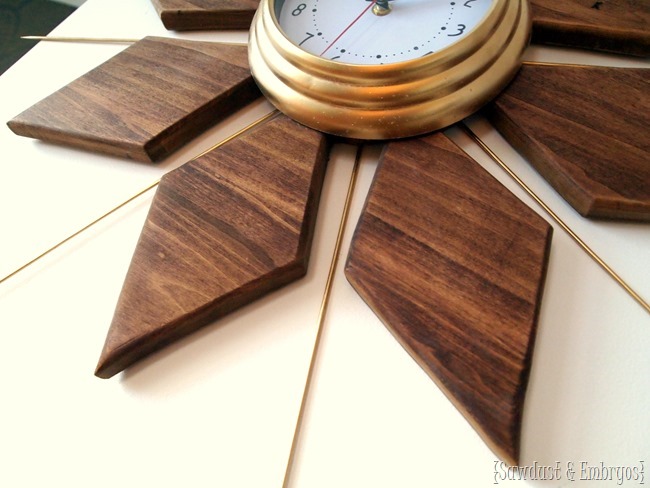
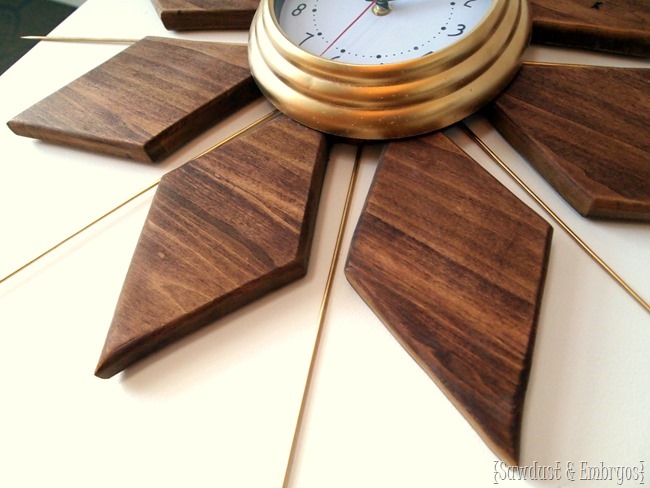
I routed all the edges (and both sides) using a 1/4” round over bit. I think this part is key to giving this piece a true mid-century vibe. Smooth as a baby’s butt!

starburst mcm clock6

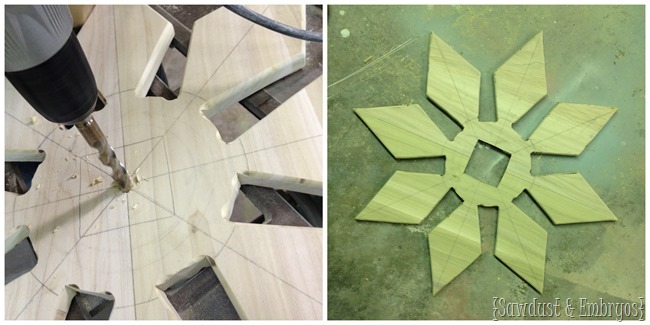
Then I sanded the hell out of it, starting with 100 grit and working my way to 220. I drilled a hole in the center of my post-it-note-opening, and jigsawed (totally a word) it out.

starburst mcm clock7

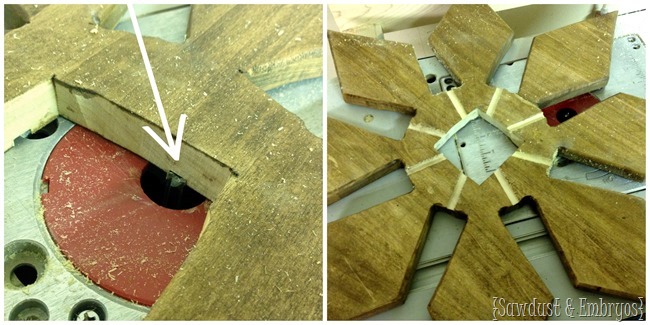
Finally it’s time to stain! I used RustOleum Dark Walnut, but just did a light coat because I didn’t want a rich chocolatey brown. More like a pecan. Then I routed grooves in the back like so using the 1/4” dado bit.

DIY Mid Century Clock {Sawdust and Embryos}

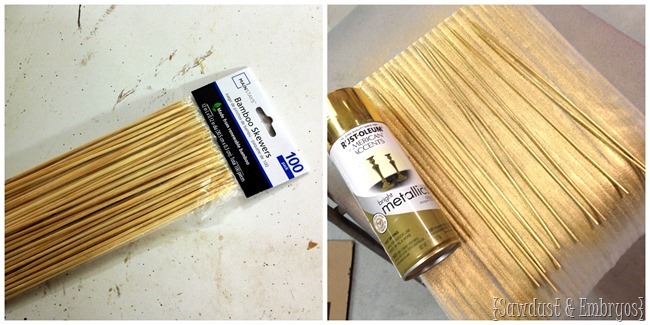
I also spray painted bunch of wooden bamboo skewers the same gold as the clock frame (RustOleum Bright Metallic Gold). I only need 8, but I wanted lots of extra so I could pick and choose the straightest ones.

starburst mcm clock8

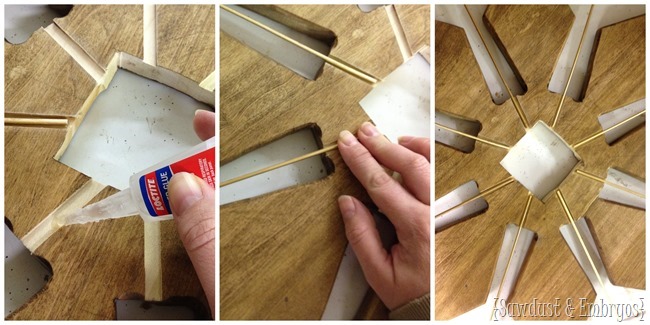
So next, I glued on my skewers into the grooves with Loctite… which is basically super glue. I routed the grooves to be significantly wider than the actual skewers so I would have so wiggle room to make sure each skewer ended up being perfectly centered between it’s corresponding wooden triangles. (Fun fact! In the middle pic below, my finger is actually super glued to the board. After about 5 minutes of panic, I chiseled my finger off the wood with a fingernail. That stuff dries FAST!).

Create an authentic-looking MCM Starburst Clock {Sawdust and Embryos}

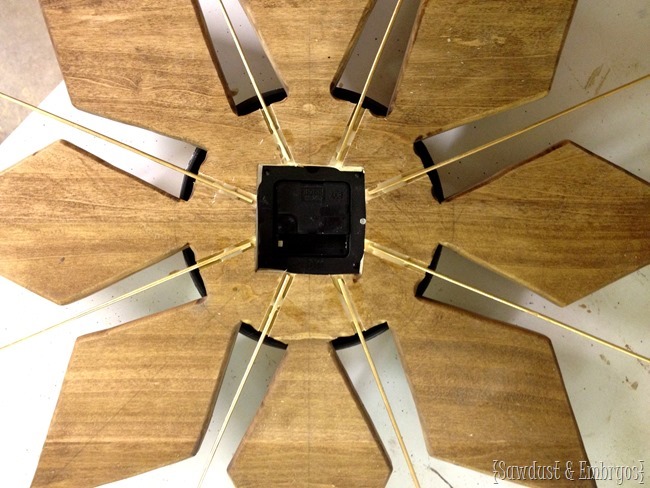
The final step was to glue the actual clock onto the wooden starburst. I used an epoxy-based glue, but you can use whatever.

Back side of DIY Starburst MCM Clock {Sawdust and Embryos}

Pop in a AA battery, and you’ve got yourself a sweet authentic-looking Mid-Century Modern clock! Bam!

DIY Mid-Century Clock tutorial {Sawdust and Embryos}

Make your own authentic-looking Mid-Century Modern Starburst Clock! {Sawdust and Embryos}.JPG

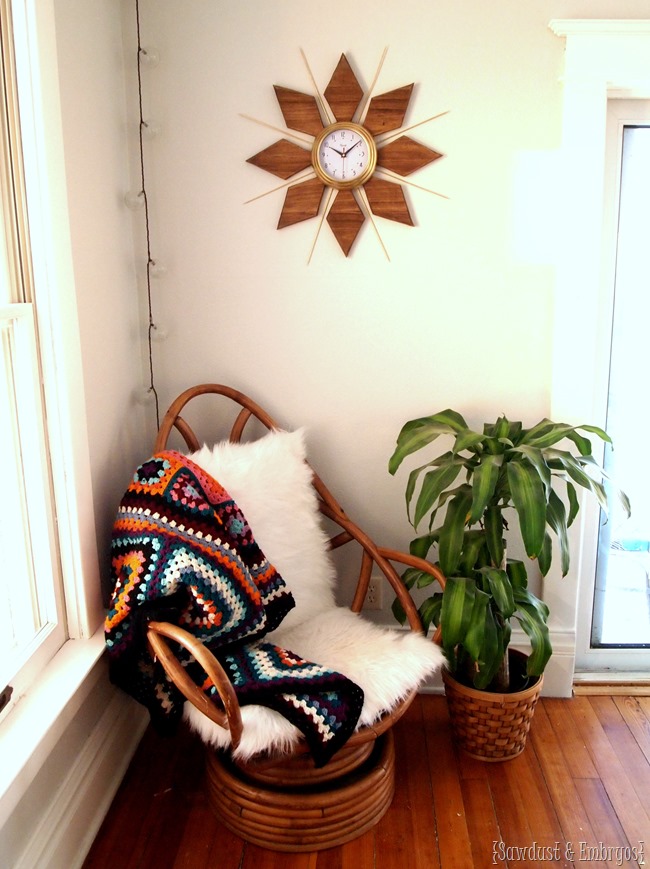
I’m not going to keep it in this location, because I still love my Plywood Quote Artwork here, but it was the perfect spot to stage my new Mid-Century Clock for now! Honestly, I’m not sure where I’m going to display it… or if I’ll even keep it!

DIY Mid-Century Starburst Clock... just like your granny's! {Sawdust and Embryos}

This is one of those fabulous projects that turned out exactly how I envisioned it! AND without any snafus! Win! And the best part of all is that this clock was SUPER cheap to make. Here’s the cost breakdown:

  • Poplar wood ~ $8
  • Clock ~ $3
  • Skewers ~ $5
  • Spray Paint ~ $4
  • Loctite ~ already had
  • TOTAL: $20 (plus lots of satisfaction!)

Do you like all these retro mid-century 60’s furniture and décor pieces come back in a fierce way? Or do they just look dated and junky to you? Everyone has different tastes!

Sawdust-Embryos_thumb5

Be sure to check out the other ‘Starburst-Type’ clocks and mirrors I’ve made in the past. They add so much character to a room!
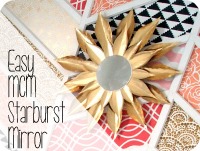
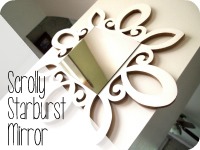
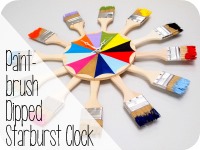
DIY Starburst MCM Mirror {Sawdust and Embryos} Scrolly Starburst Mirror {Sawdust & Embryos} Colorful Paint Brush Starburst Clock (or mirror) Tutorial {Sawdust & Embryos}


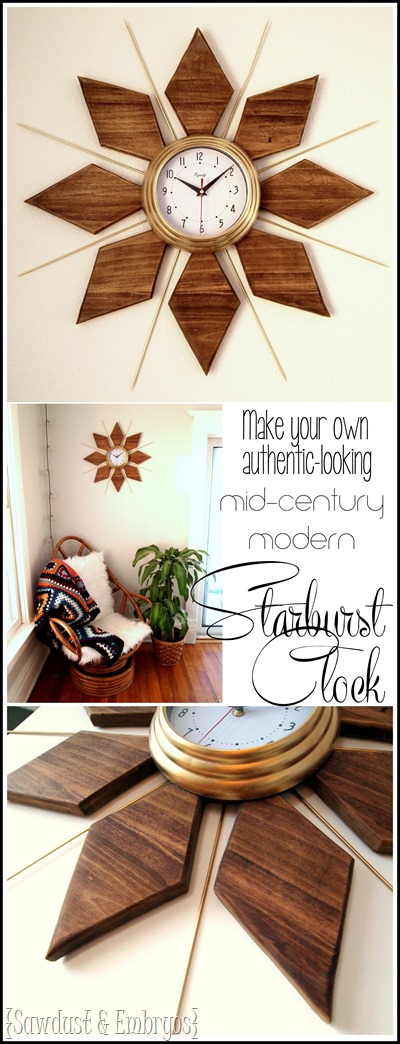
Make your own DIY Mid-Century Modern Starburst Clock... it looks so authentic! {Sawdust and Embryos}

Disclosure! we’re SUPER HONORED to have been chosen as a “Lowes Creator”, and were provided with a Lowes gift card to help with the cost of supplies… but as always, all ideas, thoughts, opinions AND grammatical errors are 100% our own. Because that’s how we roll yo.

*this post contains affiliate links
About Bethany Sy

Nick and Bethany Sy are the creative free-spirits behind DIY/Lifestyle blog, Reality Daydream. They recently purchased a historic mansion and have been documenting the ups and downs of renovation and making this home their own... all while sharing tips and tutorials along the way! When they found themselves in the trenches of infertility, they started a journey that would prove to be their most important DIY project ever, and have 3 beautiful girls to show for it. <3

« Brown Sugar Cookies {Cupcakes w/ Sprinkles}
Snow Bunnies »

Comments

  1. 11

    Katelyn says

    March 6, 2015 at 10:31 am

    I NEED this clock in my life!

    Reply
  2. 12

    Jessica says

    January 15, 2015 at 4:17 am

    Just incredible!!!! You are so creative, I love it!

    Reply
  3. 13

    Maria B. says

    January 14, 2015 at 10:52 pm

    You are amazingly creative! Well done.

    Thanks for sharing your beautiful girls too!

    Reply
  4. 14

    Andi Filante says

    January 14, 2015 at 2:26 pm

    This. Is. Awesome. 🙂

    -andi

    Reply
  5. 15

    Karen says

    January 13, 2015 at 3:39 pm

    I think you need to hang it in your craft room — it would go with the hutch you just redid. Great job!

    Reply
    • 16

      Beth @ Sawdust and Embryos says

      January 14, 2015 at 2:51 pm

      So true! Great idea!

      Reply
  6. 17

    Cindy says

    January 12, 2015 at 10:40 pm

    This thing is outta sight! Love, love, love.
    Cindy W.

    Reply
  7. 18

    VikkiB says

    January 12, 2015 at 5:12 pm

    You make amazing stuff. I’m not a “mid-century” gal but that clock is NICE! Vikki in VA.

    Reply
  8. 19

    Cindy B says

    January 12, 2015 at 10:09 pm

    I like it….but I think I would LOVE it without the skewers. Great job!

    Reply
  9. 20

    Mary Beth Gibson says

    January 12, 2015 at 11:10 am

    This is so beautiful! You have such a talent for these things.

    Reply
  10. 21

    ang says

    January 12, 2015 at 5:05 pm

    Holy cow, I love it!

    Reply

Trackbacks

  1. 17 DIY Modern Home Decor; Easy Budget Projects On A Budget - VCDiy Decor And More says:
    November 27, 2019 at 2:20 pm

    […] Mid Century Starburst Clock […]

    Reply
  2. 30 DIY Wall Clock Ideas that will Give Your Interior a Unique Look – My Decor – Home Decoration says:
    April 26, 2018 at 10:53 am

    […] DIY Project Details: realitydaydream.com […]

    Reply
  3. DIY Home Decorating Ideas For Mid Century Modern Lovers - DIY Well says:
    December 14, 2017 at 9:02 pm

    […] image via Reality Daydream […]

    Reply
  4. 38 Brilliant DIY Living Room Decor Ideas - DIY Joy says:
    May 6, 2016 at 10:38 pm

    […] realitydaydream […]

    Reply
  5. Brave the Woods says:
    January 15, 2016 at 4:38 pm

    […] DIY Mid-Century esque Starburst Clock […]

    Reply
  6. Un-Productivity - Sawdust and Embryos says:
    September 24, 2015 at 3:33 pm

    […] the heck am I going to do with the one I made?! (tutorial here) …I would do a giveaway if it wouldn’t be so darn difficult to package that thing […]

    Reply
  7. Casas Increibles | Estilo de vida y arquitectura insólita says:
    August 18, 2015 at 3:01 am

    […] Sawdust&Embryos […]

    Reply
  8. 27 Dazzling DIY Clocks – Isn’t it about Time for an Upgrade? | La Web de Alex says:
    August 7, 2015 at 10:55 am

    […] DIY Instructions and Project Credit – Sawdust&Embryos […]

    Reply
  9. 27 Dazzling DIY Clocks – Isn’t it about Time for an Upgrade? - DIY & Crafts says:
    August 7, 2015 at 10:20 am

    […] DIY Instructions and Project Credit – Sawdust&Embryos […]

    Reply
  10. Palm Branch Inspired Art Panels - Sawdust and Embryos says:
    July 24, 2015 at 7:32 am

    […] / 2 / 3 / 4 / 5 / 6 / 7 / 8 / 9 / 10 / 11 / 12 / 13 / 14 / 15 / […]

    Reply
  11. Pinspiratie: Mid Century Modern DIY | says:
    July 14, 2015 at 1:01 am

    […] Deze klok zie eruit alsof deze uit een dure woonwinkel vandaan komt. Maar niets is minder waar. Want deze klok maak je zelf. Hier kunt je vinden hoe je deze Designklok maakt. […]

    Reply
  12. A Tour of our Homestead! - Sawdust and Embryos says:
    May 28, 2015 at 4:28 pm

    […] White) and we popped up some crown moulding. The following are tutorials for the lined curtains, vintage-esque starburst clock, and modifying bamboo shades to fit your […]

    Reply
  13. Repurposing Bamboo Blinds into Art! - Sawdust and Embryos says:
    May 15, 2015 at 7:17 am

    […] projects! It has such great light! We started with this Plywood Quote Wall Art, and then this DIY Mid-Century Clock, and now this! I’m still thinking about finding a fun round rug to put under the egg chair. Keep […]

    Reply

Leave a Reply to ang Cancel reply

Your email address will not be published. Required fields are marked *

Recipe Rating


  • Facebook
  • Instagram
  • Pinterest
  • RSS
  • YouTube
We are Nick and Bethany! Welcome to our blog, Reality Daydream where we share our DIY adventures!
Click here for lots of art projects using only wood stain on furniture!!
Please feel free to share or pin my posts! You're welcome to use ONE of my images (no collages or pinnables) with a link back to the corresponding post. Please do not edit or crop that single image in any way. Improper use of my photos, ideas or words is a violation of copyright. Thank you!

Categories

Attention: Almost any do-it-yourself project involves risk of some sort. Your tools, materials, and skills will vary, as will the conditions at your project site. Reality Daydream has made every effort to be complete and accurate in the instructions of the plans on this website. Reality Daydream will not assume any responsibility or liability for damages or losses sustained or incurred in the course of your project or in the use of the item you create. Always follow the manufacturer’s operating instructions in the use of tools, check and follow your local building codes, and observe all commonly accepted safety precautions.


Copyright © 2025 · Modern Blogger Pro On Genesis Framework · Customizations by Sweet Theory Designs · Privacy Policy · Log in