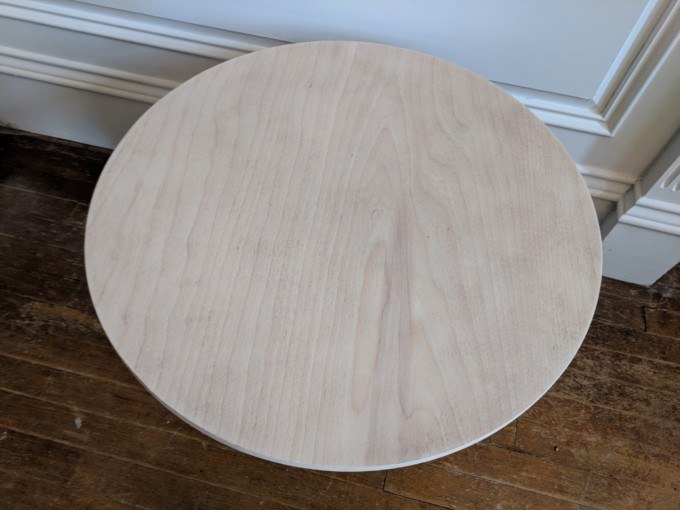
Ooo ooo oooooo! I have a new stained project for you today! With the craziness of this past year and the new house, I haven’t had much time to throw around stain on my favorite canvas… WOOD! But Della’s school was having an event with a raffle, and they asked if I’d like to donate anything for the raffle. This seemed like the perfect opportunity to carve out some time for my art. And I had the perfect little piece of furniture to use. I snagged this little end table at a yard sale awhile back for 50 cents!

Since this is such a small piece, I opted to sand the finish off rather than strip it. Mostly because my orbital sander was accessible, and all my stripping tools are packed in a box somewhere. I used 80 grit to completely remove the seal and stain, and then went to 120 and ended with 220 for a super smooth finish. Do you like my accidental yin-yang?!


Look at that raw. beautiful wood grain!
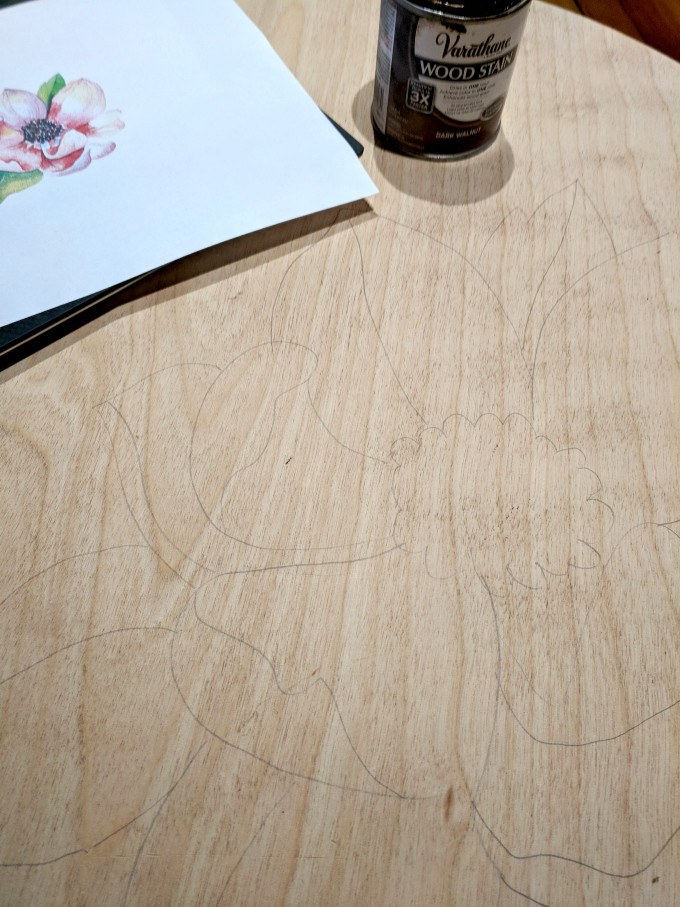
I wanted to try staining a flower that I hadn’t done before. But I also didn’t want to get too crazy and experiment on something that’s going to be raffled off. So I decided to go with a magnolia flower! They’re so pretty, yet simple and classic!
I found an image of a magnolia online. If you were staining a piece to sell, I would ask permission to use the image as inspiration. But since I’m not making any money off this thing, I’m not worrying about it.
After printing the image, I put a transparency over it and traced the flower on. My thin sharpies are all packed, so I used a basic pen. It’ll do.

I laid the little end table on its side, and used my overhead projector to project the image of the magnolia onto the end table. You can move the table closer or further away to make the flower just the size you want. Then trace with a pencil!

Time to get staining!
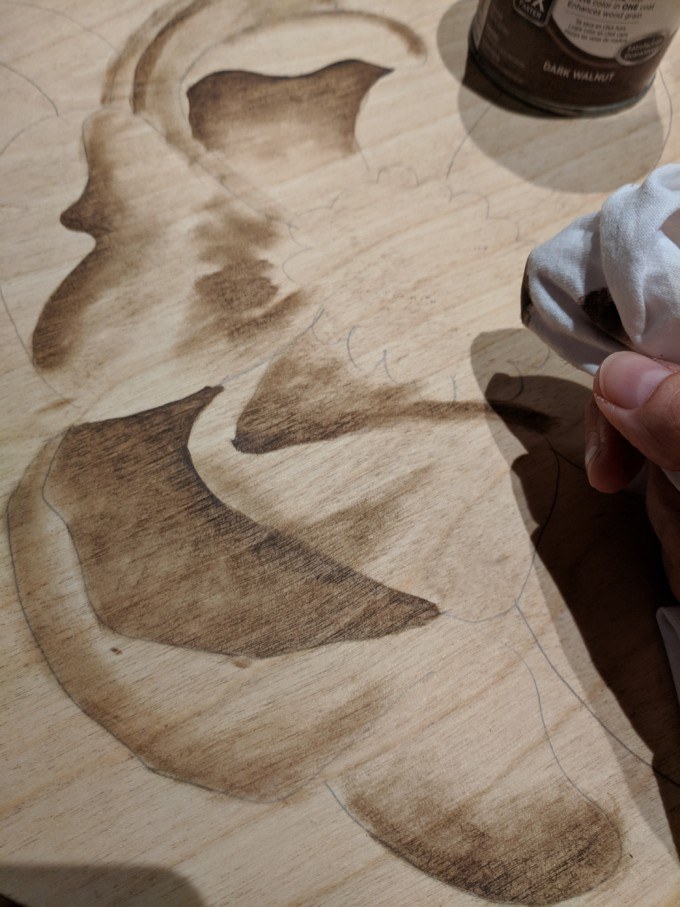
This isn’t going to be a step-by-step staining tutorial. I didn’t even make a video. but I wanted to share the process! You can always refer to this post, or this beginner staining technique post.
I used the pic of the magnolia flower to take note of where the deep shadows are, and put the stain on heavy in those spots. I left the lighter spots completely unstained.
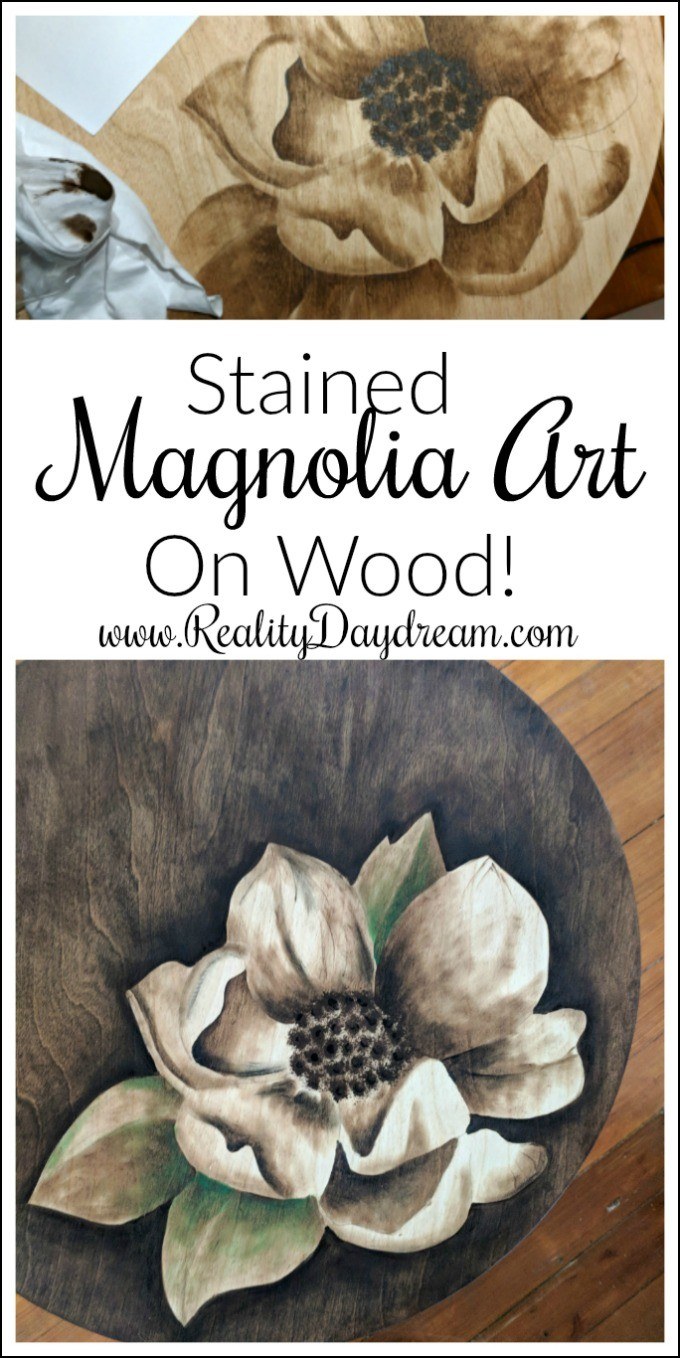
I used a cheap little stencil brush to blot on the stamens (is that what they’re called?), and I love how organic it looks. I couldn’t have pulled that off with just my finger and a cloth!

I loved the natural hues of it just as it is. I added a little black in the darkest of shadows to add even more depth and contrast. And stained the rest of the table solid brown. But I didn’t like how it was difficult to differentiate between the leaves and the petals of the flower.

So I decided to add a little green to the leaves. And some more shadows around the perimeter of the flower.

I love how it turned out so much!
I know some of you will wish that I had added the pink to the petals, but I really liked the idea of it being a white magnolia flower. And since it’s going to be for a raffle, I didn’t want it to be tooooo girly.
I painted the base of the table a glossy gray, but totally forgot to take a pic of the whole thing finished. So you’ll just have to picture it in your little noggin.
Be sure to check out our other ‘stained art‘ projects below!
 |
 |
 |
 |
 |
 |
 |
 |

Thanks for pinning!
Related:
-

We love the original wood of our library, and wanted to find a desk that…
-

Nick and I have dabbled in epoxy here and there, but we've never done anything…
-

We're in the dog days of summer, and it seems like my kids are always…
I am so impressed! Love the suggestion of color and what’s not to love about magnolias?!
Have you tried your creative staining on hardwood floors? The hub-a-dub and I have been renovating a neo-Victorian and I don’t want to sand down the original hardwoods. I would much rather camouflage the damage with artful staining. I would be so grateful for any suggestions.
Thank you so much for your information
I have been wanting to try this
You did an awesome job!
That is beautiful!! I love it!! I really wished I hadn’t seen it tho…because right now I’m looking for a small table or piece of wood so I can try to do that! And I already own 1/4 of Hobby Lobby!! Jk Lol I ought to tho as much as I’ve spent there. ??
My grandson came home one day and said..”Nana you have a problem with that pinterest stuff.” I just looked at him ? ??? You do beautiful work!!
So, I’m having a hard time finding a green stain for the leaves. The only green I can find is a water based stain but I’ve already used oil based for the flower shading. Any suggestions? Thanks!!!
It’s ok to use water based stain over oil-based… as long as the oil-based stain is good and dry. I do it all the time!
I love the stained art on wood and have plans to try it out myself! I wanted to do it on a barnwood door (new wood not old) that’s pine and loved the contrast idea of dark walnut for staining over the light pine, but was wondering about the rest of the door, and how it should be stained? I figured all the wood should be stained before sealed so should I do a light stain over the whole door then do the stain art with the dark stain over it? It seems you shade to cover most of the area and use the same stain to do the rest of the wood, but I am looking for the contrast of light and dark. Also thinking of using some of that colorful unicorn spit colors to make some of it pop a bit in color, should I add that after the main shading? Thanks for the help, noone at the hardware store had much to go on!
Hey Melissa! You don’t need to stain wood before sealing, so the portions of the barnwood door that don’t have any stained design on it can just be left alone, and you can seal the whole thing! Yes, I would do the main design (and make sure it’s completely dry) before adding pops of color or contrast with Unicorn Spit. And be sure to seal with oil-based poly. Hope this helps! Pleeeeease send me pics when you’re done! beth@realitydaydream.com
That’s so beautiful! You’re amazing!
That is lovely! What an original table for someone to enjoy. I so enjoy your creativity and can do attitude.
I am looking forward to all the changes you will show us of your new “old” house.
It’s stunning & a beautiful addition to the raffle!!!
Beautiful imagination.
Wow!
You’ve inspired quite a swirl of activity in my ol’ noggin — hopefully resulting in something wonderful soon.
Thanks for sharing!
Oh my gosh that is soo beautiful. I wouldn’t even attempt it!! Painting scares me!
This is so beautiful and will make a lovely gift for someone 🙂
This is soooooo beautiful and what a nice gift for someone 🙂
Lovely Bethany,
Let us know how the raffle goes! ?