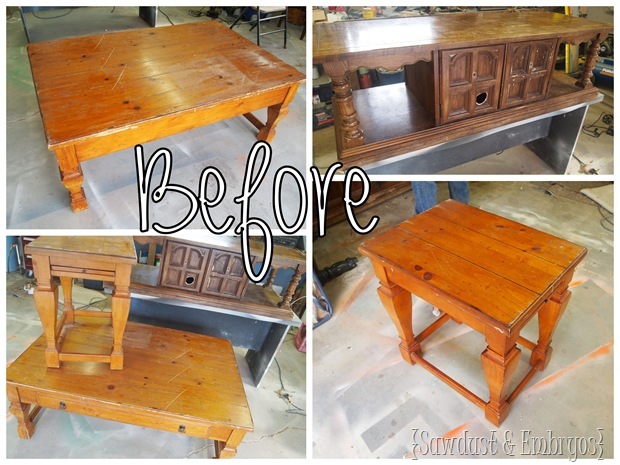
Our new friend Nick (ironic!) had purchased this end table from us a few months back. He recently contacted us with a new job! He had a coffee table, end table, and a long/low unit that he wanted us to paint to look like a ‘set’. The coffee table and end table are already siblings, but that other piece isn’t even a distant cousin.
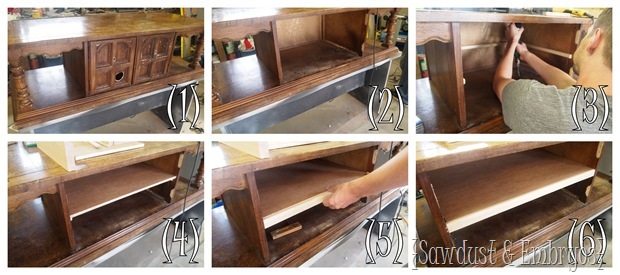
He wanted to use the long/low table-ish thing as a TV stand, and asked that we remove the doors and add a shelf for storing DVD players/game consoles and the like. These types of projects make MY Nick’s little heart sing. Usually a country song that he only knows a handful of words to.
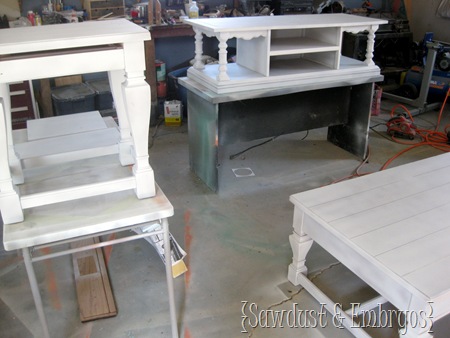
Our next step was to sand and prime everything (ok technically that’s two steps… whatever).
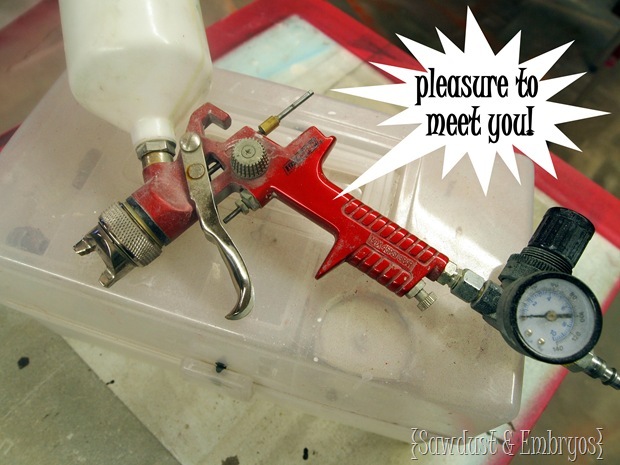
Since our buddy wanted his tables to be red and glazed (no special new techniques to share), we thought this would be a perfect opportunity to introduce our paint gun!
We’ve been using it for several months now, because we wanted to be good and familiar with it, and form a valued opinion before we blather on about it!
The brand is Tool Shop. Just a cheap-o paint gun bought at our local hardware store for $20 bucks or so. We originally bought the cheapest gun because we just wanted to try it out and see if it would benefit us financially before we made the commitment of purchasing something very expensive.
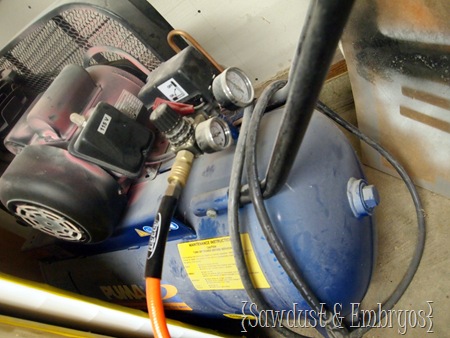
We found that we actually liked the gun! But we didn’t like the crappy air pressure our 10-gallon air compressor provided. Finally we realized that we would need to make an investment in a larger air compressor… knowing it would pay itself off with all the $$$ we are saving on paint. Check out this 20-gallon-beast:
This is your opportunity to make your husband’s YEAR! Go buy him a hefty air compressor. For him it’ll be a sweet toy, and for you it’ll be a priceless tool that makes your life so much easier and cheaper (in the long run).
Husbands? YOUR WELCOME.
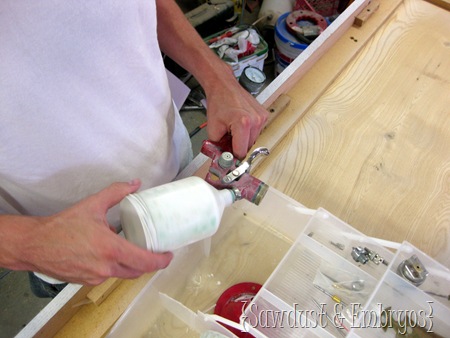
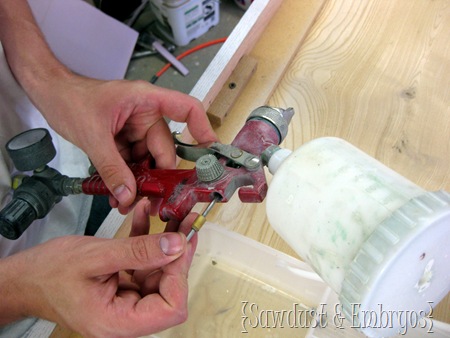
Depending on what brand/model of paint gun you purchase, you’ll want to carefully read the directions and learn to put your gun together correctly. It’s not as complicated as it looks… promise!
We use a 2mm needle for most of our paint jobs. You’ll know what that means when you get familiar with your new gun.
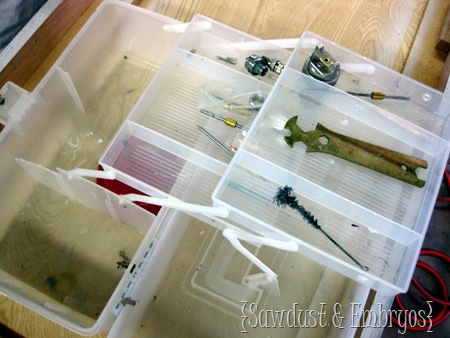
We keep all our little pieces neatly together in this little caddy. Definitely find something to keep all your parts together!
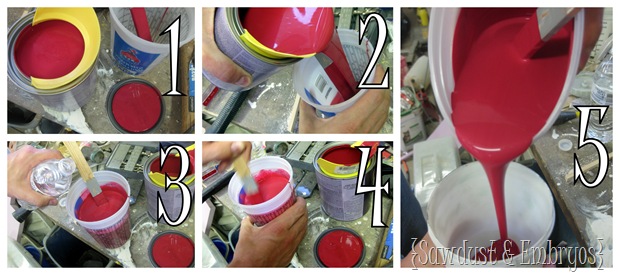
Next you’ll need to thin your paint to a consistency that will flow smoothly through the nozzle of your gun. There will be a little trial and error with this. What has worked for us is to add enough water (or mineral spirits for oil-base paint) until it’s slightly thicker than the consistency of water. Plan on practicing a lot on a sheet of wood until you get the feel for it.!
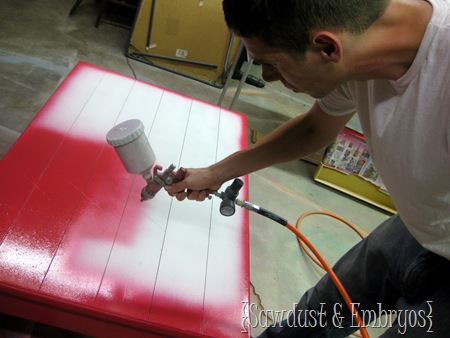
One thing we love about our paint gun is that it has a valve that allows us to use a flat spray (fan spray), or a straight shot. And we can turn the flat spray to be either vertical or diagonal, depending on the part of furniture we’re working on. Take it slow and just let it ‘mist’ the furniture. Several coats is better than drips!
(Please note that we almost ALWAYS wear a paint mask while painting. Don’t know what happened in this pic… totally dropped the ball. WEAR A PAINT MASK FOLKS!)
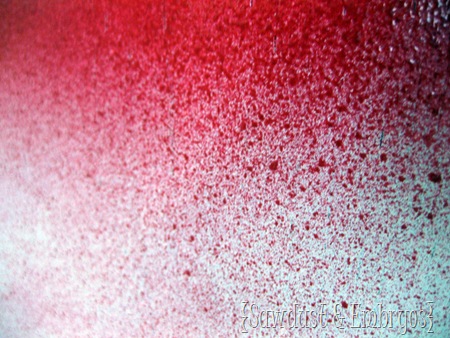
Below is an example of a good even spray, with the proper ratio of thinner/paint and air pressure.
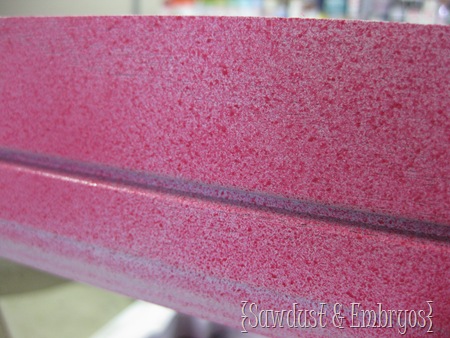
Below is an example of what we call ‘orange peel’ texture. This could either be caused by paint not being thin enough, lack of air pressure, or too much paint supply flowing through your gun. There are valves to adjust these things. Become familiar with them!
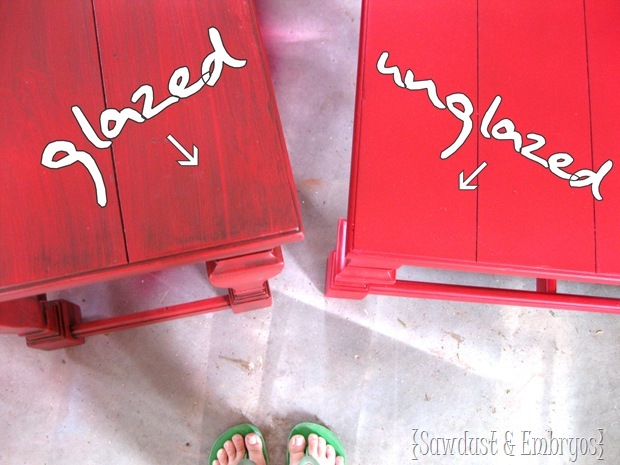
Even though our client WANTED his furniture red… we were feeling like things were REEEEALLY red when we were done painting. Like in an unpleasant way. Luckily, he also wanted the ‘glazed’ look… so we knew that would definitely tone things down a lot. And it DID! (Glazing Tutorial HERE)
See? So much better, right? RIGHT!
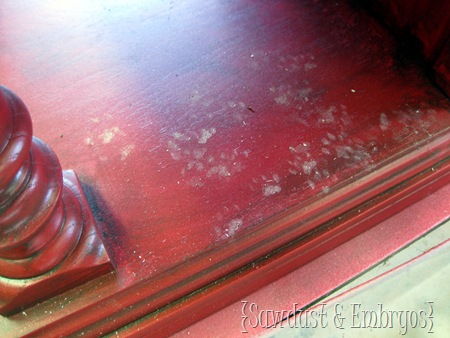
When we got around to polying these pieces, we had to wipe things down a little. It appears there was a kitten stampede. I can’t help but think it’s super cute. 🙂 If it were my furniture, I may have just sealed the cuteness in permanently!
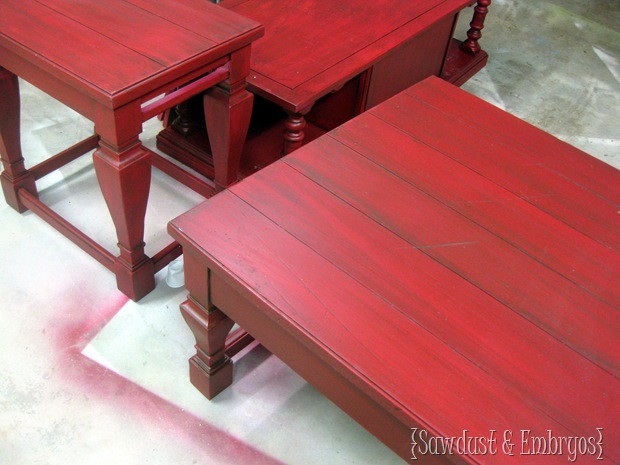
Don’t they look like a lovely close-knit family of tables?
In conclusion! (I haven’t typed that since college!) These 3 pieces of furniture TOGETHER used one quart of paint (which cost us around $10). Had we used aerosol spray paint like we’ve done in the past, we would have used at LEAST 10 cans of spray paint (at $5+ bucks a pop), so that’s a 80% savings on each piece of furniture we tackle! I would venture to say that the air compressor has paid itself off in the last few months… I wish we would have kept track!
We would like you to go away with 2 very important nuggets of paint-gun wisdom:
- It’s all about the air pressure (in our experience). Buy a quality air compressor and a cheap gun!
- Don’t be intimidated by all the parts, learning the valves, cleaning, etc. Once you get it down, it’s cake.
Questions? Comments?
DISCLOIMER! We are NOT professionally trained, and we learn something new with each and every new project! We just like to share what knowledge we have with our friends! We are in no way affiliated with Tool Shop, and are not being compensated for singing their praises. We’re just tellin’ it like it is, yo.


Yes I believe so!
I don’t see this post on your tutorials page – I remembered reading this at some point and wanted to find it again since I am tackling something similar soon… you should add it there so it is easy to find and share on pinterest and facebook!
Thank you for the suggestion! I’m in the process of updating our tutorials page and making things easier to find. So many projects to organize!! 🙂
Cleaning….is it hard? Any tips or advice? I am going to buy a paint gun and just want to know what I should pick up at the same time. Have the Floetrol on the list already! Is the cleaning kit a good idea or just something more to buy?
If there’s a cleaning kit, you should buy it! Because cleaning is no fun. 🙂 It’s important to get the gun VERY clean!
I accidently stumbled upon your blog and now I’m HOOKED. Thanks, seriously.:o)
Keep up the good work and thank you for experiments so I don’t have to as often!
That’s an awesomely better deal! You guys did great. I love how the red color turned out!!
http://www.munchtalk.net/
I meant, for the “gun” and not for the fun. Though it is fun…
Paint guns are a life changer! I have a recommendation regarding your thinning. I use to use water too, and then I read up on using Floetrol as a thinning agent. It’s fantastic! I do a 1 to 4 ratio, of floetrol to paint. It thins it out for the fun, and it has a smoothing agent designed to help hide brushtrokes. So after you spray, the paint just magically….smooths…….
It’s great!
Jesse, I think we’re going to pick up some of this Floetrol you speak of. Water just ain’t cuttin’ it, and we’re getting tired of orange peel garbage! Thanks for the suggestion! We’ll be sure to give you a shout-out if we love it!
I have been thinking about getting a paint sprayer after recently painting 6 chairs 4 coats of paint, not fun. Thanks for making my decision easier, i love the tables, I liked the little kittie foot prints too, you guys did an amazing job
Thanks for the tip on paint guns! I bought the Wagner Power Painter… and it ruined my life. Worst paint sprayer ever. I really appreciate your review!
They definitely look like a set now! Awesome job!!!
Yah!! I have been impatiently 🙂 waiting to find out about your paint gun and now I will be running out and getting that same one! I’m hoping I will find a good but cheap used air compressor soon too! Those little cans of spray paint are draining my bank account for sure. Thank you SO much for sharing your finds and experiences to the rest of us! You have definitely made my day!!!
That is a fantastic red finish! I love it!