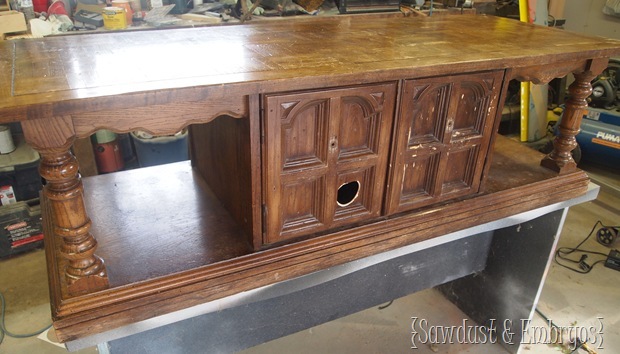
If you joined us yesterday, you know that this little gem got a serious facelift. And after removing those doors for our client (and adding a shelf), did you really think we would just throw the doors away?
Of course not! That would have been wasteful.
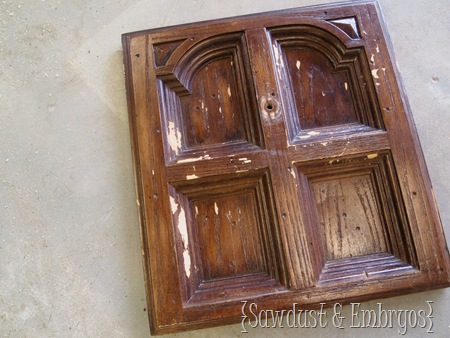
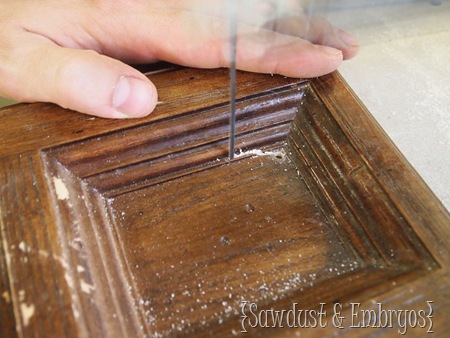
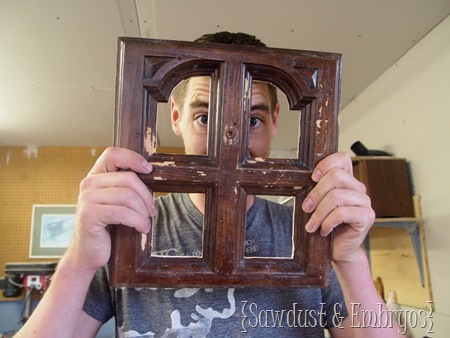
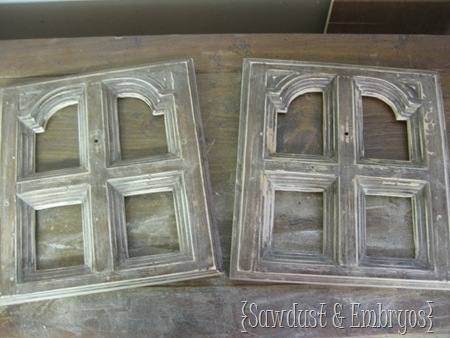
I asked Nick if he could cut out the inset panels so I could use them as picture frames, and he jumped at the opportunity to use his scroll saw. First he drilled a hole, and then fed the blade through and began sawing.
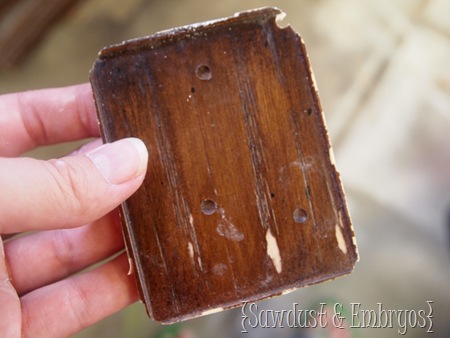
These center things got tossed. I’m sure I could have probably come up with something to do with them, but I was on a mission.
One down, one to go!
I sanded both ‘doors’ down with 120 grit to prepare them for priming!
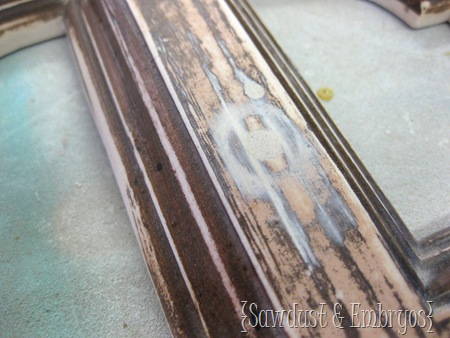
I also wood-puttied the hardware holes (we ALSO have plans for what to use the hardware on!), and sanded everything smooth, y’all.
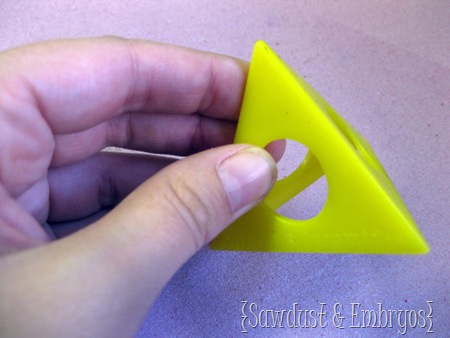
If you’re a fan of our Facebook Page, you know that I posted this pic (below) giving bragging rights to whoever knew what this thing was! It didn’t take long for someone to guess right (Donna!). I guess I’m not as sneaky as I thought. Because truthfully, I didn’t know what this was until a few weeks ago.
They’re called ‘Painting Pyramids’ and are used to keep your painted surfaces from sticking while still tacky-ish. Because even if you let paint dry for a couple hours and it feels dry to the touch, when you flip it over, it’s going to stick. Such a PAIN! We always paint the BACK sides of things first, and then flip them over onto our little pyramids. That way if the pyramids DO leave a little dot where the point was, it’s no biggie.
Such a clever invention, right?
I primed and painted these babies white!
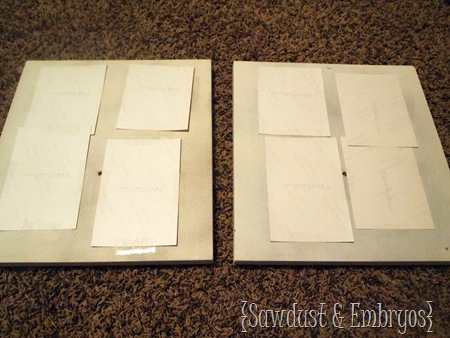
Then I hauled them indoors and lined up my pictures just the way I wanted them and taped them down. For some reason, I thought this would be good enough, but it totally wasn’t. The pictures kept popping off and makin’ me mad.
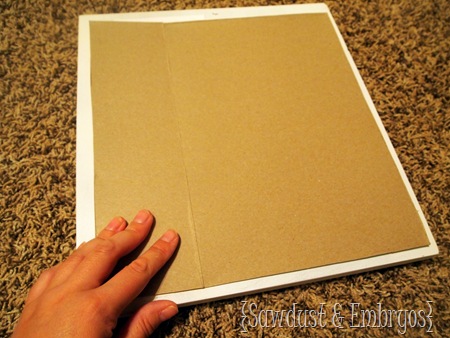
That’s when Nick got all resourceful on me and cut up an old cereal box for me to use as my ‘frame backing’.
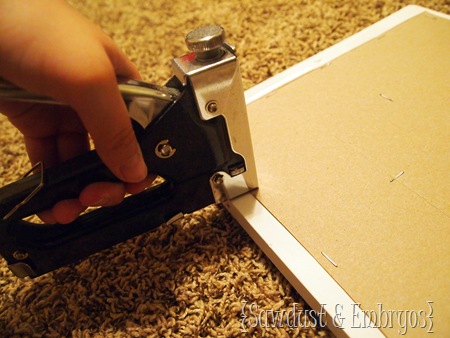
Since I don’t really plan on ever changing out these pictures, I went ahead and made things permanent by stapling all sides and in the center to keep things real snug and secure!
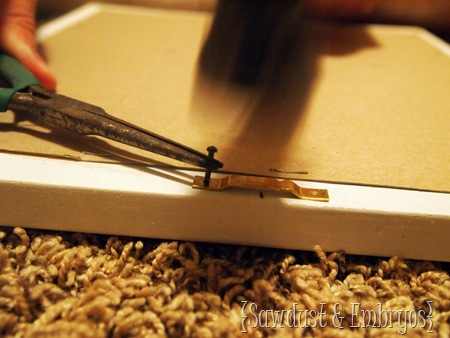
Then we just used basic comb hooks so we can hang them on the wall! Check out this sweet hammer-action-shot. heh heh…
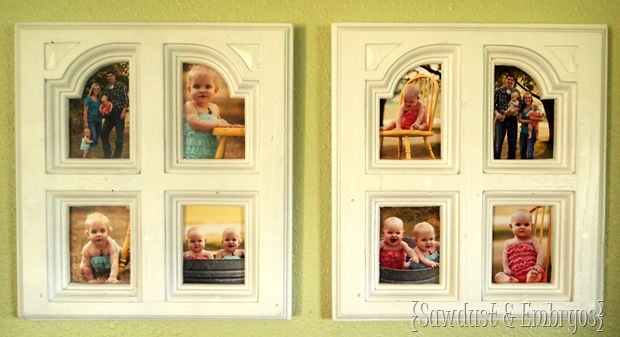
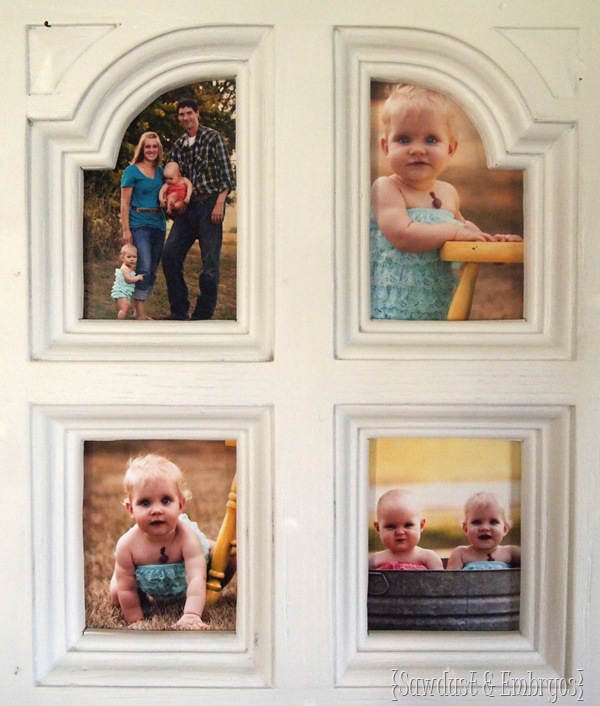
Now feast your eyes on our sweet adorable offsprings!
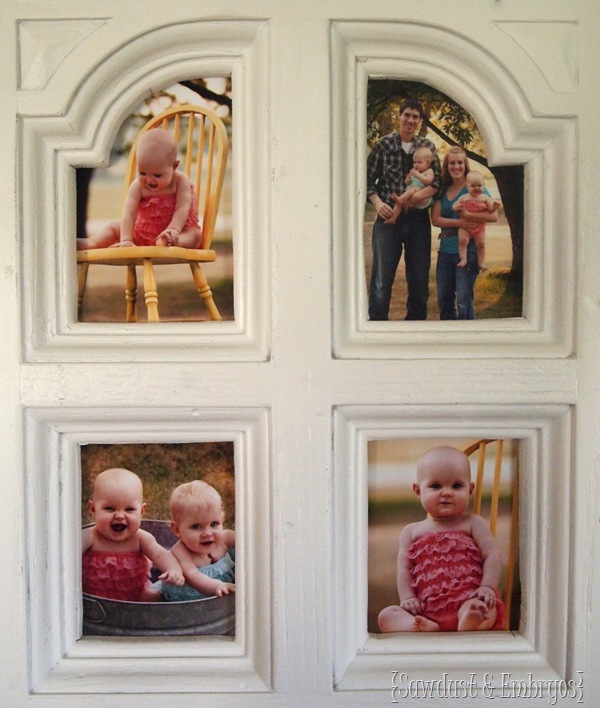
One ‘frame’ for each girl! This first one is of my darling Adelyn!
And the second is for Paisley (aqua). (all photos done by Molly Long… of COURSE!)
Aren’t my babes precious? I think so.
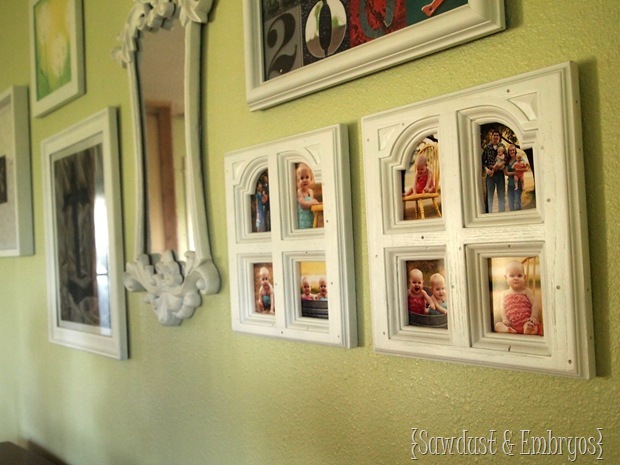
I’ve temporarily put them on our gallery wall in the dining room, but eventually I’d like to put them in the living room once we get our little crown molding ledge up on the top of the board and batten.
Such a fun little project for a random Wednesday night!

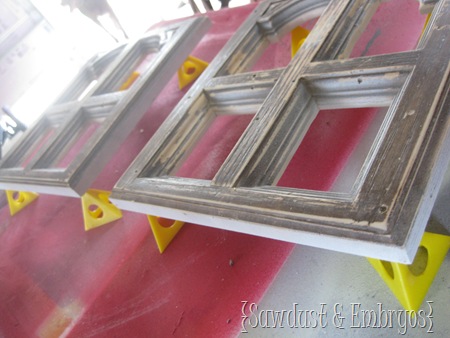
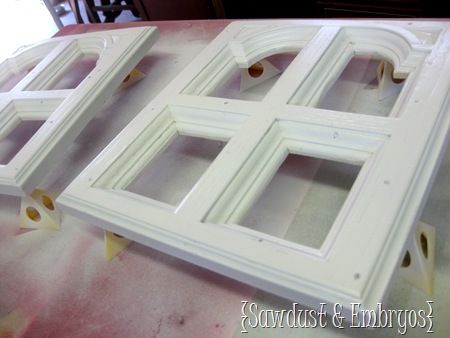


If you are working with something light you can use tacks too instead of painting pyramids if you aren’t fancy! I always do that when I paint canvas and small wooden things to make sure the sides get completely covered 🙂
Love the painting pyramids. I’ve been making my own for years using small blocks of wood (about 2×4 inches) driving small nails all the way through. The advantage is you can drive the nails through both ways. Put 4 nails through both sides on some so you can “stack” items. When you have limited space it sure helps if you can put two or three on top of each other. You just need to be sure you don’t place too much weight to leave marks. But otherwise you can still use for a single layer (doing the back as you said, first. ) and they are free!! Love, LOVE the table you did!! Your a gifted lady!
Yep! She DOES have a birthmark just below her neck. It’s called a Hemangioma, and supposedly it goes away when she’s two or three. We’ll see though! I don’t mind it… it adds character!
I LOVE this project! SO creative!
On a side note, does Paisley have a birthmark that I just didn’t notice before? That sounds creepy…don’t take it that way okay?
Anna
Lol @ Paul. I am so inspired by you Beth!
Pure genuis
WOW.. I would have never even thought to do this lol– Very Clever and Creative.. LOVE IT. Thanks for sharing with us 🙂
That was just genius to turn the doors into frames! Love how they turned out.
Beth is not all that short (I’m her dad). It just that Nick is taaaall. Poor guy has to duck through most doors – but he can reach everything without a ladder – BONUS. Bethany, I would have thrown those doors away. You two are just amazing. And all I did was sit around last night.
I can’t tell you how much I love that your tall hubby and your short cute self make perfect use of the curvature of the frame window! How awesome is that!!! Great project! And as usual, absolutely adorable babes. 🙂
You make an awesome team!
Once again I have gotten another great tip from your site…painting pyramids!! The frames are so pretty too! You go girl:)
Cute babies + cute frames = success!! Looks great…as always, brilliant idea 🙂
Holly @ owlcraftit.com
ya’ll are so creative! Love this!!!
Man, are you crafty! I wish I had 1/10 of your artistic ability! Once again, your something from nothing is stupendous! Thanks for sharing.
You are absolutely brilliant! I LOVE LOVE LOVE this idea! Do you know how many random cabinet doors I’ve looked at thinking they have great detail but never thought about making them useful?! I’m now on a mission!