Every time we go to the park, or for a hike, or to the zoo (or really anything away from home), my kids always ask me to carry their stuff. They find beautiful rocks that they value deeply but don’t want to carry. Or their water bottle is too heavy, so naturally they want me to carry it.
I could go on and on.
Anyway! I’ve been planning on making each of the girls a lined drawstring backpack for awhile now. But I’ve been putting it off, because sewing intimidates me. (even though my most popular post of all time is a sewing tutorial)
So when my friend Bari J asked me if I wanted to do a project with her New Fabric Line, it was the kick in the butt I needed to finally pull the trigger on making each of the girls their own lined drawstring backpack!
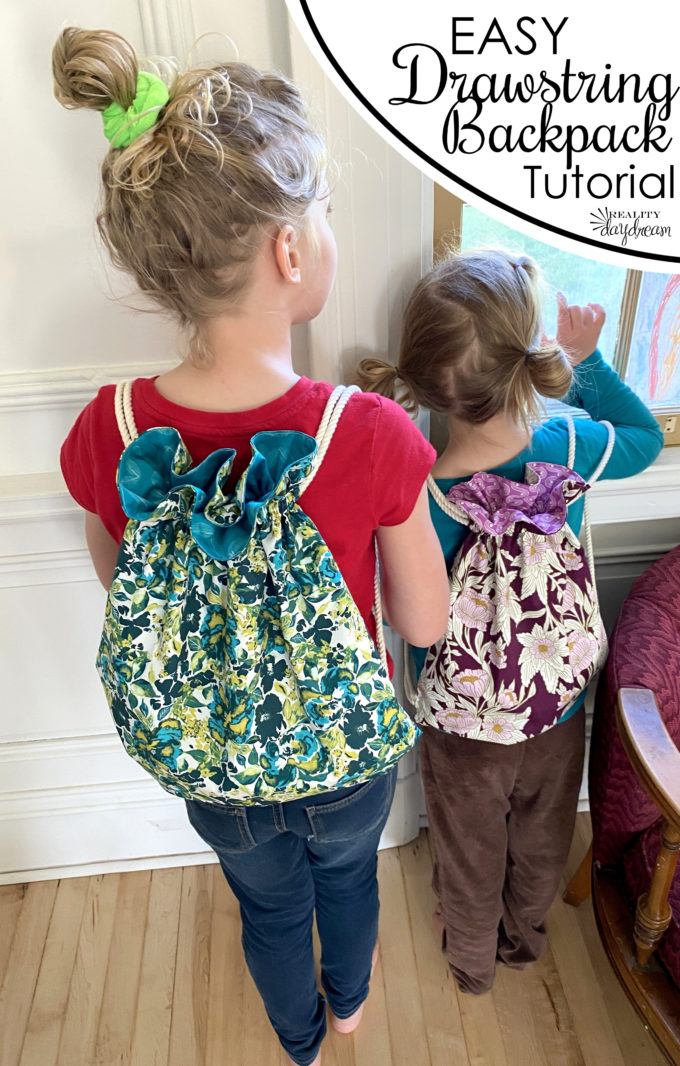
Bari J has so many gorgeous fabrics in her collection. She’s such a talented floral artist and designer, and I’m so honored to get to create with her fabric! In fact, we used her fabric to make the girls’ Bunkbed Curtains… which remains one of my favorite projects ever.
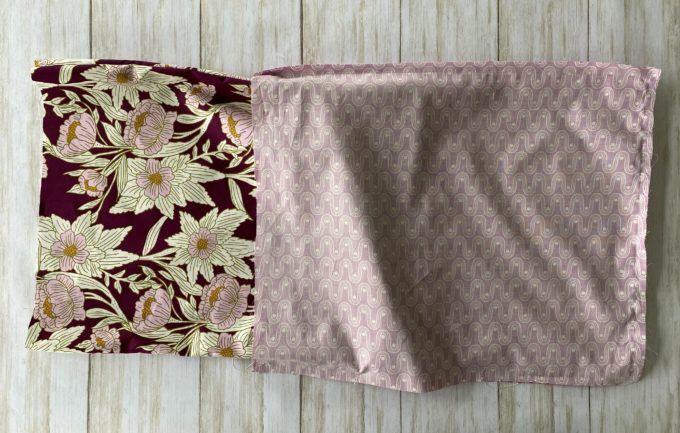
These are the fabrics I picked out of her collection with Art Gallery Fabrics for the lined drawstring backpacks:

I pared a floral with a geometric for each girl’s lined drawstring backpack. The floral for the outside fabric, and the geometric for the lining. Aren’t these gorgeous combos?

But before we get started, let’s talk about supplies:
Supplies for Lined Drawstring Backpack Tutorial
- Fabric!
- Fabric Scissors
- Sewing machine (this is the one I have)
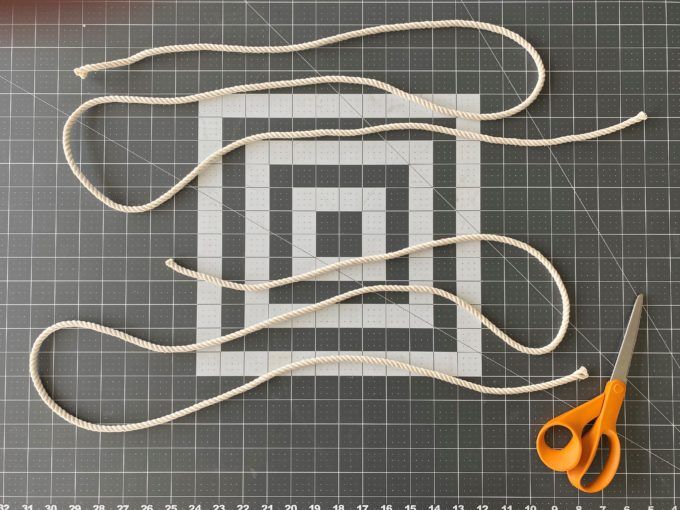
- 1/4″ cotton rope (you could also use a wide ribbon or biased tape)
- Safety pin
Cut out Fabric
Start by cutting out two rectangles 16″x19″ from your outer fabric and your liner fabric… so a total of 4 rectangles altogether.
Note: this size is for a medium size child lined drawstring backpack. For an adult size, add two inches in both directions. For a smaller child, take two inches away in both directions.

Let’s start with the liner! Put your ‘right sides’ together.

Sew around edges of liner and outer fabric
You’re going to sew around all but the top edge, and this one gap on one side. This is just to make the whole thing right-side-out later.

Set aside the liner that we just sewed, and pull out your outer fabric. Put the ‘right sides’ together again, just like we did with the liner.

This time, we’re going to sew around all but the top edge, and leave a tiny 1″ gap at the bottom of each side.

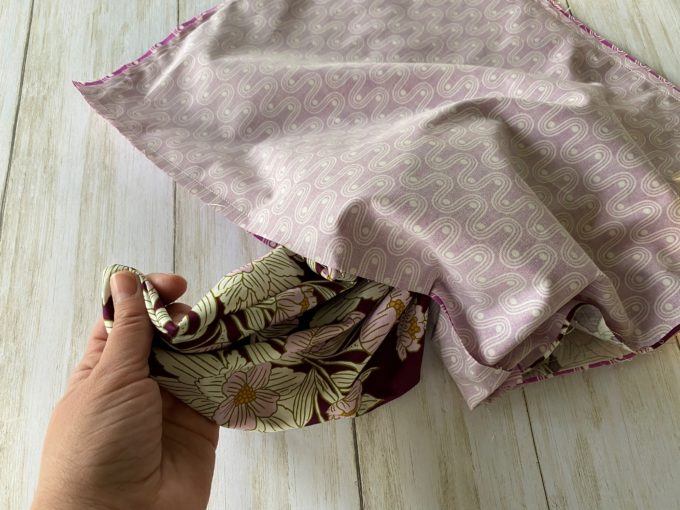
Attach the two together
Go ahead and turn that outer fabric right-side-out, and then tuck it inside the liner (which is still inside out). This will put the ‘right sides’ of the liner and outer fabric together.

Make sure that the seams on the sides line up perfectly, and then pin them in place.

Pin around the edges so they stay in place while you’re sewing.

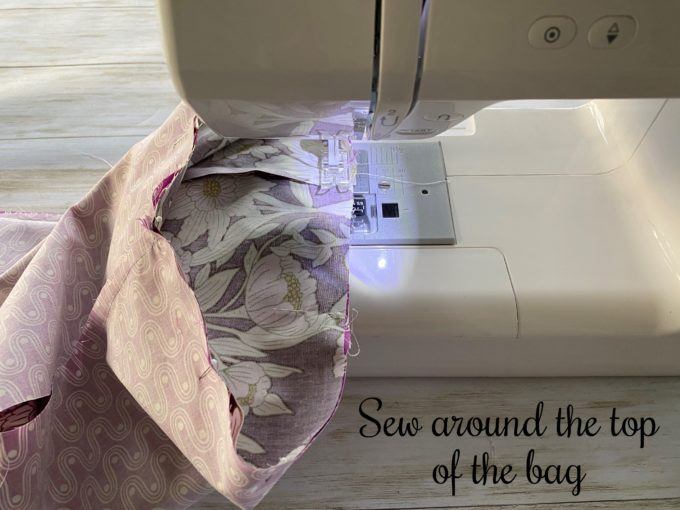
Sew along the top of the bag, and then pull everything right-side-out through that side hole in the liner fabric.

Sew hole shut
Find that hole on the side of the liner fabric, fold the edges in, and sew it closed. This will be on the inside of the lined drawstring backpack, so it will never show!

Press and sew along the top
Shove the liner fabric into the outer layer, and press along that top edge with an iron so it looks perfect! Then stitch along the top with the sewing machine.


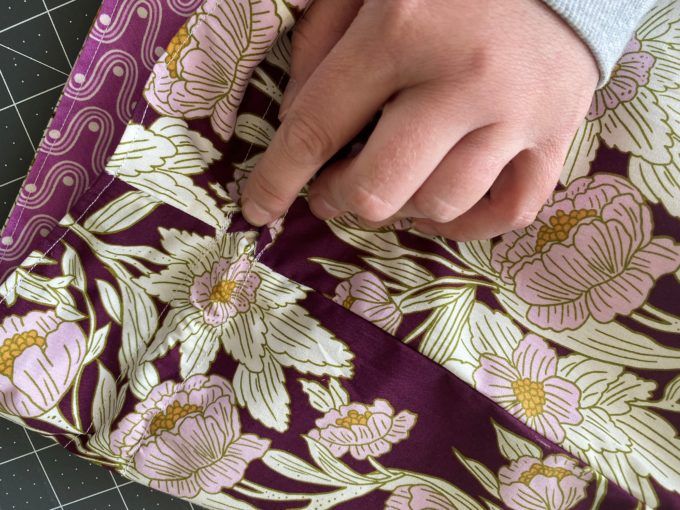
Draw and sew lines for the drawstring
We want to draw two straight lines (one inch apart) along the top of the bag for the drawstring. I drew my first line 2″ down from the top, and the second line 3″ down from the top. Be sure to use a straight edge! You don’t want your lined drawstring back to end up wonky!

Turn your bag so it’s right-side out again, and sew along those lines you drew. Each time you pass one of the side seams, backstitch back over the seam a couple times to get it nice and sturdy. It’ll all make sense when we put in those drawstrings!

Do you see how I stitched back and forth over the seam a few times??

Remove stitches for the drawstring
Use a seam ripper or very pointy scissors to remove the stitches from along the seams between the two lines you just stitched… on both sides of the lined drawstring backpack.

Drawstring
Time to add the ‘drawstring’ part of this lined drawstring backpack! Measure out two lengths of 72″.
Note: again, this is for a medium sized child. For an adult, add 4″ to each string. For a smaller child, take 4″ away.
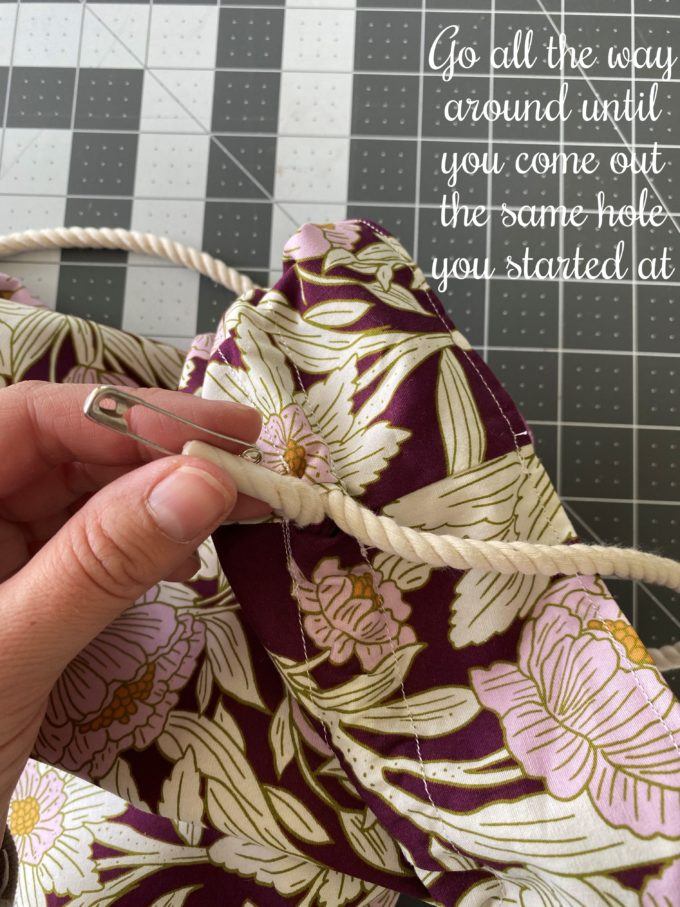
I put some scotch tape around the edges so they wouldn’t unravel. Then push your safety pin up through the side of the tape so it comes out the top. It should look like this:

We’re ready to push this rope through the ‘little canal’ that we sewed!

When you get to the next little opening, just bypass it until you get back around to where you started.

Take off your safety pin, and put it on the next string! We’re going to string the second string in through the other hole. This one will be more tricky, because you’re trying to work it around the rope that’s already in there.
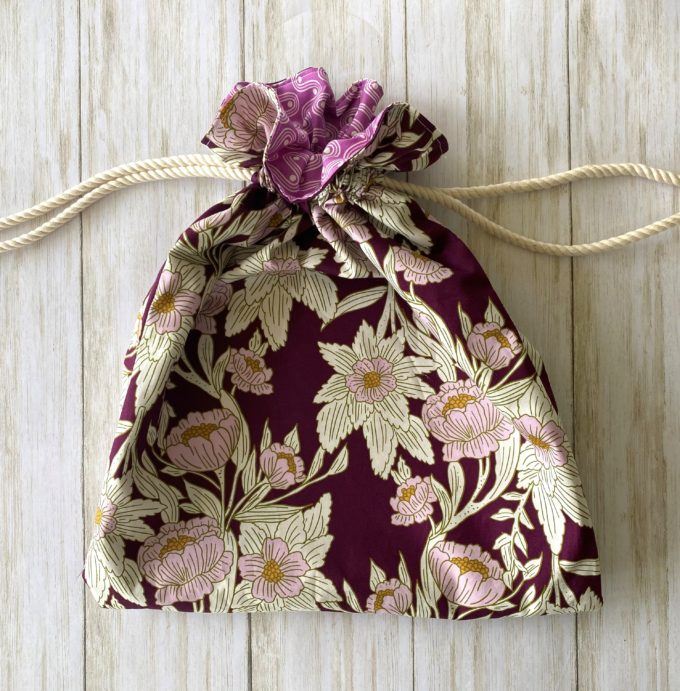
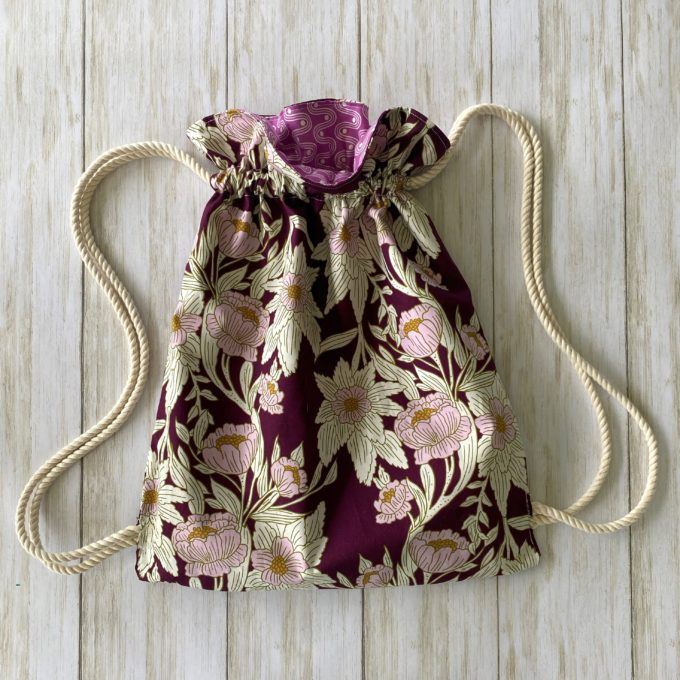
This is what we’ve got now, right? It’s a lined drawstring BAG!

And when you pull the string, it magically does this, right?
Attach Backpack Straps
Don’t you love that floof at the top that let’s you see the beautiful liner fabric too? I DO!
I know the strings seem excessively long at this point, but we need that length to make this lined drawstring bag into a lined drawstring backpack!
Round up your little human, and give it a test run to see where you want the strings to be attached to the backpack, and then mark the strings about an inch longer.
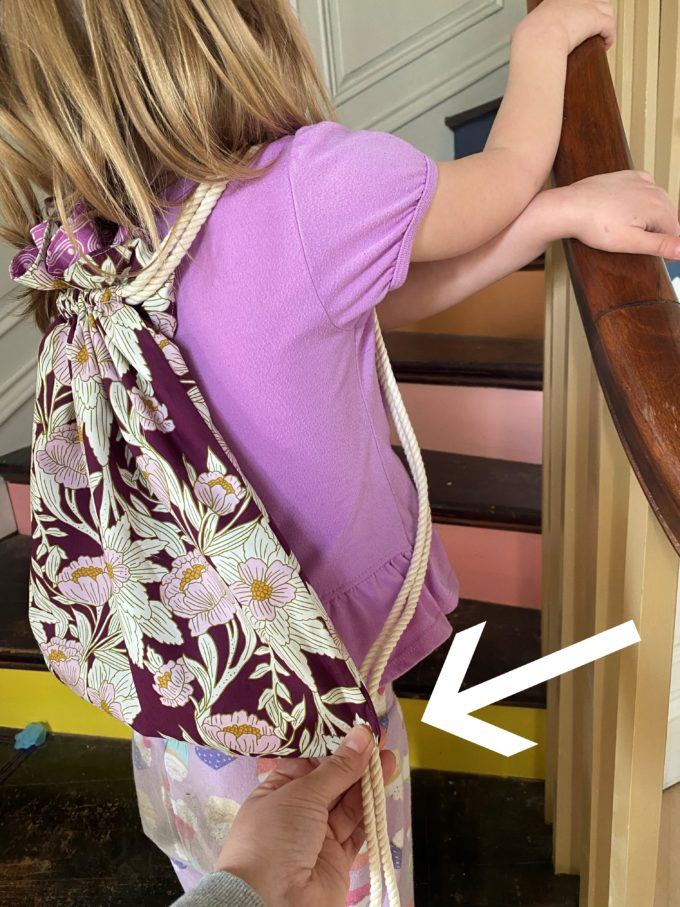

Using fabric scissors, cut your strings where the marks are, and unravel them about 1″. Then we’re going to shove them into that little hole at the bottom edges of the bag.

Having the ropes unraveled makes them spread out to be a little flatter and easier to sew over.

Sew in the ropes on both sides, AND WE’RE DONE with this lined pullstring backpack!
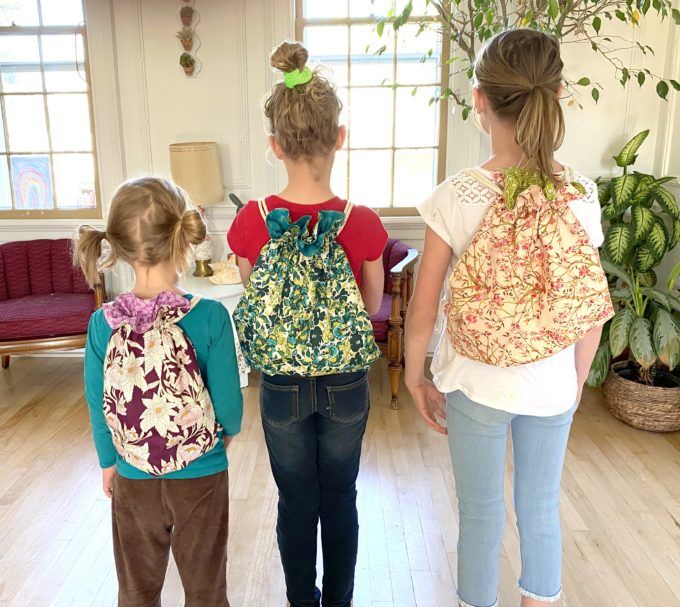
ENJOY your Lined Drawstring Backpack!

That wasn’t so hard, right? I have a feeling my girls will be using these backpacks for all sorts of things. And I’m glad that I won’t have to carry their things anymore!
Look at the 3 of them…
Another thing I love about having these lined drawstring backpacks is that they can be wadded up and stuffed in a drawer when they aren’t in use. And they’re washable too!
Here’s what’s currently in Cypress’ drawstring backpack, in case you were curious.

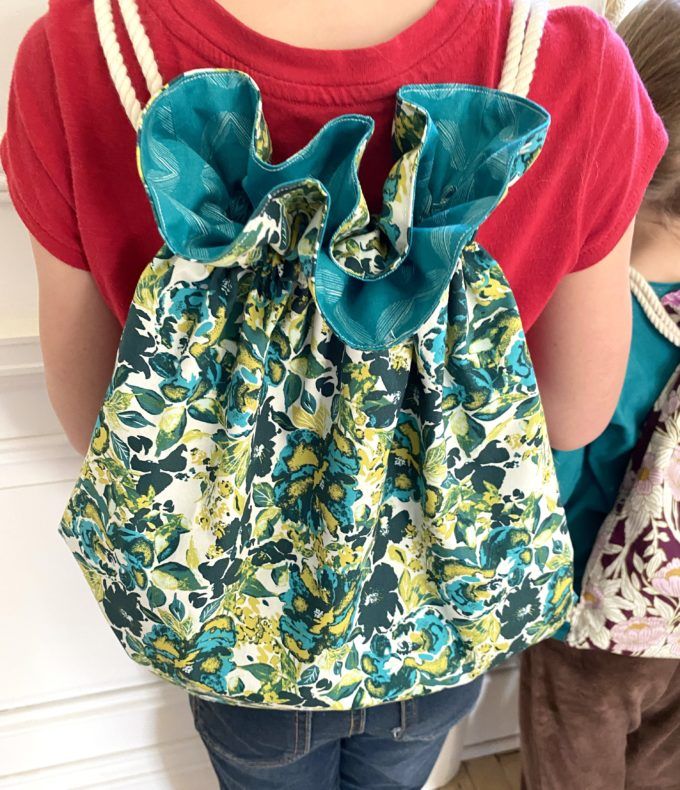
And here is a closer-up pic of the other two I made!


As always, if you use one of our tutorials to make a project, please tag us on social media! We’re @RealityDaydream on both Instagram and Facebook!
Go forth and be creative!!
~Bethany
~~~~~~~~~~~~~~~~~~~~~~~~~
Be sure to check out our master list of DIY Handmade Gift Ideas!

Thanks for pinning!

Related:
-

I have a fun and easy building project for you! And while I do end…
-

My kids are getting to the age where they want to tape pictures, cards, notes...…
-

I've been needing to figure out a solution for my overwhelming plant propagation situation for…
This is a great idea for a backpack! I love the lined fabric!
I love the contrasting fabric. Plus, the wider cording for the shoulder strap won’t dig into their shoulders, especially if they fill it with a treasured rock! My daughter would love this, and I am going to show her this post so she can make her own. At 13, I think she could tackle it, because you give such a great step-by-step tutorial.
I love it! Please share pics of it when she’s done!!
I would leave a 1 inch opening at the top of the bag, instead of opening up the seam, the same at the bottom. That is just me, from making so many of bags. Just a suggestion. I will make one for my granddaughter.
Adorable.Great job! I just love them. And BariJ has such beautiful fabric doesn’t she.
Bethany,
You did an awesome job with these. I love how Cypress has amongst her treasure a drawer knob. Totally says future DIYer.
When my daughter was little and we had to go to doctor’s appointments, which unfortunately were often, I set up a backpack with things in it (coloring books, crayons, etc.), so we could grab and go. This backpack was only for appointments and had it’s own hook in the closet so we always had it handy. This thing kept my sanity on many an occasion because she had something to do while I filled out paperwork and because the stuff was only used during appointments she didn’t grow tired of it. This bag you made would be a great and possibly cheaper alternative to buying a backpack.
Love the blog and watching your family do all the wonderful things you do.
Maureen
That’s so smart Maureen! I should totally make one that is just for that purpose. Thank for the idea!!