Well, it’s been a minute since we finished the crown molding on the kitchen cabinets. Sometimes it’s hard to stop and document the process on the ol’ blog when there are sooooooo many projects to tackle at Daydream Manor!
But this special time in history has presented us with a unique opportunity to have SO MUCH EXCESSIVE TIME on our hands. So we’re gonna throw down the details of how we tackled this cabinet crown molding project at last!
Nick is the resident builder in the house, so I’m going to let him take over at this point.
Take it away baby…
~~~~~~~~~~~~~~~~~~~~~~~~~~~~

*This post is sponsored by our friends at DAP. Thank you for supporting the fabulous brands that make Reality Daydream possible! This post contains affiliate links.*
Well hello folks. Let me tell you about a time when this modest builder installed the most expensive trim I have ever seen.
Trying to match the aesthetics of our historic home, our local home improvement store was not going to be our best option when it comes to kitchen cabinets and corresponding trim. After talking with our local cabinet builder, we designed something that would work well and reduce the amount of effort that went into installing the trim.
Needless to say, I was nervous to start this project, and so like many others, it went on the back burner until I had a solution figured out. It also helped that Beth patiently encouraged me to get to it.
I started by making this jig from the Jan 2007 issue of Wood Magazine. For a couple other methods you can take a peek at our old farm house living room, picture railing and bedroom where we layerd trim pieces to make a beautiful chunky crown.
This trim went up in 4 layered pieces. We started with a cove and bead profile that went on top of the cabinet, This acts as a base for the trim and helps transition from the cabinet to the piece of flat stock extending the cabinet to the ceiling.
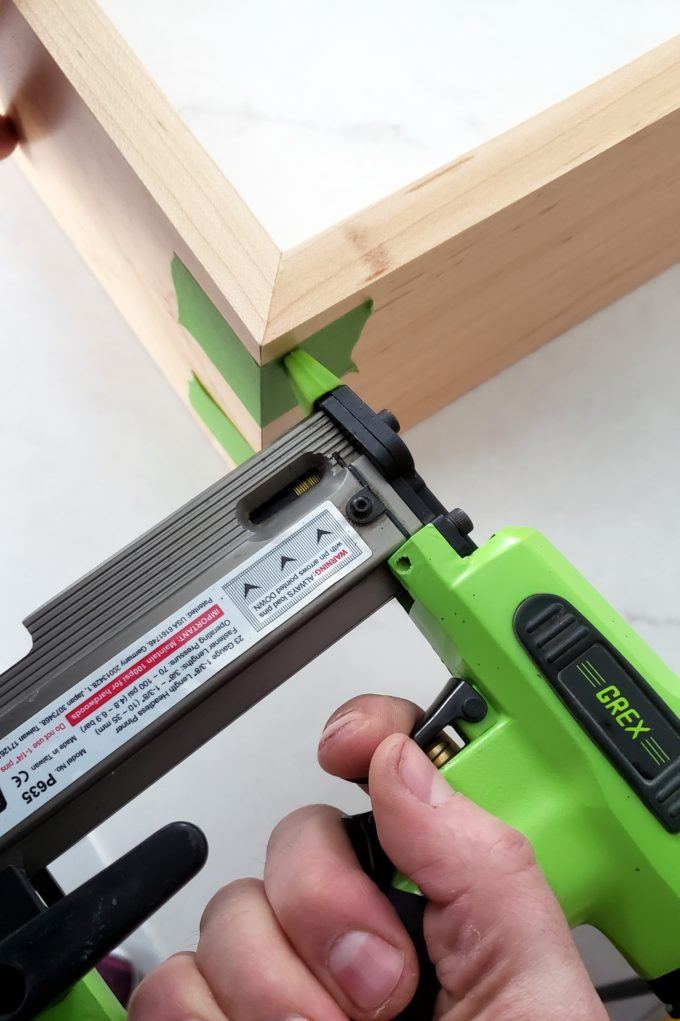
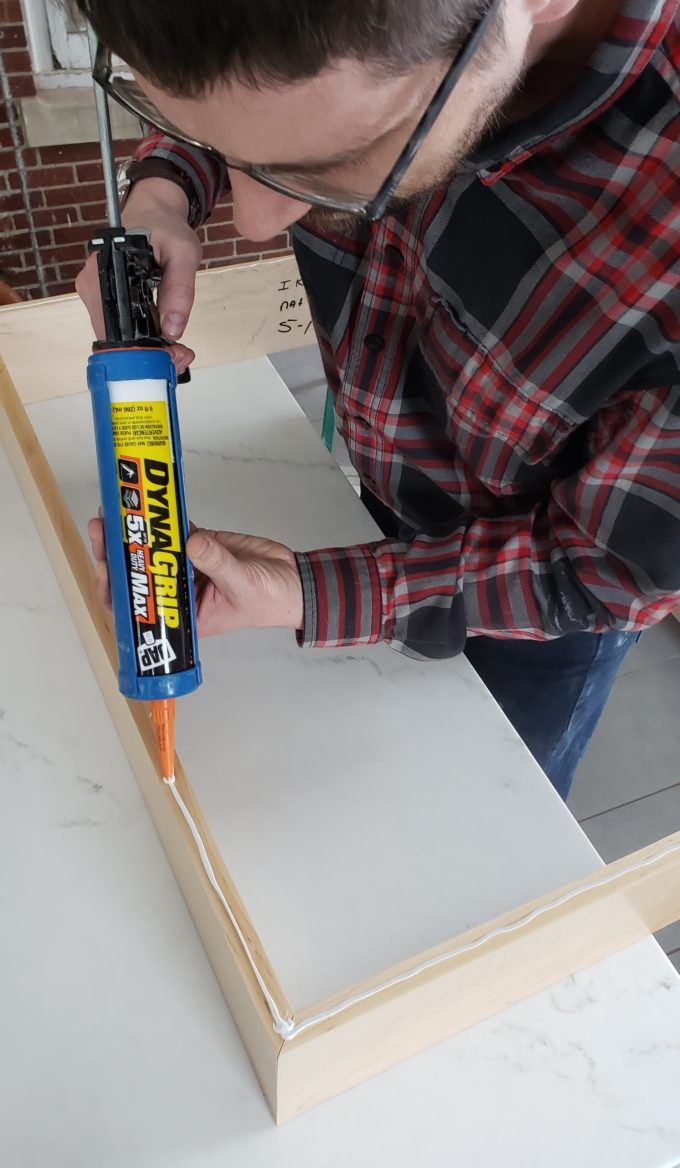
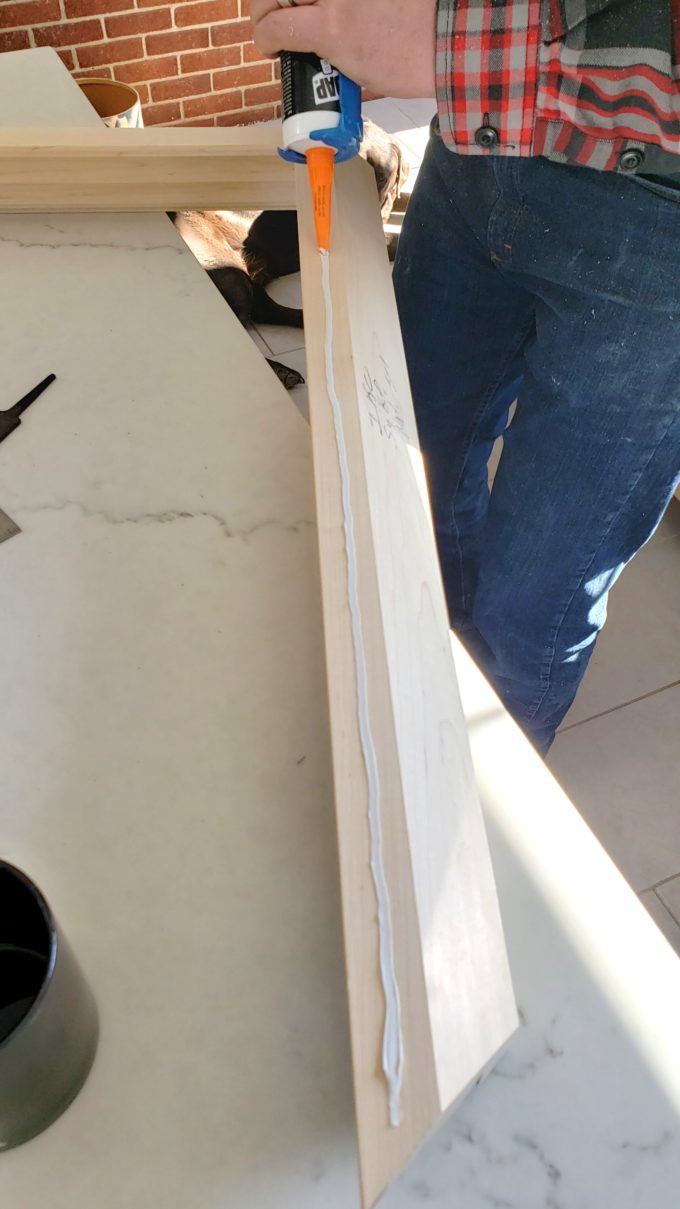
I measured and cut all the pieces, gluing and pin nailing them together before mounting it to the cabinet. We used DAP’s Dyna Grip to adhere the base to the cabinet. We love to use this product because it guns easy and provides a really strong hold, while still being able to flex for the woods natural movement!
Next I cut and pre-assembled all the flat stock.
… applying the same Dap adhesive to the bottom of the flat stock.
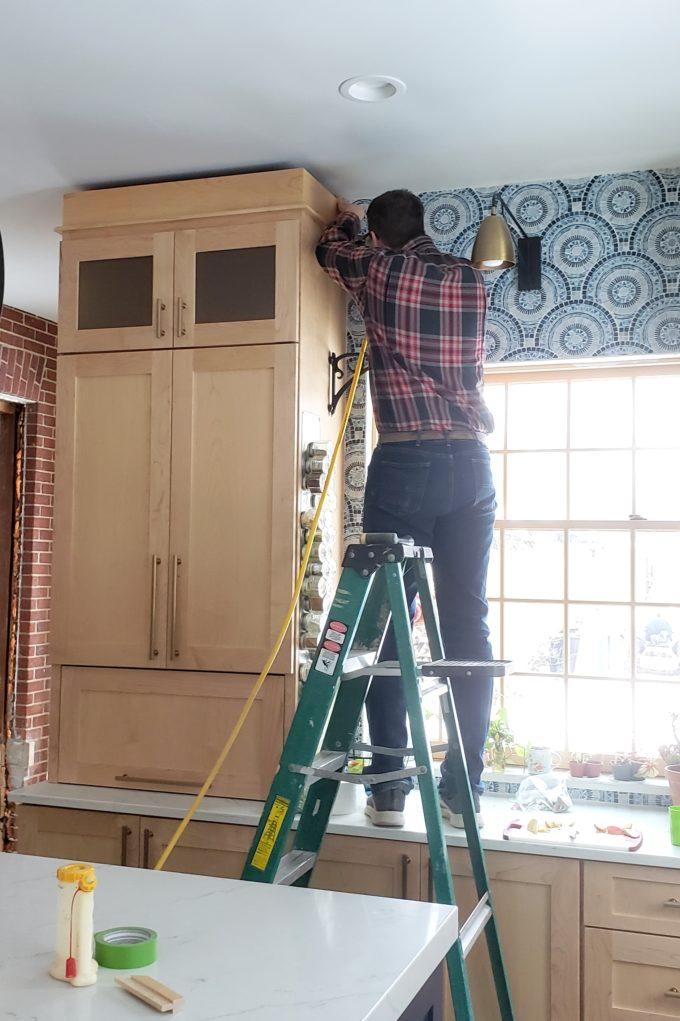
Having the flat stock in place made a big difference in that it finally raised the cabinets to the ceiling.
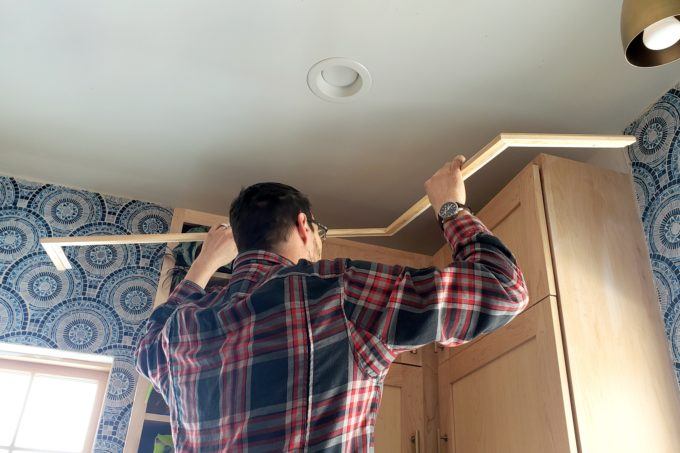
Once that was completed we cut and installed the crown moulding… talk about nervous! We didn’t have enough to allow for any mistakes. I always like to place the crown up where it will be going and mark the angles required to make the cut. I cannot count how many times I have skipped this process and made a wrong cut.

We applied the DAP Dyna Grip adhesive to both the top (ceiling) and the back (cabinet), then pin nailed it into position.
If you remember back before we sheetrocked the ceiling, you will recall that we used resilient channeling to help reduce noise. I knew this would present an issue when going to install crown molding – not having a substrate to nail the trim too. That is why it was critical for us to use an adhesive we could count on to last many years. DynaGrip to the rescue!
Lastly, we installed the dentil moulding just below the cove of the crown. We must have really been itching to get this done, because unfortunately this process didn’t get captured.
Check out this final result, simply breathtaking.
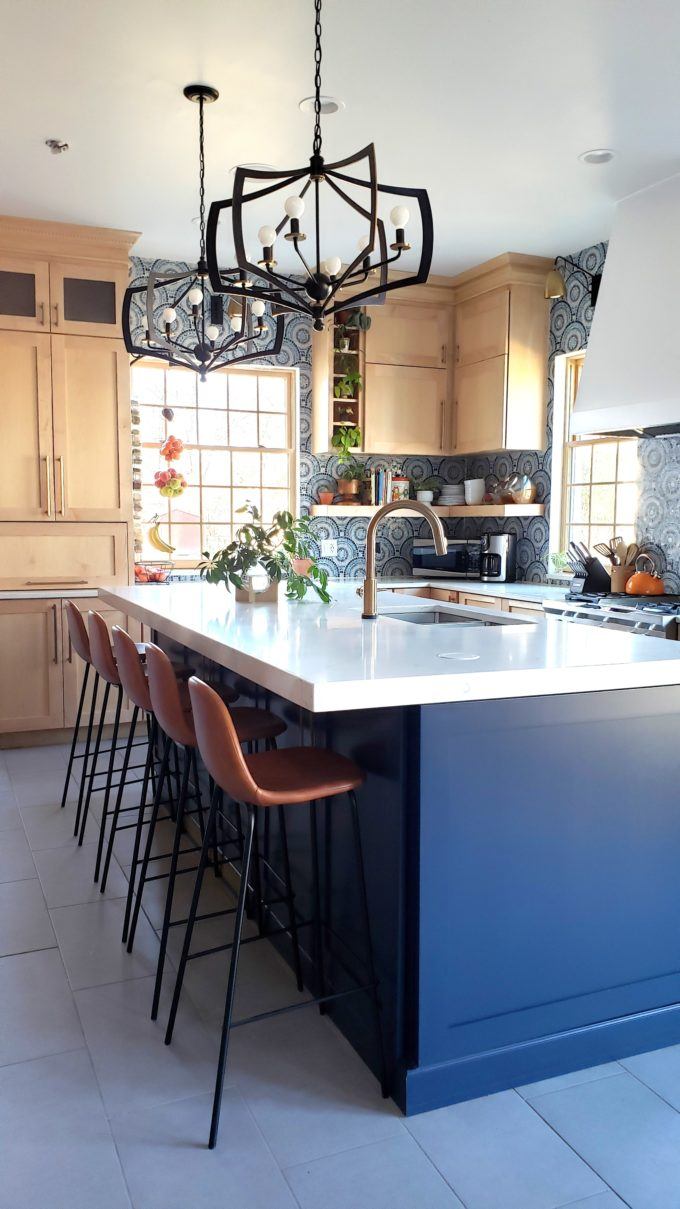

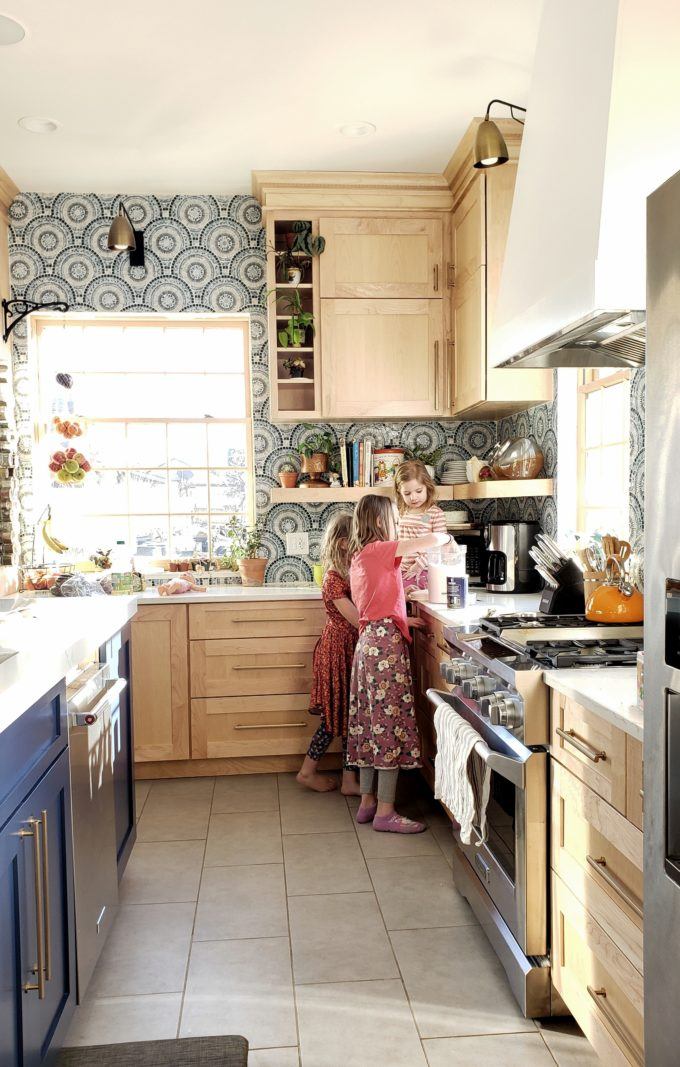
Isn’t the crown just the icing on the cake? It really brings the kitchen together and makes it feel FINISHED. You have no idea how this feels after building this kitchen from the ground up, and being without a proper kitchen for over 9 months. I could teach a class on how to cook for a family of 5 using only a slow cooker. LOL!
Thanks for following along on this journey with us. It’s been an honor to share the progress of this kitchen build here on the blog, as well as Instagram (we’re @RealityDaydream if you’d like to follow along in real-time!
~Bethany
If you’re new, be sure to go check out what the kitchen looked like when we bought this house 2 years ago.
And click here to see the full progression of us building it!

I love the contrasting colors of the natural wood with the island. The moulding adds the regal-looking finishing touches that sends it into the stellar category. Great Job!
Thank you so much!!
Lord knows u have a million-dollar husband .His work is fabulous
it’s true 😉
Ah-May-Zing! My hubby is pretty handy and has done a ton of our remodeling/updating, and when I see your updates I can’t wait to show him what you’ve done now! I like to think it might give him ideas for future projects…
Beautiful work, Nick & Bethany.