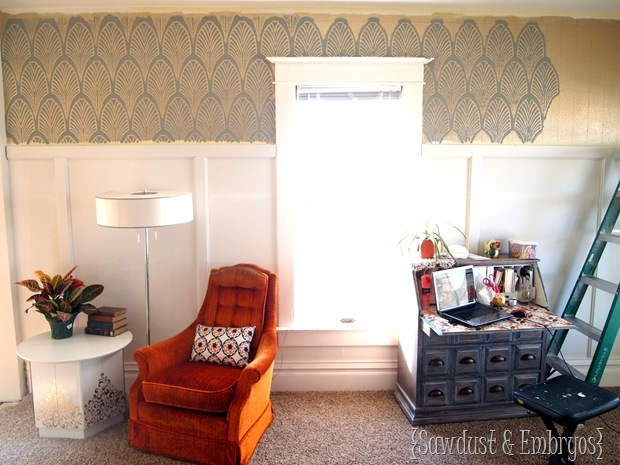
As you well know, I’ve been stenciling the walls above the board and batten in the living room. It is turning out FLIPPING AMAZING, and the process is taking FLIPPING FOREVER.
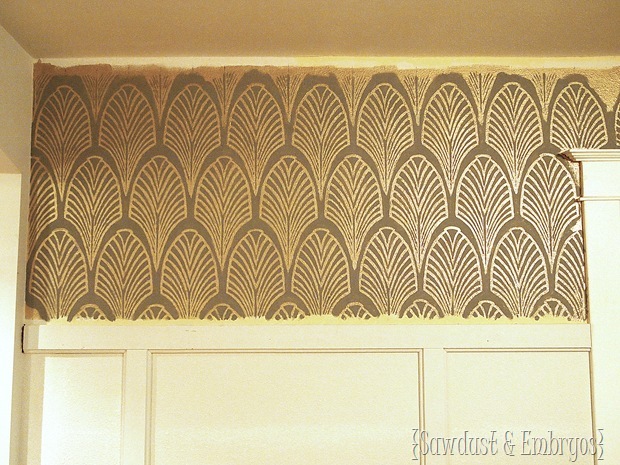
As you can see… I’m almost done with the first of 3 walls. I never dreamed it would take this long, but it’s turning out even more amazing than I envisioned, so that cancels it out in my head!
I’m not sure how the lighting is making the color come across to you, but it’s a shiny metallic gold and a medium-toned flat gray paint. I think it’s fabulous.
I’m being sloppy about the top and bottom edges, because there’s going to be chunky white crown moulding framing it all it. It’s KILLING me to have to wait to see how crisp and amazing it will be. Impatient much?
Additionally, I wanted to share some groundbreaking information…
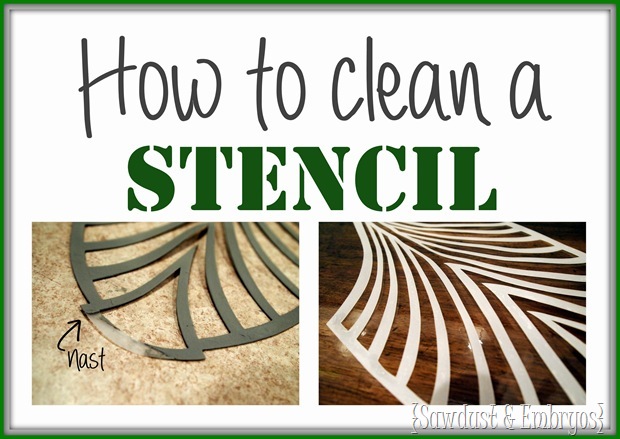
YOU CAN CLEAN YOUR STENCIL!
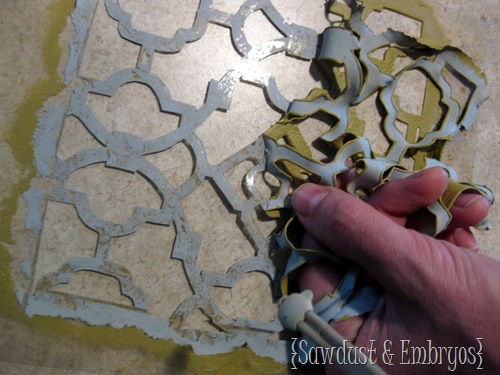
You know how, after so many repetitions, your stencil is somewhat globby and thicker than it should ever be? And it starts to affect your design? That happened to me big time when I was stenciling the pantry, and Nick spent some tedious hours peeling off the nasties for me…
But after a little trial and error, I learnt that you could just soak it in water (assuming it’s water-based paint!), and the paint just basically FALLS OFF. Am I the only one that didn’t know that?
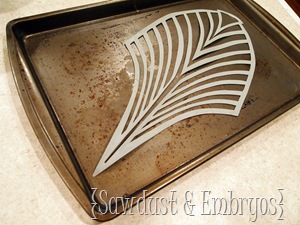
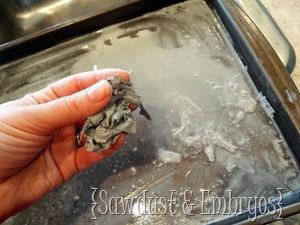
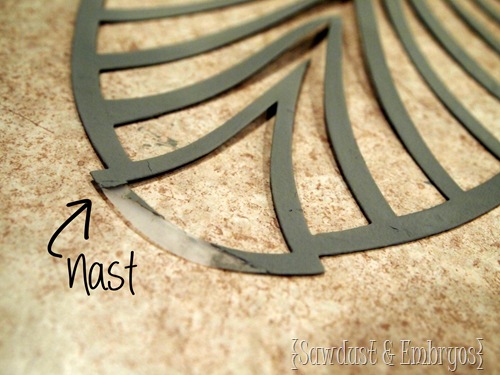
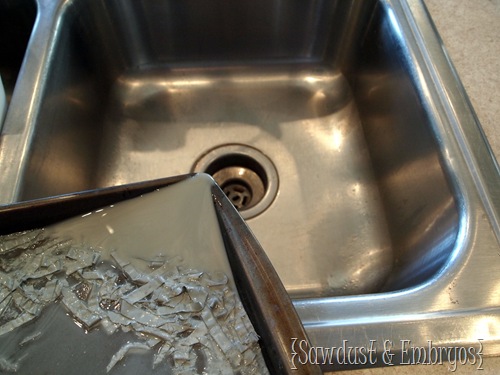
I hope not, because I’m pretty excited about it and want to show you how it goes down. Here’s a pic of my heavily-weighed-down-goobery-crusty stencil. You can see where it’s starting to crack and peel.
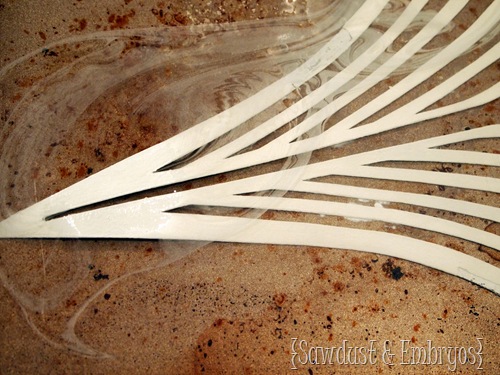
I obtained my cookie sheet that has ridges on the sides (technically a jelly roll pan), slapped my stencil in there, and added water until it was covered.
 |
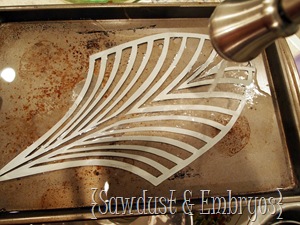 |
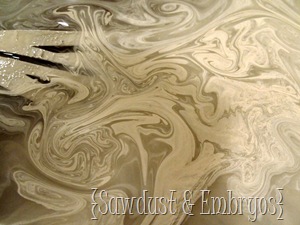
It’s fun to watch the paint break down a make some swirlies in the water, if you’re into that kind of thing.
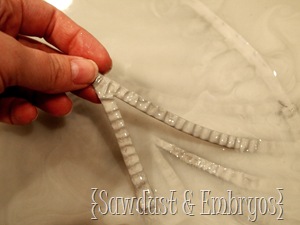
Let it soak for an hour or two, until the paint is looking all pruney like babies toes in a bathtub, and the water is murky… um, like bathwater after bathing a couple of grubby toddlers.
 |
 |
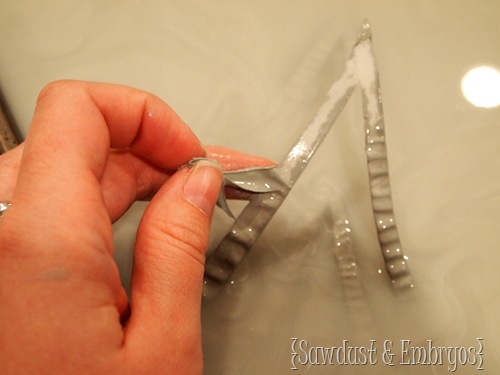
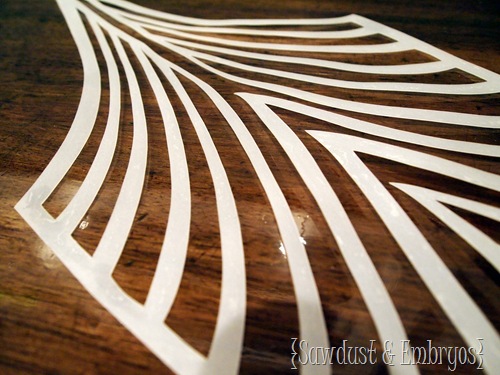
The paint just falls of my darlings. It’s the stuff of dreams.
As often as I stencil things, I’m going to be using this technique LOTS. And it’s going to save me Nick tons of time.
Pour out the water down your drain, but make sure the goobery-nastiness stays in the pan!
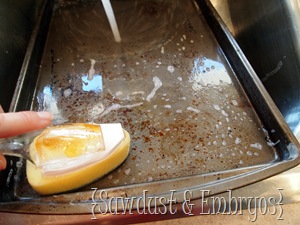
Then grab all the junk and toss it in the trash. And simply wash your pan with soap and water! Pretty darn simple!
 |
 |
And it’s SO worth it to be able to start afresh with a crisp clean stencil again!
I hope this comes in as handy for you as it has/will for me!
Are you stenciling anything lately? Do you ever find yourself in the midst of a project that’s taking FAR longer than anticipated? We wouldn’t know anything about that. HA!
P.S! If you’re interested in MAKING your own stencil, checkout our tutorial HERE!



AHHHHH MAZZZZZING!!!!! Looking great!!!
Can’t wait to see it completed!!!
~dana~
dashoop@hotmail.com
I really enjoy simply reading all of your weblogs. Simply wanted to inform you that you have people like me who appreciate your work.
Your walls really look beautiful. I have a room that I am dying to try this in, but I’m kind of scared to start. I hope you will talk a bit about where you start with the stencil (top or bottom, centered or left or right).
Maude
Beyond expectations! What a wonderful job you are doing….and YOU ARE TIRELESS! Thanks so much for sharing.
Great job!! I’ve stenciled a lot of rooms and it’s always so exciting when you step back and can see the design coming together!
Another stencil cleaning tip…
You can also easily clean a stencil with old fashioned rubbing alcohol (isopropel). I’ve used the water method and sometimes the pain STILL doesn’t want to come off, but the alcohol melts it right away.
Wow! That looks amazing. You certainly have more patience than I do. I think that would quickly become yet another unfinished project around our house. As soon as hubby finishes the wall he took down a few years ago, I plan to try my hand at replicating one of your painted backsplashes.
Yes, we have several unfinished projects in our home, and it’s driving me crazy! The wall is going on 5 years now, and hubby says I have no patience. HA! Imagine that.
Again, it looks amazing. You are so talented.
Oh man Francie! FIVE YEARS? You have my deepest sympathy. 🙂 Tell your man-boy to get on that! HA!
If you do ever get around to trying out a painted backsplash, be sure to send us pictures!!
I love how you not only show the technique step by step but your descriptive writing makes me all happy inside. You are pure talent rarely seen anymore. I tip my paint brush to you!
p.s. I want to lay a piece of paper on top of the swirling paint in the pic you describe as “bathwater” to make a print. lol just saying!
Are you kidding me??? I love what you are doing. I love the look of the stencils but I hate, hate, HATE the work! I can’t wait until it is all done. The moldings will just top off the very impressive creative process. I think you better break out a bottle of something after this one is done!