It’s funny how our tastes change over time, and things eventually come full circle. I still maintain that I LOVE COLOR… but I also have a true appreciation for wood grain that I never had before. It was a slow progression… starting with this coffee table, and continuing with this buffet when I discovered that I could ‘shade with stain’. And from there I’ve grown to love how wood and color complement each other.
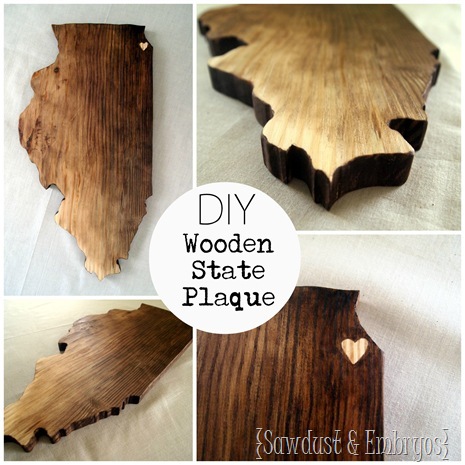
So today I’m gonna show you guys how to make your own state or country plaque using a scroll saw!
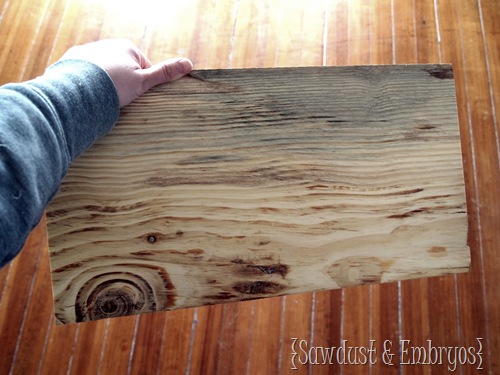
We have some slabs of pine leftover from our butcherblock counters that we’re building in the bathroom (and by we, I mean Nick)… Even though it’s just plain ol’ pine, I love the high contrast wood grain. It’s even more amazing after it’s been stained! You can really use any wood you have on hand though. Ours has a 1” thickness.
The majority of my family members live in Iowa, but my older brother and sis-in-law live in Chicago, so I decided to make them an Illinois plaque! I haven’t told them yet, so this will be a test to see if they read my blog *devious laugh*… Hi Nathan, Kelly and Miles! Can you hear me?
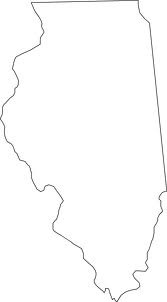
I did a Google Image search for ‘outline of Illinois’ and pulled up this… perfect!
After printing this image out onto a transparency (or tracing with a fine point Sharpie), I got out my trusty overhead projector. I use my projector ALL. THE. TIME. If you don’t have one… get one! Or, contact your local library and see if they have one that they loan out. They often do for free!
 |
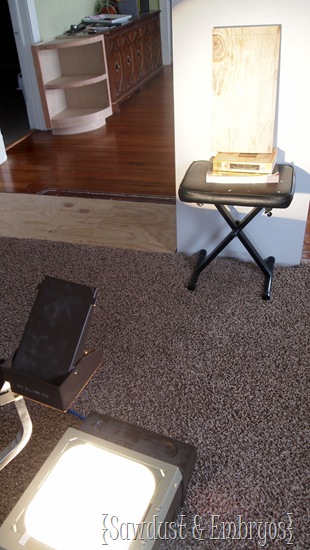 |
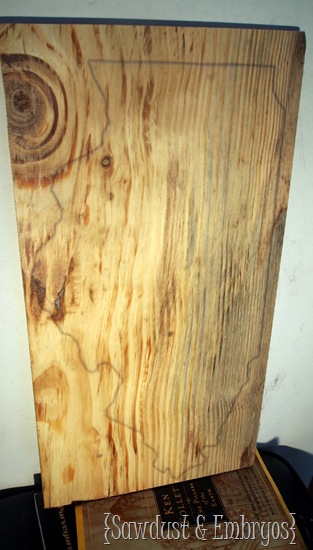
I traced around the perimeter of the state with a pencil, being as precise as possible.
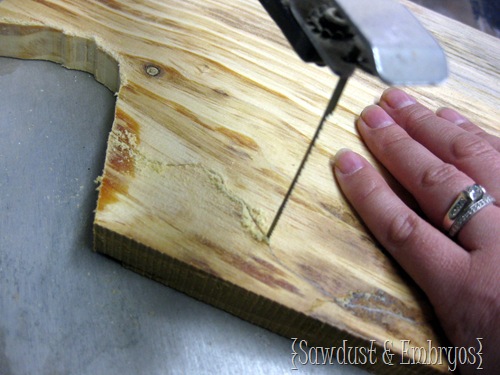
Now comes the fun part! Just cut along the lines using your scroll saw… kinda like sewing! I promise you, it’s soooo simple. This is the one I use and it’s A.M.A.Z.I.N.G. But if you’re looking for a more mid-range (read: less expensive) then this one is also great quality and handles well! Whatever you do, don’t buy a scroll saw in the $100-$200 range. You’ll regret it for sure.
This next pic is could be considered an ‘artsy’ aerial image of me operating the scroll saw. But then I remembered that this is actually the view that my 6’8” hubs has of me at all times.
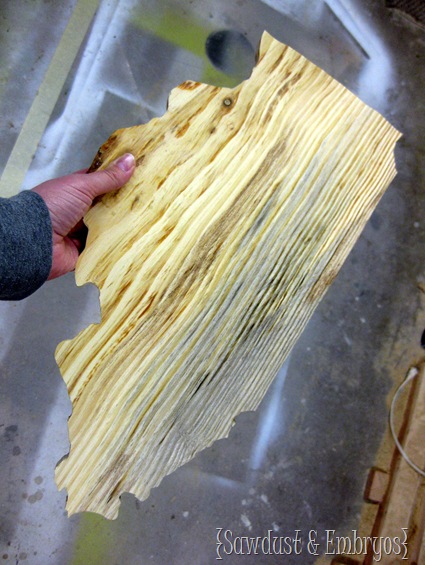
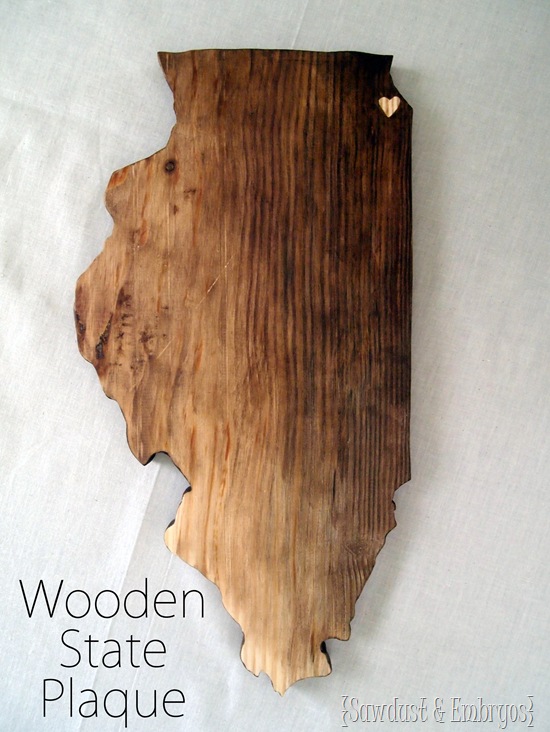
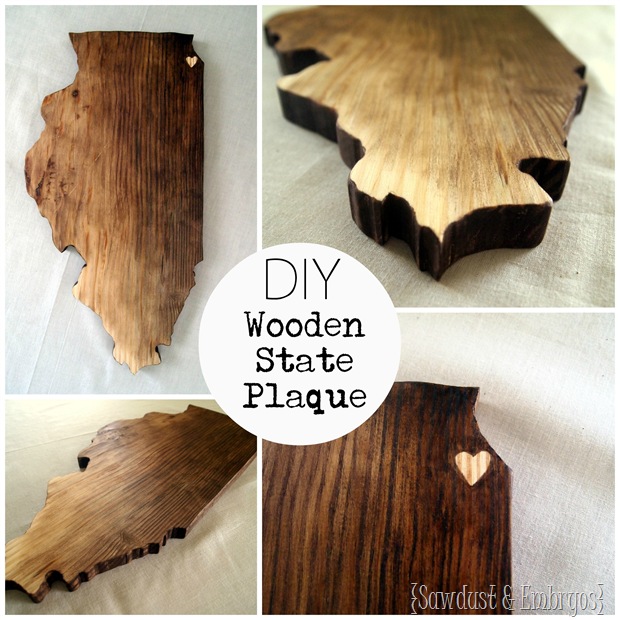
I give you… Illinois!
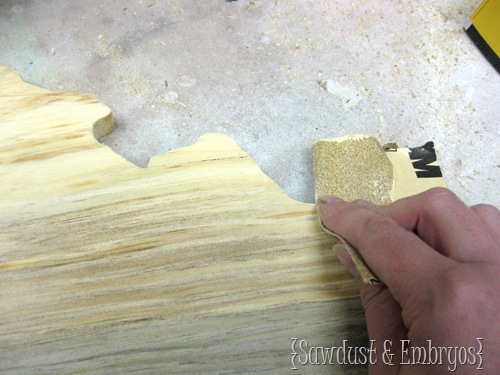
The scroll saw gives you a pretty clean cut, but it’s still a good idea to lightly sand everything down and make it super smooth. Like buttah.
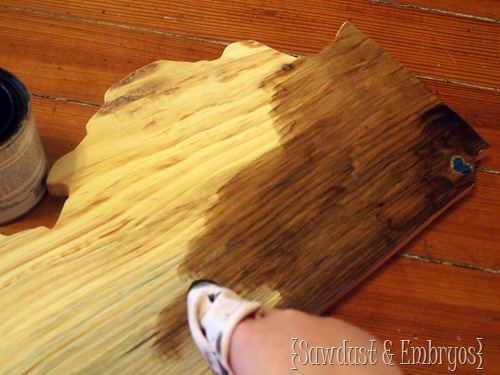
Finally I gathered my staining supplies: clean/dry cloth, small paint brush, can of stain (Rustoleum Dark Walnut is my FAVE… no reddish tint at all!). It’s a good idea to wear gloves when you’re doing this, cause if you’re like me, you’ll have stain all over your hands when you’re done.
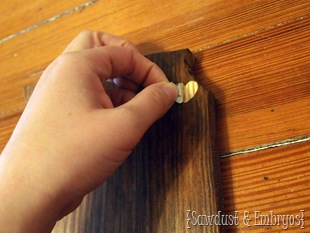
I put a heart sticker on the city (borrowed from the girls, who receive them as rewards for pooping on the toilet… we call them poop stickers!). I did this because I don’t want any stain in that spot. I started staining dark around the city, and working my way away from it… blending with the cloth. It’s one of those things that you just have to DO to get the feel for it. You can also just stain it a solid color too!
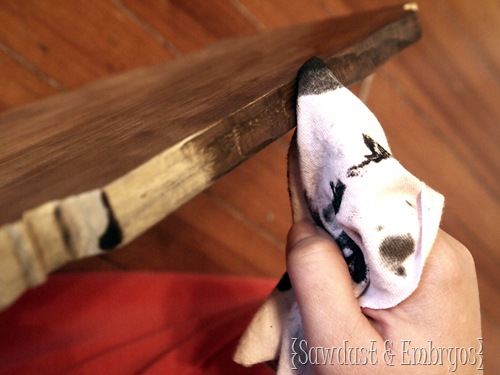
Then I stained around the edges and wiped off the excess.
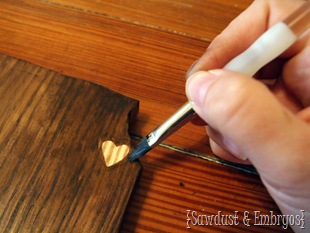
Once I had stained Illinois to my liking, I peeled off the sticker, The stain will always seep under the edges a little, so I used my craft brush to lightly crisp-up the edges of the heart. You’ll want to make sure there’s very little stain on the brush for this, or else you’ll have even more seepage.
 |
 |
There she blows! (get it? Windy City?)
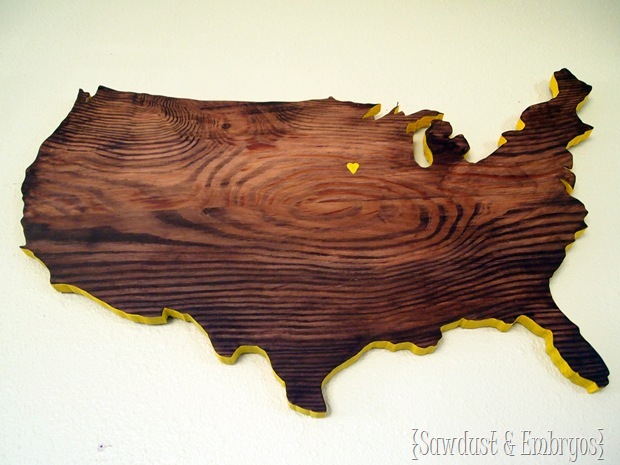
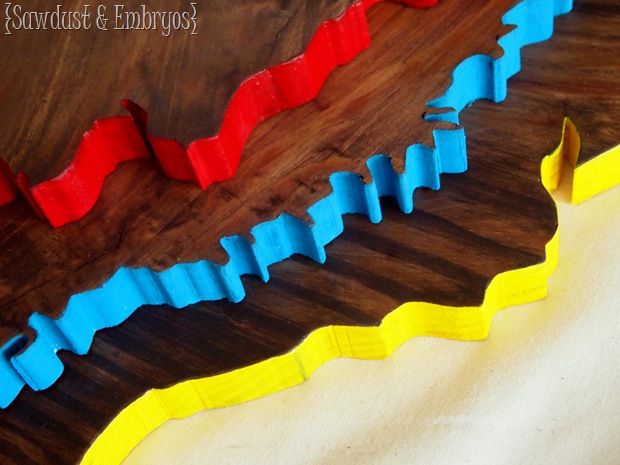
Another option that you can do is to paint the outside edge a fun/bright color like we did on this united states plaque. We also painted the heart the same yellow. I’m loving the bright combo of color and wood grain. Just use a small paint brush, and some acrylic paint in the color of your choice!
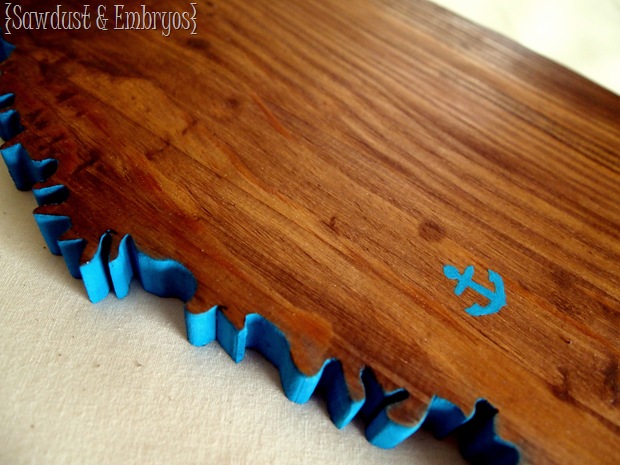
I’ll have you know that I almost painted it turquoise, but I knew a lot of you would call me out on it since I’m ‘fasting’ from turquoise until further notice. BUT! Someone ordered a Mississippi Plaque (hi Rebecca!), and asked for turquoise edges! whatareyagonnado? (YAY!)
Speaking of Mississippi, are you aware of how curvy that western border is? I bet you are now.
BAM! If I wasn’t a scroll saw pro before, I definitely am after cutting THAT. And as you can see in the above pic, you don’t have to go with a heart to mark your city. You can use a star… or an anchor. Adorbs.
So there you go! Class dismissed! Are there any questions? Are you going to give this a try? Do any of you live on one of those tiny squiggles on the western boarder of Mississippi?
Thanks for pinning!
*this post contains affiliate links
![Trace the perimeter of your state onto wood and cut a state plaque! [Sawdust and Embryos] Trace the perimeter of your state onto wood and cut a state plaque](http://lh3.ggpht.com/-Rtoe6cmJFwE/UW9Xe7woy4I/AAAAAAAAElQ/zDsRwnKGjGg/Trace%252520the%252520perimeter%252520of%252520your%252520state%252520onto%252520wood%252520and%252520cut%252520a%252520state%252520plaque%252521%252520%25255BSawdust%252520and%252520Embryos%25255D_thumb.jpg?imgmax=800)



Hey! So your post really got me into making my own states for friends. So I really appreciate that! How did you paint the anchor like that? I wanna paint a few objects on mine but I’m not really sure how to make a stencil of them. Thanks!
Yay Austin! That’s awesome! I just hand-painted the tiny anchor with the smallest paintbrush you ever saw. 🙂
SO adorable! And I love overhead projectors, aren’t they so handy? Love the yellow border.
I LOVE these! Thanks for sharing the tutorial 🙂 I’m just grateful my state is nothing but straight lines! #lazygirlproblems
Beth, absolutely love your state placques! Congrats on the Etsy shop!
How long does it take you to make them? Cassie is on a Washington (Seattle) kick & that might be a fun graduation present. 🙂 Your talent never ceases to amaze, Beth. ~ Lindsay.
Awww thanks Lindsay! These usually take me an afternoon to make if I go start to finish. I MISS YOU! You need to come visit again soon! I’d love to make a WA plaque for Cassie. Is she gonna go to college there?
I was just thinking I need to come down also. I’m thinking one of the next two Fridays?
We’re busy this weekend, but I can do the next friday! Should we plan in it? I’m excited!!
Plan it! 🙂
How cute is that anchor?! Now I am even excited to receive the Iowa plaque I ordered. I was planning on keeping it a surprise for my husband, but I stink at that so I showed him a pick on your Etsy site. He loves it as much as I thought he would! You two are so talented!
Yay! I should be finishing it up here soon, and shipping it out to ya! Do you want a bright color on the edges? Or just plain stain? Thoughts?
I live in Utah- only easier ones to cut are Colorado and Wyoming… 🙂
On the color and stain- You do know Rit Dye works as wood stain, right? If you wanted to add some interesting colors to your stain, it is an option.
HAHA! It’s true… some states are definitely easier than others.
OMG, OMG, OMG!!! That’s my Mississippi up there!!! There is an inaudible amount of squealing going on right now! I cannot wait to have it hanging on my wall and show it off! Thank you so much!
Woohoo!! Glad you like it! I’m LOVING the anchor idea! 🙂 Popped ‘er in the mail today! Let me know when you get it!
I live along those Mississippi squiggles in Baton Rouge. I want to ask my dad if he feels confidant enough in his scroll saw skills to make me a Louisiana, if not you may be getting an order for more squiggles!
SWEET! I knew we must have a couple readers that live in the squiggles! 🙂 I’d love to make a Louisiana for ya if your dad isn’t up for it. hehe!
Of course, we check your blog every day!! Miles loves the pictures of the ladies, and Nate and I love feeling like were right there with you! Well done with the big scary power tool – and thanks for thinking about us!
You are a BRAVE, BRAVE woman!
<3 Your Chicago Family
Yaaaaaay! Also, we’re super excited to see you next weekend!
Thanks for sharing… I might make some!
LOVE IT!! I’m thinking of Minnesota with the heart and the edges in a navy blue! Brandy
Oooo that sounds pretty! Send us pics when you’re done!
Awww dammit, now I want a scroll saw. Going to google….