• Home
  • About
  • Tutorials
  • Recipes
  • Furniture
  • Contact
    • Contact
    • Infertility
    • Disclosure
    • Privacy Policy
    • Facebook
    • Instagram
    • Pinterest

Reality Daydream

The Dream is Free, The Hustle Sold Separately

  • Home
  • About
  • Tutorials
  • Recipes
  • Furniture
  • Contact
    • Contact
    • Infertility
    • Disclosure
    • Privacy Policy

Biscoff Cream Pie

March 11, 2015 by Bethany Sy

Biscoff Cream Pie {Cupcakes with Sprinkles}
Its Meghan from Cupcakes with Sprinkles and this time I have a different kind of pie for you! Its light and fluffy, sweet and creamy, with a chocolate cookie crust. I love me some Biscoff Cookie Spread. I’ve made a few other things with Biscoff… Biscoff Pinwheels, Biscoff Muddy Buddies, Biscoff No Bake Cookies, and now I’ll add this amazing pie to the list! Lets get our ingredients and make ourselves a pie!!

In a small bowl mix together the cookie crumbs and butter until combined. Press into a 9 inch pie pan…

In the bowl of a stand mixer beat the cream cheese until creamy…

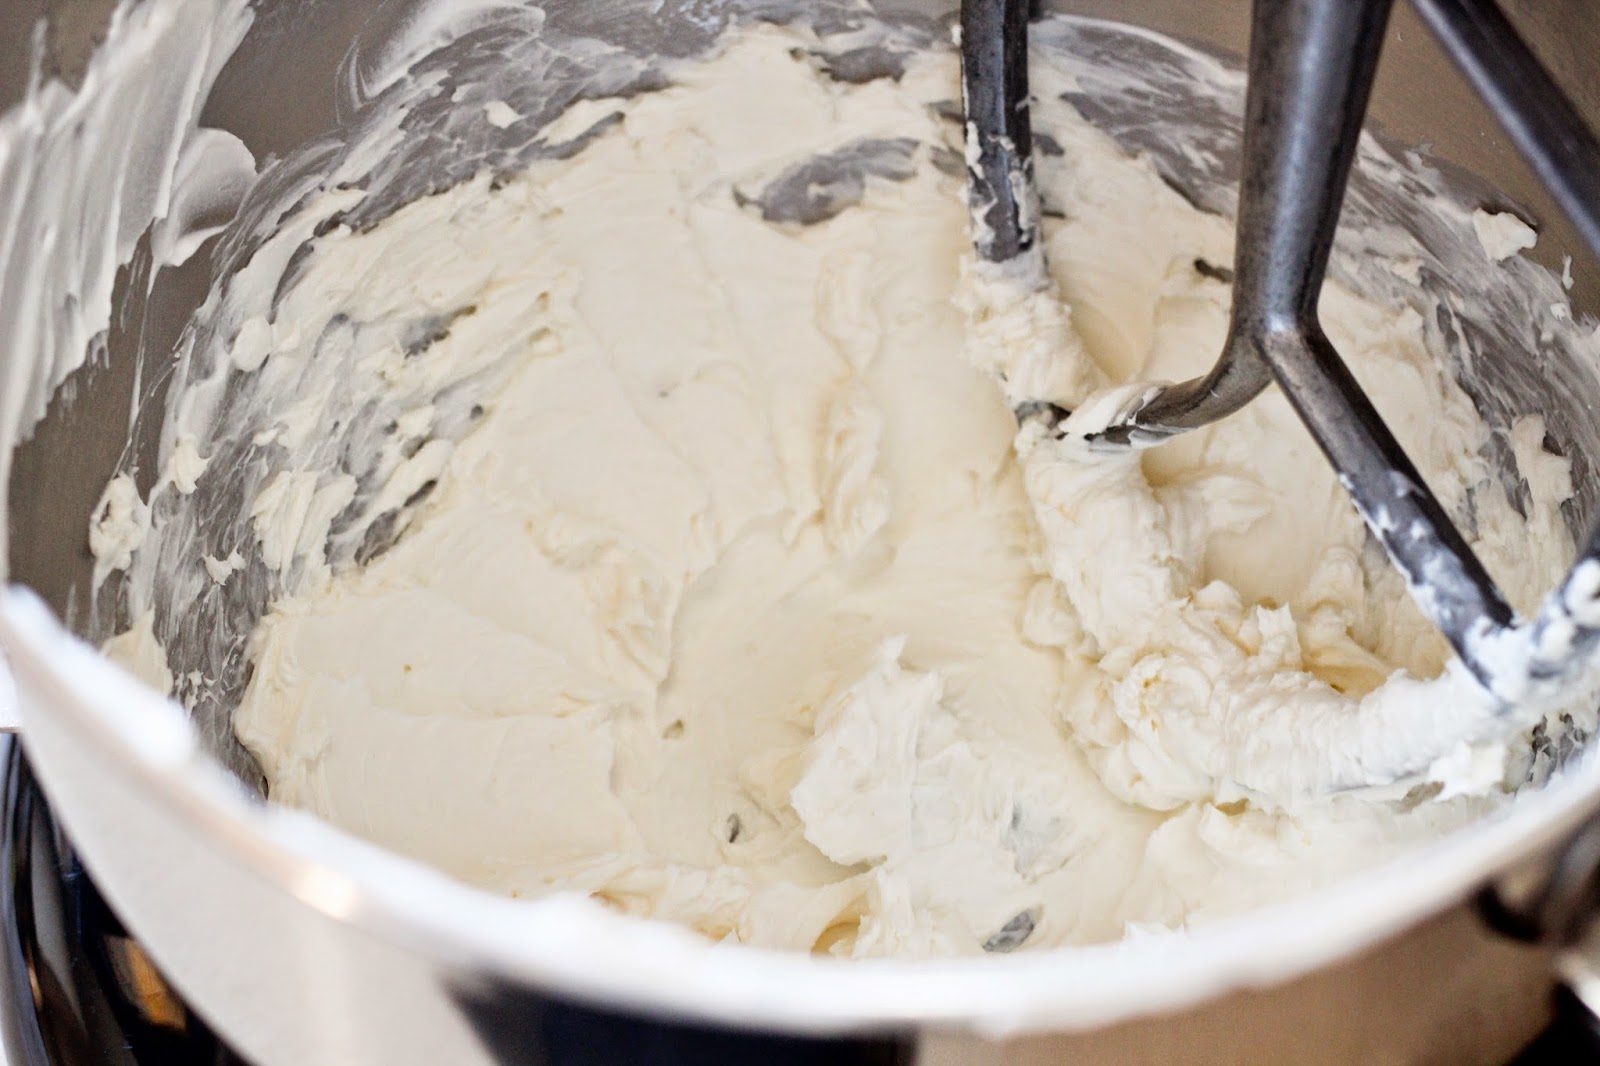
Stir in the Biscoff and stir until combined…

Add in the powdered sugar and mix well…

In a large bowl whip the cream on medium until it starts to get thick. Reduce the mixer to low speed and add in the powdered sugar. Return the speed to high and mix until stiff peaks form and stir in the vanilla…

Fold in half of the whipped cream into the Biscoff/cream cheese mixture and mix until smooth and creamy…

Pour the filling into the cold pie crust…

Spread the rest of the whipped cream over the pie filling. Chill for 3 hours.

Biscoff Cream Pie
Recipe Source:
Bakingdom

Crust
1 1/2 cups Oreo Crumbs
5 Tablespoons Butter, melted

Filling
6oz Cream Cheese, Room temp
1 cup Biscoff Spread
3/4 cup Powdered Sugar
2 cups Whipped Cream, recipe follows & 2 cups for topping

Whipped Cream
2 cups Heavy Cream
1/4 cup Granulated Sugar
2 teaspoons Pure Vanilla Extract

1. In a small bowl mix together the cookie crumbs and butter until combined. Press into a 9 inch pie pan and refrigerate.
2. In the bowl of a stand mixer beat the cream cheese until creamy. Stir in the Biscoff and stir until combined. Add in the powdered sugar and mix well.
3. In a large bowl whip the cream on medium until it starts to get thick. Reduce the mixer to low speed and add in the powdered sugar. Return the speed to high and mix until stiff peaks form and stir in the vanilla.
4. Fold in half of the whipped cream into the Biscoff/cream cheese mixture and mix until smooth and creamy. Pour the filling into the cold pie crust. Spread the rest of the whipped cream over the pie filling. Chill for 3 hours.


About Bethany Sy

Nick and Bethany Sy are the creative free-spirits behind DIY/Lifestyle blog, Reality Daydream. They recently purchased a historic mansion and have been documenting the ups and downs of renovation and making this home their own... all while sharing tips and tutorials along the way! When they found themselves in the trenches of infertility, they started a journey that would prove to be their most important DIY project ever, and have 3 beautiful girls to show for it. <3

« Cypress’s Weekly Photo Project
Mommy Guilt »

Trackbacks

  1. Over 50 Delicious Thanksgiving Pie Recipes - The Taylor House says:
    October 13, 2016 at 9:56 am

    […] Biscoff Cream Pie […]

    Reply

Leave a Reply Cancel reply

Your email address will not be published. Required fields are marked *

  • Facebook
  • Instagram
  • Pinterest
  • RSS
  • YouTube
We are Nick and Bethany! Welcome to our blog, Reality Daydream where we share our DIY adventures!

realitydaydream

I’ve been dreaming of more creative space in my I’ve been dreaming of more creative space in my studio, and this breakfast bar situation is the PERFECT solution! Now my littles and I can craft together, and the space still feels bright and open. My creative juices are flowing now!!

@linonhomedecor @influenster #ad #linonliving
These are a couple of our most epic furniture befo These are a couple of our most epic furniture before/afters! So proud of how these turned out! 🙌
This renovation has felt sooo slow, but when I loo This renovation has felt sooo slow, but when I look back at pictures, we’ve come so far!

There’s still so much to do though! And I’m glad about that, because I love a project. 😜
English please. 🤦‍♀️🔌 English please. 🤦‍♀️🔌
Load More Follow on Instagram
View of our entryway of our historic mansion that we're slowly renovating and making our own.
Click here for lots of art projects using only wood stain on furniture!!
Please feel free to share or pin my posts! You're welcome to use ONE of my images (no collages or pinnables) with a link back to the corresponding post. Please do not edit or crop that single image in any way. Improper use of my photos, ideas or words is a violation of copyright. Thank you!

Categories

Attention: Almost any do-it-yourself project involves risk of some sort. Your tools, materials, and skills will vary, as will the conditions at your project site. Reality Daydream has made every effort to be complete and accurate in the instructions of the plans on this website. Reality Daydream will not assume any responsibility or liability for damages or losses sustained or incurred in the course of your project or in the use of the item you create. Always follow the manufacturer’s operating instructions in the use of tools, check and follow your local building codes, and observe all commonly accepted safety precautions.


Copyright © 2023 · Modern Blogger Pro On Genesis Framework · Customizations by Sweet Theory Designs · Privacy Policy · Log in