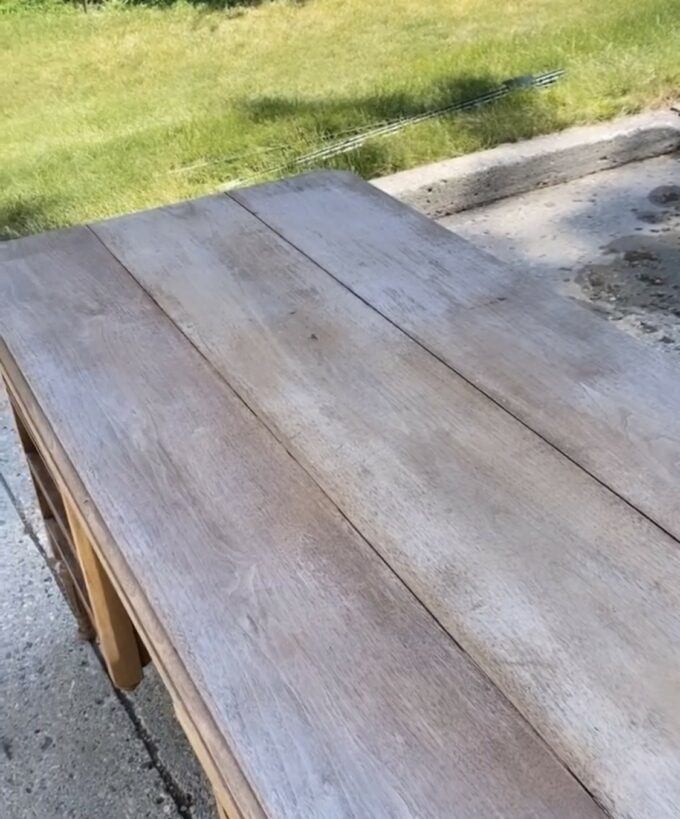
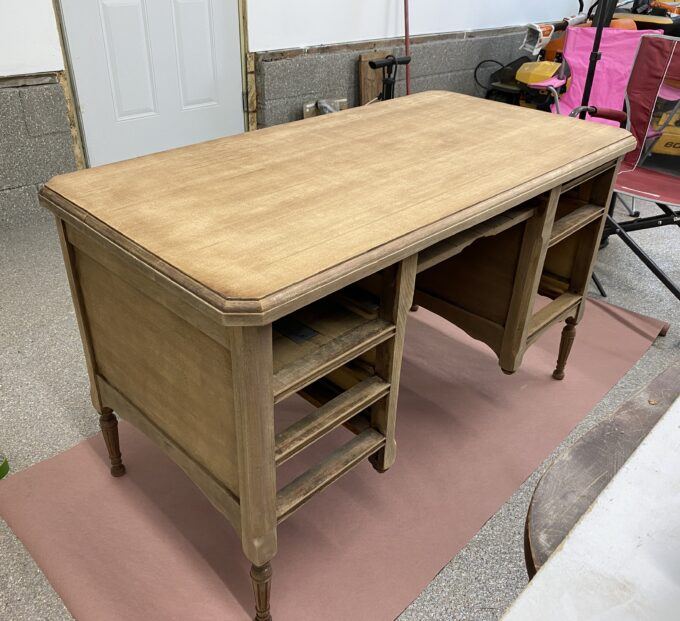
If you follow us on the ‘gram, you know I’ve been stripping the finish off this old desk to make it a lighter wood, and contrast the dark wood of the library walls, where it will live! Initially, that was all I was going to do to the desk. But as I got further into it, the more I wanted this desk to be perfect! And those gaping cracks on the top of the desk surface just weren’t going to cut it. I could have tried to fill it with some kind of putty or epoxy, but ultimately, I decided to try my hand at veneering the surface with new wood veneer. I’ve always wanted to try this for myself!


*This post is sponsored by our friends at DAP. Thank you for supporting the fabulous brands that make Reality Daydream possible!*
Psssst! For my tutorial on stripping the finish, click here!
Of course there are lots of reasons for wanting to apply veneer to furniture. Maybe you have a table that has old veneer on the top, and it’s chipping off in places. That would be a great situation to crape off all that old veneer, and apply a fresh sheet of wood veneer!
You can get rolls of wood veneer at your local home improvement store. But if you want larger pieces, or more of a selection for wood types, you might love this website we used to source our maple veneer for this project.
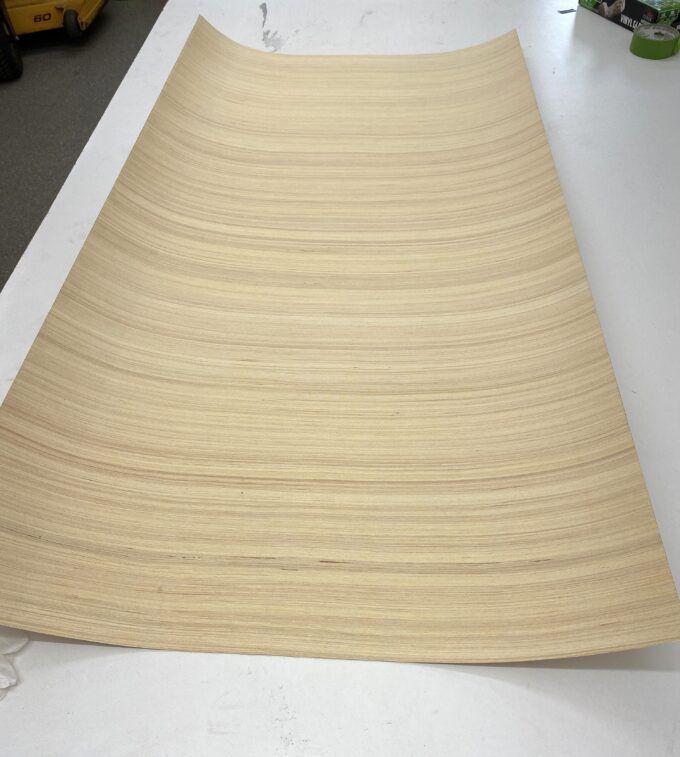
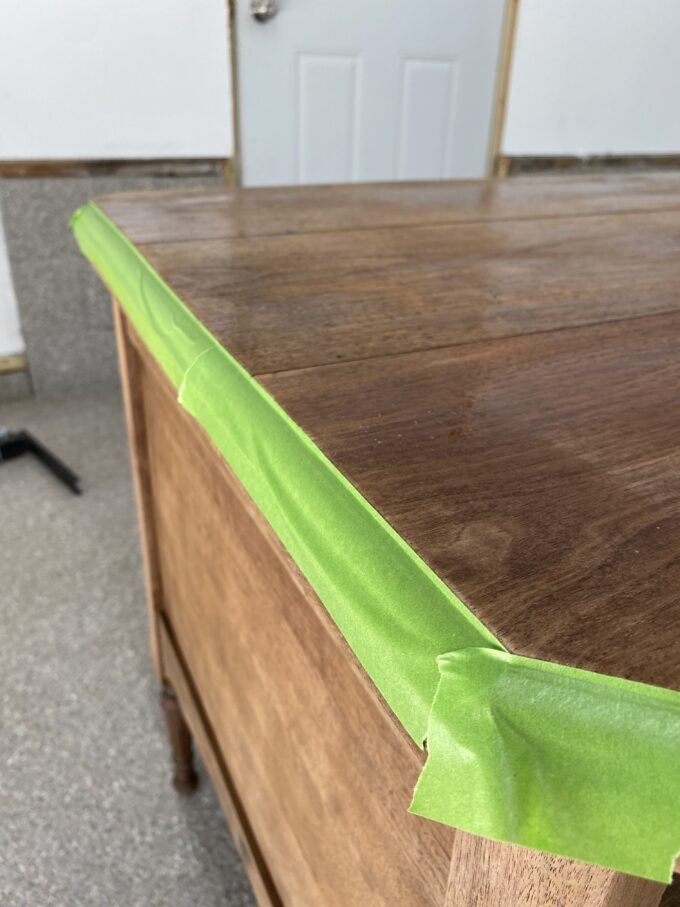
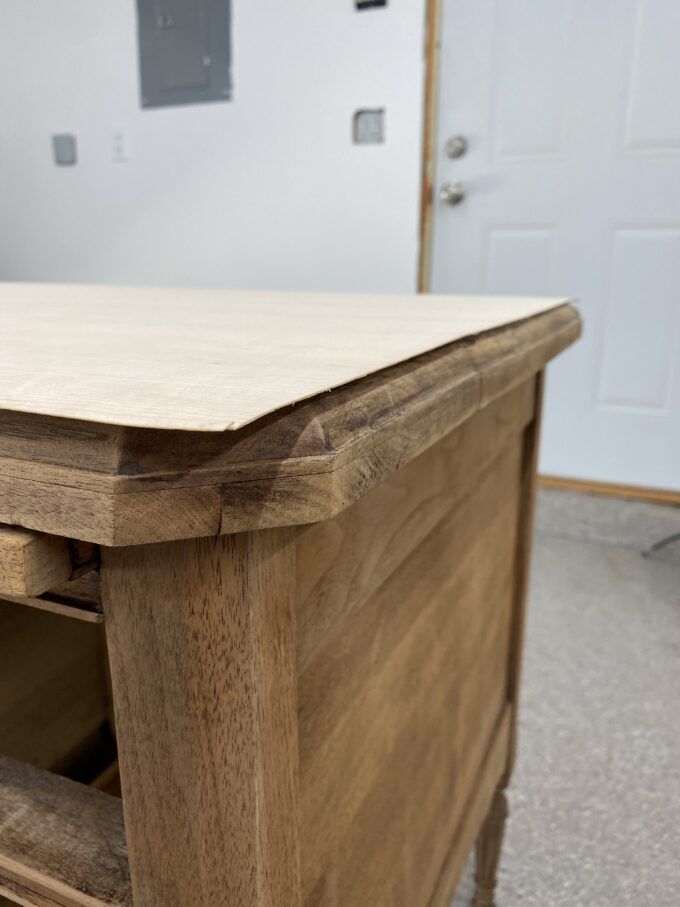
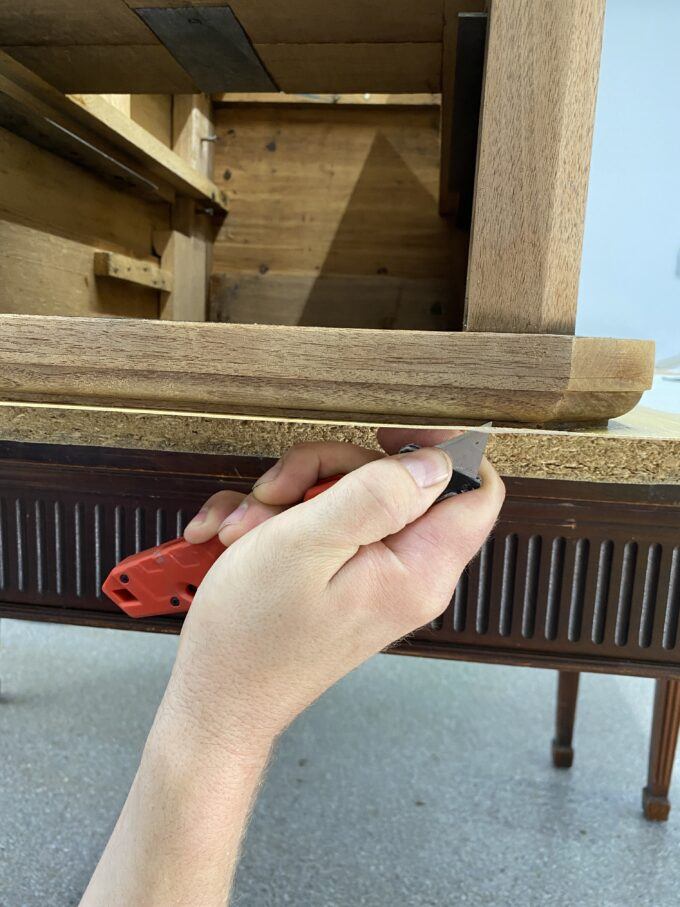
We cut our veneer to size, making it large enough for an inch overlap on all 4 edges. Then we taped off the routed edges of out tabletop to protect it from getting adhesive on it. We found that the best way to get a perfect edge on the tape is to apply it with a bit of overlap, and then come back with a razorblade and cut off the excess.

The best adhesive for applying wood veneer is DAP Weldwood Contact Cement. It forms an instant, permanent bond, and is high-strength so you wont have any shifting or chipping!

Stir thoroughly first! Then, using a brush or roller (we tried both, and preferred the roller method) apply a coat of Weldwood Contact Cement over the entire back surface of your wood veneer. Be sure to get it all the way to the edges!
If substrates are porous they may require the 2nd coat mentioned, but if sufficient adhesive is applied, only 1 coat is needed.

Next, we’re going to do the same to the top surface of the desk.

Leave it to dry for a bit. The goal is for it to be tacky, and have a glossy sheen on it. Depending on the temperature and humidity, this could take anywhere from 20 mins to an hour.
Once it’s reached that tackiness, it’s time to repeat the whole process over again. The sheet of wood veneer needs a second coat of Weldwood Contact Cement, as well as the desk top surface.
After applying that second coat, go ahead and take off the painters tape from the perimeter of the table top. You don’t want it to be stuck forever!
Wait for the second coat of adhesive to become tacky and glossy again, and then we’re ready to apply this veneer to the top surface of the desk! You will need two people for this, and go slow and steady! As soon as the two tacky surfaces touch, they are permanently bonded. As long as you have a bit of overhang on all sides, you’re golden.
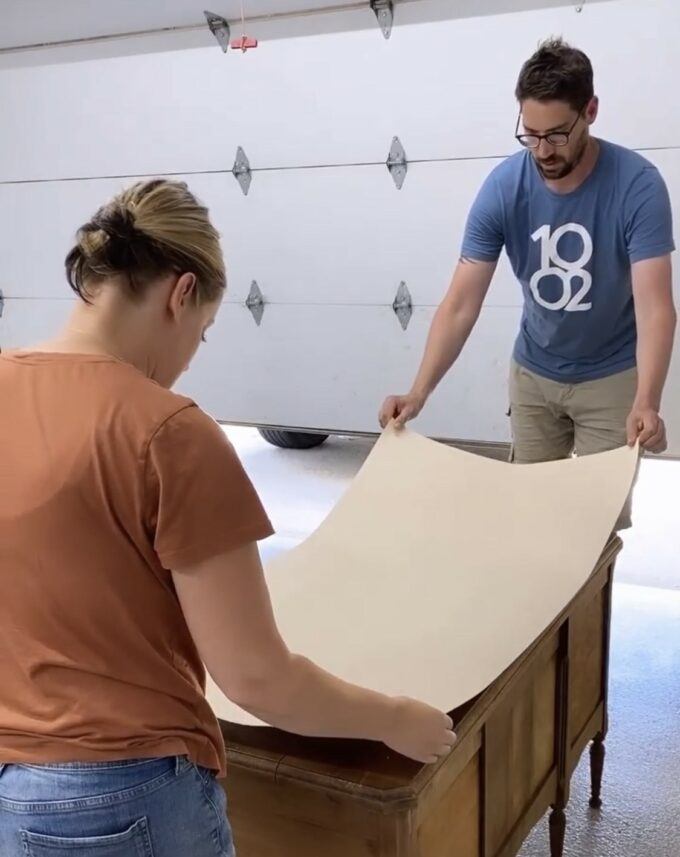
Start in the center and smooth out toward the edges in all directions to avoid bubbles. Then use a wallpaper roller to press it down firmly on every square inch. Put as much weight on as you can while you’re rolling!

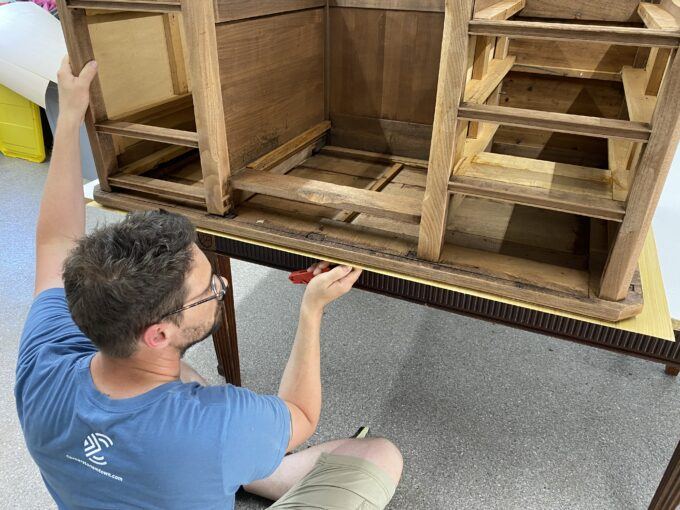
Now it’s time to deal with this overhang.
Flip your furniture upside down on a table, and use a razor with a brand new blade to cut along the edge. It’s nerve-wracking at first, but you’ll get the hang of it!
Isn’t this beautiful?!
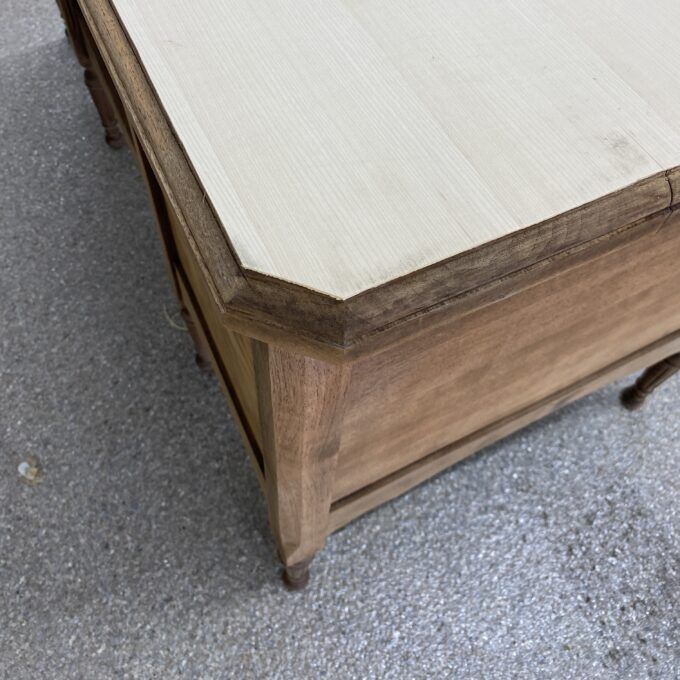
We took a sanding block to the edges to clean things up and make it perfect.

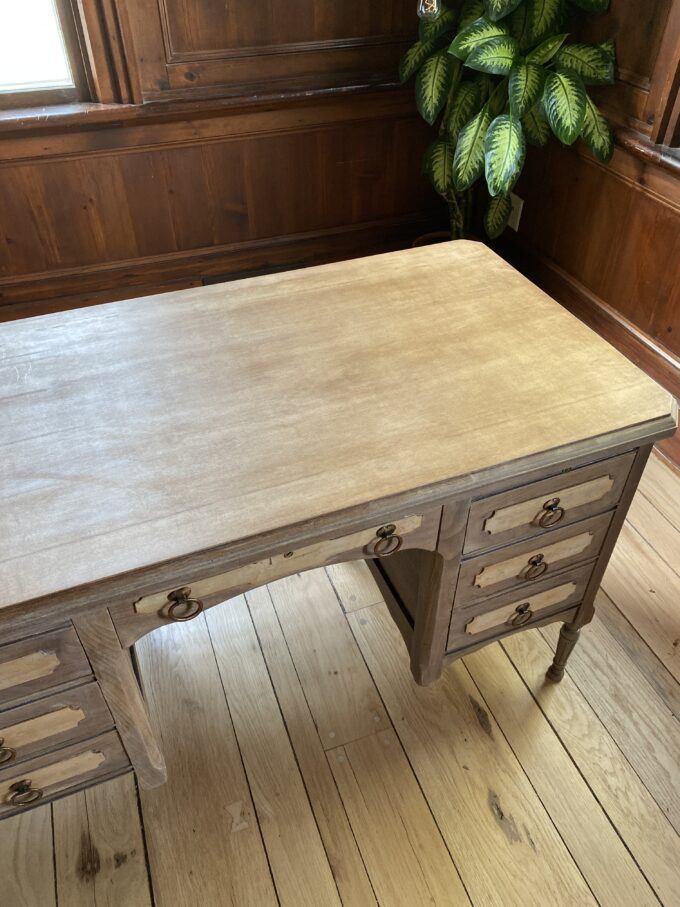
It’s hard to believe that we’re done applying the wood veneer, and we’re ready to stain! My goal was to match the natural wood tone of the rest of the desk. I did some experiments, and ended up with a 50/50 mixture of Dark Walnut, and Golden Oak. What a combo, am I right?!
Look at that perfect match!
I used this wax/polish to to seal, and we’re done!!
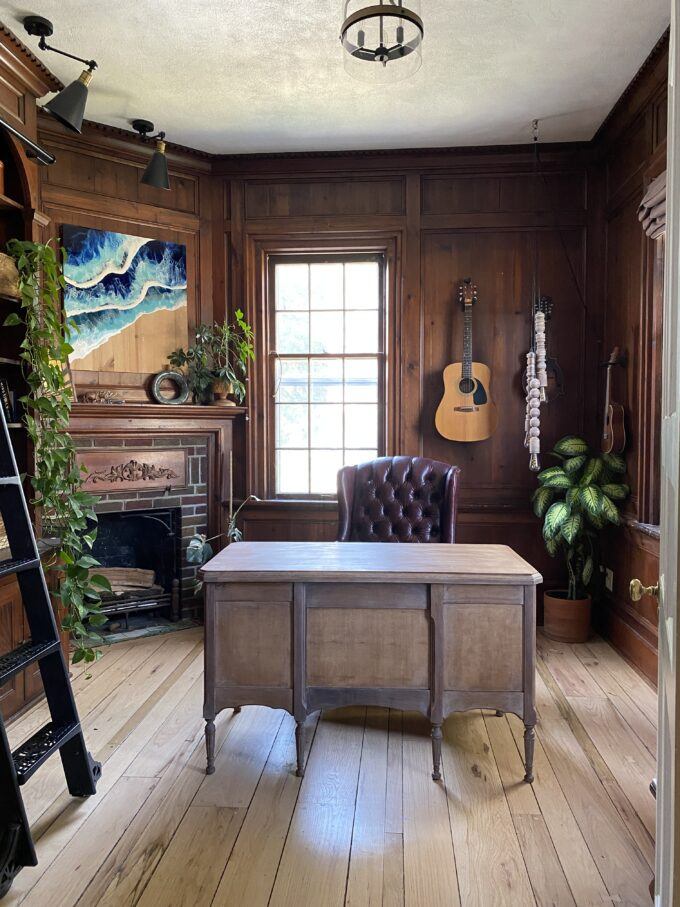
I’m absolutely thrilled with how this desk turned out, and I’m so glad I took the plunge to replace the old veneer with new, beautiful wood veneer! Doesn’t this piece look amazing in our library?

I hope you enjoyed this tutorial, and feel confident enough to give veneering a try for yourself! If you do, be sure to tag me in pictures on social media! We’re @RealityDaydream on both Instagram and Facebook!
~Bethany
Related:
-

We love the original wood of our library, and wanted to find a desk that…
-

I have a fun and easy building project for you! And while I do end…
-

Making a cutting board almost seems like a right of passage into the world of…
Hi Nick and Bethany, I need a bit of help. My dressers have wicker on the front on the drawers and side of the dresser.
I painted my dressers but the wicker looks terrible, I want to put oak veneer where the wicker is . What kind of veneer do I need to buy?
Wish I could send you a picture.
Hi Nick and Bethany, for the legs , how do you apply the wood veneer since it is cylindrical and small ?
We’ve never tried. I’m sure there are tutorials out there somewhere!
Hello Bethany. I love the end result but have a question. Did you apply the wax sealer to just the top veneer or to the entire desk? Thanks.
Hey Jenifer! I chose to only apply the wax to the top surface since that’s the part that will get wear and tear. Hope this helps!
Hi Bethany! I think this is first email I have received from you. What a great finish!! It does look tedious and nerve racking, as you mentioned, but with Nick’s help it turned out beautiful. Your library is beautiful. Thank you for the tutorial. Look forward to seeing more!