I’m sure it will surprise exactly NO ONE that one of my favorite things to make is wall art! (evidenced by all of these) And this time I tried using a technique I haven’t used before! Painting with perspective in mind, and using color to create shadows and highlights.
*This post is sponsored by my friends at Frog Tape! Thank you for supporting the fabulous brands that make Reality Daydream possible. This post contains affiliate links.*
Anybody… I repeat: ANYBODY can do this painted wall art. It’s easy and it’s fun!
Let’s start out with a slab of plywood. I just used some cheap 2’x2′ plywood with a 1/3″ thickness.
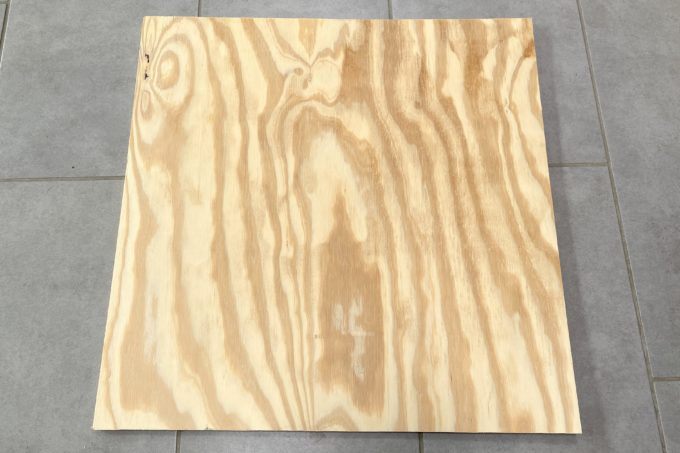
I chose to stain my board first, but you could leave it plain… or even paint it any color. There are so many different ways to customize this art to be YOUR OWN!

After sealing with a semi-gloss polyurethane and letting it dry completely (I let mine dry several days just to be sure), we’re ready to start adding our Frog Tape to make a design!

Since we’re using the tape to create a design after painting and removing tape, we want our lines to be suuuuuper crisp. And that’s why we love using Frog Tape! It’s so easy to use and NEVER FAILS us. Crisp lines every time!
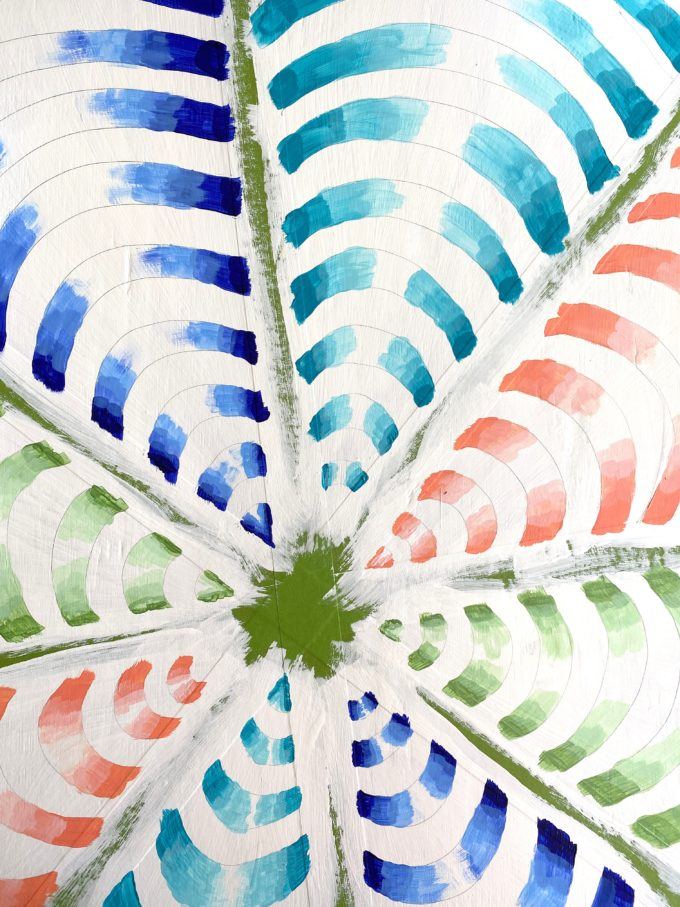
I chose to do this asymmetrical starburst pattern. If you’re a symmetry kind of person, find your center and go from there!

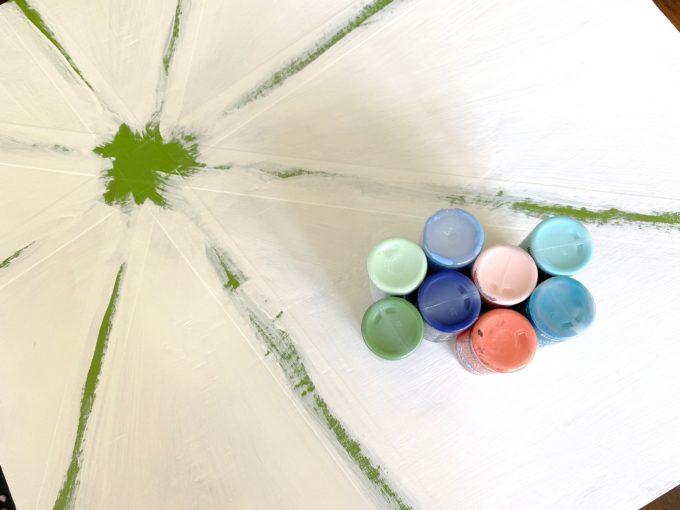
I painted over the whole thing with white paint. It took a few coats to be nice and solid. Also, you’ll notice I tried not to cover my Frog Tape completely… I wanted to be able to see them easily instead of having to search for them during the next step.

I picked out 4 colors of paint I wanted to use, and found a lighter version and a darker version of each.
Using a pencil, lightly draw on some ‘rainbow-shaped’ stripes. That’s a technical term, right?

On a paper plate, I put a glob of one of the lighter paints, a glob of both light and dark together (to mix and make a medium shade) and a darker shade.

Starting with the darker shade, I started putting a bit of paint along the edge of every other stripe, like so…

Then using the medium shade (that I mixed) I added a bit more, and continued to add as it gets lighter and lighter toward the middle.
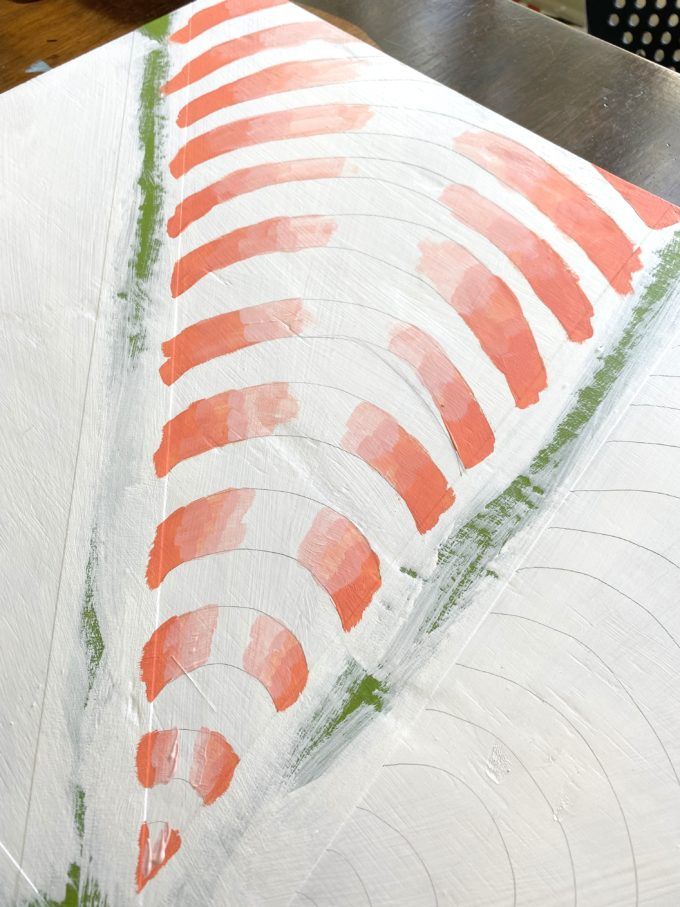
Continue this concept with each of your combos of paint! I know it looks kinda sloppy and messy, but this is MEANT to look that way and have a bit of an abstract feel to it!

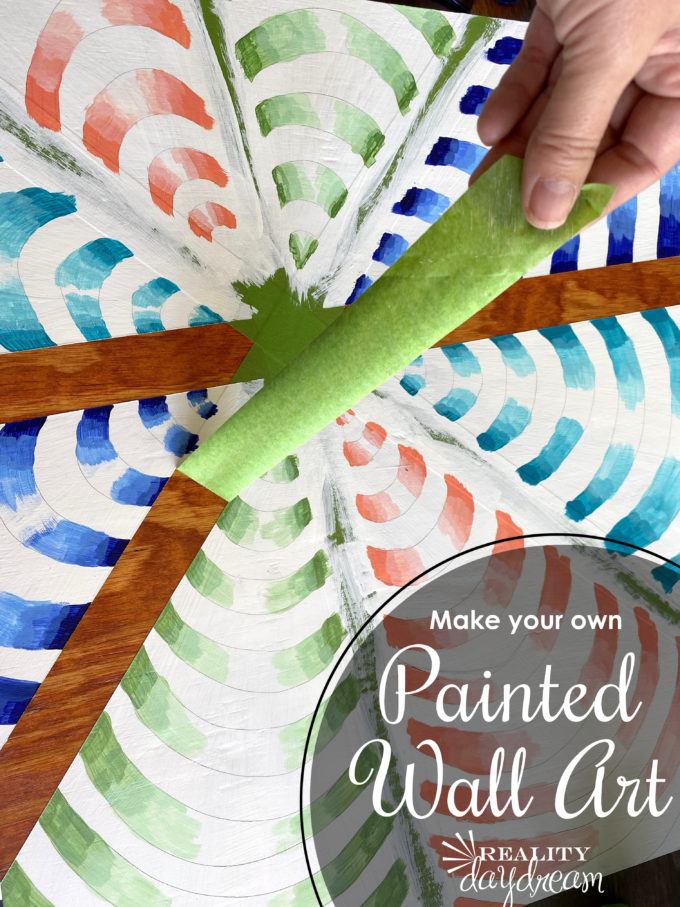
At this point, I’m obviously DYING to pull off that Frog Tape!!
IT’S TIME! You don’t even have to wait until everything is completely dry. just pulllll off that tape!!!

EEEK! Can you hear the angels singing?

How much do you love this?! HOW CRISP ARE THOSE LINES?!

I loved how this one turned out, but I decided to make another one to make a video tutorial… and on this one I decided to add a little something extra to really make it POP. You’ll have to watch to see below!

We hope you’ll give this fun painted art technique a try! And as always, if you try one of our projects, please tag us on social media! We’re @RealityDaydream on both Instagram and Facebook! And if you don’t post things there, send pictures to beth@realitydaydream.com! Can’t wait to see your verision!
~Bethany
Related:
-

Nick and I have dabbled in epoxy here and there, but we've never done anything…
-

Got a hole in your wall that you wish wasn't there? We do! When we…
-

We're in the dog days of summer, and it seems like my kids are always…
Hello! It looks very cute and wondering where you hung it? An interesting idea, I would change the color since they are not particularly combined with each other. I think a white tree would look great. I like to do such things, I would like to spend all my free time on woodcarving. I like to cut wooden canvases myself, so I feel that I have done absolutely all the work myself. Thank you for sharing this, good luck!
Hello stranger! Miss you! It’s be forever! I’ve been watching your videos. I knew you could do amazing things, but WOW! I have a question and it might seem pretty basic for you, but for me it’s a struggle ?♀️ I always have trouble with painter’s tape. I can never get a clean line. Paint always seeps past the tape. Could use some help. Ty!
Your friend,
Jodie Rickerl
Hey Jodie! I miss you! So many years have passed!
Regarding your question, it helps to use Frog Tape because it almost allllways has a crisp/perfect line after painting. But with textured walls, you’ll still have some seepage. The failproof way to ALWAYS get a clean line is to paint over the tape with the ALREADY EXISTING wall color FIRST. This seals the tape down. And if there IS any seepage, it will be the same color as the wall and will never show. Does that make sense?
Super fun!! I think you should still share in your stories! This could be something anyone can do. xoxo