We’ve been taking it pretty easy around here lately. This summer has been the busiest I can remember, and now that we’re back from the World Longest Yard Sale (our last commitment before my baby is due… in March), we’re just enjoying family time and soaking up what’s left of the summer. I may never make plans to leave the house ever again.
Nick recently took a new position at his job, and it means he’s back on 1st shift (after 1.5 years of being on 2nd shift). This has been a serrrrrious adjustment for us… ok mostly ME. I got very accustomed to having him around for the majority of the day to help with the girls and projects. But there is something nice about having him home in the evenings too. There are definitely benefits to both… and I’m trying my best to get used to this new routine asap!
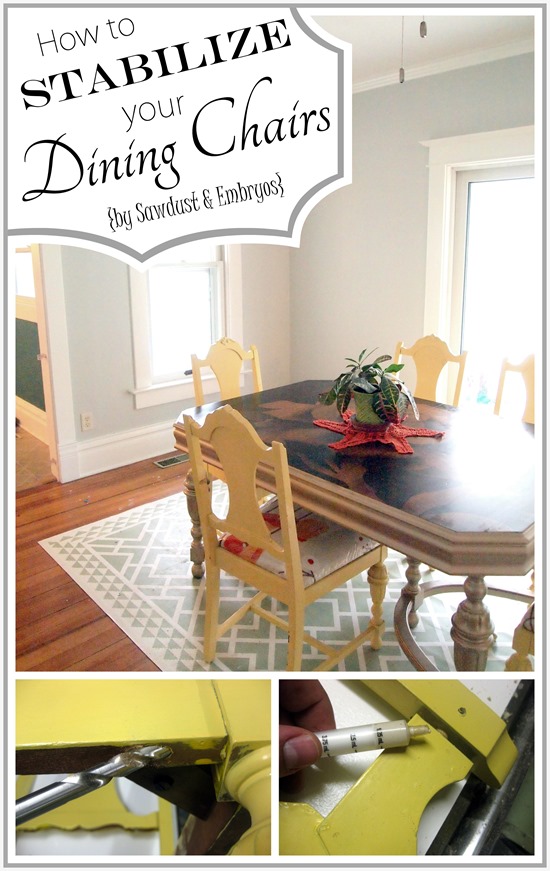
Remarkably, we’ve been getting a burst of energy after the girls are in bed in the evenings. We’re really on a roll in the dining room, and it’s been fun knocking things off the list! And the next thing on our list was to REINFORCE THE WOBBLY DINING CHAIRS.
We’ve had many requests for this tutorial… sooooo here ya go!
These chairs are in pretty good condition… especially considering they’re antique heirlooms passed down from my Grandmother. But they’re also a little squeaky; some being downright wobbly. SO! Over the weekend, we removed the cushions and hauled these bad boys out to the garage!
The best way to determine where the weak/loose joints are is to tap all joints with a rubber mallet. You’ll find that the joints around the seat are usually the ones to get loose first.
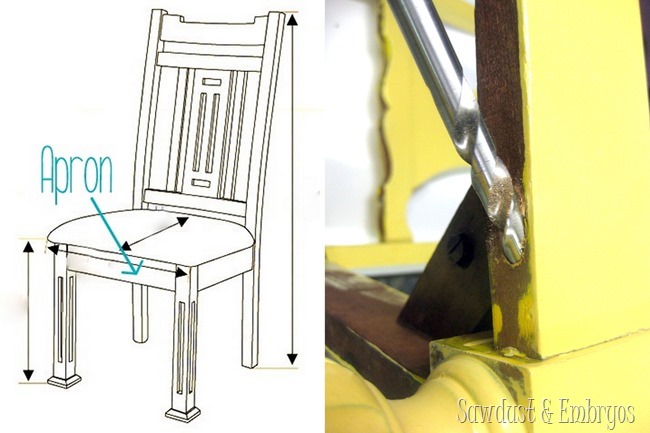
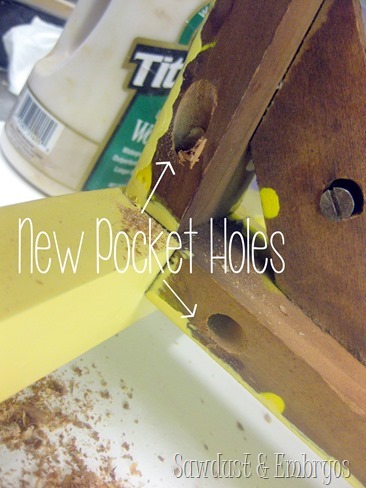
Flip the chair upside down and drill two pocket hole into the apron, which is under the seat. There should be eight total. I like to drill these at a steeper angle than your standard pocket hole. I typically aim just shy of half way though the apron.
Once your holes are drilled, wood glue any loose connections and screw the aprons to the legs of the chair using Kreg screws. This will help the chair significantly!
If you are opposed to using a pocket screws or don’t want to compromise the original doweled connection, you can use the steps below for the apron… as well as the legs and back support.
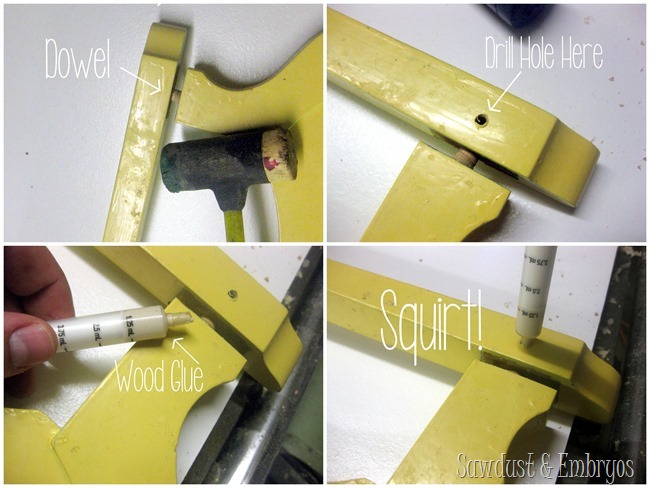
Now that you have identified which joints need to be re-glued, take your rubber mallet and tap the joint you are working on to expose the dowel. Watch carefully and see what side the dowel is moving. On these chairs, they all happened to be loose on the sides of the back support and the cross members of the legs. Once the dowel is exposed, drill a 3/16” hole into the voided area where the dowel once was. Fill a small syringe with wood glue and squeeze the glue into the void. You should have a snug connection between the syringe and the 3/16” hole you drilled. Ideally the glue will weep around the exposed dowel. It is ok if it doesn’t though… some dowels are more snug than others.
Squirt some glue around the exposed dowel, mating wood components. Clamp and wipe off excess wood glue and let dry. Once your glue is dry, fill any remaining voids with a wood filler. We used and epoxy-based filler called JB Weld’s Kwik Wood. Not only is it effective, but the name also makes for lots of entertaining adult jokes! Win win!
Mark my words… these chairs are getting a serious makeover now that they’re nice and strong. And I’ve been cautioned by my beloved that this makeover might be a controversial one… as in, you may not love it. And now he has me questioning my whole design plan for this room. But it’s too late to turn back! So we’re going for it! Are you on the edge of your seat? (PUN!)
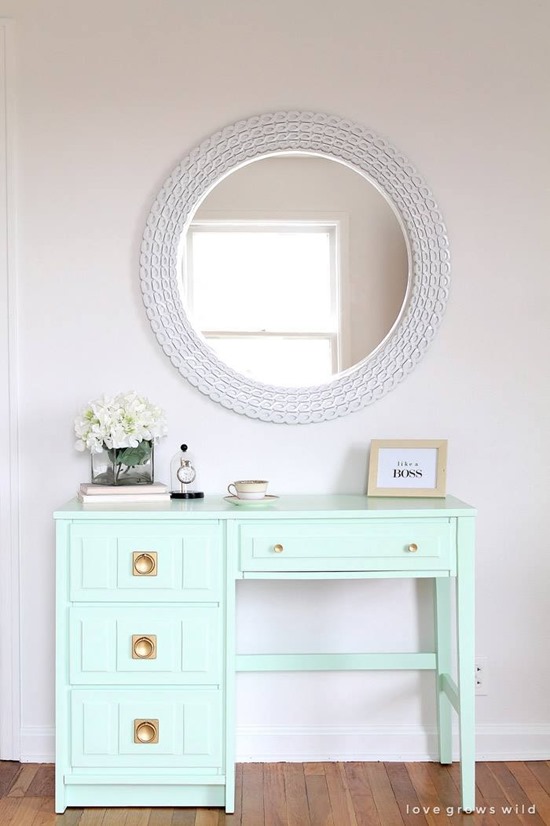
Ok FINE… here’s a little hint. I was inspired by this gorgeous desk transformation by my girl Liz @ Love Grows Wild Isn’t it dreamy? Looooove that mint.
Note! If you want to pin the above pic (and I don’t blame you), pleeeeease go to HER POST and pin it from the proper source. Thank ya!
We’re hoping to finish up these chairs soon, and hopefully post about them before the end of the week! WoooooHOO! Yipeeeeee! Cowabunga! High-fives all around!
Please try to contain your excitement until then.
Over and out.
*this post contains affiliate links




Thanks, for your wonderful hacking and wonderful creation. I appreciate for getting such an informative post. To build my new house your explanation helps me more.
Mirror and cabinet is awesome. I like this post.
Thank you. I love the mirror frame!
LOVE the mint. Can’t wait to see it!!