Is it not a beautiful sunshiney day out today? Well at least it is here in Iowa. Everything’s all drippy and melty outside, and making me yearn for spring something fierce. I got to go out and frolic in it sans-twins this morning for a mommy-date-type-gathering that was fabulous.
ALSO… it’s my Mommy’s 60th Birthday today! HAPPY BIRTHDAY MOM!!
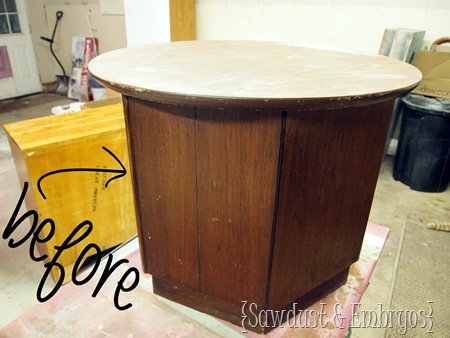
I’m overjoyed to introduce to you a new member to the cast of our living room. Well, I guess this item has been around for quite some time (PROPS for whoever was around long enough to remember that post!!).
It’s been looking downcast and in need of some serious pampering and makeover… and a massage, and a shopping spree, and new highlights. Oh WAIT, I’m thinking about someone else entirely!
ANYway, girlfriend needed to look her best if she’s going to fit in with our ever-improving living room. And since I’ve been craving a little vinyl action lately, I enlisted my girl Dana to cut me some swirly designs. Remember this sneak peak pic that I posted on our Facebook page? (If you don’t follow along, you should seriously consider it… we rapidly approaching 2000 FB friends!)
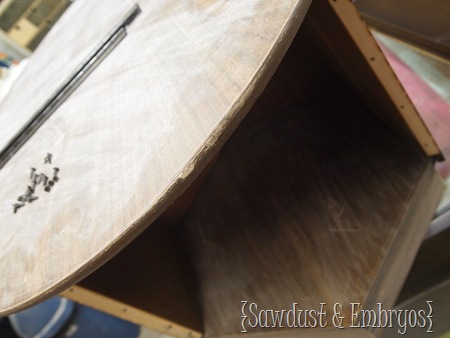
So after ‘weeding’ out the vinyl (which Dana and I did together with a glass of wine and some cinnamon rolls), the next step was to prep the end table. Cue the broken record! Remove hardware, sand, prime, paint and poly!
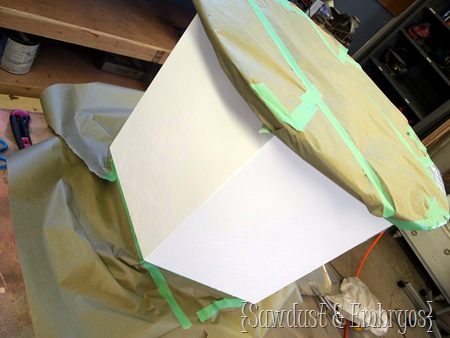
Next, we taped off the top surface and bottom ledge…
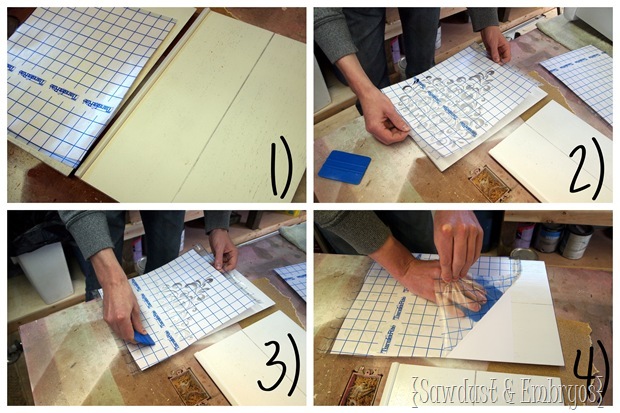
Finally, it was time to apply the vinyls! Nick desperately wishes he could grow a beard this long.
This part is fun, but it’s best to have two people so one can hold it, and the other can make sure it’s lined up before pressing down.
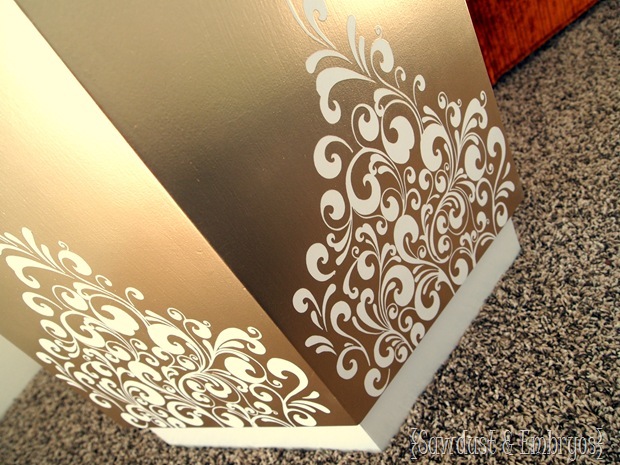
We had Dana cut us 6 separate vinyls for the 6 panels of this hexagonal end table. And Dana suggested we do 3 of them as a mirror image so that the table can be ‘reversible’ depending on my mood! (GENIUS)
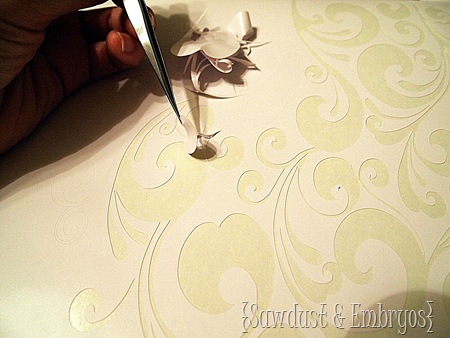
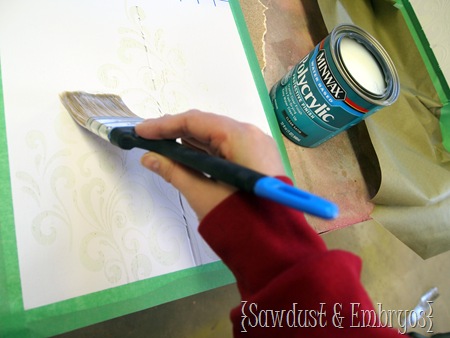
On these next two pictures, can you see how the left one the swirls are glossy, and on the white one, it’s glossy around the swirls? You’ll see why in a sec…
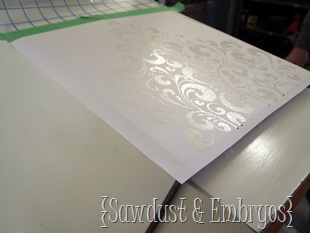 |
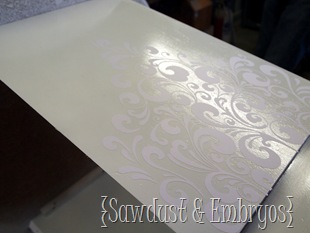 |
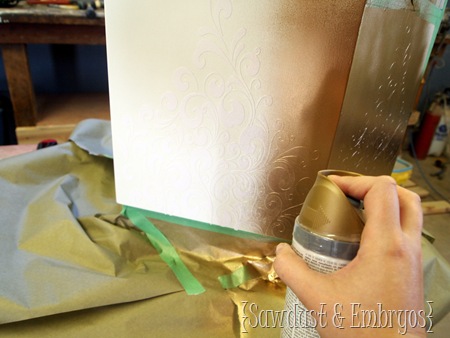
Next, I polyed with PolyCrylic over the vinyl to seal it down before painting.
I used Valspar’s Metallic Gold… which is AMAZING.
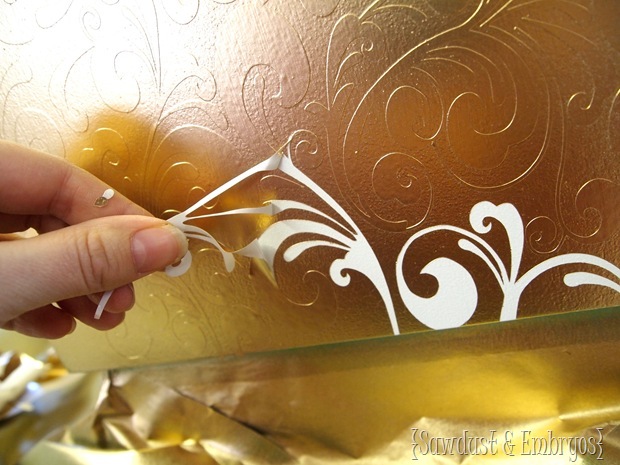
Then Nick and I began pulling back the vinyl and singing ‘Killing Me Softly’ very loudly in the garage whilst the girls were napping. Good times.
I forgot how fun our vinyl projects are… SUCH instant gratification!
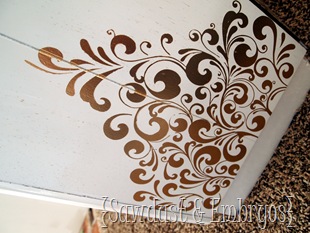 |
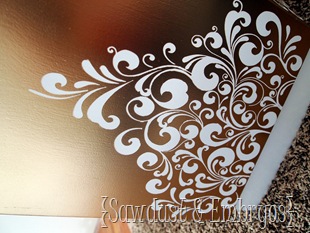 |
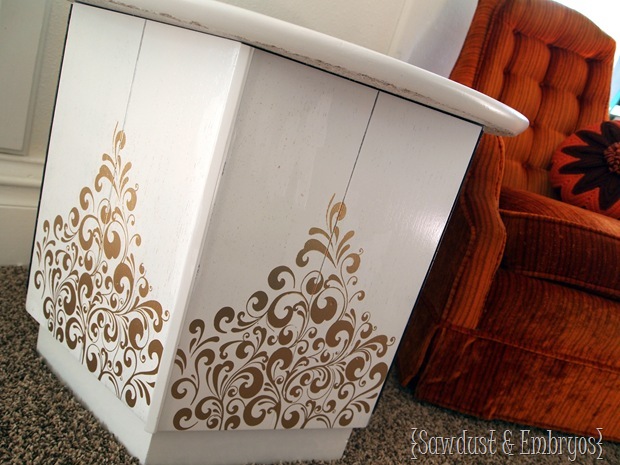
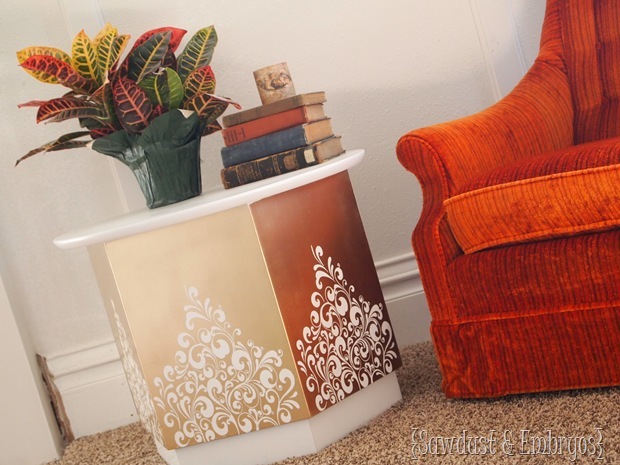
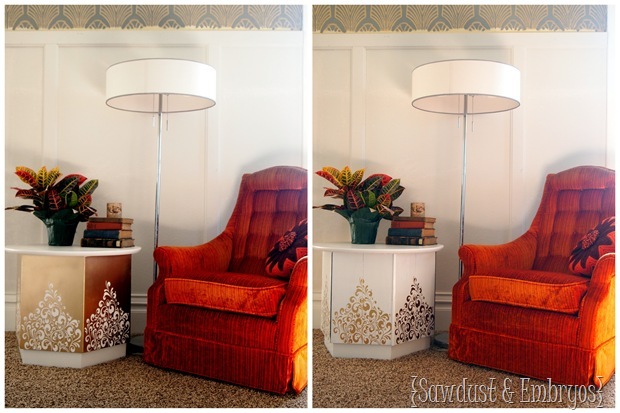
Now do you see what I meant by the mirror image vinyls? It gives me options baby. Here she is a staged-up cute with the orange chair.
I truly can’t decide if I like the white side or the gold better. I guess I don’t need to decide, because I can change it on a whim depending on my mood!
What was that?
You’re needing a little BLING to brighten your day?
BAM:
Which side do you like best? I’m very curious!
What do ya think? Do you prefer the gold side or white? Have you done any projects with vinyl lately? Do you obnoxiously sing Aretha Franklin songs while bring creative? Have you hopped on the ‘gold train’ yet? Don’t fight it my friends.
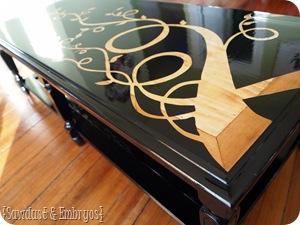 |
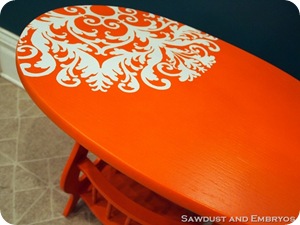 |
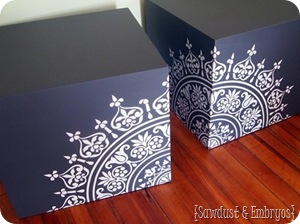 |
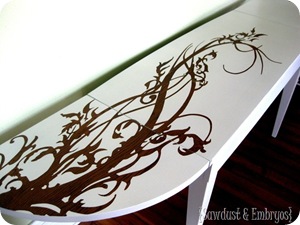 |
 |
 |




So did your white/gold spray paint go on top of the poly in the areas you were wanting to be painted? Did you have to let that dry a LONG time before spray painting? Thank you for your help!!!
Debbie, you could just let the poly dry for an hour or so. You don’t want it to be so dry that it’s a hard ‘candy coat’ …if that makes sense.
So beautiful!
The white is so classy!!!
I can’t even decide which side I like best, both are so beautiful..
But if I really had to choose, gun pointed to my head and all, I would probably go with the white side 🙂 or maybe the gold side.. I just don’t know!
Love it!
Whats the story behind poly-ing the vinyl down? Is it kinda like a glue? But comes off easy? Never heard of this trick. I am going to attempt to vinyl stencil my wall soon…this is not something Id use for that though right?
Margo, the poly is used to seal down the vinyl after it’s been applied. That way if there’s any ‘seepage’ it’s clear poly and not paint that will show. I would just use a regular plastic stencil if you’re doing a wall so you can repeat. It would take a LOT of vinyl to stencil a whole room because you can’t reuse it. Hope this helps!
so your spray paint actually went over poly in the areas you were wanting to be painted? Did you have to let that dry a LONG time before spray painting? Thanks!
Just found your blog this morning while browsing with my cup of coffee..What a nice touch the vinyl stenciling adds to “anything!” Sometimes my reading comprehension isn’t so great..so please just bear with my stupid question. I saw somebody cutting out vinyl..do you purchase the vinyl already with the design embossed on it and have to punch (cut out?)in between to get the design you want? You lost me there. Can it be used more than once? How do you store the cut out design when not in use so it doesn’t get messed up? How do you make it stick to the item of your choice? Do you work with it like a regular stencil design?
I love the gold side. Very classy and fun!
I think it would have looked cool to alternate the white / gold every other side of the hexagon. The first picture below the vinyl peel inspired me the most.
Eve
I think that only due to the fact that it’s against a white wall, and you have what seems to be gold in the design at the top of that wall, and next to an *orange* chair, the gold is inching its way into my favorite side. However I love the white as well. It’s like a 49.9% vs 50.1%.
Thanks for the inspiration – I added your badge to my newly started blog so that I can find you easily when I need help & advice!
Gold!
First, I have to thank you. The polycrylic thing saved me. I am currently working on a stencil project (my first) and have had some bleeding problems. Polycrylic here I come. I actually like both and would probably move it so they both were showing with the gold side being against the largest expanse of white wall for contrast. Great job!
Well I like both, but if I have to choose it’s the gold side. You guys are something else. Mary in NY
I love the gold side!!
I literally gasped when I saw this. It is beautiful! I am very partial to the gold side. Only you guys could make a piece of junk look like an art piece. Totally Awesome!!
so cool!!! love the gold side!!!
The gold side just sets off the orange chair. I think the white side blended too much with the wall and made the table seem boring. Love it thought!
I like the gold side best! I am totally on the gold bandwagon – LOVING it right now!
Gold Side!
I’m in the minority as well….white side gives great contrast and interest to your medium toned chair! Makes it stand out even more!
Can I give you a design tip? Even though it’s daylight out, turn on that lamp when taking photo’s of your furniture, it makes the room look complete!
Great job on the table! I seriously need to do some thrifting!
Thank ya Diane! I think I’m digging the white side more (at the moment?) too!!
Thanks for the tip… I actually had the light on in some of the pics, and it really messed with the coloring in the picture and just didn’t look as crisp and professional. So I picked the best ones. 🙂
Totally understand! Lighting for photographs is so fickle! Looks awesome though!
I love the Gold side!
BEAUTIFUL but wait a minute! Did I miss a post about you stenciling your living room walls? From the looks of those pictures, I missed something 🙂
Yep yep! I’ve been stenciling away, and it’s taking FOR.EV.ER! I’m gonna do an update on Friday I think.
That’s beautiful and very creative. The white side is my favorite:)
Maude
I guess I’m in the minority. I like the white side best. 🙂
I love this! THeres so many vinyl possibilities!
Gold side!! But, I think “Killing Me Softly” is Roberta Flack, not Aretha Franklin.
Actually Aretha Franklin sings it too!
Both are very cool! Do I spy living room wall stenciling in the background??:)
Lisa
Gold!
I like the white side better! What a cool idea! 🙂
I love the gold side!
I love the stencil, the gold side is my fave!
I’m a silver girl but for some reason that gold side speaks to me..and she sounds like Aretha!
I prefer the gold side as well. Wish I was as creative as you, this is awesome!
I love the gold side! I can’t put my finger on WHY, but I do.
Ohhh I really like the gold side!
I LOVE this! I can’t wait to try this!! I love both sides!
Looks great! I like the gold side the best – gives it a nice pop next to your light walls 🙂