How do you like that for a title… so creative, I know.
Sooo HI! I finally finished a piece of furniture to share. It’s been awhile, huh? Things have been slow-moving (understatement of the century) as we’ve been working away on Operation: WALL BE GONE, and chasing our two enthusiastic toddlers. It’s like they siphon my energy and add it to their already extensive supply.
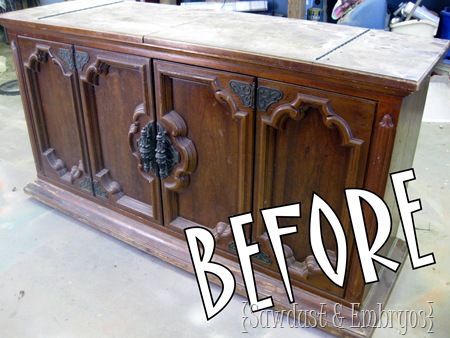
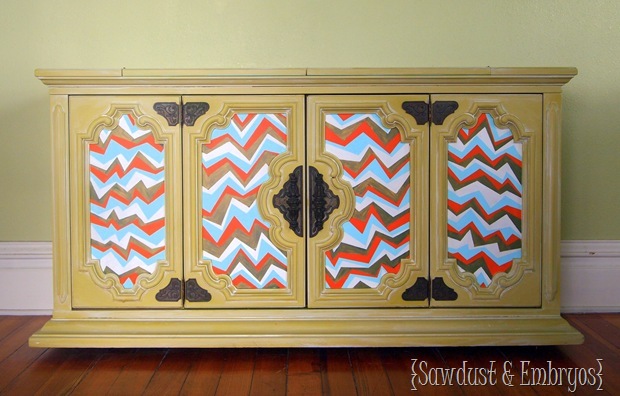
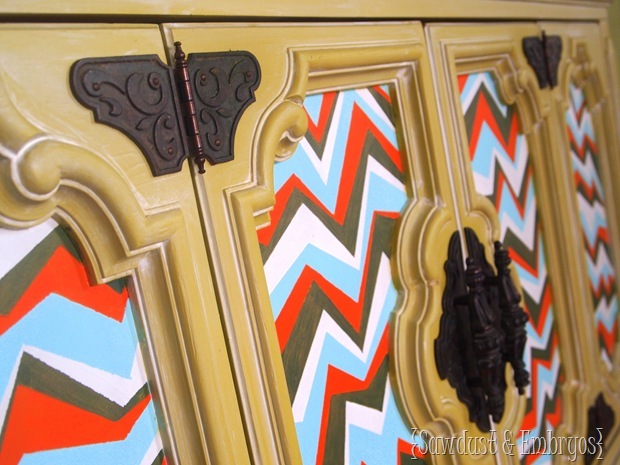
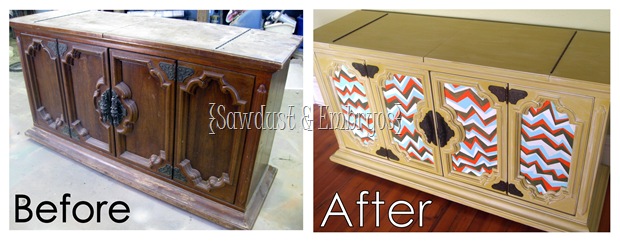
We bought a buffet from craigslist. Sometimes a piece of furniture has obvious potential… and this is one of those. I couldn’t wait to get my hands on it. Would you look at that hardware? *sigh*
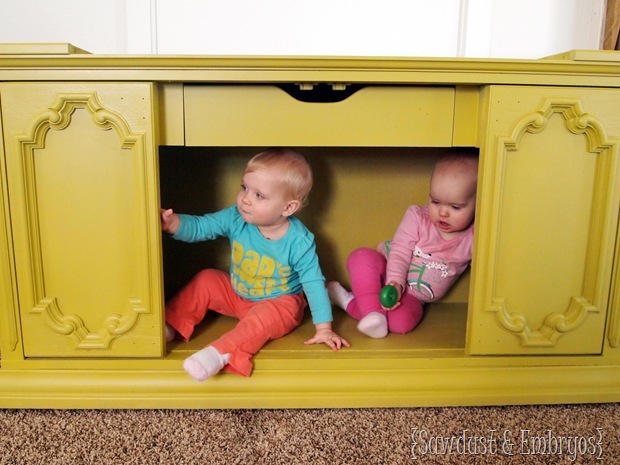
We sanded/primed/painted, using Sherwin Williams’ ‘Antiquity’. It’s a creamy mustardy yellow-ish/beige-ish/olive-ish color. Got that?
 |
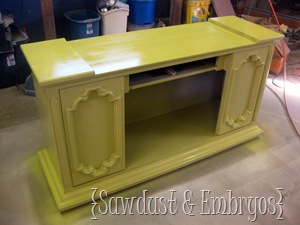 |
This color looks very different in different lighting… so don’t mind how the coloring varies in the photos.
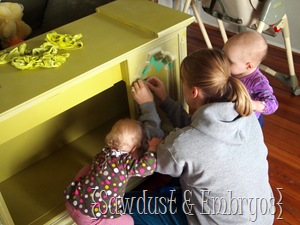
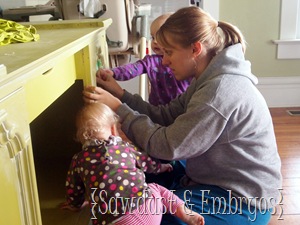
We hauled this thing into our living room for a time, so I could work on it in the evenings in the comfort of my living room. The girls quickly claimed it as their clubhouse.
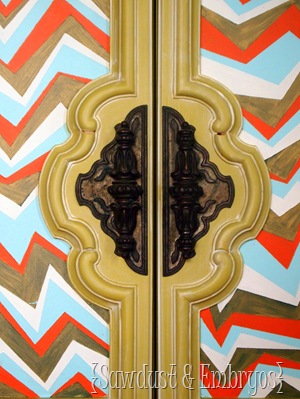
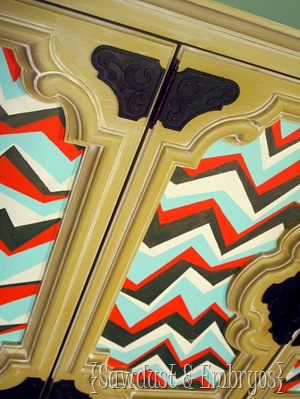
It sat around like this for quite awhile, because I just couldn’t decide what I wanted to do with it to make it ‘special’. Then I saw this on Pinterest, and loved the colors and chevron. This became my inspiration for this piece! I would LOVE to own this sweater btw.
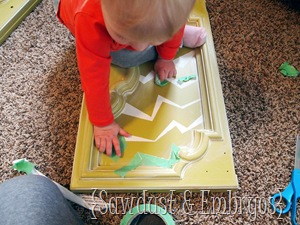
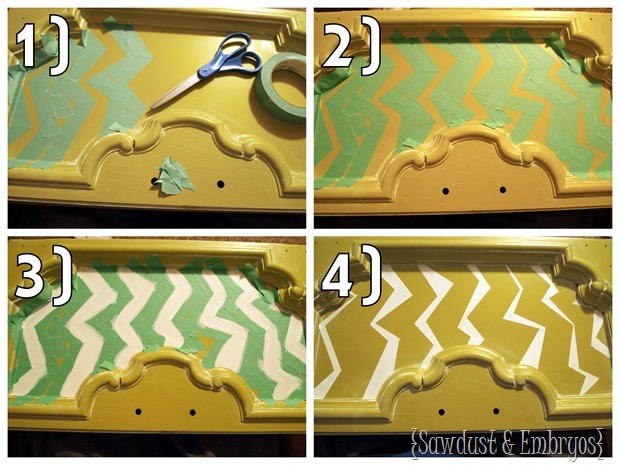
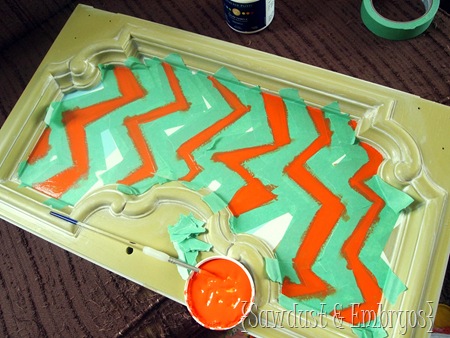
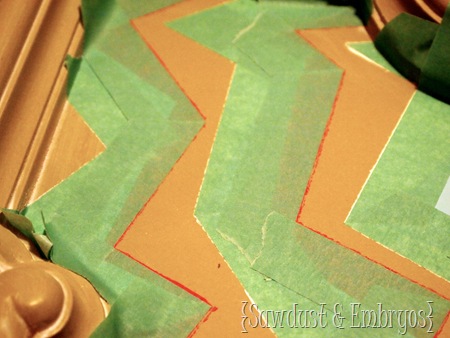
These next few photos were taken at night, and the color is all jacked up. But I wanted to demonstrate the technique that I used to tape off my zigzags. I wanted it to look haphazard and whimsical, so I slapped the tape on pretty randomly. Here is my process:
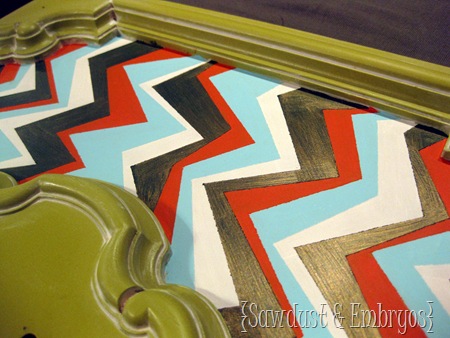
Once I had my first color done, I started taping over that color to prepare for the next! I don’t know what I would do without my little helpers.
 |
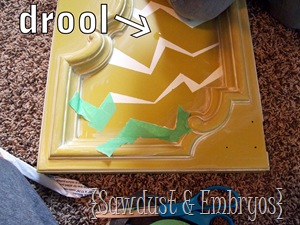 |
I’m not going to lie… this is tedious work. Not difficult, just time-consuming. I mostly worked on it in the evenings while I watch The Voice. Melanie is my favorite. I hope she wins!
At times, it was very fun though. I just love painting!
I taped off each door 4 times, for the 4 different colors. Taping/painting the two outer ‘doors’ was the hardest… because they aren’t actually doors. They don’t come off.
 |
 |
Looking through these pictures, I’m realizing the true reason why it took SO LONG to finish this piece.
Finally… the doors are done.
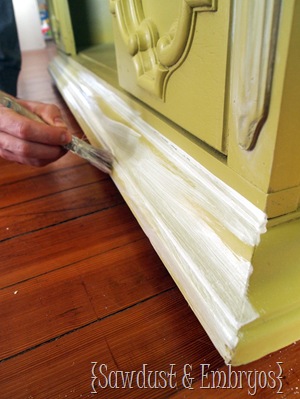
We glazed (tutorial HERE!) in white. I love the way white glaze makes it feel modern and vintage at the same time.
 |
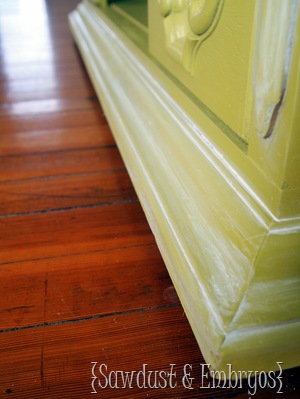 |
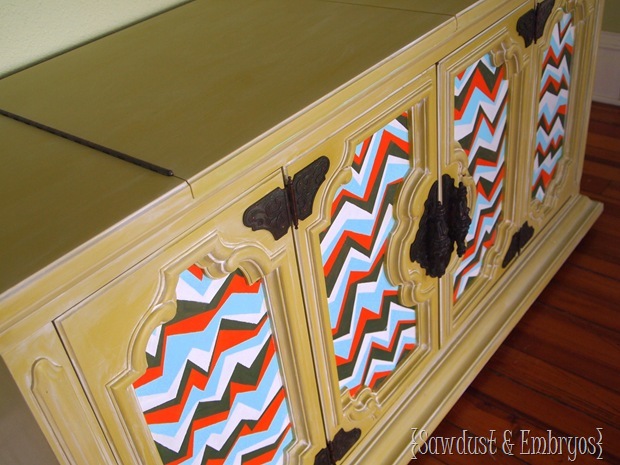
And we sealed everything real good with several coats of PolyCrylic using our paint gun. And there you have it…
It’s a bit of a relief to have this one done. There are so many fun projects that I’m ready to dive into!
 |
 |
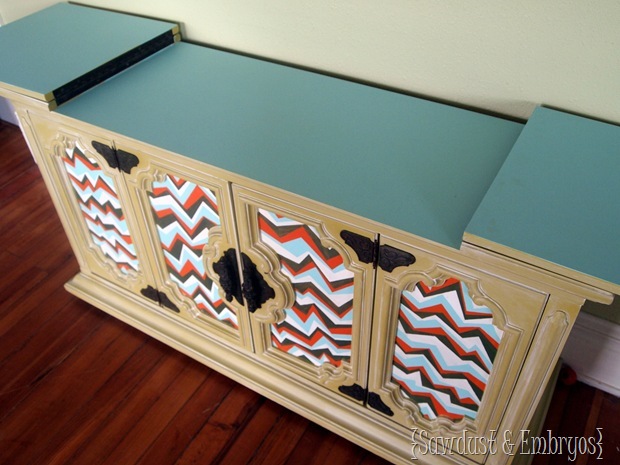
Oh! And it’s a ‘server’ too, so the flaps open to make for a larger surface area for serving guests! I painted that part the same aqua color that’s in the zigzags.
Fun, right? I mean, it might not be everyone’s cup of tea… but that’s ok. It would be impossible to please everyone… so we try to please no one! We do what’s fun for us, and unique, and original.
Have you guys gotten in over your head on a project lately? Tell me I’m not the only one!




I love it and the fact that you could see something more in that piece inspires me. I always look past the big thick tudor style furniture that people are always getting rid of, but this gives me ideas how to bring it back to a “new” life. Thank you…
You are definitely creative and gutsy! It reminds me of Dr.Suess! Cool!
I have been reading your blog for a while but had multiple Google accounts and a lot of trouble leaving comments. It took me like 5 minutes to fix it and I’m good now! Haha Your little girls are just so adorable. I’m so glad you got to be a Mommy. 🙂 I love it!
I really like it, it would not go with my decor but it’s really nice. The girls are just too cute, trying to help the momma. Thanks for sharing. Mary in NY
That looks great! It;s not my style, but I still love it! It’s cool to see because that’s definitely not something I would do. Maybe I do need a statement piece like that in my house though! =] I started sanding this replica ice box my Hubs brought home for my from work. I thought I would hand sand and be done with it – ya, not happening. I started before Thanksgiving and it’s still not done AND my hand still hurts. (I did try stripping the stain but I didn’t like the stain stripper I got and how it was working so I ditched the stripper – poor girl, ha kidding! – and started hand sanding.) I am definitely going to need an orbit sander to finish the project so I guess I’ll have to wait until after Christmas. I asked for an orbit sander for Christmas!
Nope you arent alone!!! My daughters second birthday is tomorrow so im dying to hurry and finish this vanity im doing for her 😀 !!!
Not just fun – but unbelievable fabulous fun buffet paint job. I really enjoy and love to see what you come up with. Looking forward to your next project!!
Firstly, I LOVE that peek-a-boo teal on top of this. What a gorgeous surprise! Secondly, I TOTALLY want Melanie to win, too! I’ve even been voting from Germany!
Beautiful project!
Also, I’m going to copy you, I hope that’s ok! (I’ll link back to your page, promise ;). Once I find a vintage dresser for my 9 month old daughter’s room, I want to paint the top in a giraffe print, and the rest in lavender. See how I’ll be copying you? Instead of copy, can we use the word inspiration? It makes me sound better 😉
You are so good at bringing the design to “the next level.” It is outstanding! Are you going to keep this one or sell it?