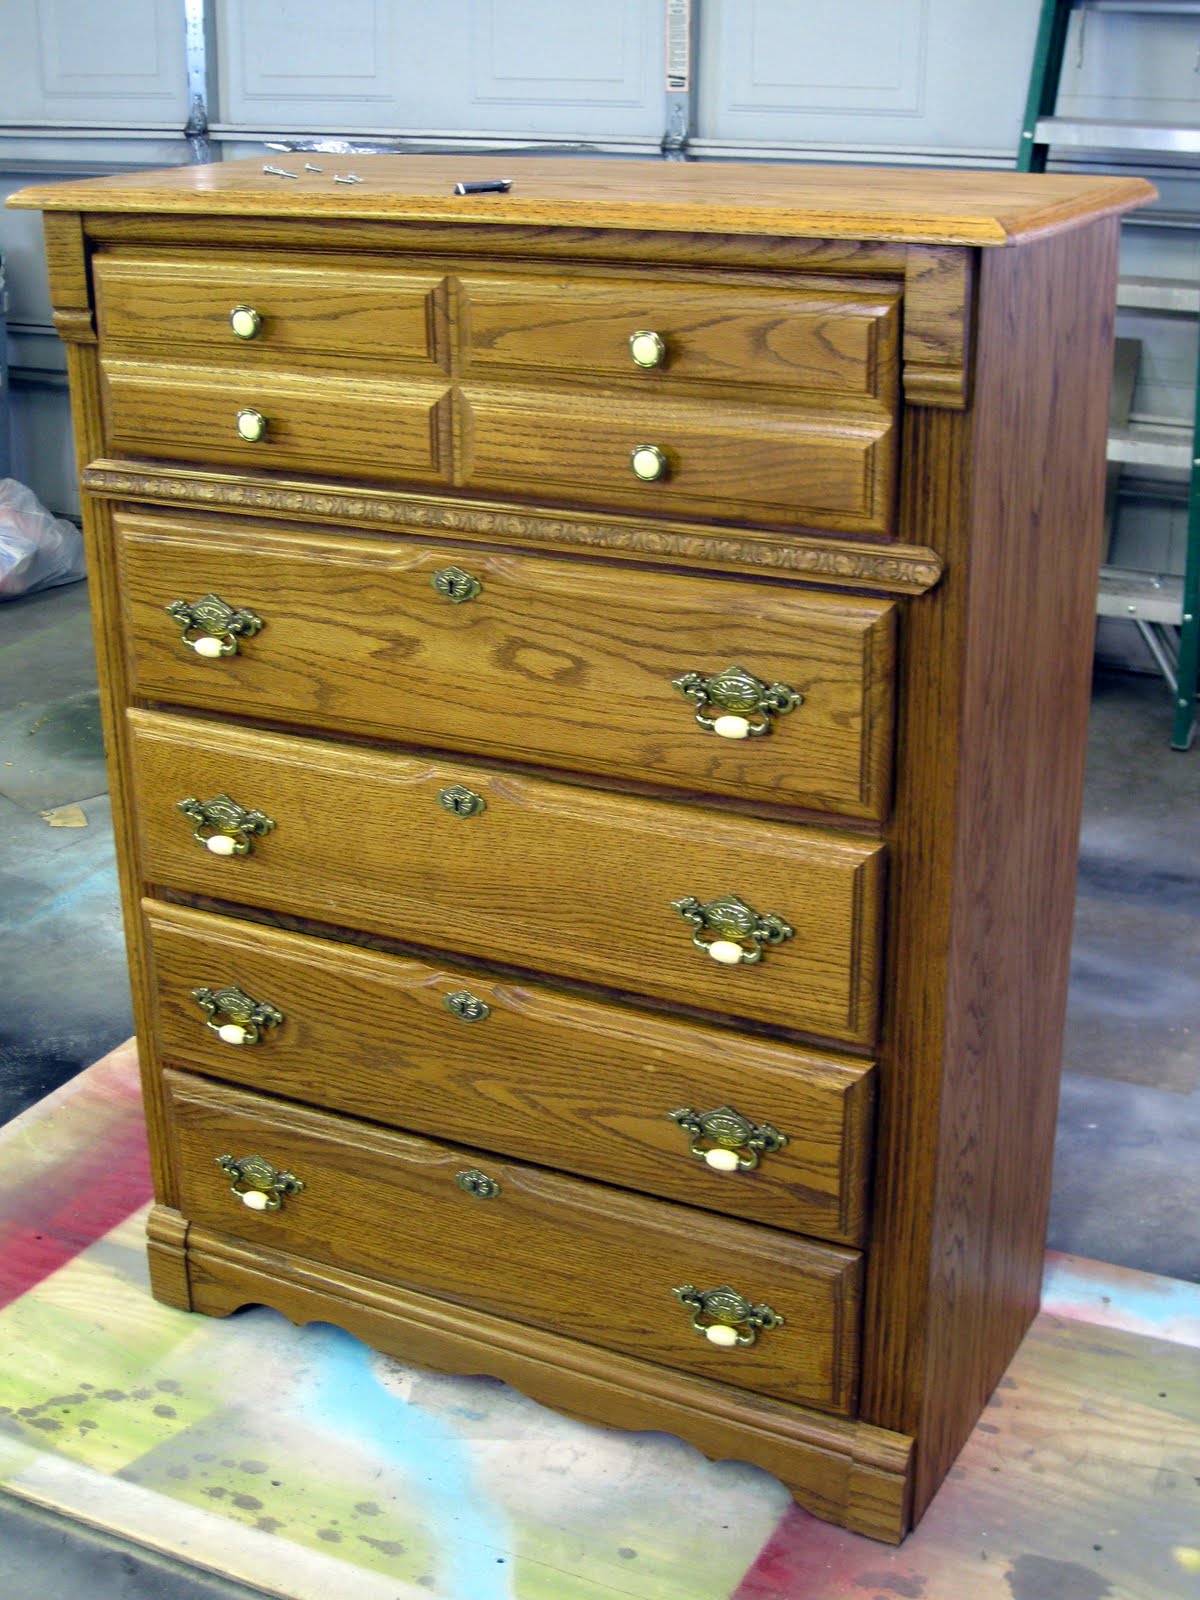
In between our day jobs, backsplashes, and overhauling the nursery… we’ve been casually making-over Laurie’s dresser. Laurie is a client that has bought a few pieces of furniture from us in the past… one being this little end table. And we actually did another slightly different end table to match awhile back, which we didn’t blog about because it just seemed a little redundant. But Laurie wanted her dresser to match the end tables which have been placed in her guest room. Here’s the before picture.
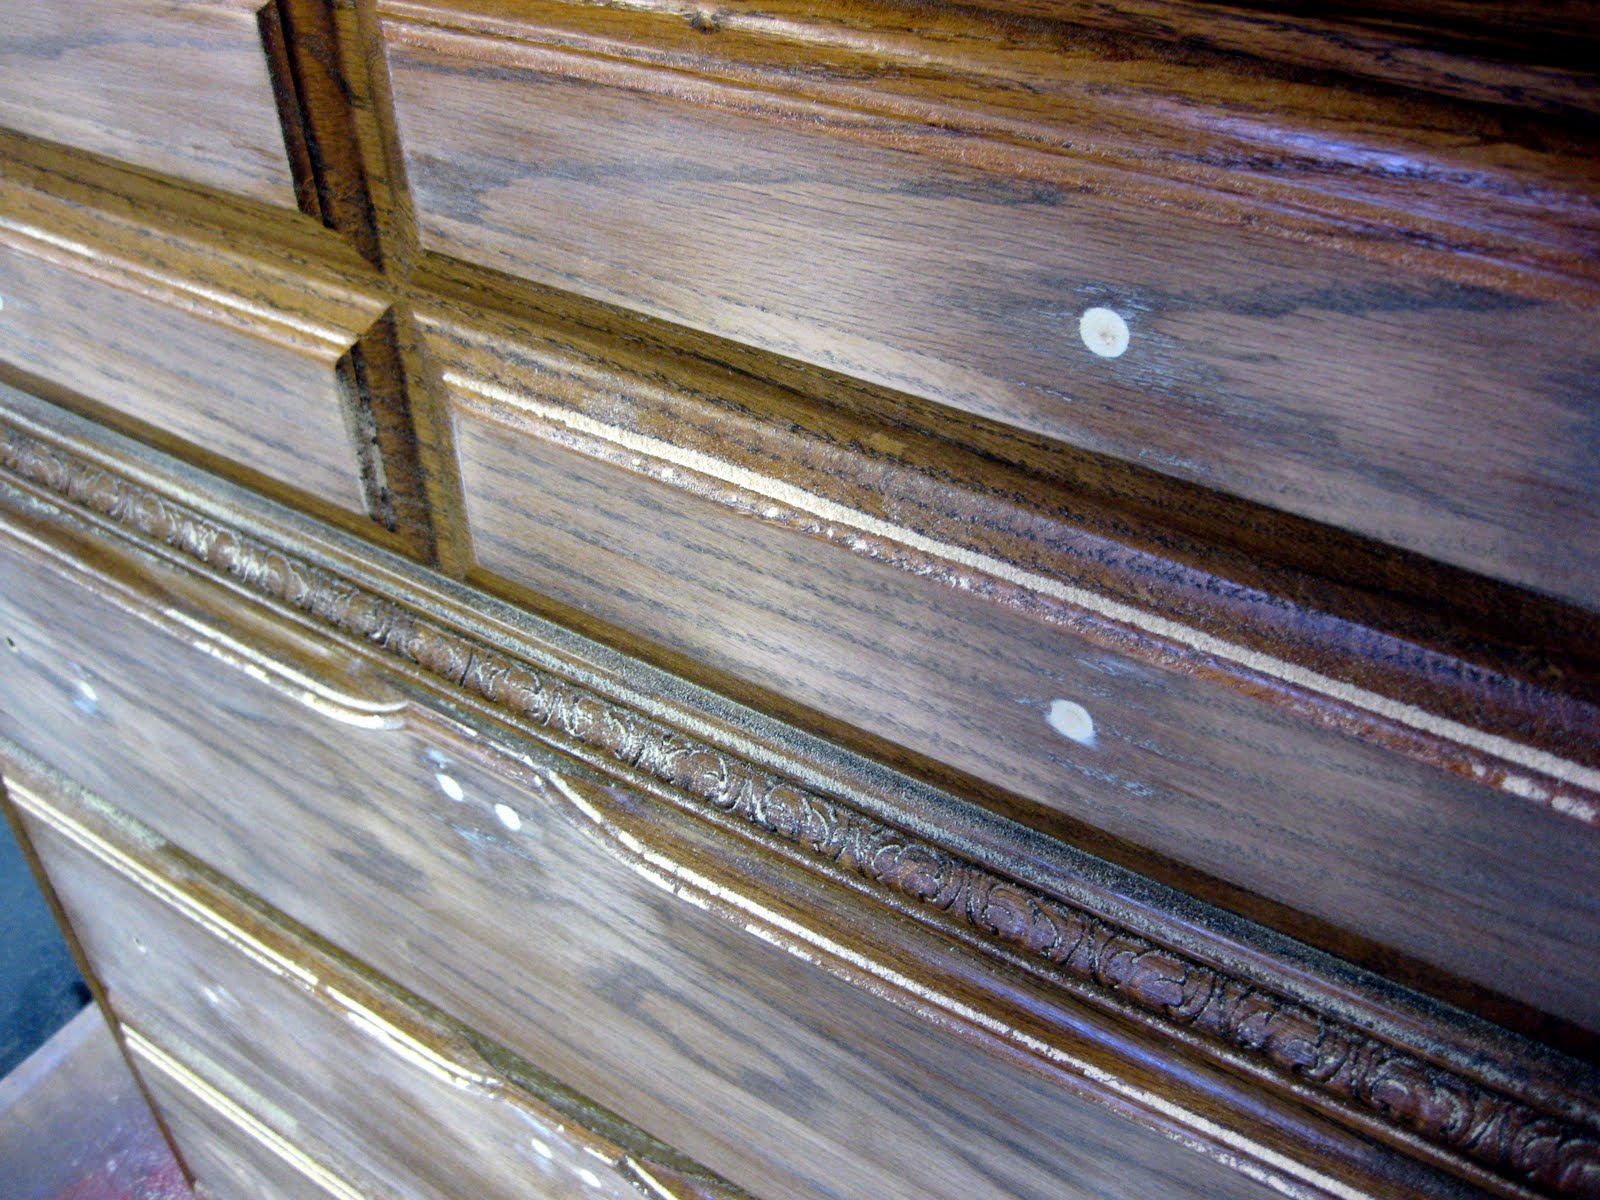
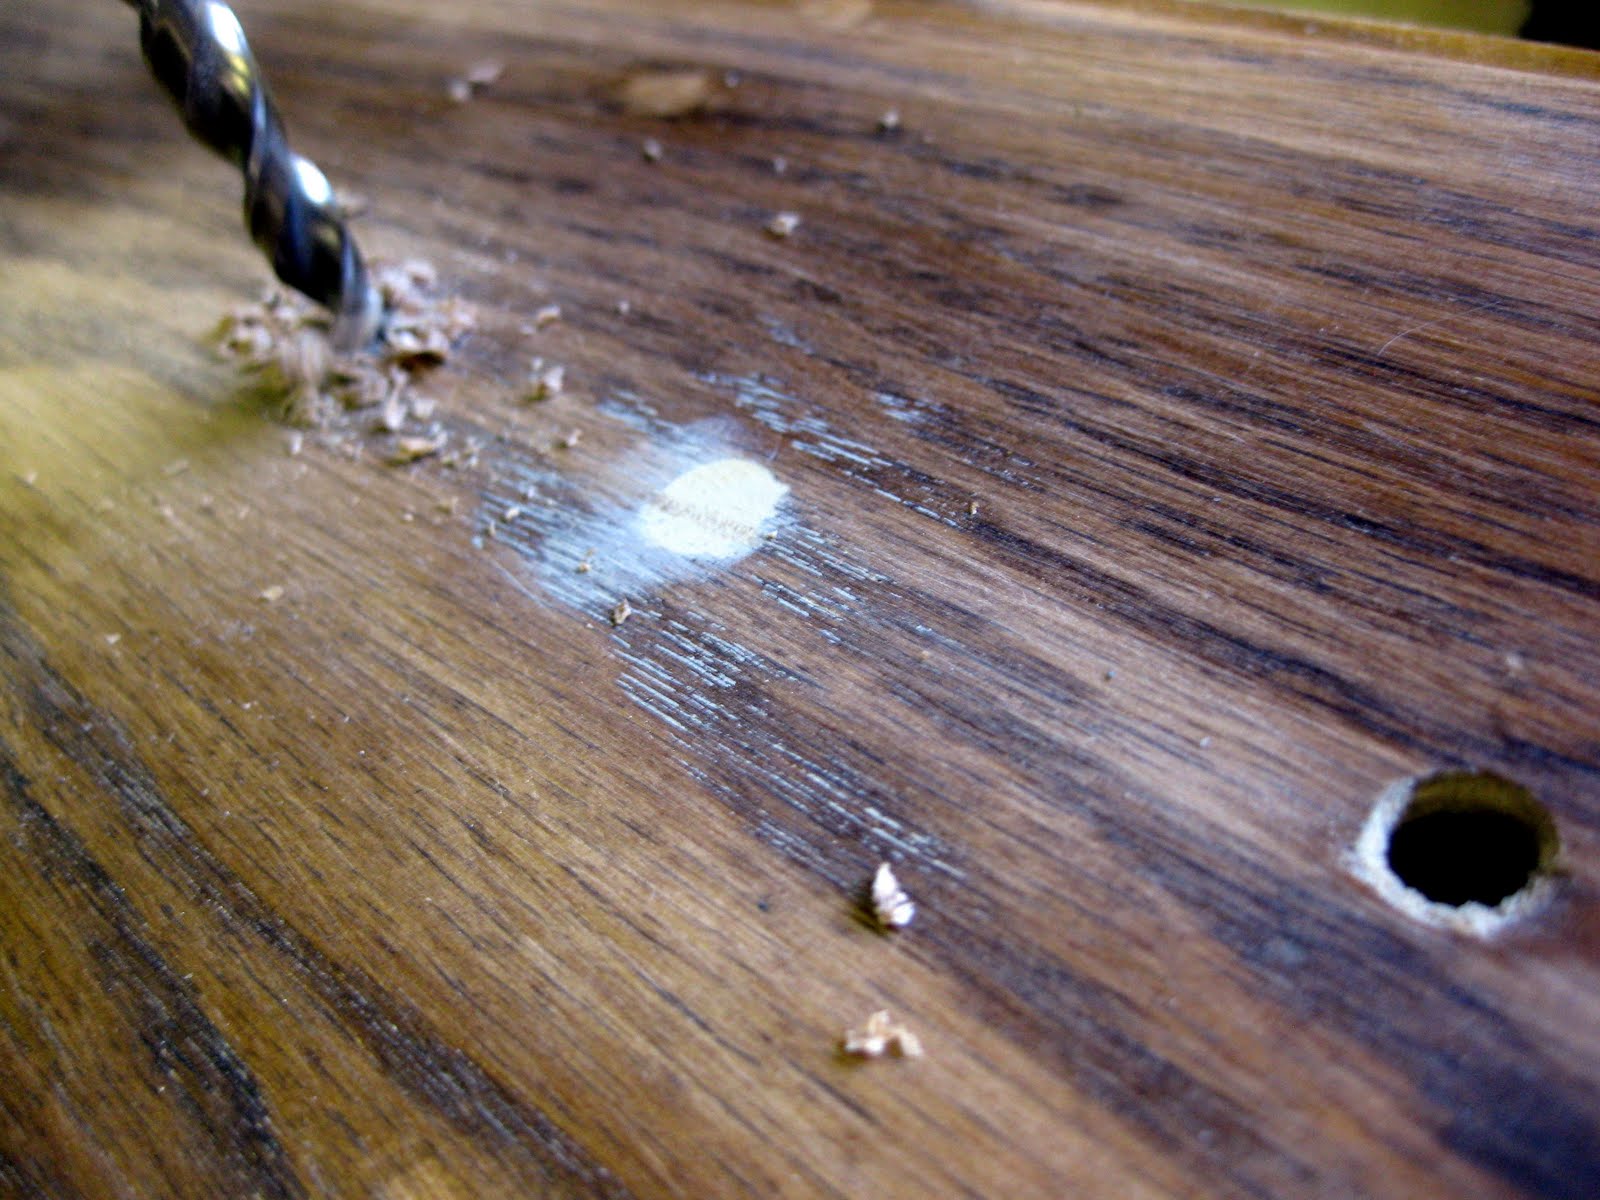
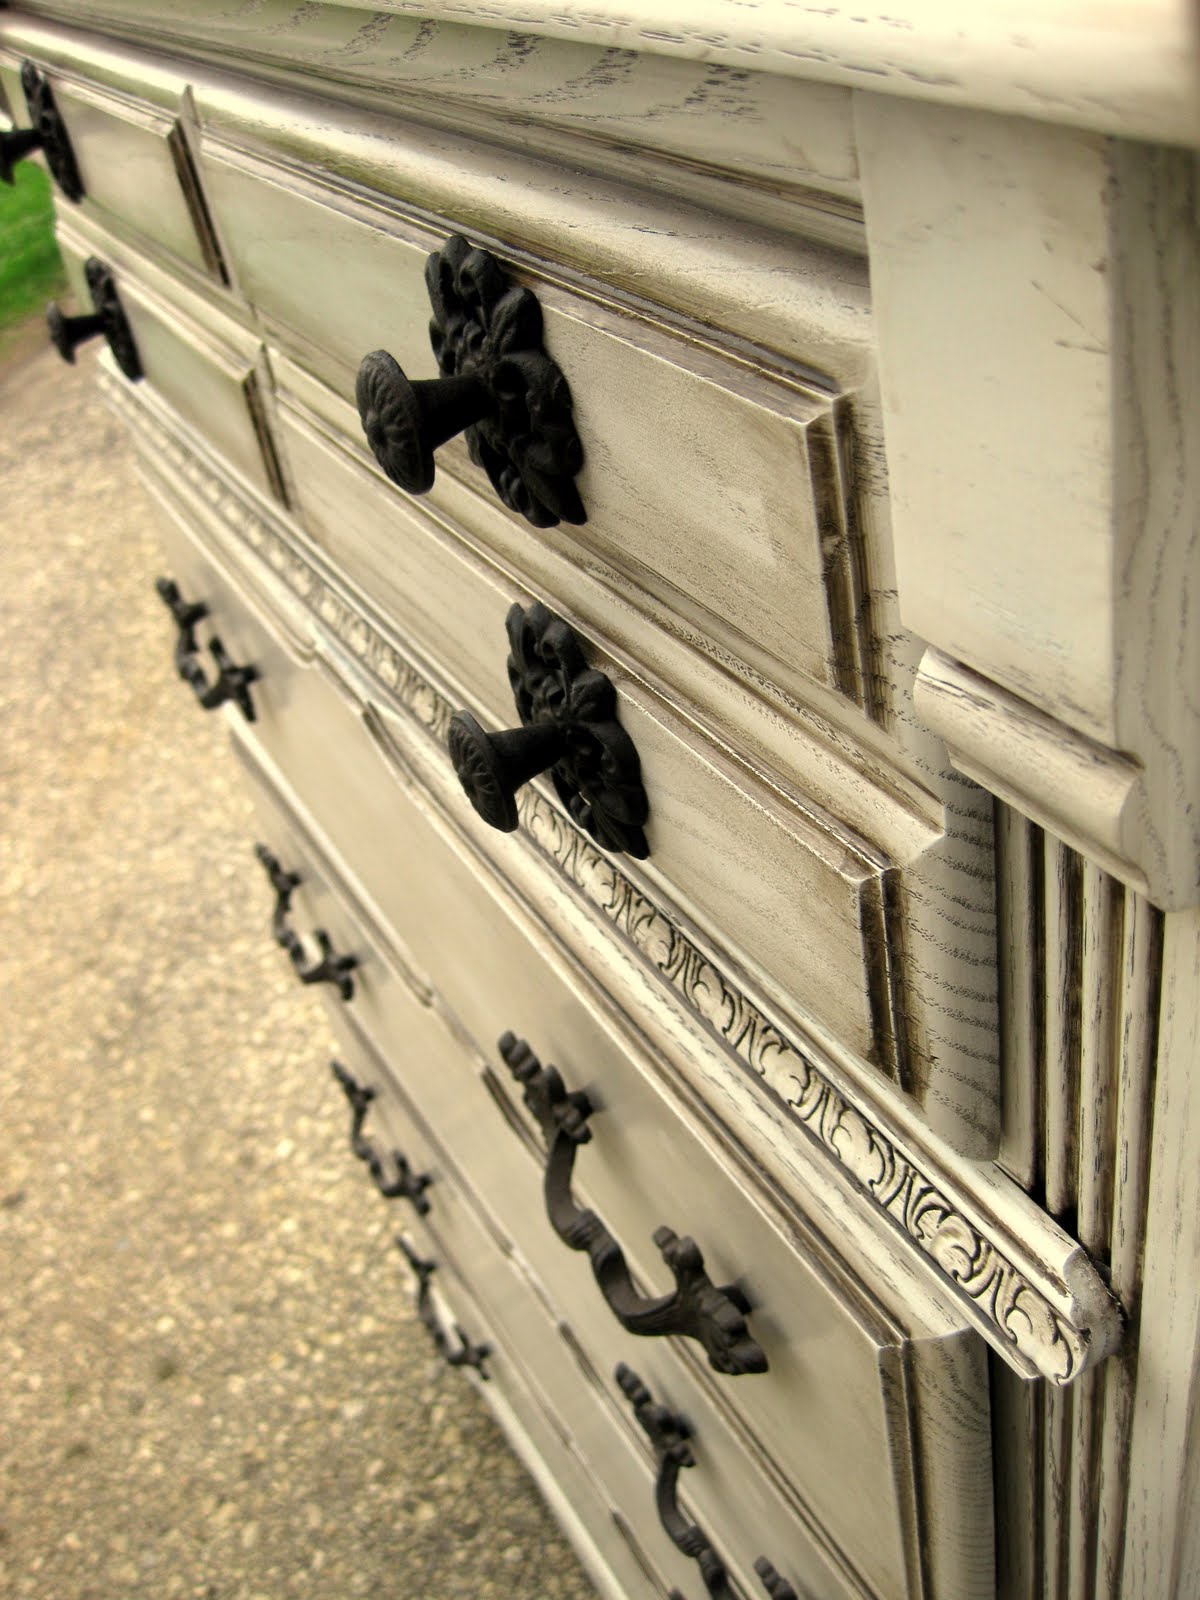
First we removed all hardware, puttied the holes, sanded everything down real good, and drilled new holes for the hardware we got at Hobby Lobby!
Then all the drawers got taped off with newspaper to help with overspray.

Then we primed with Kilz and painted her white (in a flat sheen) Of course this step didn’t get photographed, nor did the glazing part. But you can refer to our glazing tutorial here.
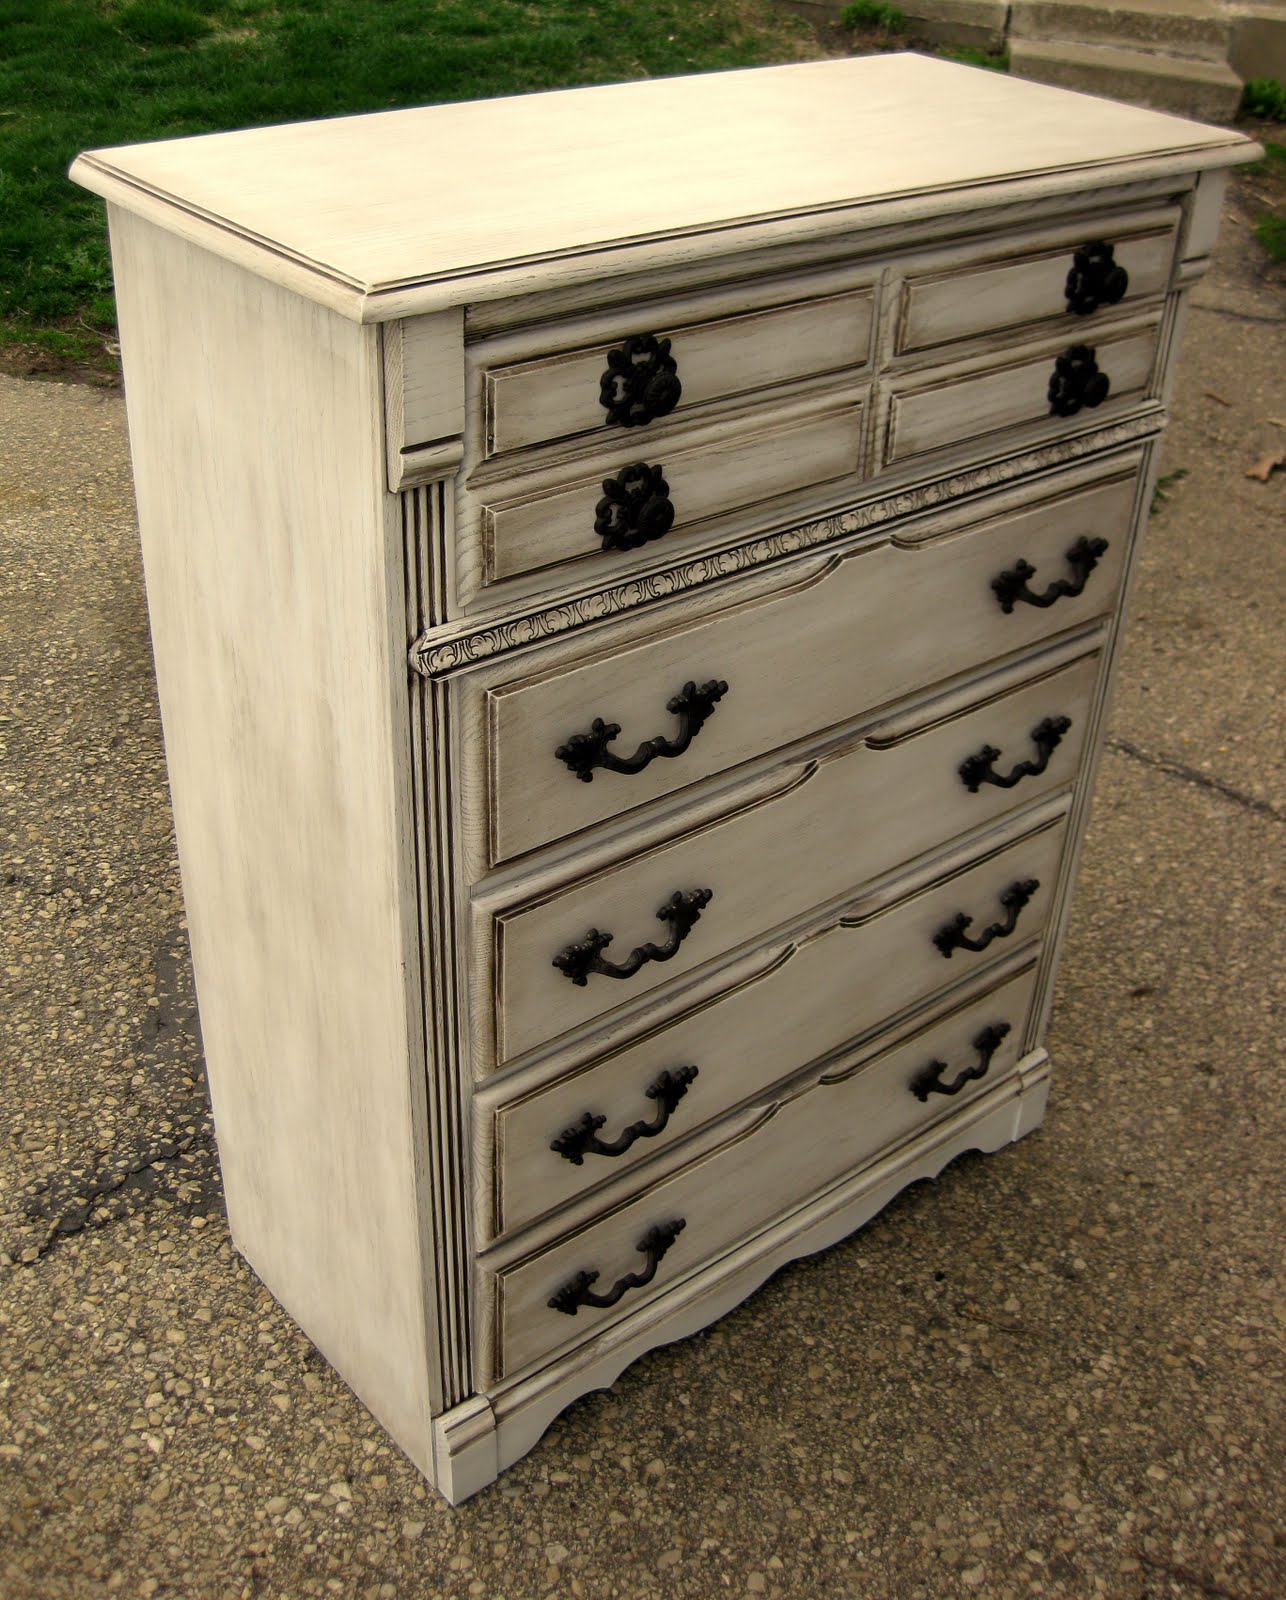
Anyway, here’s the after pics!


*this post contains affiliate links.
Related:
-

We love the original wood of our library, and wanted to find a desk that…
-

We've been needing to update our coffee table situation in the living room for awhile…
Hi I have a quick question. I saw your other blog where you glazed the trash can. You used spray paint for it. I’m wanting to try this technique on some wood table. Could I also prime them with kilz and then spray paint them as well?! Can you email me in case I can’t find this page again. Thanks so much. My email is cgariepy5@gmail.com
Yes totally! Prime with Kilz (you might need to lightly sand after Kilz dries. Sometimes it dries kinda crusty), then paint with spray paint, and once dry… go ahead and glaze! Be sure to follow a re-coat and dry-times on your cans of prime and paint. It’s super important! I’ll email you this info just in case too. 🙂
Hello I am dying to learn how to paint. I love all these very much. Any video or book which can help me
I started to paint and redo furniture AFTER SEEN YOUR BLOG THANK YOU
I am wanting to do this to a bedroom set, but I am new at refinishing. Have you done a tutorial on what you did here? I love how it turned out!
HI Shelby! We wrote this post a loooong time ago before we were actually writing tutorials, but I do remember that we used pure white Eggshell paint (can’t remember if it was spraypaint or latex, but it should matter… as long as you prime beforehand). Then we glazed with technique glaze mixed with chocolate brown paint. The can of glaze will tell you what ratio to use when mixing paint with glaze. Here’s a tutorial for glazing! https://realitydaydream.com/2011/08/furniture-glazing-tutorial.html
I have a big old kitchen table covered with glass on top. Glass is remove able, and I love to paint but I’ve heard so many conflicting things. Is it possible to paint over a wood ( possibly veneer top) it’s already dark brown with black metal scroll legs.. Was thinking of the distressed white typ you did with glazing. If I can find how to post a picture of the table it would help I guess?
Lisa! You can email us a picture at sawdustandembryos@gmail.com
What colors and brands did you use? This is EXACTLY what I have envisioned to do with my craigslist bedroom suit I bought. 🙂 Thanks!!!
We used Rustoleum white spray paint (satin finish) and Dutch Boy Technique Glaze… But any brand would work for the glaze. We added chocolate brown to tint the glaze … That’s it! It was simple and fun! Good luck and send pics when you’re done!!
I love this! I am wanting to do this with a little piece I have. Its currently black and wood do you think I should just prime it first with spray paint and then spray paint back over it? Ive used that same paint before and I loved the color!! Thanks in advance!
If the piece is already painted, there’s no need to prime! But if it’s wood, I would prime before painting. Good luck!
Another question! Have you ever slim coated walls? To get rid of big ugly texture !?
simple classy
i LOVE THIS ………WANT TO DO IT MYSELF..
At Hobby Lobby!
Love it!!! Where did you get the hardware???????
What kind of glaze do you use? What color paint did you use on the dresser? I can’t wait for the tutorial either. 🙂 This turned out awesome!!
Oh wow, I love the glazing details. It looks great!
We don’t ever sand down to the wood unless we’re planning to stain instead of paint, or if there’s lead-based paint on it. Otherwise, we just rough it up with sandpaper to give it some ‘grab’. We wish we had an air compressor so we could use a paint gun, but we haven’t gotten that fancy yet. We just use spray paint… mostly Krylon, but sometimes Rustoleum or other brands.
I am a mom of two and I read your blog frequently. You are incredibly creative. The dresser is beautiful! I’m going to ask questions…as I am (obviously) not patient enough for a tutorial! Do you sand down to bare wood? What type of gun/brand do you spray with? Do you use latex paints and need to thin them to spray them? I probably have more questions, but this already seems excessive. 🙂
Gorgeous! I don’t know how many times I went back and forth between the pictures to see where all the detail came from! Can’t wait for the tutorial either! Want to do this stuff but don’t dare ruin a good piece of furniture!