Our garage is LINED UP with projects that haven’t been started. Each piece of furniture is ranked by priority, and we bust them out one at a time. So since we’re finally done with the Drexel China cabinet (we’re waiting to post about it, because we want to get photos of it all set up in the clients house), we’ve begun to tackle some quick little pieces to start to clear out the clutter in our ‘shop.’
One such project was this little octagon end table.
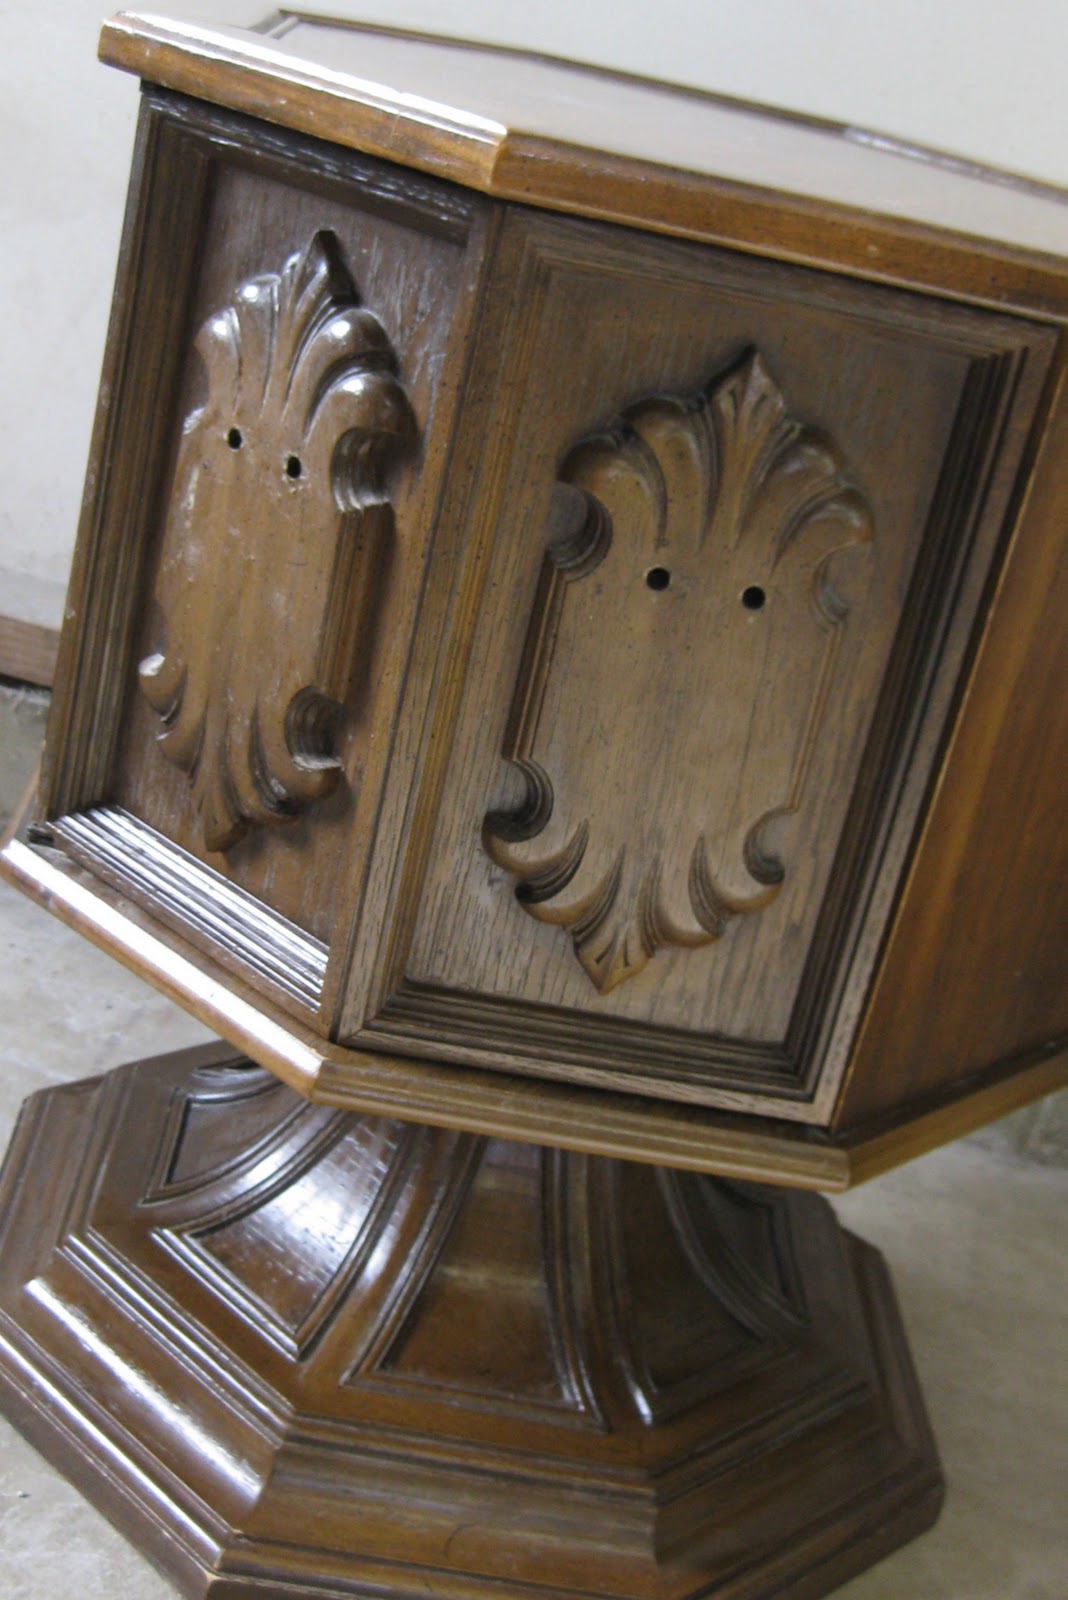
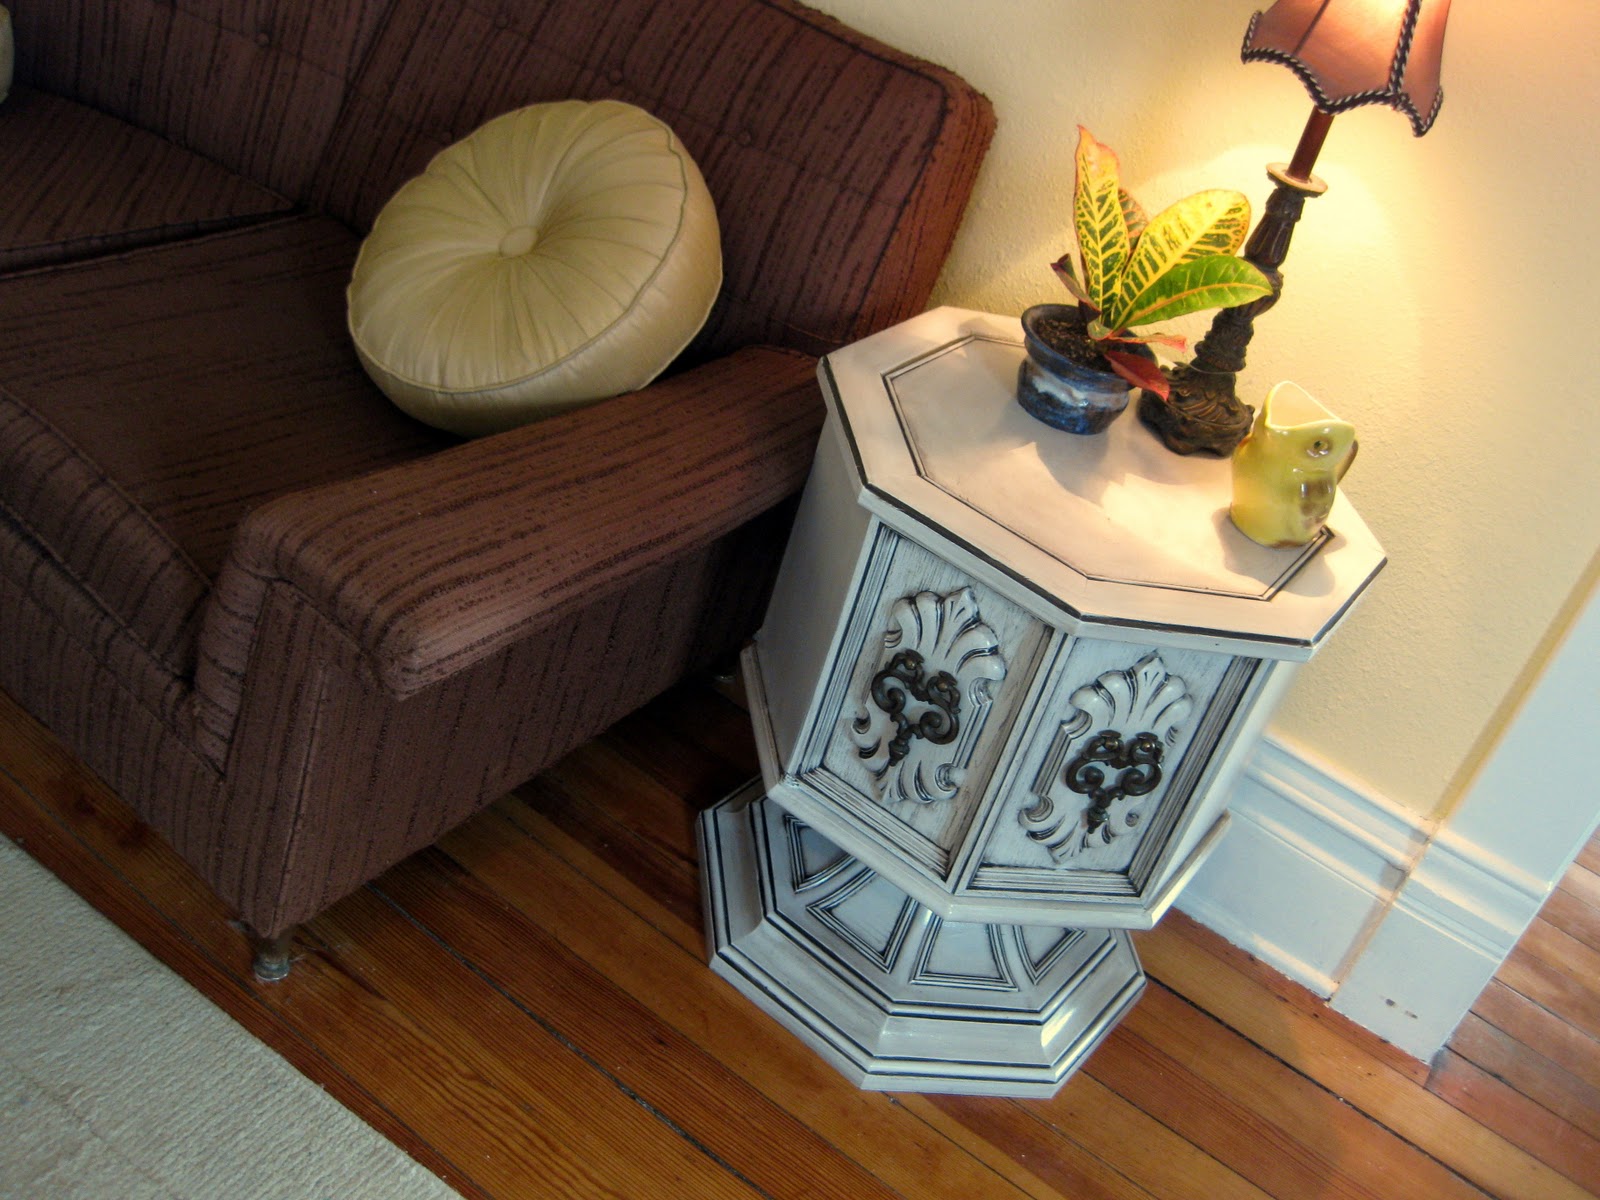
If you’re one of those people that claim not to have the time OR money to revamp old furniture… let me tell you something: this entire project cost $13 (furniture and supplies), and was completed in one evening (cleaned, primed, painted, glazed and polyed). SUPER easy, and instant gratification.
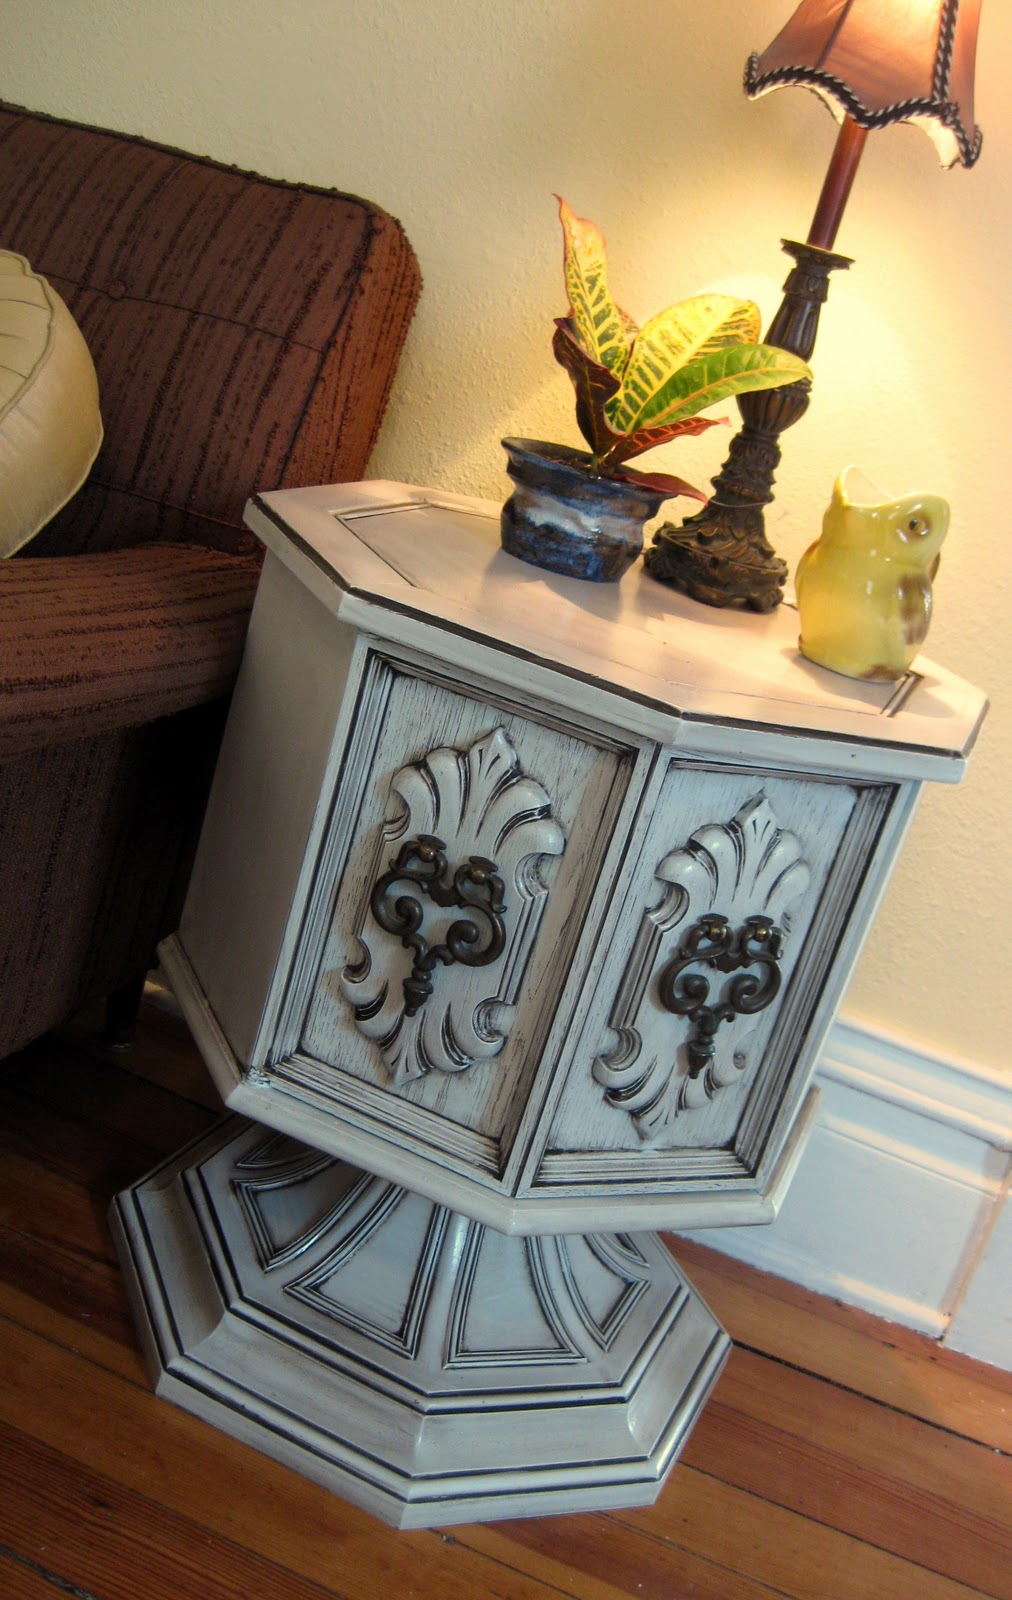
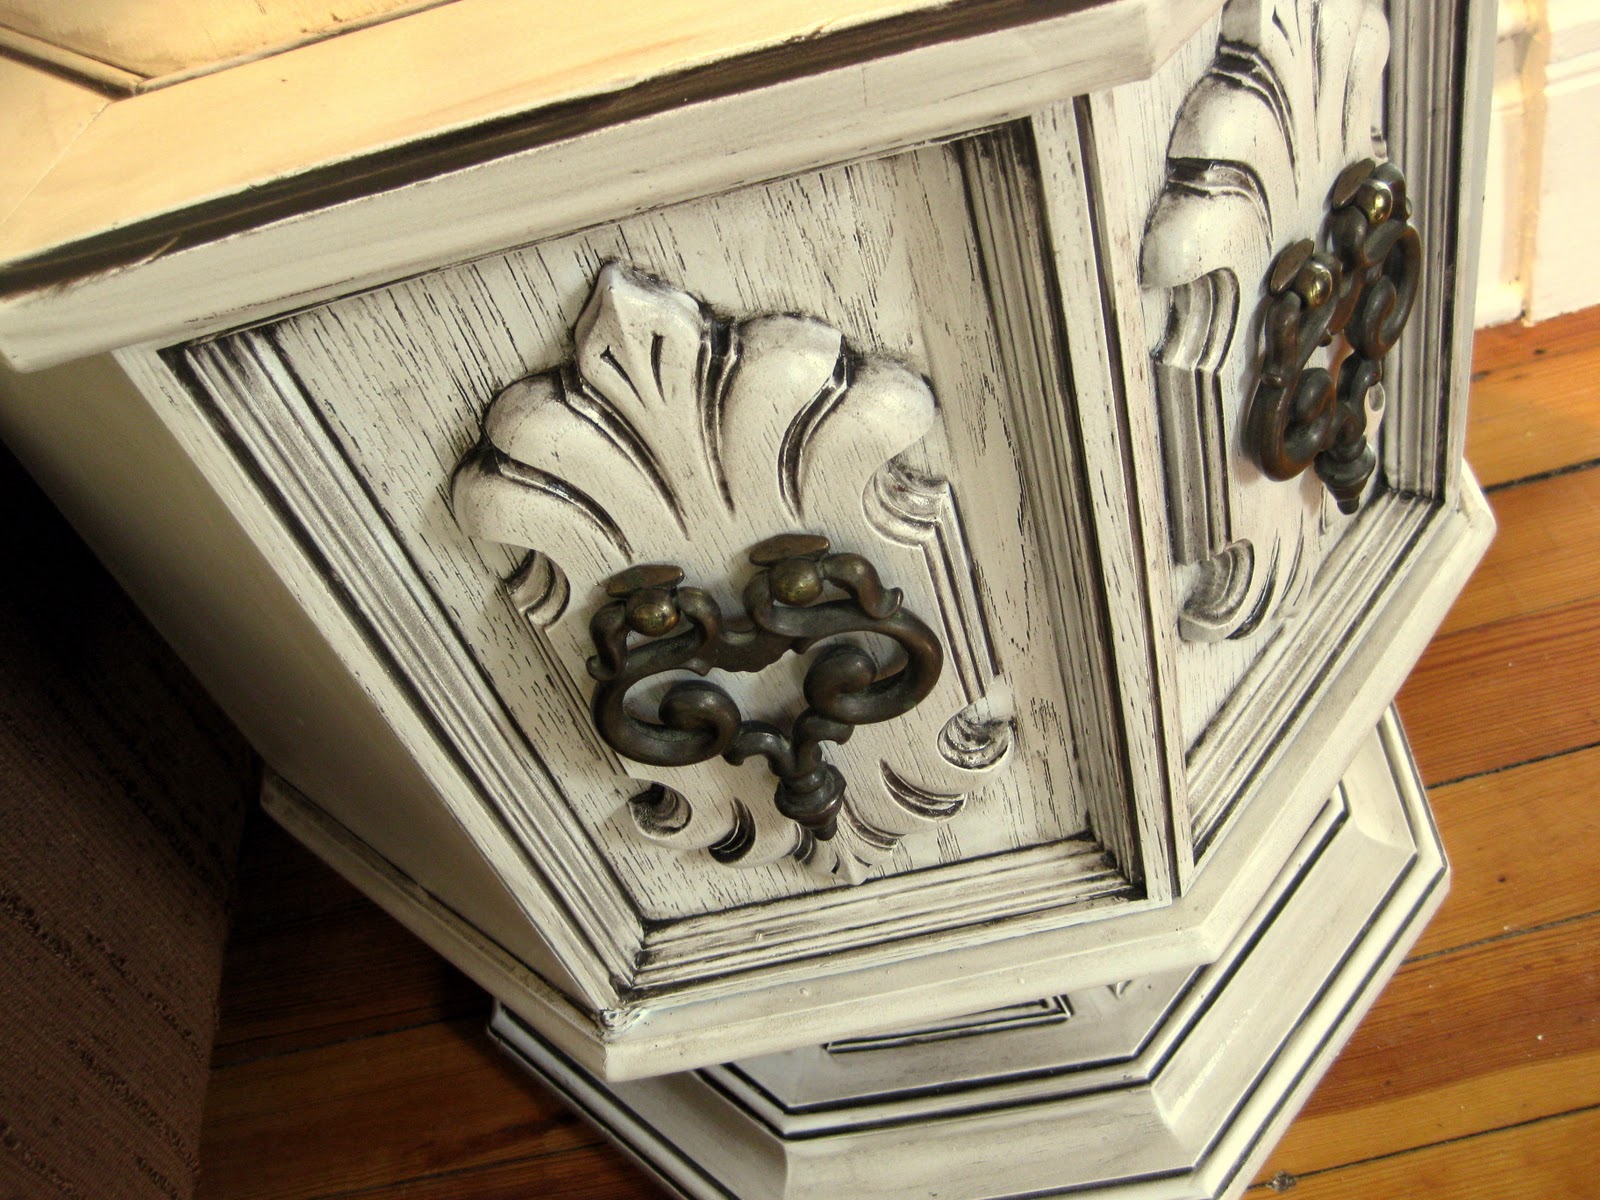
We went with white paint/brown glaze (using this good stuff)… a combo that will look great in our house until it sells on craigslist! Be sure to check out our full glazing tutorial for all the dirty details of this technique!
~Bethany
*this post contains affiliate links
Related:
-

We've been needing to update our coffee table situation in the living room for awhile…
-

We love the original wood of our library, and wanted to find a desk that…
-

Hey buddies! Nick here! It's been almost 4 years since we purchased this home. And…
Are those the original cabinet pulls on it’s? I have the same exact ones that I bought from someone who already finished it somewhat similar but mine came with small painted knobs. I’m trying to find what I think looks best as I don’t care for the double knob pointless look. Am seriously thinking of filling in the holes and drilling a center hole, but In still really curious as to what the original piece came with.
Yes these are the original pulls!
I just bought a table like this at a garage sale for really cheap and they told me it was a commode. I have searched online for one like this and yours is the only one I found. I love the way you have refinished it and thank you for your instructions!
Do you know anything about this side table/commode?
With glaze it really doesn’t matter what brand you use, as long as it’s called “technique glaze”. We’ve used Ralph Lauren and Dutch Boy brands and can’t tell a difference.
What kind (brand) of glaze do you recommend?
We just wipe down with soap and water and let it dry completely. Glaze is not the same a polyurethane. Glaze is a creamy thin substance that you tint with paint. It’s meant to fall into decorative cracks and crevices of furniture (the rest being wiped off) to give it an antique feel, and bring out detail. Polyurethane is simply a sealer. Like a top-coat on your nail polish!!!
We just wipe down with soap and water and let it dry completely. Glaze is not the same a polyurethane. Glaze is a creamy thin substance that you tint with paint. It’s meant to fall into decorative cracks and crevices of furniture (the rest being wiped off) to give it an antique feel, and bring out detail. Polyurethane is simply a sealer. Like a top-coat on your nail polish!!!
If I still lived in Nebraska, I would DRIVE to pick up your restored/renewed furniture! You mentioned you cleaned, primed, painted, glazed and polyed in ONE night? How do you go about cleaning it – what do you use? Glaze? Isn’t glazing the same as polyurethane?
I have an old bench I want to paint in a similar style to what you have shown – and while I at Lowes dreaming up the steps an employee recommended I use trisodium phosphate. I’m not familiar with any home-repair/renovation materials. Is this ok stuff?
Love it! I am on a hunt for a side table too. I have a hard time finding one I like enough to re-do because my sofa is more like a Victorian settee. This is adorable!! great job and thanks for sharing!