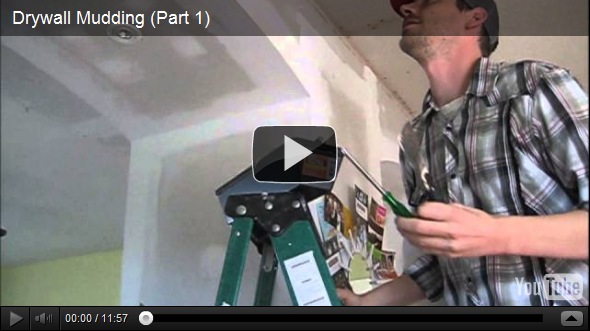
Today we’re doing things a little different for our ‘Mudding Drywall Tutorial’. We decided that some things are just better explained as a demonstration on video! So we swallowed our pride and put our silly-selves on film (ok so it’s mostly silly-Nick)!
This will be the first in a 3-video series over the next couple of weeks, giving you the info (and hopefully CONFIDENCE) you need to tackle a little drywall mudding yourselves if/when the situation arises! If you have any DIY tendencies pumping through your veins, then having a little dry-walling knowledge is going to come in handy eventually, I promise!
I’m thinkin’ he’s becoming the handy heart-throb of DIY blogland! And he’s alllllll MINE!
")
Give us some feedback on whether you like or dislike this video-type tutorial. Does our awkwardness on camera make you feel uncomfortable? Do you prefer excessive photo tutorials? Are there any tutorials we’ve done in the past that you feel you’d benefit from seeing a video demonstration? Let’s talk!
Related:
-

I have a fun and easy building project for you! And while I do end…
-

My kids are getting to the age where they want to tape pictures, cards, notes...…
-

I've been needing to figure out a solution for my overwhelming plant propagation situation for…
Just came across your blog. I really wanted to say you are both such an inspiration in a million ways!!
Thanks Nancy! You’re super sweet!
I could care less about drywall mudding, but I watched the entire thing because I think you two are hilarious. Loved it!
Great tutorial!
I can tell from the ‘accent’ that Nick is from the Midwest. 🙂 Keep up the good work. I heard the little ladies, but I didn’t see them in this video. I am sure they would be great help. pam
I noticed the ceiling adjacent to the new wall is textured. Are you guys planning on texturing the new walls as well or just the ceiling to match up with the existing? Also, when putting up new drywall, what’s your preference: textured or smooth walls? Advantages/disadvantages or purely preference?
Tera,
To texture or not to texture? There are Pro’s and Con’s to both. Not Texturing has the potential to create really crisp clean lines and allows for stenciling ease, while texturing will help to hide minor imperfections and add depth and dimension to the surface.
We intend to spray an orange peel texture on the walls and scrap the acoustic texture off the ceiling to provide a clean surface for the more modern knockdown texture. The Orange peel will match the existing walls and as previously mentioned will hide any imperfections that we might miss.
Can we get a tutorial on scraping acoustic texture? I hate our ceilings, but our house is old and I don’t know how long it has been up. Do I get points because I have twin girls too? Mine will be 4 next weekend, you have good times coming.
Hey, Hey, it’s your lucky day!!! We are indeed planning a tutorial on how to scrape your ceilings shortly after our Mudding Finale tutorial. We might even throw in a tutorial on Applying Knock-down Texture for your viewing pleasure…
You two are are so funny together! It was like watching “This Old House” but with a better looking host! (And a pretty funny hostess!) Anyway, nice job! I really enjoyed it. I made my husband watch it also. He said, “Good info, easy to understand and wants more!” Really love you guys and your blog. You are the best!
Renee,
“This Old House”, Really, you just made my day. I used to watch that show, “The Router Workshop” and the “New Yankee Workshop” every weekend. Thanks so much for your kind words.
Testing
Did the test work?? 🙂
HAHA! Actually no… the test didn’t work! I was trying to set up a profile so that Nick could comment and answer questions with his own little picture next to his name (like mine!). But it’t not working. 🙁
Hehe… I had to smile when i saw this “random” comment. I have to say the tutorial was great. You guys are a breath of fresh air. Keep up the good work!!
LOVE IT! Your commentary was cracking me up, and especially the close up of Nick’s rear! Love you guys, keep up the good work!
Love it. You two are so darned cute together.
HAHA! Thanks Suzanne! We had maybe a little too much fun with it. 🙂 Thank you for the GoPro tip! We’ll have to look into that.
And yep… he sure is 6’8″
A 12′ span! lmao For some reason I was expecting a BIG accent. I like how Beth introduces the ‘butt seam’ without Nick’s knowledge. These will add much interest to your blog. LOVE IT!
PS: A GoPro camera would actually allow both of you do do video blogs singlehandedly! But the downside is that you wouldn’t get the great shots Beth got today.
Thank you so much for sharing.
(Nick is really 6’8″???)