Hey hey, Nick here, coming at you from a technical side.
Lets talk electricity… more specifically wiring a light fixture! We often get comments from readers discouraged to take the leap in the DIY world because of their lack of experience. Well let me tell you folks we don’t have it all figured out! As a matter of fact, most DIY’ers don’t. When we run into a problem, we Google it or read a book and research it!
OR… look to one of our tutorials!
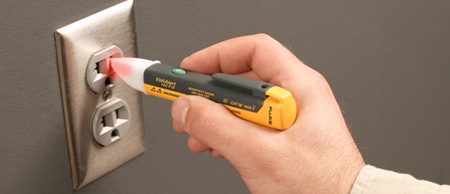
Before starting any electrical project, you need to make sure the power is OFF. You can be sure this is accomplished by using a voltage detector. Just turn it on and place it next to the wires. If it lights up and or beeps (No bueno!) you’ll have to try again because there is still power. You can buy these handy tools at any home improvement store. Wives, girlfriends, moms, these make great Stocking Stuffers! HINT HINT!
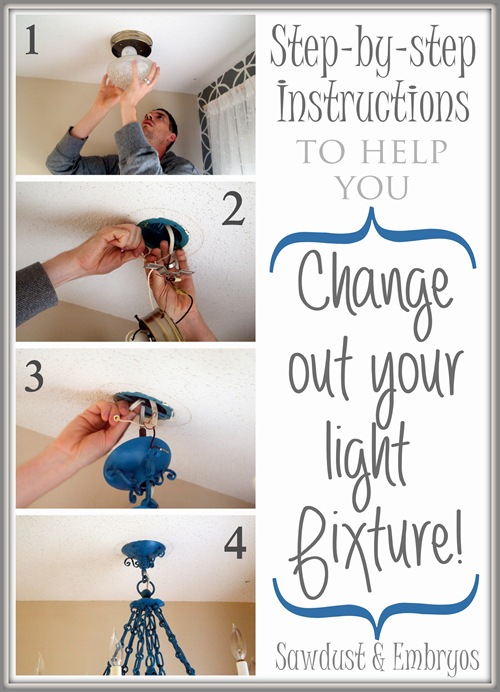
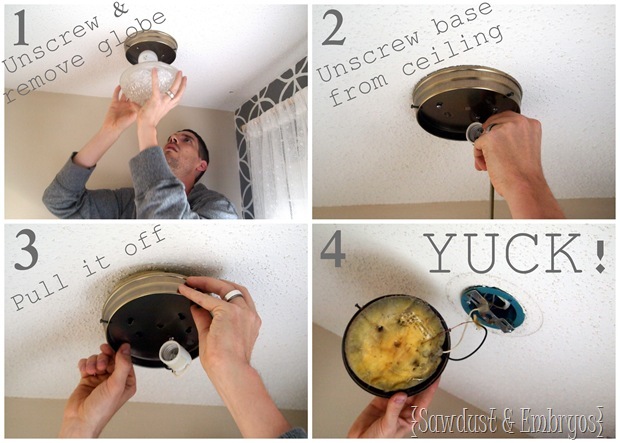
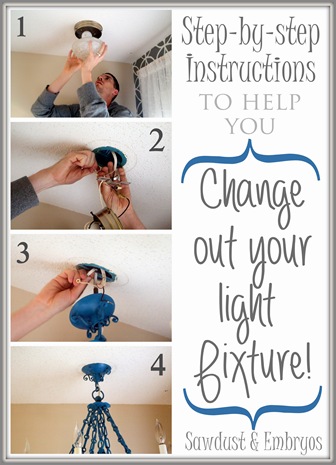
Once the power is off, start your project by removing the old fixture.
At this point, if you want to be super safe, you can check the wires again …OR you can stand by with a wooden baseball bat to beat your installer from the electrified wires (wooden so the current doesn’t flow through the installer to you).
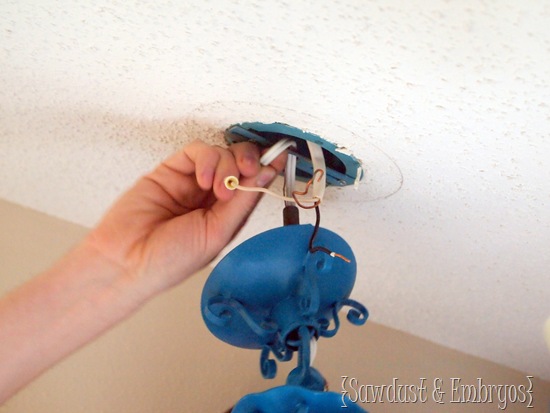
Once everything is removed and power is off… disconnect the wires.
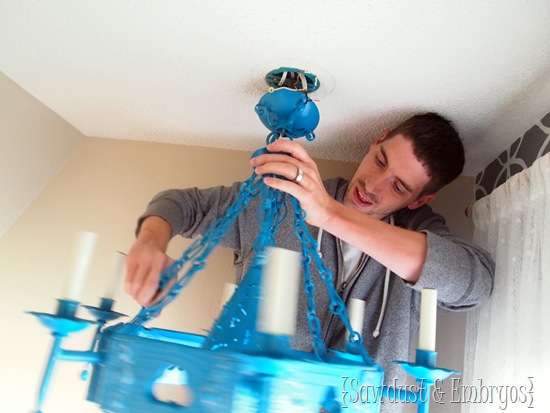
TIP! If the fixture is heavy, you can hang it with a wire coat hanger. I myself just used my sexy assistant/photographer/wifey to hold it up.
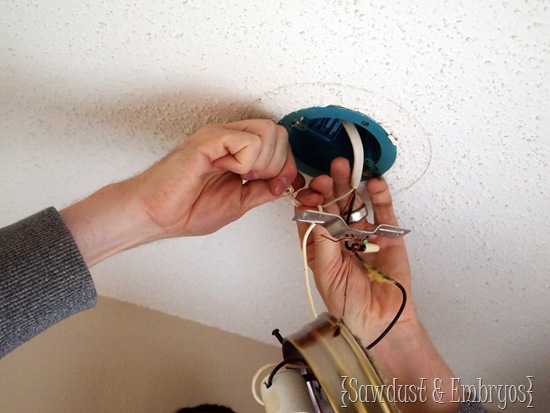
Once the old fixture is removed, I screwed on the new metal bracket and fed the wires to the new fixture through it.
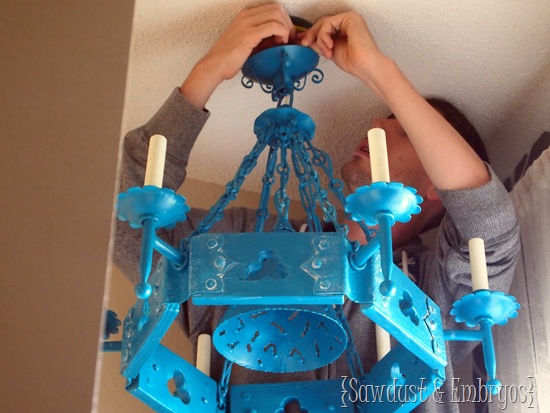
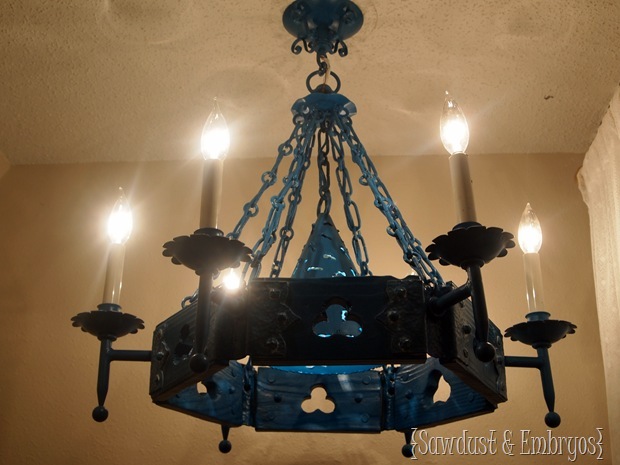
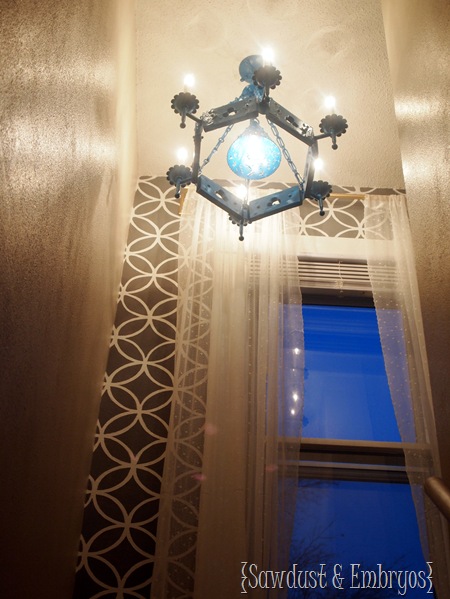
This light fixture threaded on instead of using screws. So I (in all my childish ways) spun the chandy to my desired height. Fun right?
Then I connected the wires: White to White, Black to Black, Ground to Ground to Metal Bracket (this way if there is ever a short the power will travel through the house and not you). Occasionally all the wires will be one color black, white, clear, etc. look at the wires closely, one wire should have a ridge, this wire needs to be connected to the white wire.
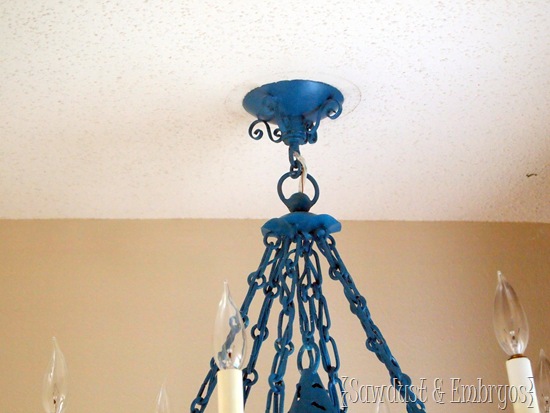
Then screw on the base and …VOILA!!
Turn on the power and presto let there be light-o!
Simple as that! Questions? Comments?
Thanks for having me!



My mom recently bought a new light fixture for her dining room because she felt like the old one was outdated and didn’t match the rest of the room. I like how you suggest to use a voltage detector to make sure that the power is completely off before starting an electrical project. I don’t think my mom has a voltage detector, so it might be dangerous for her to try and install her new light fixture. It would probably be best if she called a professional to come in and get the job done for her.
Great tutorial! I am impressed with your work and I want to add these lighting in my home. Thanks and keep sharing.
Thank you so much for an easy/comprehensive tutorial, that’s also witty!!! So many times, I have gone to DIY online sites, only to have those bougars bore me to sleep with the tutorial sooo much, it makes one hesitant to even DO it theirself!
We just purchased our first home, and I am so excited to make all the little fixes here and there, to make it personal and unique for us!!! Thank you so much for helping me to make this possible!!!
PS- pls tell the wifey that she’s awesome sauce too, for aiding in the tutorial.
You’re welcome! Thanks for leaving such a sweet comment!
Thank you, thank you, thank you!!!!
Great post! Hope this isn’t too stalkerish, but I really enjoy the little sneak peaks into your lives. Always puts a smile on my face! Keep up the great work!! =)
Thanks for the info. My husband would never let me change out a light fixture.But, he know how to do all that fun stuff too. Love your guys blog and all the stuff you do. Thanks again!
I love this!!! SO glad to see Nick on here! My husband just thinks Im being all girlish looking through the furniture lol! Now I have a reason to make him change our front porch lights that are dated compared to the rest of the house, ha! Makes it look so easy!!
I’m proud to say I’ve done this, to my husband’s horror. He’s all about hiring people. I’ve even done ceiling fans. It’s not hard, follow the directions. But boy this was funny. I’ll have my husband hold the bat in the future.
Cool! Thanks nick, I have some bathroom fixtures I got to change. Loving the stencil wall!!
Thanks for sharing, not sure about the new light?! Mary in NY
great tutorial! can you do one on how to change recessed lights to a hanging fixture? pretty please with sugar on top?
Good one Megan!! please!! : )
I laughed at the baseball bat part! I thought you were using it to hit him with if he screwed up, however what a great safety idea! I will be standing next to my husband with a bat too!
GOOD JOB!!! the light look awesome 🙂
Thanks for this! Now my husband can fix the too big drywall hole he cut under ours! The gapeing hole around the fixture is not beautiful. Yours is though, I really dig the color too, would match my bedroom. 🙂
By the lack of afro, I am assuming you got thru OK 🙂 Thanks for the tips, I have 3 boob-lights to replace and I was a bit daunted…Pinning this!