We’ve been starting to think about ‘finishing touches’ to compliment all the big projects that we’ve completed in the girls’ toddler room. This has been SUCH a fun room to put together for our precious little tots!
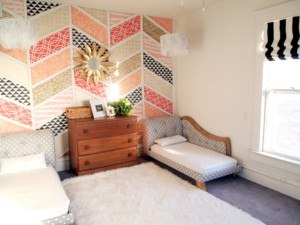
I’m planning to put a little bookshelf next to the Canopy Reading Nook, and have a small gallery of pictures and sentimental things above that. Among some other pictures and pieces of artwork that I’ve gathered, I thought it would be fun to have the girls create some art of their own!
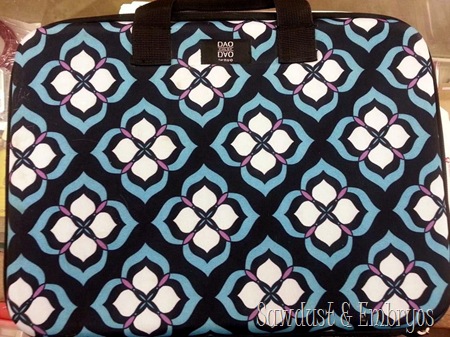
But let’s back up a sec… my girl Dana (my BFF and vinyl dealer) and I were chatting away the other day, and I noticed how super cute the pattern on her laptop case was.
CUTE, right? So I said ‘that would be a fabulous vinyl pattern!’ She agreed, and it was a done deal!
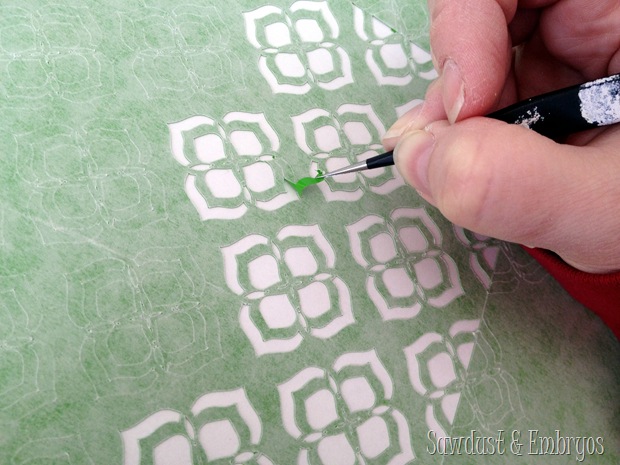
She traced out the pattern in her awesome software, cut the vinyl, and brought me two sheets of it the next time I saw her! (we party every Wed night) …I wasted no time and get to weeding. There’s something so therapeutic about this part!
At this point, I still wasn’t sure what I was going to use them for… until I got to thinking that she brought me TWO sheets of this pattern… and I so happen to have TWO children.
Ding ding ding! Toddler artwork for the win!
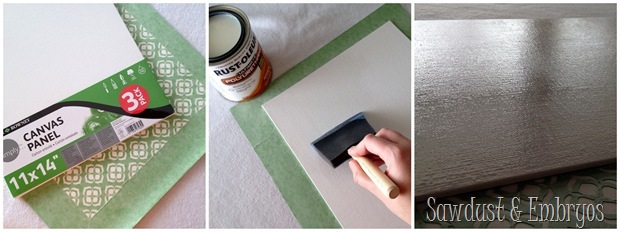
I bought a pack of 11×14 canvas boards and applied two coats of Rustoleum water-based poly in a gloss finish (letting it dry 4 hours between coats. The reason for this is to fill all those little ‘pores’ in the canvas and give it a glass-like finish so that when I apply the vinyl, it will have a good seal.
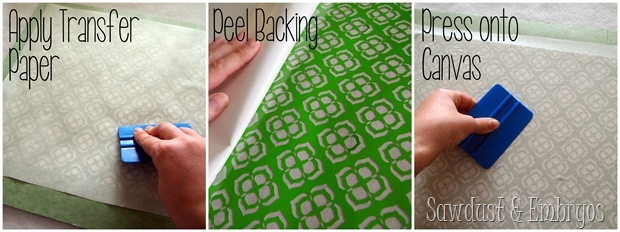
Now that my canvas is prepped (and has dried overnight), it’s time to apply the vinyl! I put transfer paper on the weeded side, peeled away the backing, lined it up just how I wanted it on the canvas, and pressed it on! You could use a credit card for this part if you don’t have one of these fancy rubber thingy’s.
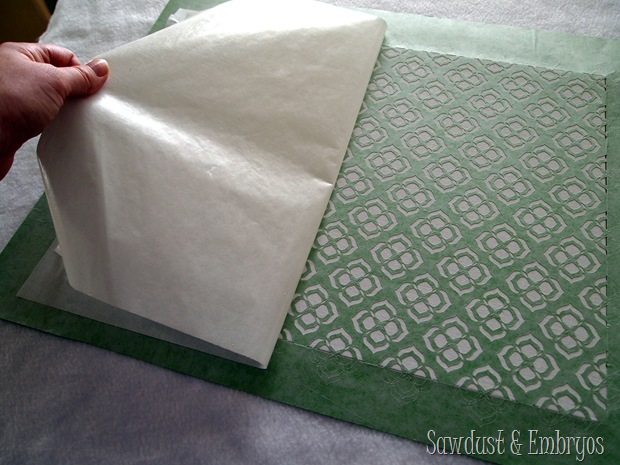
Then SLOWLY AND CAREFYLLY peel back the transfer paper!
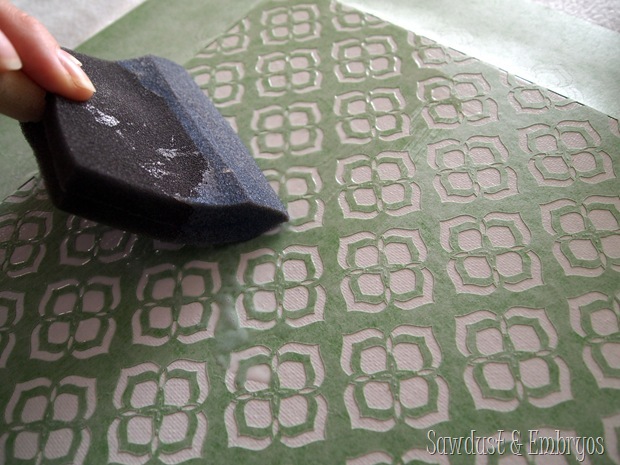
I applied another coat of poly onto the stencil as another measure to prevent paint from seeping under the edges. I only let this coat dry for a couple hours.
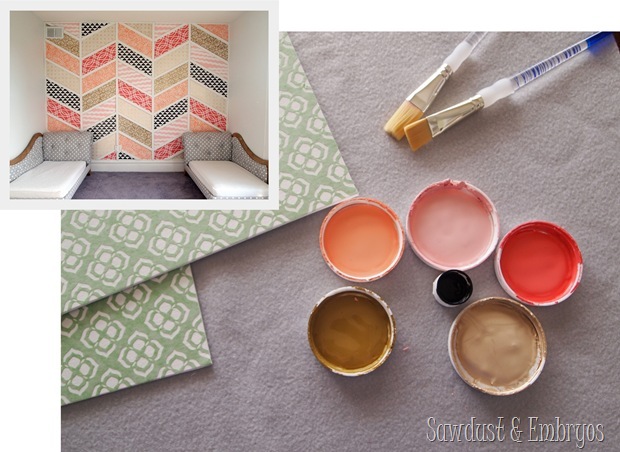
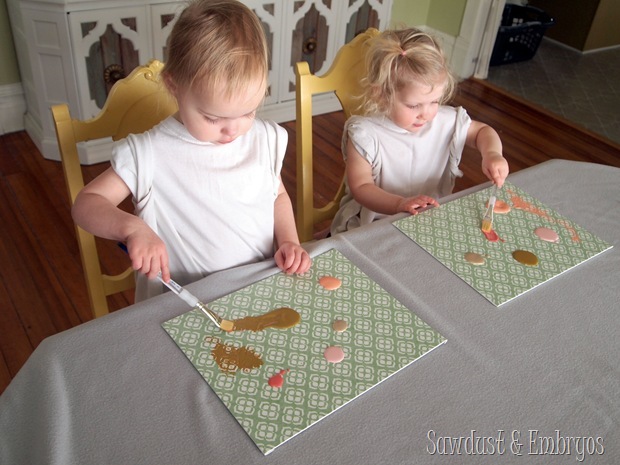
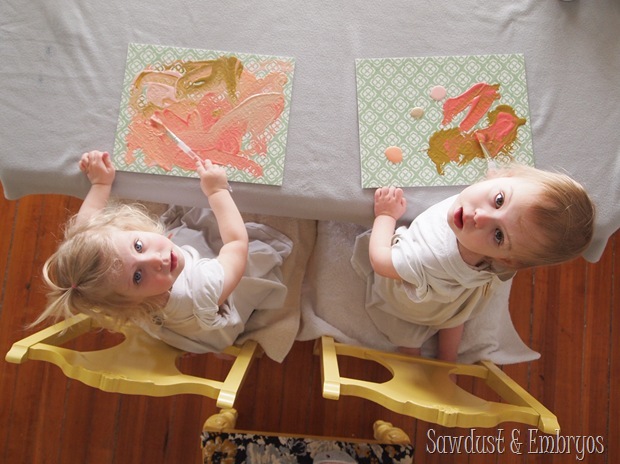
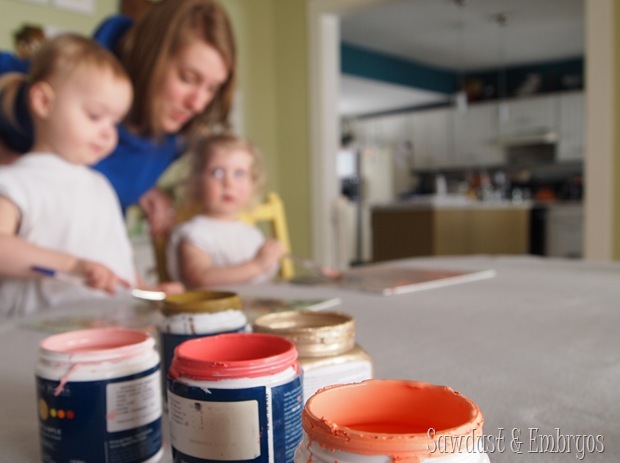
Now it’s time to let the littles get their paint on! We gathered the same sample pots of paint that we used to paint the Herringbone Stencil Patchwork Wall. True, they’re not edible finger-paints, but our girls are past the stage of putting things in their mouths… and we trust ‘em.
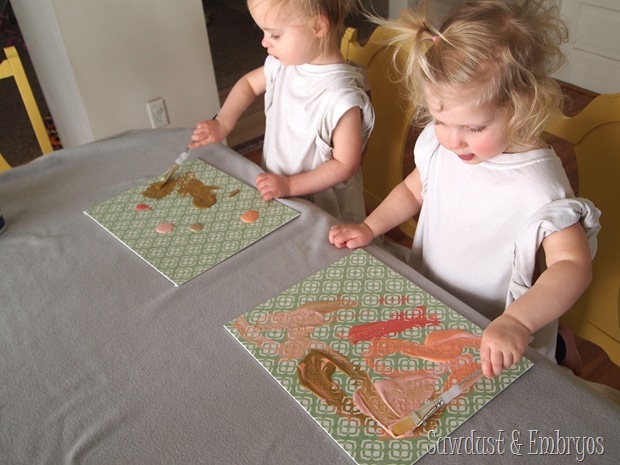
We slapped down a cheap tablecloth, and put the girls in some old t-shirts of Nick’s, and set them loose!
Nick stole the camera at some point, and started taking some artistic shots from fun angles.
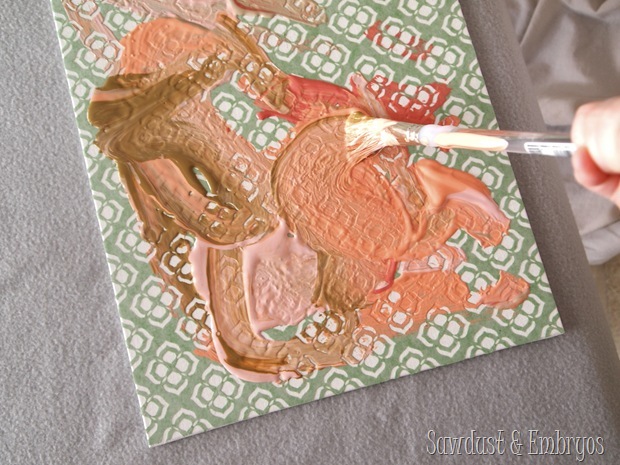
It was so fun for us to watch how their different painting techniques so closely reflect their real life personalities. Paisley = messy and aggressive. Della = purposeful and thoughtful. 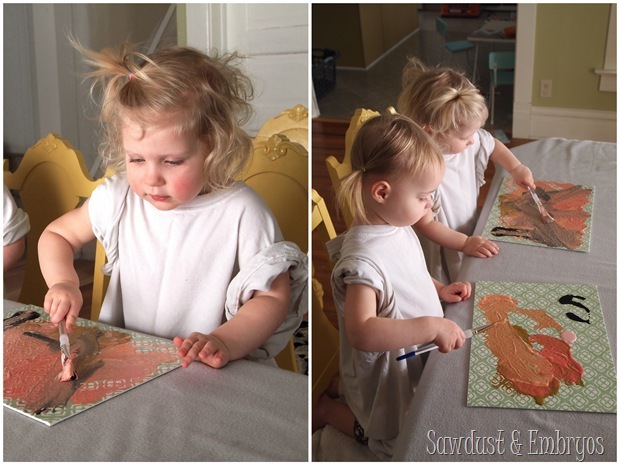
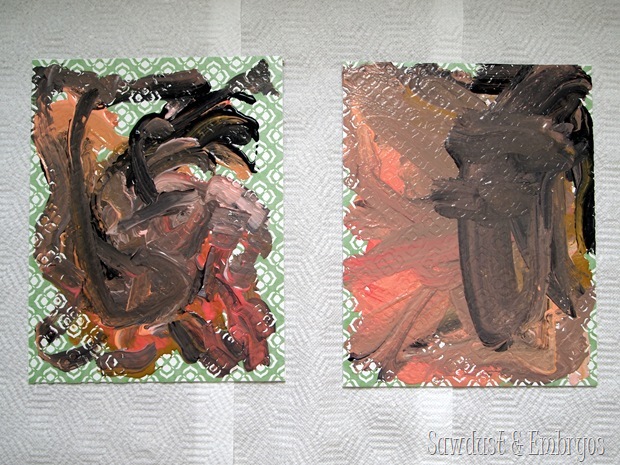
I was worried that it would be difficult for me to let go of control and give them complete creative control over their painting, but I enjoyed every second of it. Look at these masterpieces!
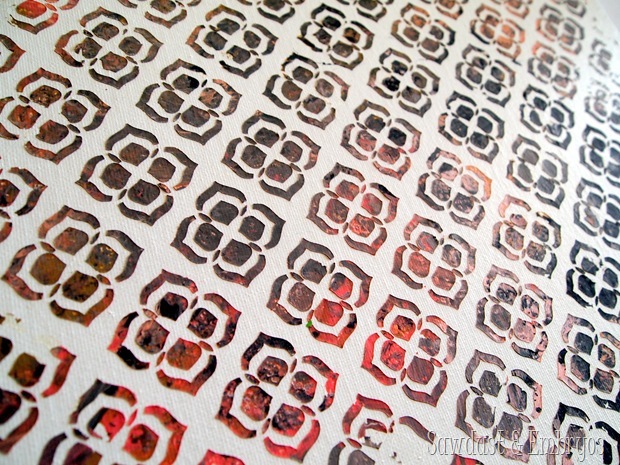
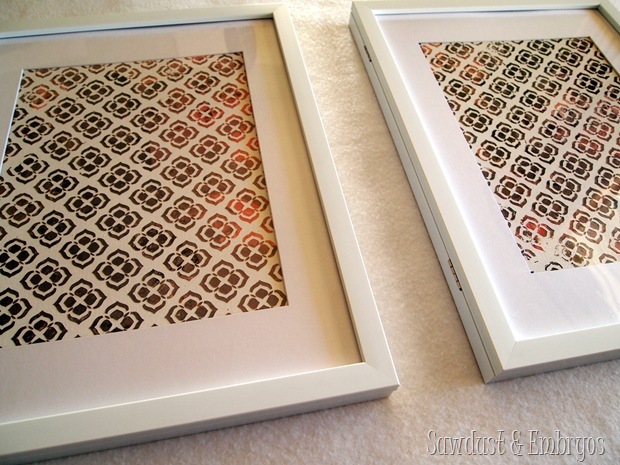
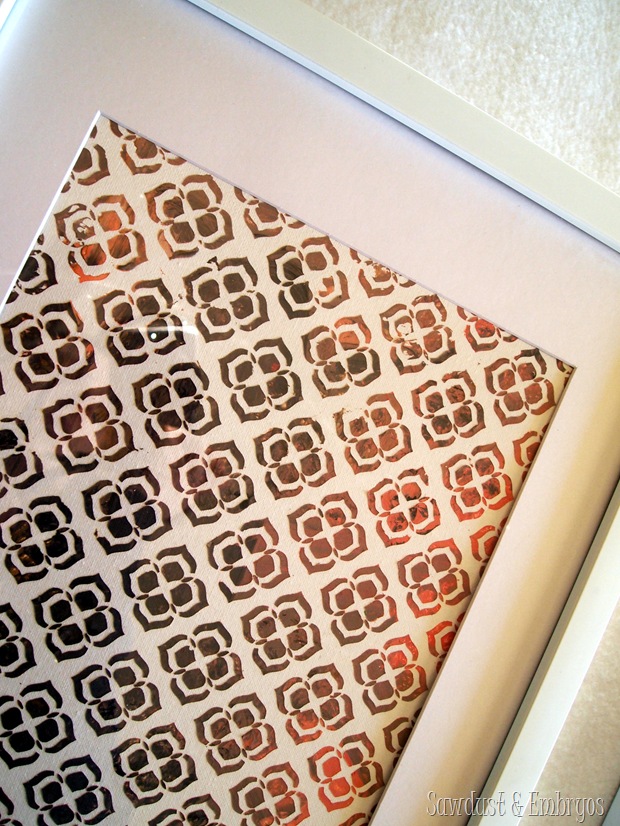
There were some pretty globby spots that I dabbed with a paper towel… lest it may never have dried. After letting the paintings sit and dry for an hour or so, we began peeling away the vinyl to reveal the pattern below!
I’ll admit it got a little tedious pulling off the vinyl, because it didn’t come off it one big sheet. There was a lot of picking with a needle to get some of the smaller pieces. But it was so worth it!
As you can see, I just popped them into some Target frames ($12 each). The frames actually have hinges and are meant for children’s artwork, so we can easily change them out in the future! And I love that they have plexiglass instead of real glass, since they’re going in a room with two holy terrors.
I’ll be working on putting together the little gallery wall/bookshelf area in the girls’ new room and will be back with a little reveal sometime soon! I’ve also been slowwwwly making progress on my childhood dollhouse that I’m bringing back to life for the twins. I hope to share that shiz sometime soon too!
Until then, go check out the other projects we’ve done using vinyl as a stencil. And check out Dana’s vinyl Etsy Shop Decals N Décor! She can make just about anything into a vinyl design. Here’s the direct link to the pattern we used for the girls’ artwork.
Have an inspired day!

I’m thinking it might be good if the ‘all things vinyl’ post that many of your old blog posts link to might suit having an updated link for Dana’s etsy shop! It just links her email now.
Excellent point! I really need to go back and update those posts now that Dana has an Etsy shop. Thanks for the nudge!
I love how they were involved with decorating the space too. I hope you film the room reveal when you show it to them. It will be such an epic reaction!
I. Love. These! Love the pattern – and so cute!
So cute. You’re a great mom.
Oh my gosh I am in love with this! It’s so funny that you said that their painting style totally matches their personalities, because looking at the pictures their hair totally did too! Lol. And I am dying to see what bedding you put on these beds! This room is just amazing to me!
I was at Homegoods this week and they have the cutest upholstered toddler armchairs in either a grey and white dot or grey and white stripes–made me think of your toddler beds.
These are SO awesome! I will have to try this with my little man. And the girls are so stinking cute! I love Paisley’s curls!!
I love them! What a great idea and they came out so gorgeous!
I was thinking of doing something like this since my daughters painting skills aren’t artwork ready yet. Glad to see it turned out so well
Love this Bethany! I need to do more creative projects with my kids. Question – we have minimal toys in our house (I hate toys), but I see your girls’ room has none. Where do you keep them? Do they have a separate play room?
Ally, I hate toys too. We don’t have a toy room or play room, we just have a corner in the living room with a small bookshelf and basket for toys. I wrote a post talking about how we swap toys out all the time so the littles don’t lose interest or get overwhelmed. Here’s that link! https://realitydaydream.com/2014/01/entertaining-toddlers-and-staying-organized.html
These are SO cool. I wouldn’t have thought of sealing the canvases with poly first, you smarty! Also, how did Nick’s shirts not hang past their little legs and drag on the floor?! 😉 xo
They were on the chairs the whole time, but if they would have stood up… the shirts would have definitely dragged (drug?) on the floor. 🙂
What a fun project! I need to track down a vinyl person close to home.
Sara! Dana has an Etsy shop and ships all over the US! Here’s her shop… you can contact her for custom orders too! https://www.etsy.com/shop/decalsNdecor?ref=l2-shop-info-name
Thank you! I swear, 50% of the ideas I want to try involve vinyl in some way.