Good Morning! Did you have a splendid weekend? I desperately hope so.
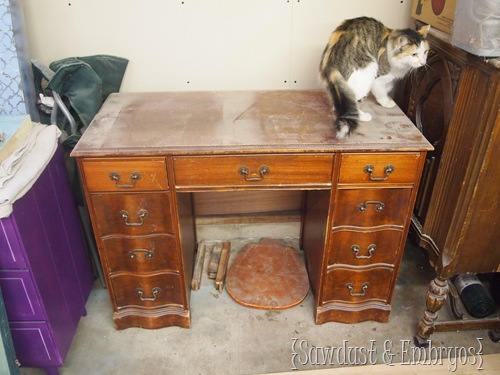
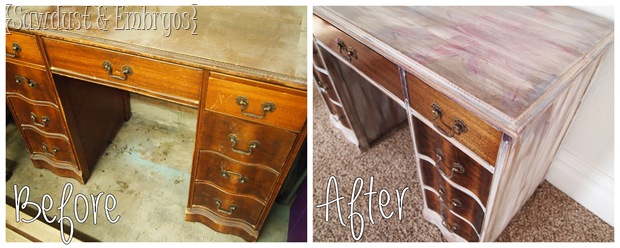
So we had this desk, right?
(that’s not an opossum… it’s our kitty, Blanche)
Oh! And do you see those random pieces of wood carelessly thrown under the desk? Those are vital pieces of what became this chair.
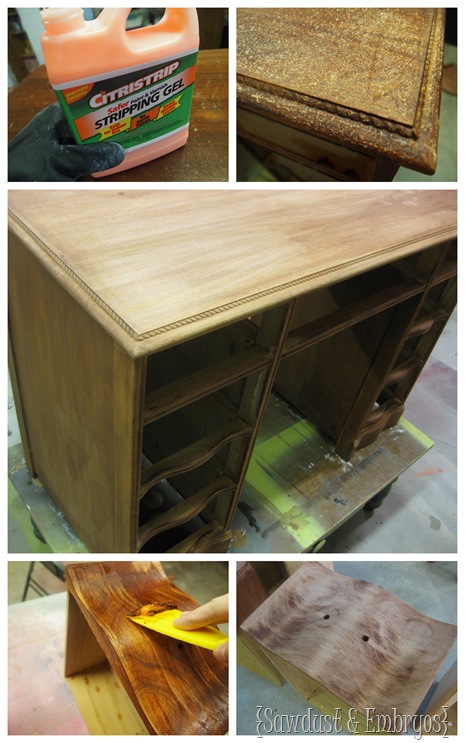
Anyhoodle… I had a vision for the desk. I shared that vision with Nick. I delegated to him the responsibility of the drawers, while I myself would tackle the body of the desk. We both started by stripping both the desk and drawers of their finish:
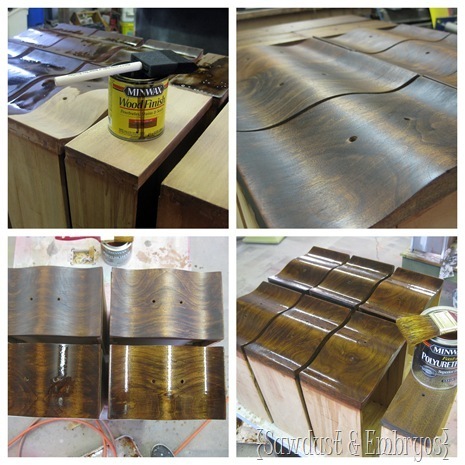
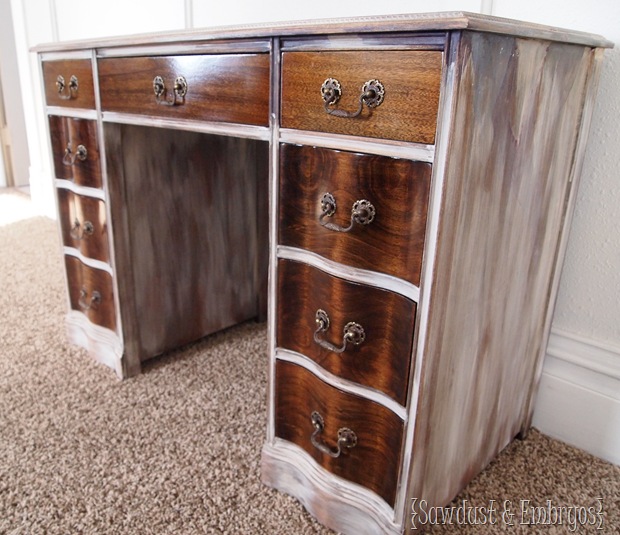
Once we were left with nakey-nakey wood (I’ll pause while you pretend like I worded that differently)… Nick sanded/stained/polyed the drawers. Chic and rich and glossy. Mmmmmmm MMM!
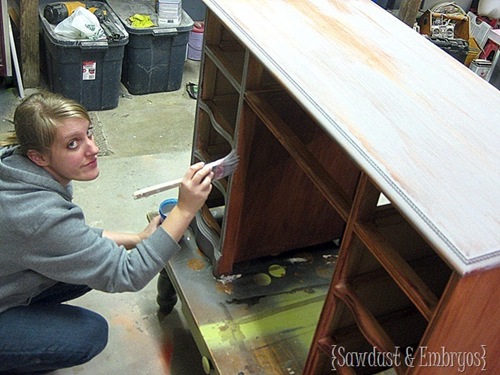
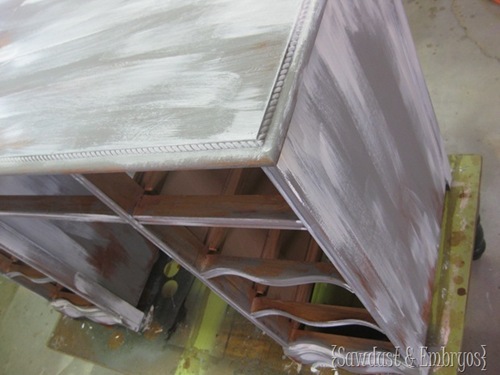
*I* on the other hand, dry-brushed on some white and gray paint very lightly, with intent to sand the majority of it back off.
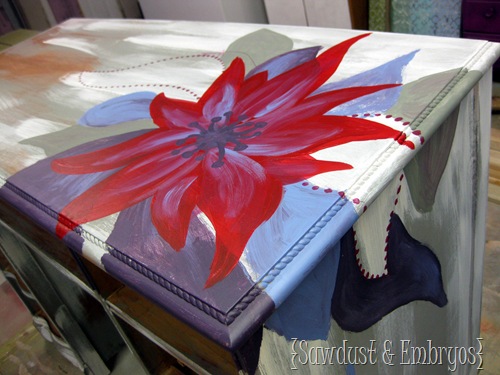
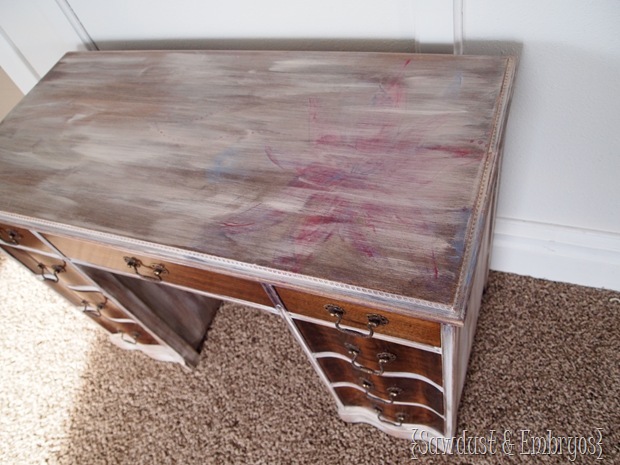
I wanted a worn-out vintage feel, to contrast the glossy wood grain of the drawers. But I also wanted it to have a unique element that makes it stand out from others. So I hand-painted a flower on the top. I didn’t spend too much time on this, because it’s not going to show very much… you’ll see.
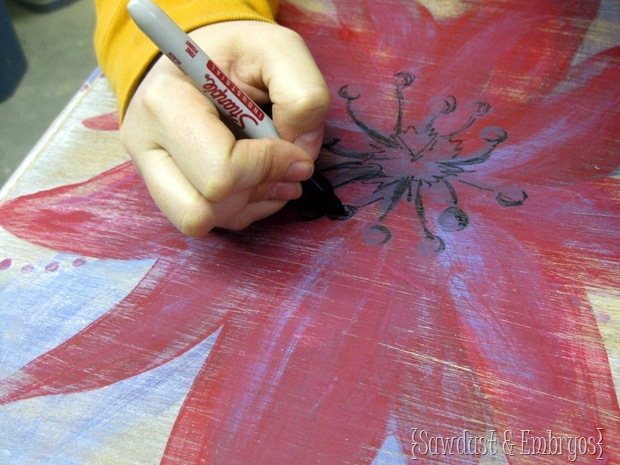
I went at it with 40 grit sandpaper to smooth out the brush strokes and make it look like the paint had naturally worn over time. Then, using a Sharpie, I outlined some of the important parts of the flower.
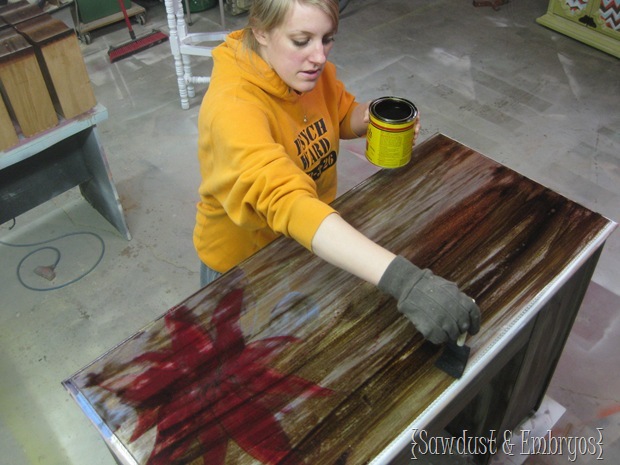
And then, similar to our DIY Barn Board technique, I stained the whole thing. I have NO IDEA why I’m wearing a glove in this picture. It’s just stain!
Now the flower is just a subtle version of what it used to be, and truly looks like a desk that’s had various coats of paint over the years, and is worn enough to see the flower detail.
I’m not going to lie, it’s not my favorite piece we’ve ever done. I think I’m over the shabby/worn look for awhile. But man, that glossy wood grain is a sight for sore eyes. And I don’t even like exposed wood!
We like to try everything once, and expand our portfolio to include ALL TYPES of furniture and techniques! And after browsing through our furniture file, I’m feeling like we’re getting there!! WooooHOO!
And you guys are the best for cheering us on through our various endeavors and whathaveyou.
Have you redone anything lately using a new-to-you concept? Have you ever painted something beautiful and then sanded/stained over it? Kinda reminds me of when I was a kid… coloring a picture with bright crayons and fun designs, and then coloring black over the whole thing. Then I would use my fingernail to scrape away the black to reveal the color below. Gives me chills now… thinking about all the wax under my fingernails. *shudder*



I admire your courage to continuously try new things, but I agree, it’s not my favorite piece. I’d go back and simply paint the frame a solid white. Like this: http://www.amazon.com/dp/B0017ODF6O/
The white/wood combo is soo popular right now in the furniture market, and I bet it would grab a pretty penny resold on Craigslist.
I would never think of just making drawers and the actual base two tones like you did, pretty amazing 🙂
Love the way the drawers turned out for this project but as you said, it is not one of my favorites from you guys. I do like the concept of the flower on the top of the desk but I wish that you could see it better. It kind of gets lost in the streaky finish you put on the rest of the desk. When you paint flowers on furniture, they are so beautiful I hate to see it get lost! But I love the glossy finish on the rest of the desk! That finish is beautiful!
I just found you from House at Hepworths. I am amazed by your talent! I have never done this, but I tweeted your blog because I want everyone to see your goodness! I am inspired!
That is SO sweet Katrine! Thanks for tweeting us!
GORGEOUS!!!