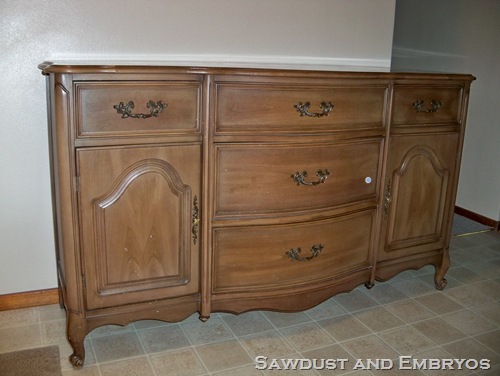
So our girl Marcy (who now owns this vanity), has us refinishing her entire dining set, right? I was planning to post about the table and chairs first, but we noticed a spot that needed touching up… so it’s still in the “shop”.
Instead, I’m going to show you the corresponding china cabinet that IS finished, and currently dwelling in my dining room. One great thing about fixing up furniture is the constant flow of beautiful ‘new’ things coming in and out of my home!
Marcy had this gorge buffet in her possession, but she really wanted a china cabinet for her dining space. ‘Cept she really loved her buffet too. Only she wanted a china cabinet…
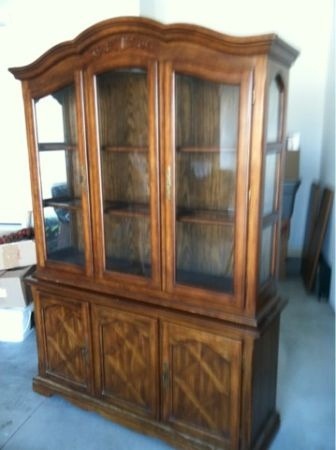
So she did what any sane person would do, and bought a massive clunker of a china cabinet off craigslist… JUST for the top hutch-thing! To go on top of her existing buffet! Naturally.
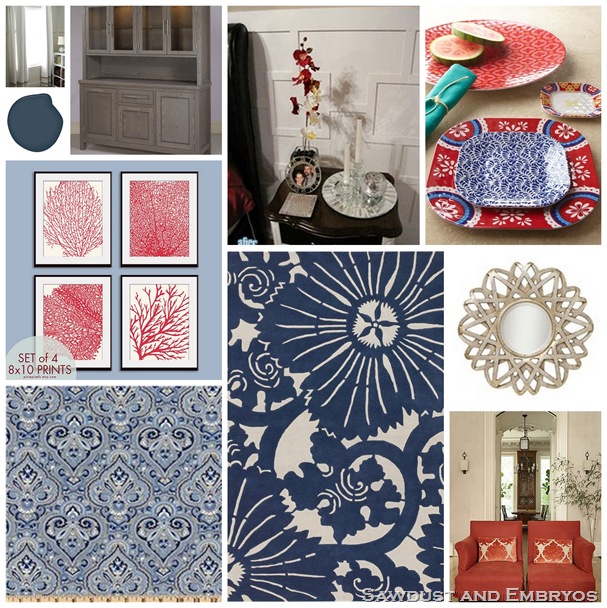
Girlfriend has a Navy/Gray thing going on in her dining room. With a cheery red as an accent. I made a collage of the items that she loves and/or is using in the room from her Pinterest Board.
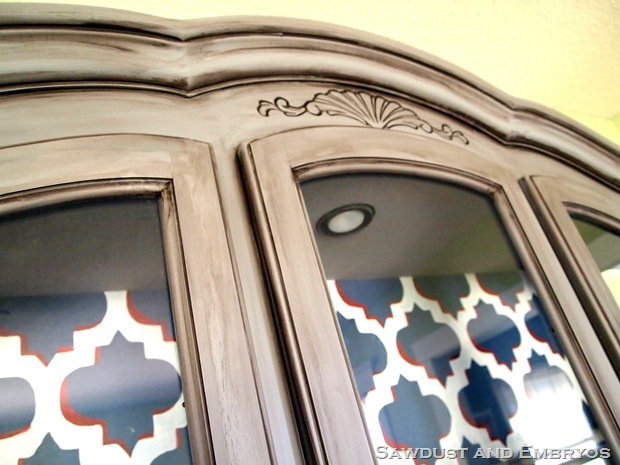
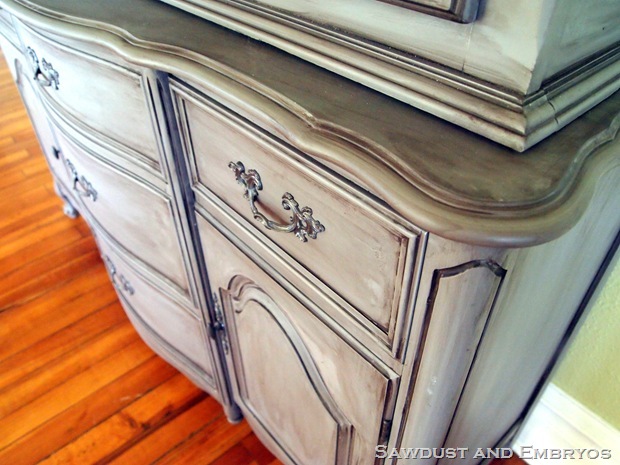
She wanted us to use a medium-gray matte paint for the entire dining set… including this china cabinet! Along with a brownish-black glaze to help things look a little shabby and weathered. We ended up using Glidden Seal Gray which is the PERFECT medium gray tone that doesn’t have any blue or brown undertones. Of course I didn’t take any pictures of this process on the china cabinet… but since we painted the dining set the same, you can refer to that post.
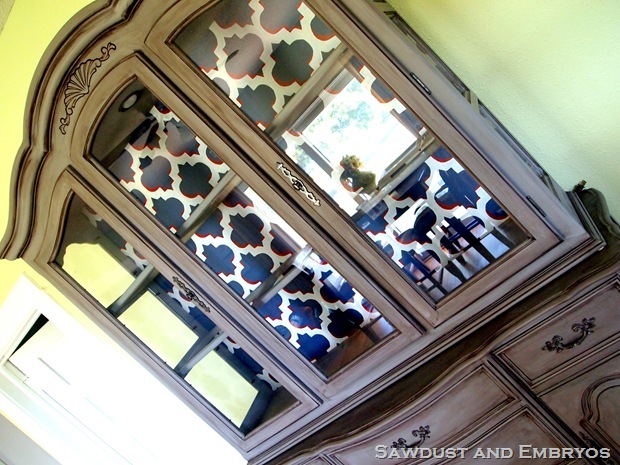
More importantly, I’m going to show you how I painted the backboard of the china cabinet. Marcy basically gave me free-reign to do whatever with the backboard, as long as it was primarily navy, and had some pops of red. Check!
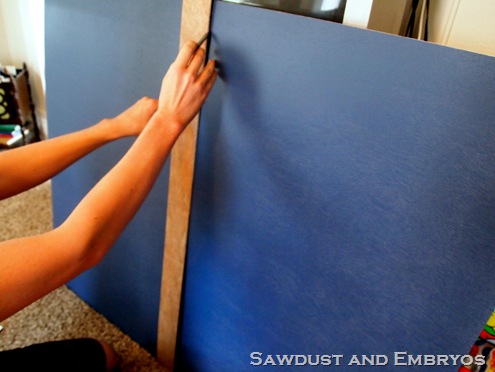
First things first… the backboard got a smooth coat of navy blue, and then Nick measured and drew me some vertical lines. You’ll see why in a minute.
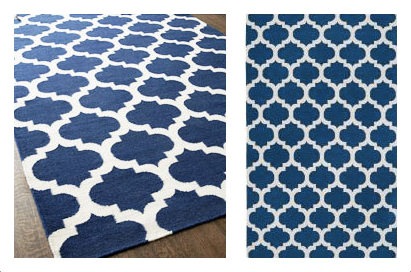 Via
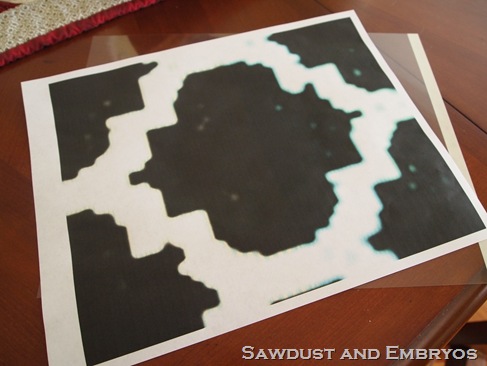
ViaI sized it so that just one design would fit an 8.5 x 11. Except by doing this, it looked all distorted and nasty like this:
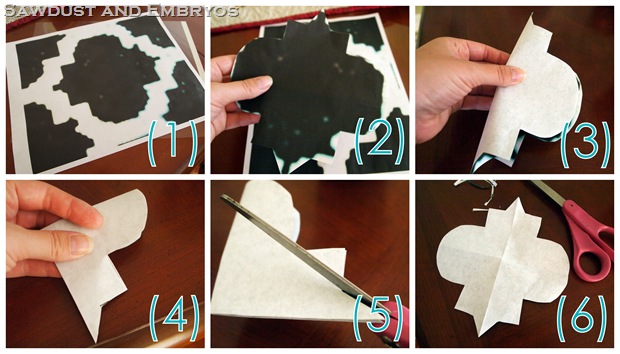
So I just cut it out best I could, and then folded it in quarters and trimmed around the edges to make it perfect.
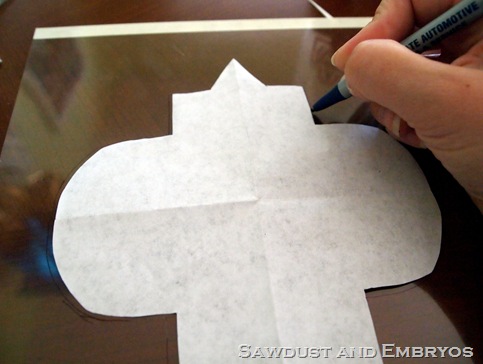
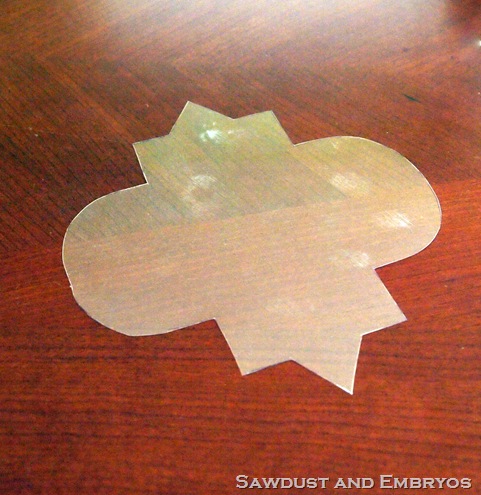
And then I traced it onto a transparency…
I cut it out, and now I have my template! If you don’t have a transparency, cardstock would work too. The edges may start to fray slightly after so many repetitions though.
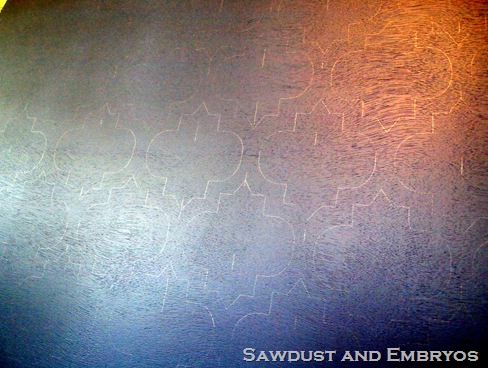
Then, using the vertical lines that Nick strategically placed, I drew out my designs using the template! You can barrrrrily see it if you look close for the pencil lines (which I went back and touched up in the end).
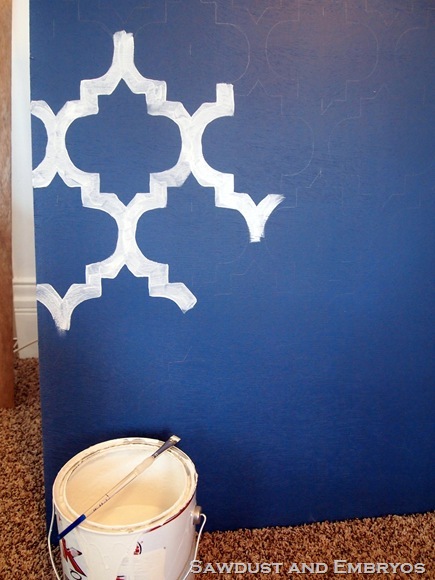
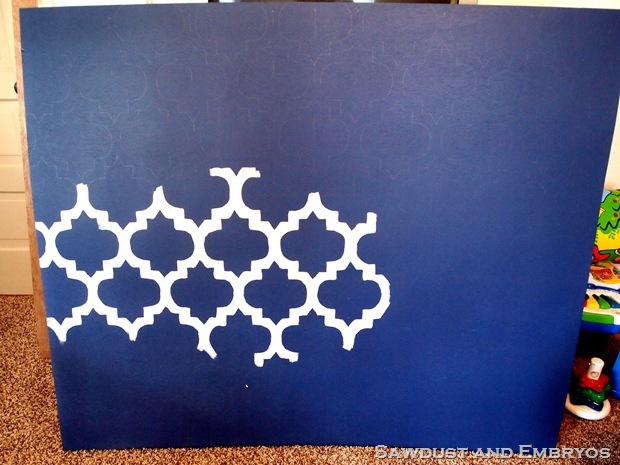
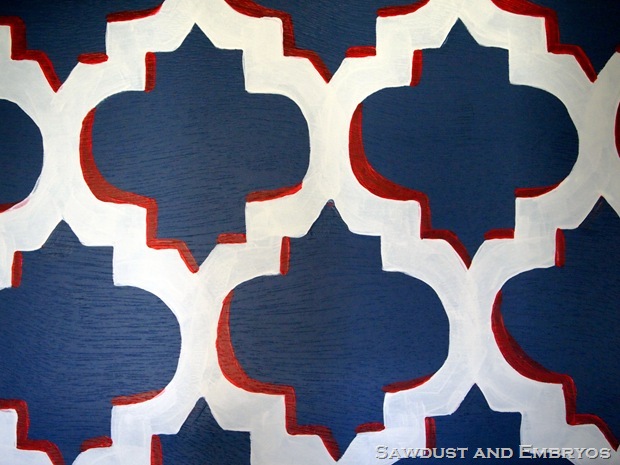
Then I got busy painting! This is the fun part for me!
It took 3 coats of white in all, and several evenings to complete. But I enjoyed it, and Nick read to me while I painted! We’ve been reading through the Hunger Games together. So cheesy, I know. (not the Hunger Games… that fact that we read to each other.. hehe).
And when I was through with the white, I added a little accent with the red! I love how it makes it feel 3-dimensional.
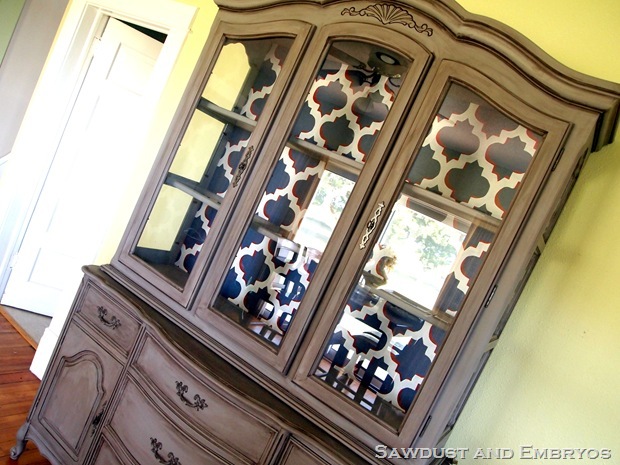
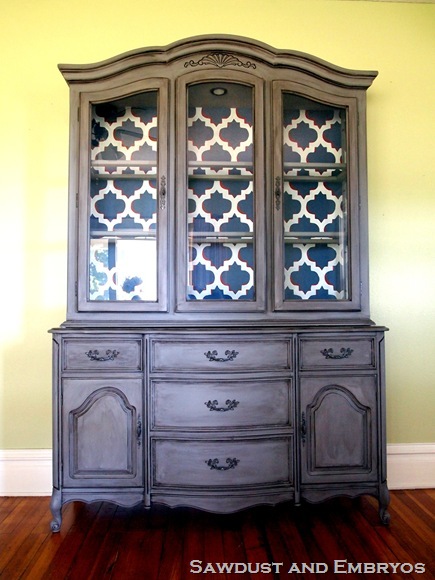
Are you ready to see the final product? Good, cause here it is! (again, the gray color is called Seal Gray by Glidden… we get SO MANY EMAILS about this color because it’s so perfect!)
It looks so majestic in my dining room. I hope Marcy’s ceilings are high, cause this thing’s a beast! Doesn’t it look like the top hutch and the bottom buffet were MEANT to go together? I think so.
Cheers!
~Bethany

How did you get the back of the hutch off
We used a pry bar to get the back off, because it was just nailed around the edges. But I’m sure different china cabinets have their backboards secured on in different ways. Yours might be different!
Can you tell me how the China cabinet was prepped prior to painting and the type of paint and glaze used? This is exactly the look I want for my very similar China cabinet!
We lightly sanded the whole thing down to take the ‘shine’ off, then primed with oil-based Kilz primer (in the spray paint can… it took about 5 cans), and the painted with matte finish gray paint and a brown antique glaze! Then we sealed the whole thing with matte finish water-based Polyurethane by RustOleum. We loved how it turned out too! Be sure to send us pictures when you’re done! beth@realitydaydream.com
Hey there! Can you tell me the name of the grey paint you used? Also the name of the glaze?
Can you please tell me how you got the color of the China cabinet? Im starting to look into painting furniture and I wanted to see how exactly you got the color. Ive never painted before so I don’t know what colors to buy or where to start except at home depot. Lol. Could you please help me. By the way, your blog is amazing. Keep up the awesome style and work.
Hi Autumn! The orange is Krylon spraypaint and the color is called Pumpkin. We had to do several light coats because the coverage wasn’t very good. Hope this helps! Let us know if you have any other questions.
orange? it’s the dark greyish blue color of the china cabinet…what paints did you put together and brushes did you use?
Ohhhhh geez I’m sorry. I was thinking of one of the other china cabinets we’ve done… Haha! Sorry about that! I’ll check on that exact gray color and get back with you!
ok thank you!! 🙂
Wow, stunning! Found you via pinterest. I love to restore furniture and decor. This is a huge amount of work gone into your friend’s hutch, but I know what you mean about the process of painting that backboard. It would be quite therapeutic. I love that you read to each other! 🙂
Howdy! I could have sworn I’ve visited this blog before but after browsing through a
few of the articles I realized it’s new to me. Regardless, I’m
certainly happy I stumbled upon it and I’ll be bookmarking it and
checking back often!
fab.u.lous
2 questions.
did you paint the hardware as well?
secondly, how did you get the brownish glaze? can you share the color/brand paints you used?
Leora, we left the hardware as-is on this piece. They were PERFECT!
As for the glaze, we use Dutch Boy Technique Glaze (but all the brands are pretty much the same) and added an amount of chocolate brown color according to the directions on the can. It’s super simple! 🙂
Oh man. I now don’t think I can keep my powder blue color for the piano I was asking you about lol. Why did I never look at this one before?! Dang back to the drawing board!
Just beautiful. The finish is fantastic. And I love that you read to each other. 🙂
I would LOVE to see pictures of the room that this went in–do you have any pictures to share of the completed dining room? Thanks for this post–love everything about what you did with this!!
Oh so fabulous! Wondering what you did with the bottom of the original china cabinet now!
This comment has been removed by the author.
Hello Nana… so glad you love the finish! The paint brand is Glidden, and the color is Seal Gray. We just used a brown/black mixture of glaze (using the mixing instructions on the back… any brand will do). Hope this helps, good luck! Send us pics when you’re done!
Can you post the exact color gray you used and the glaze? That is EXACTLY what I want to do with my hutch/cabinet/tables!
I ABSOLUTELY LOVE this! You did an amazing job! Your painting technique is to die for! Ok, maybe not die but you understand, I’m sure! This is my first time on your blog and I am definitely going to check out your blog OFTEN! Once I get MY blog up and going, I’ll add you to my list of blogs I stalk, lol.
And no, reading to each other is not cheesy!! LOL! My fiance and I do the same thing!
Do you have any tips for how to re-finish a china cabinet? I have a behemoth of a china cabinet and it’s the most awful shade of dark brown. Would you consider doing a tutorial as to how you did this cabinet so that us mere mortals might try our hand at it too? 🙂
Love love love! You would never know that wasn’t originally matched up 🙂 just gorgeous.
No worries. 🙂 We read to each other too. We read the Hunger Games shortly after Christmas, but are now reading a different series together.
Wow! Awesome job! LOVE IT
This looks EXPENSIVE. (I used to laugh when they said that on Project Runway, but now…I TOTALLY get it.
wow!!!! I gotta say this is one of my favorite things you’ve done. Looks GORGEOUS!
oh that is just gorgeous. if you are ever in Little Rock, you have a customer 🙂
Love the color of the hutch! Beautiful job as always! And love the pattern on the backboard!