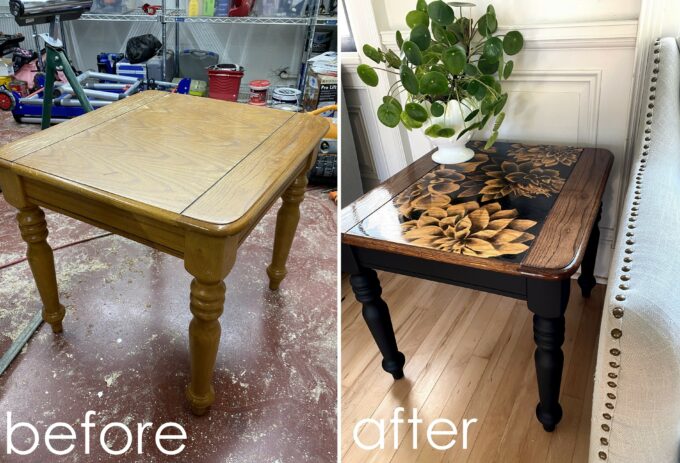
I was out yard-saling with my sister in law, and I came upon this wooden oak end table. It is so basic, and I’ve seen these a million times. Golden oak from the 90’s, but well made and so sturdy! I paid the lady $5 bucks, and brought her home. This will be the perfect blank slate for some floral stained art!

*This post contains affiliate links.*
Cypress helped me sand off the top surface down to the raw wood. We left the legs and skirt as-is though, because I’m just planning to paint that. For this process, I highly recommend using an orbital sander with 80 grit to get down to the raw wood. Then move to 150 to smooth it out, then finish off with 220 for the ultimate smooth finish that’s ready for some stained art!

I don’t call myself a true artist, because my stained art is NOT freehanded… nor is it my own design. I find beautiful photography and project it onto my surface and trace around the edges with a pencil. I use a mini projector similar to this one.
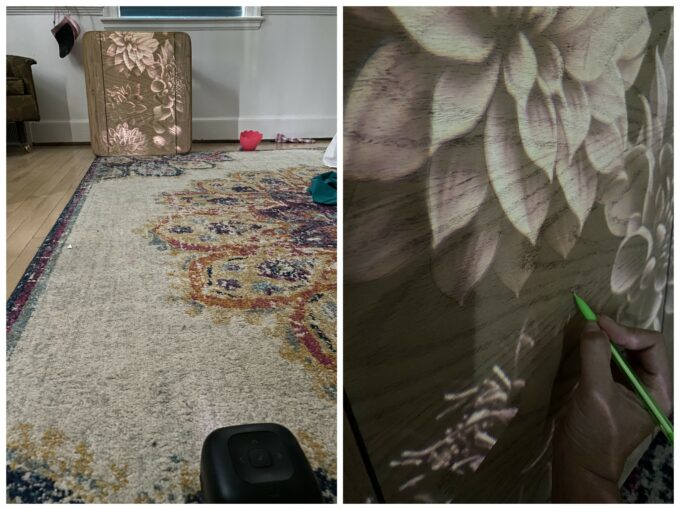
I popped this end table up on the kitchen island on it’s side, and it’s almost like an easel ready for me to stain! This is the wood stain I use, and I swear by it for this stained art technique. Trust me, I have tried them all.

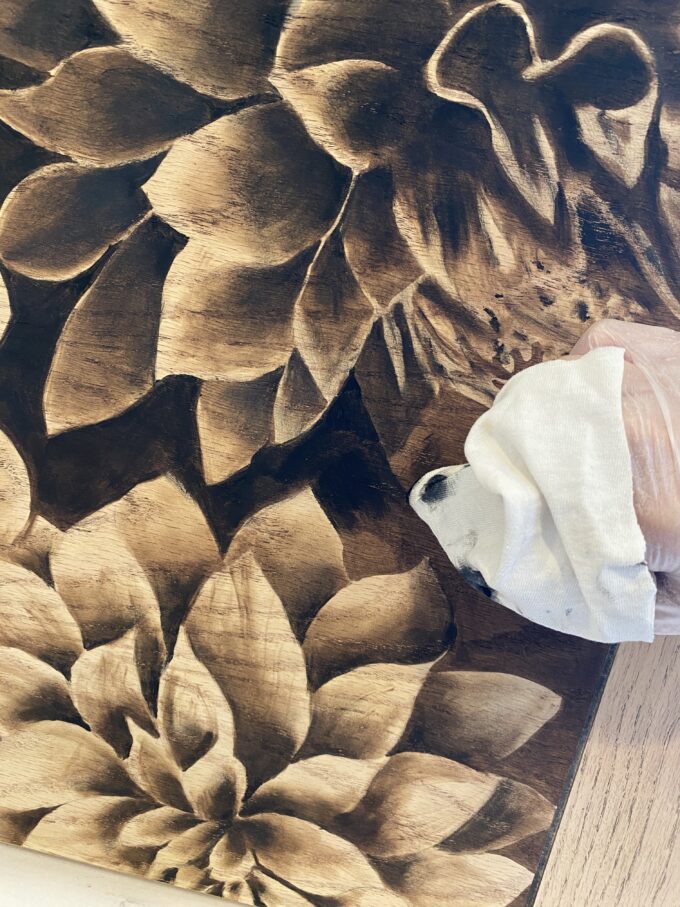
I just used a scrap piece of cotton cloth (let’s be honest, I cut up hubs old undershirt) and using a gloved hand, dip the verrrrry tip of my index finger into the stain. It doesn’t take much!

After I was completely finished and the stain had a chance to dry overnight, I came in with some highly pigmented black stain to make those dark shadows even deeper. This really makes the floral design come to life!
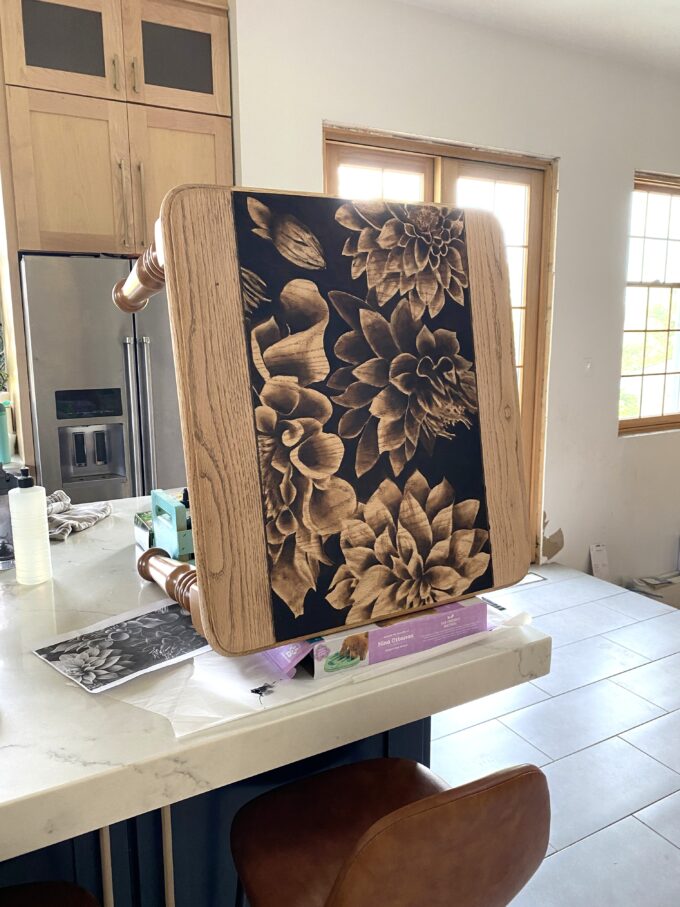

I stained those edge panels solid with the dark walnut, and finished everything off by sealing with high gloss polyurethane for ultimate durability.

I did 3 coats of poly, sanding lightly with 220 grit between coats. I always recommend following the instructions to the letter when using paint/sealer of any kind, so let it dry the right amount of time before sanding. Even if you’re impatient!

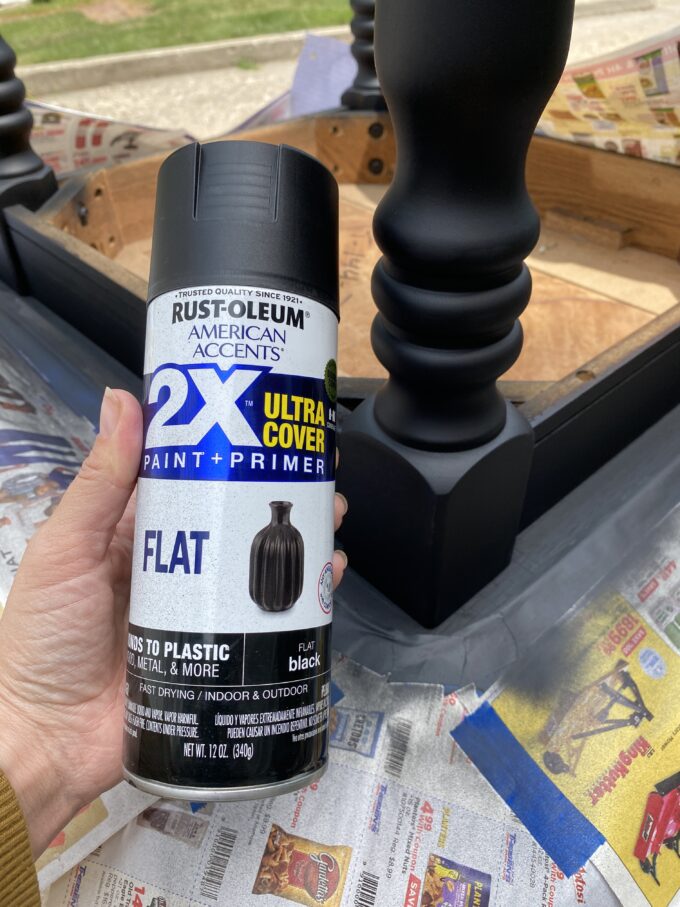
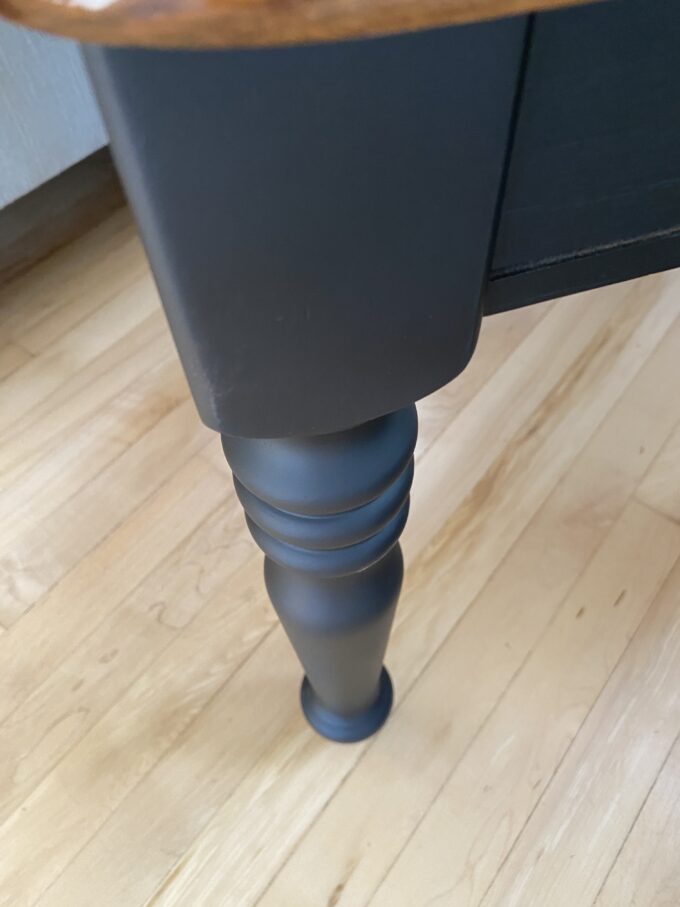
All that’s left is to paint those legs! I wanted a matte black to really contrast the glossy finish of the top surface, so I snagged this flat black spray paint at Walmart while I was out running errands. I love that it’s paint + primer in-one, and it ended up having SUCH a beautiful, buttery flat finish.
I love how this end table turned out, and how the stained art elevates it to a very boujie level! What do you think?
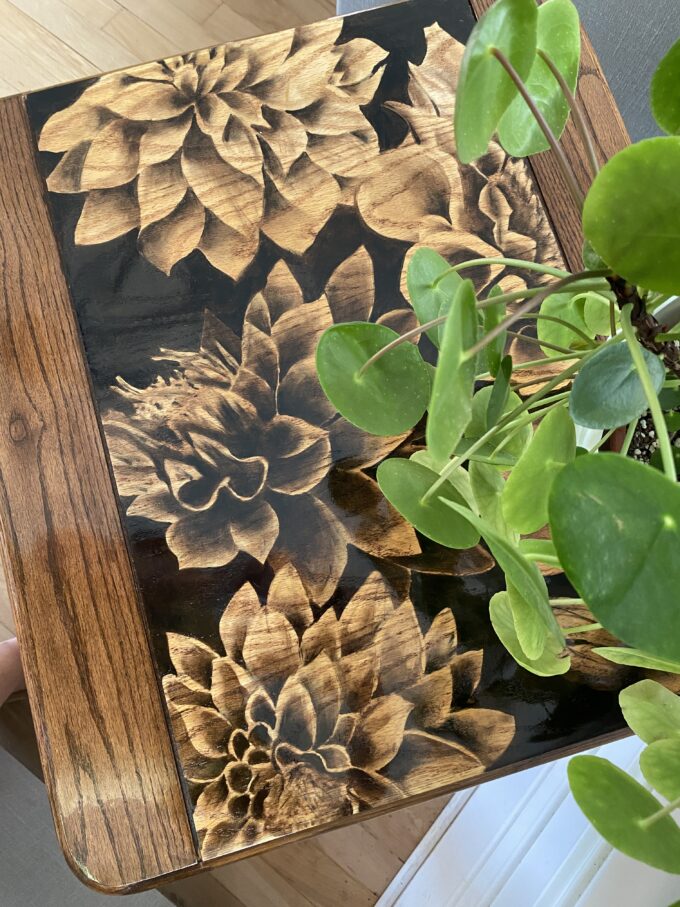

Look at that high-gloss situation!

My only regret is that I forgot to sign it before sealing. Is it too late? I always chuckle to myself when I sign my artwork BS. 😉
Related:
-

We love the original wood of our library, and wanted to find a desk that…
-

Every spring, I have grand plans of having the most epic vegetable and flower gardens!…
-

This has been in the works for awhile, but I'm SO PROUD to share that…
This is a great tutorial. I may attempt it myself, but have to find a way to trace a design since I don’t have a projector.