Hello there! Nick here! Earlier this spring, Beth and I needed to leave town for a couple of weeks. It rained every day while we were away. Weeds and grass charged into our sidewalk cracks and garden… our house literally looked abandoned. It was such a sad sight to see the neglect our house received while we were away.
*This post is sponsored by DAP. Thank you for supporting the fabulous brands that make Reality Daydream possible!*
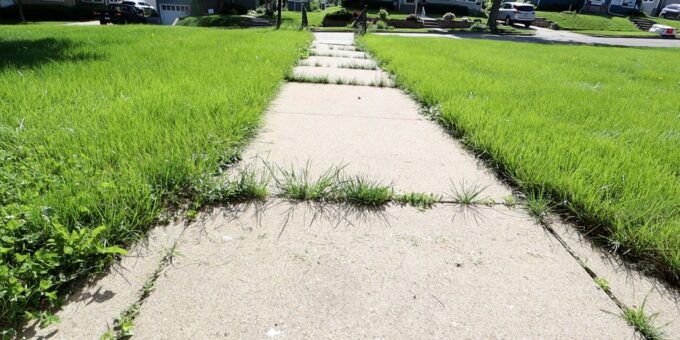
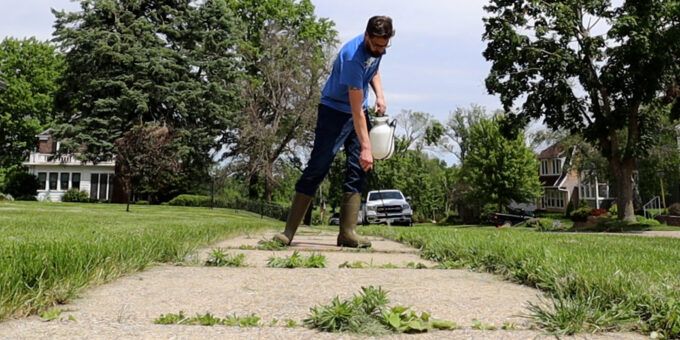
This photo was taken back in June when we returned home from our trip. Luckily my brother came and mowed once while we were gone, otherwise, all this grass would have been about twelve inches taller. At the time I was at a loss for what to do, so I mowed the grass and sprayed the cracks with roundup.
But this just left dead grass and weeds in the cracks and didn’t seem like a good long-term solution, as new or stubborn weeds emerged shortly after.
We decided to take another approach. It’s high time we fill and seal the sidewalk cracks with a Polyurathane caulk by DAP!
But first, let’s back up! This is a pretty simple process but we needed to prepare the cracks before smearing caulk all over them.
Filling Sidewalk Cracks with Caulk
1. Pull weeds from sidewalk crack
I got to work pulling the stubborn weeds. Do your best to pull from the root, but that’s not always possible. Some of those roots go deep!


Then I took a 6 in 1 painter’s tool and scraped out any organic material. I was surprised to see how much there was and how big the cracks really were.

I took a leaf blower and cleared out the crack. A broom would have worked too though.
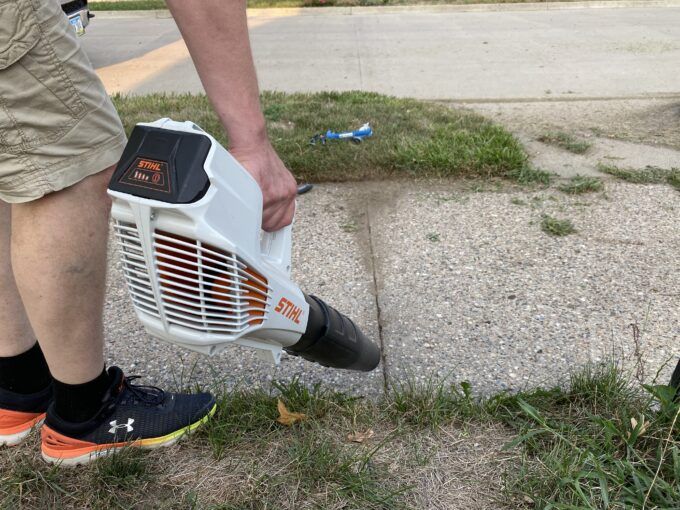
We really wanted to make sure that we had a clean joint for the caulk to adhere to, so we took a wire brush to clean out anything we missed previously.

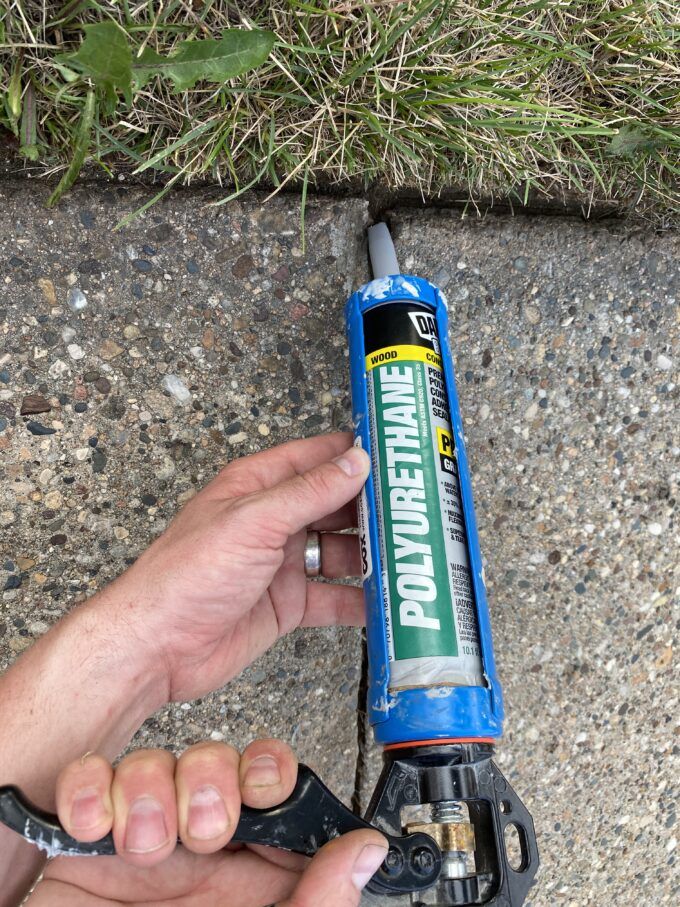
2. Caulk the Sidewalk Crack
Then we filled it with the DAP Polyurathane Caulk. This stuff is really sticky and should last a long time, but you need to be careful not to get it all over yourself because it doesn’t wash off easily!


The best part, this polyurethane caulk adhesive is 100% waterproof with a weatherproof seal. It’s formulated to be long-lasting, flexible, and durable. And that’s exactly what we need!!
3. Smooth it out
After applying the caulk, I used a gloved finger to smooth and form the caulk.

We are so happy that this will be one less thing for us to maintain. And honestly, it makes such a big difference in our curb appeal… why did we wait so long?!

It gives us a chance to focus on other home projects like the Master Bathroom or just simply sitting back and enjoying the girls and our new patio!!

~~~~~~~~~~~~~~~~~~~~~~
Thank you for pinning!

Related:
-

We're always in awe of how spending a little extra time redefining our garden beds…
-

It never fails! Each spring, when the snow melts, we're always itching to get out…
-

I, for one, LOVE trees. When we bought our home, there were 4 trees on…
Leave a Reply