It’s true, we named the vanity Eloise. And this girl is finally finished. Enjoy the progress photos!
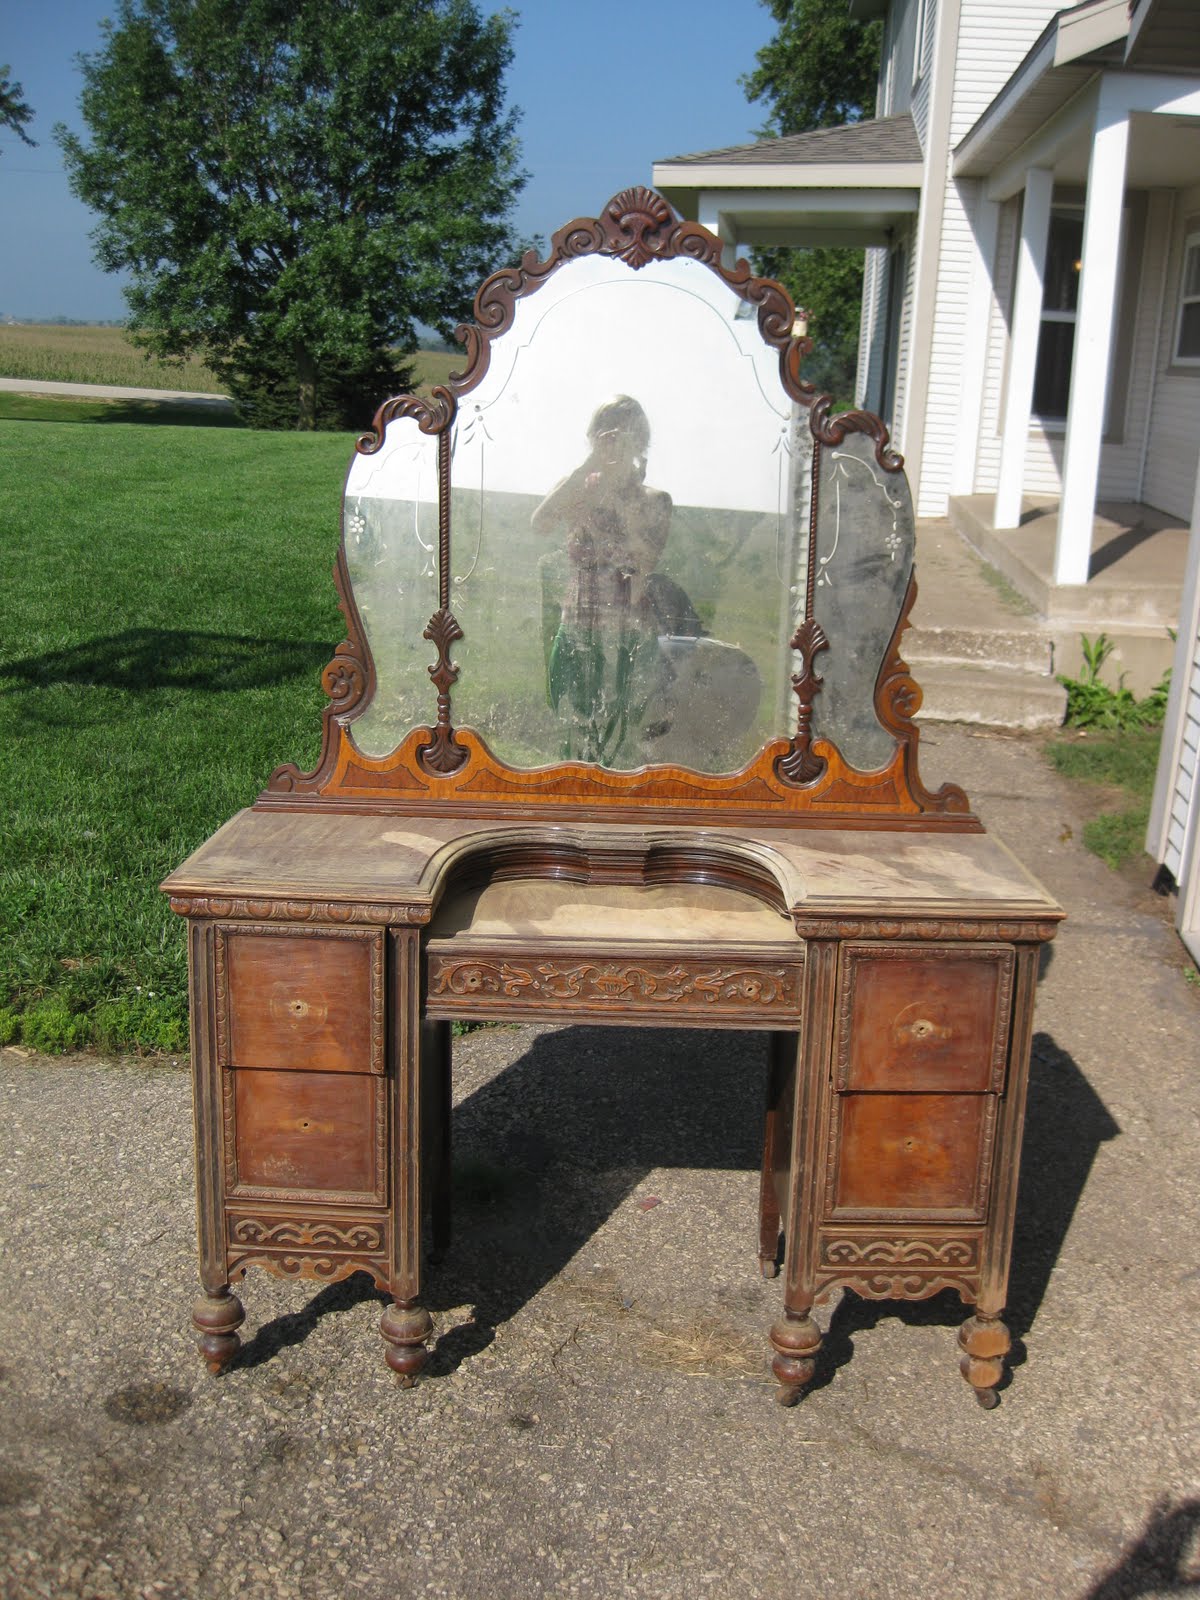
This is the actual picture on the craigslist posting where we found the vanity. A little rough, yes… but with obvious potential.

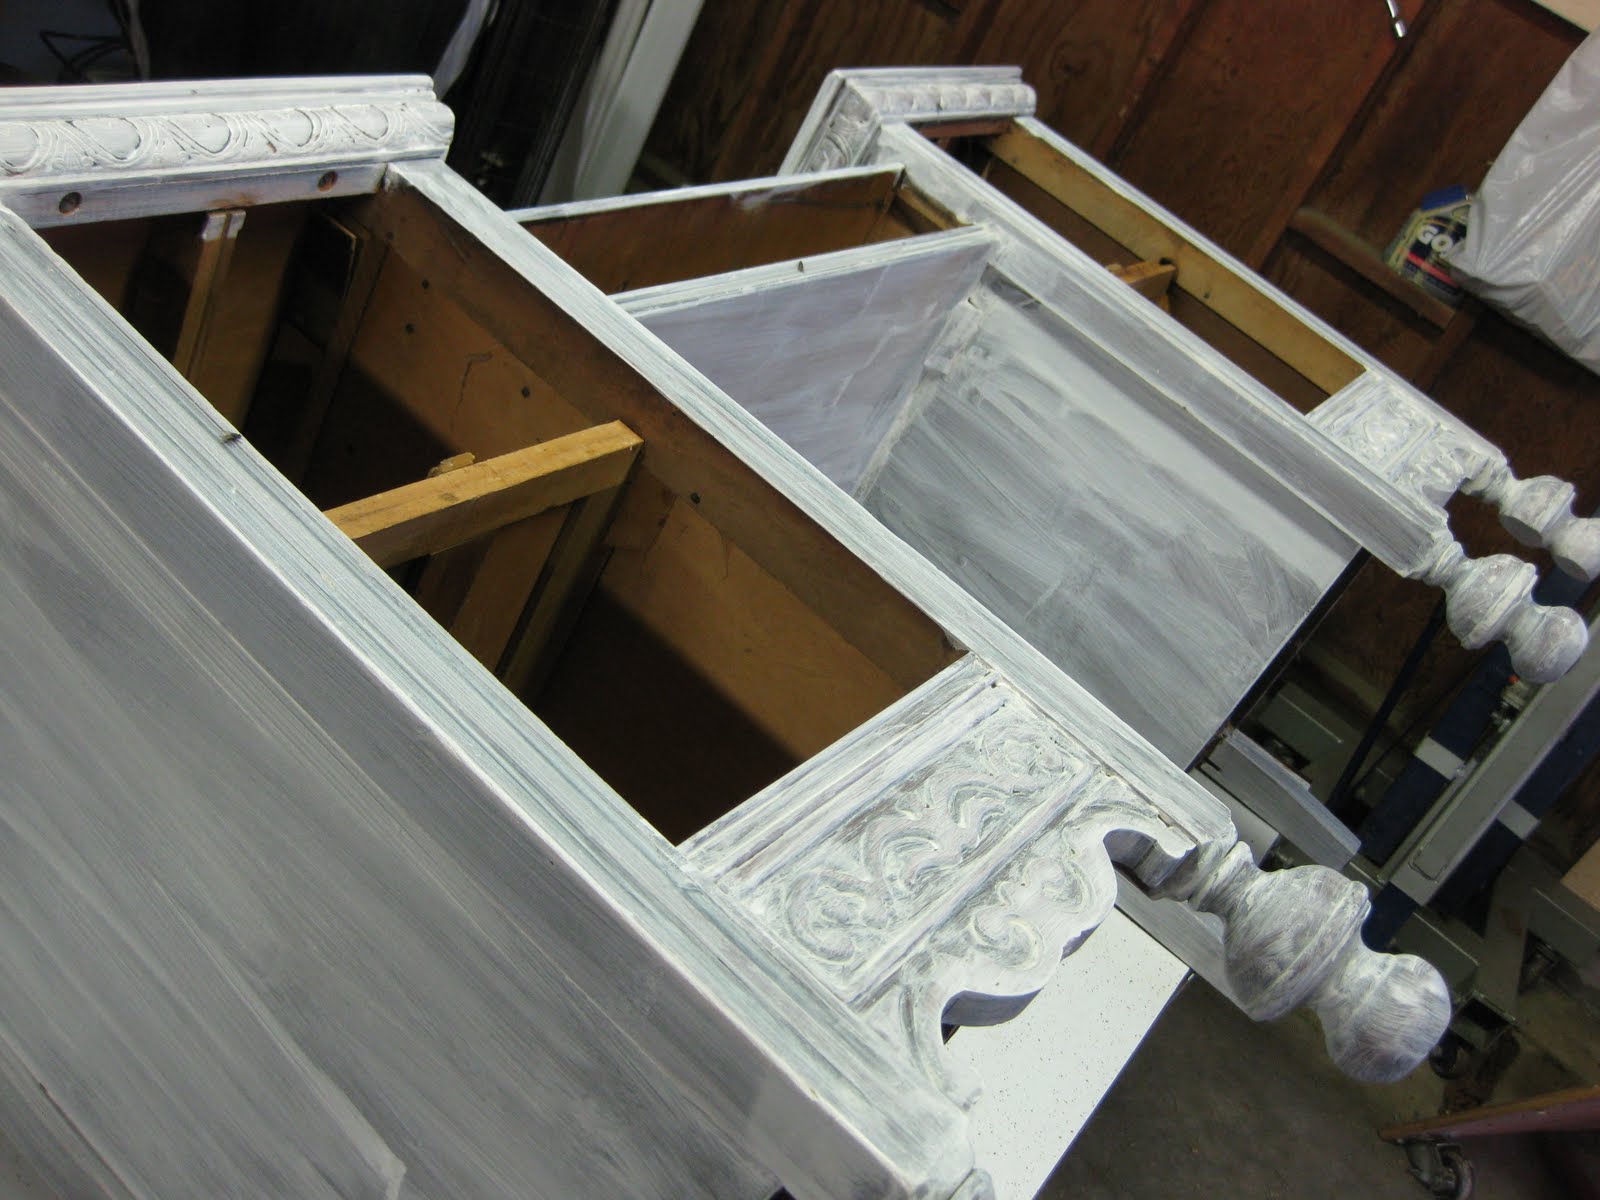
Then we sanded her down real good.
And slapped on a coat of primer.
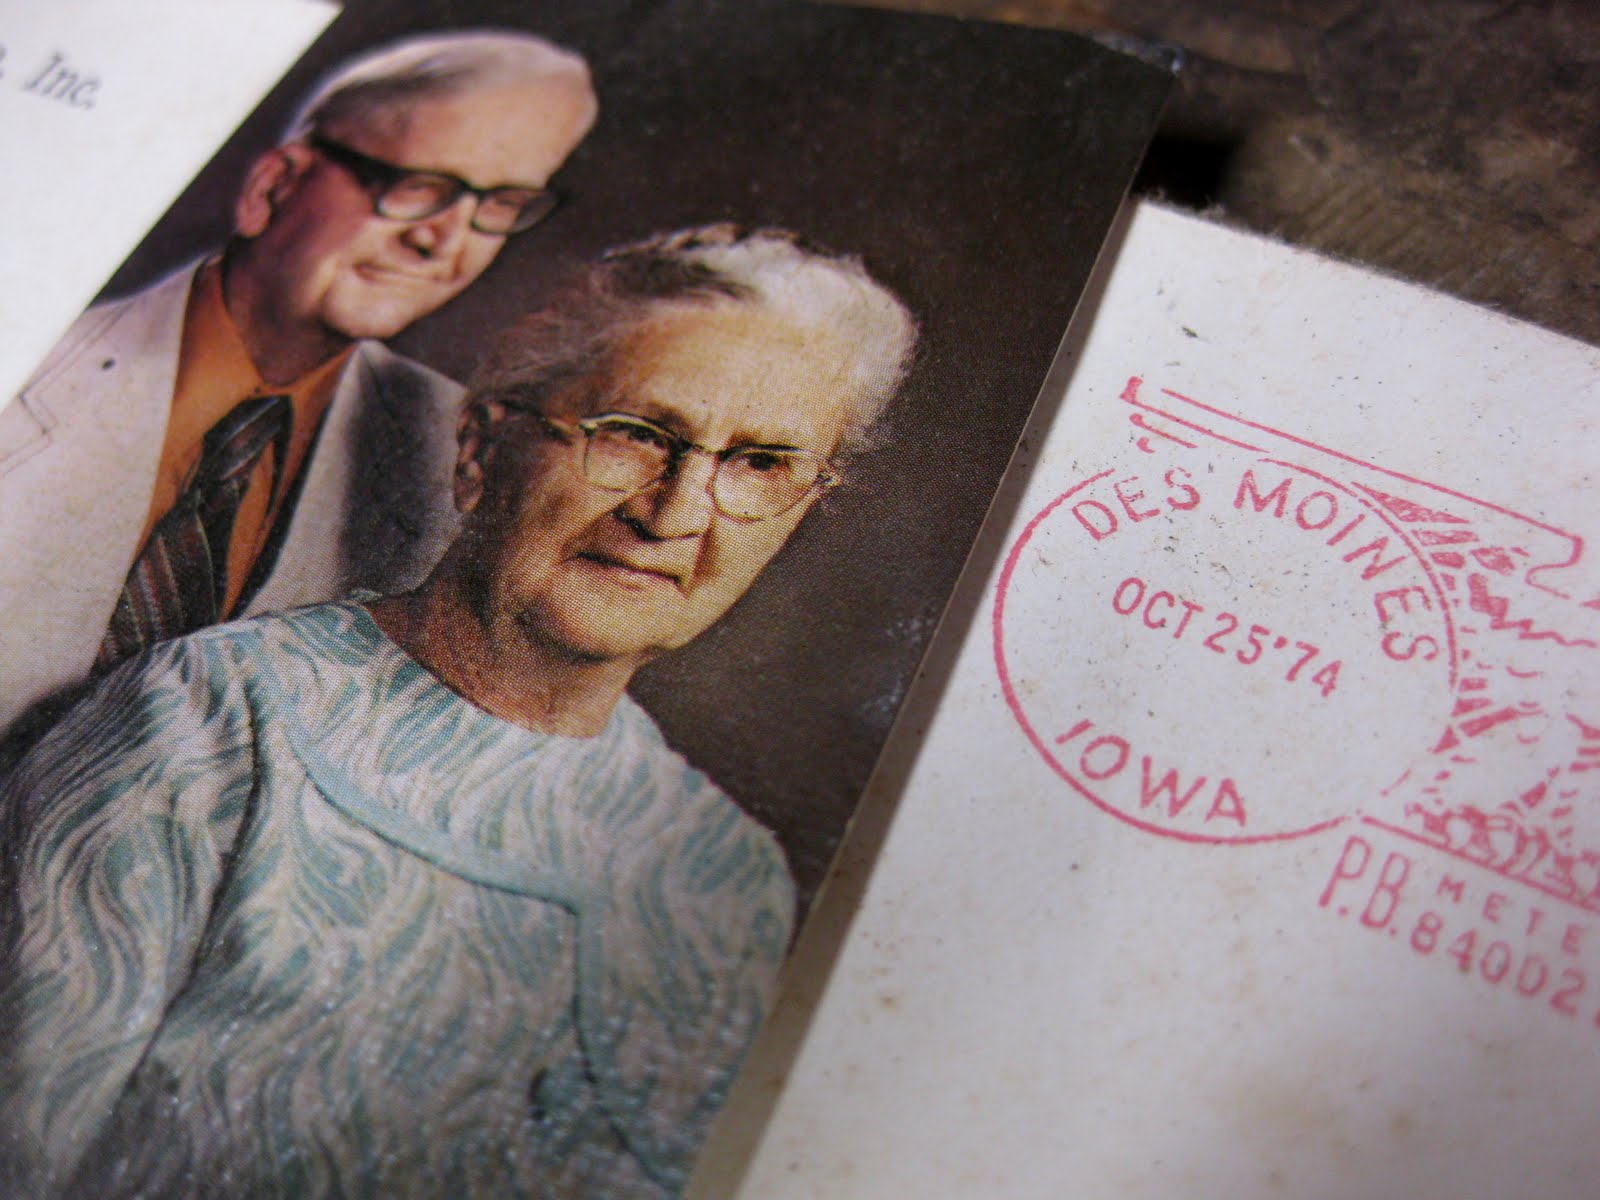
After removing the mirrors for ease of painting, we found an old picture of a couple and a piece of mail dated 1974!! They had fallen down behind the mirror decades ago! I love little glimpses of the past. I want to know the full story of this cute couple!! JACKPOT if you ask me!
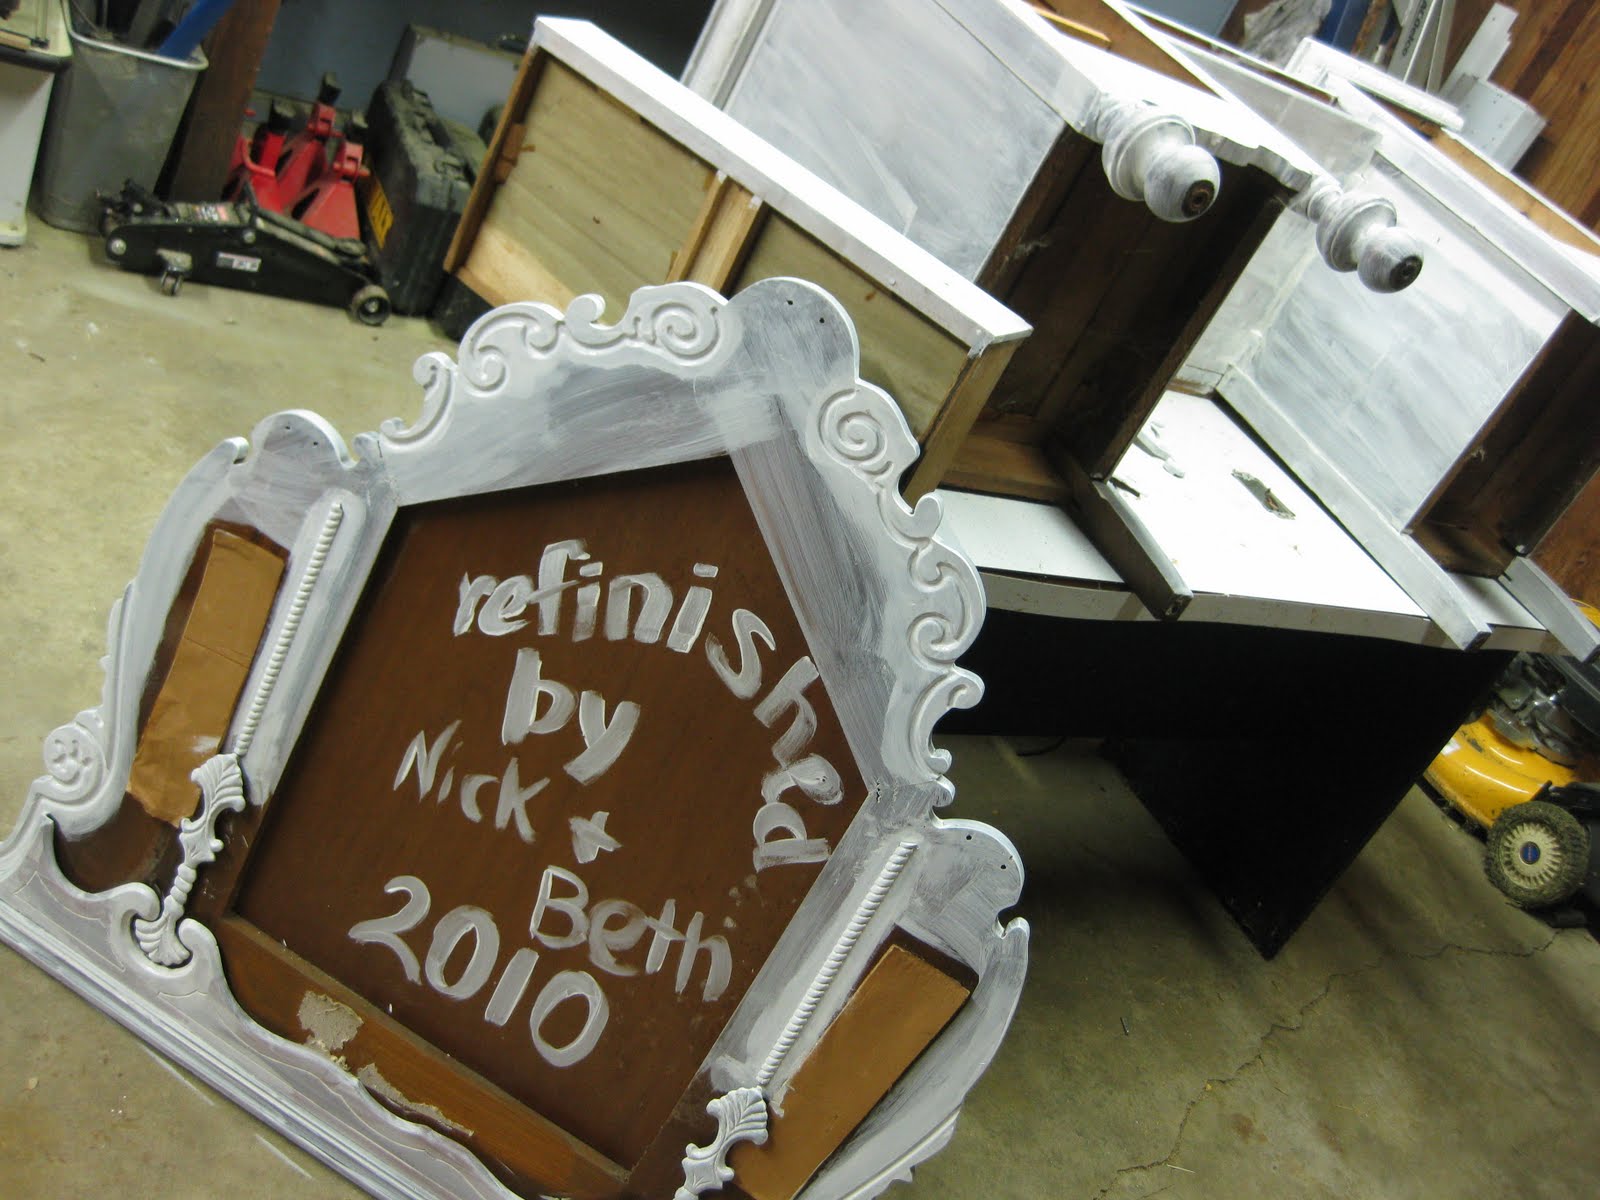
We added our own stamp of history. That way, 50 years down the road, when someone is stripping off the paint and cursing the person who would PAINT such a lovely piece, they can know us by name.
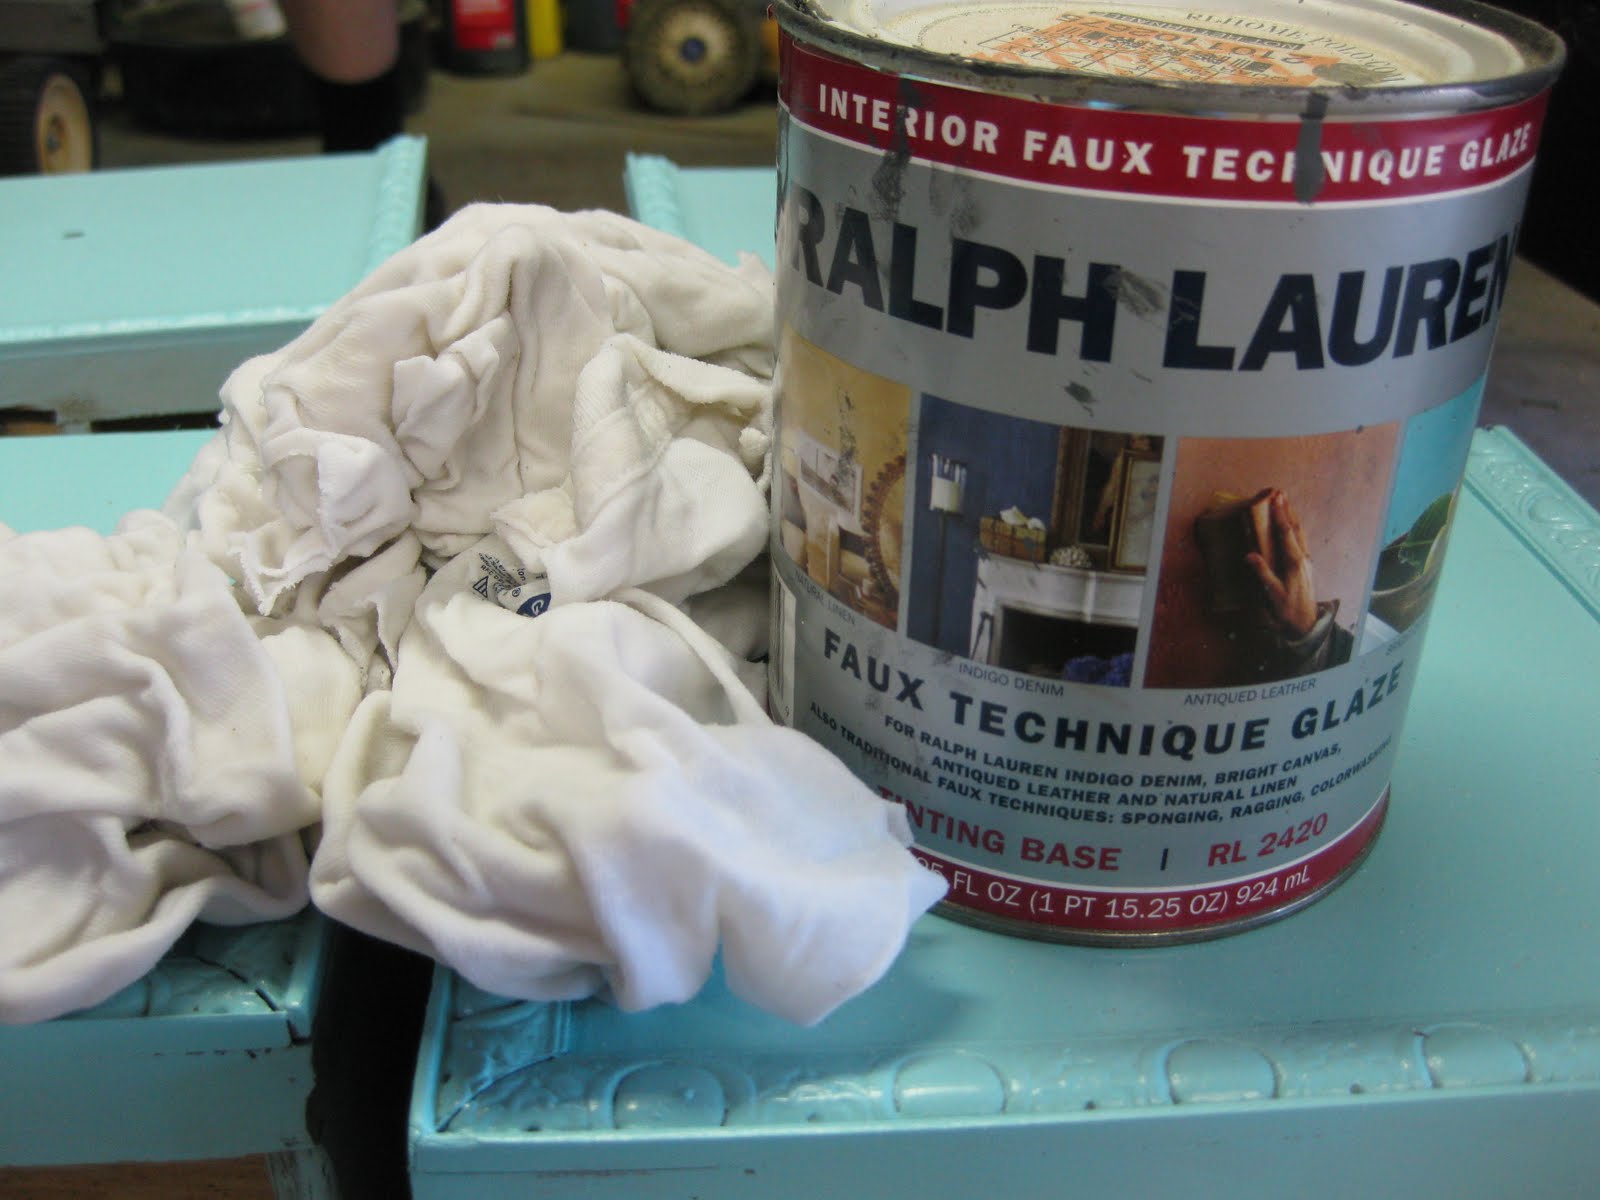
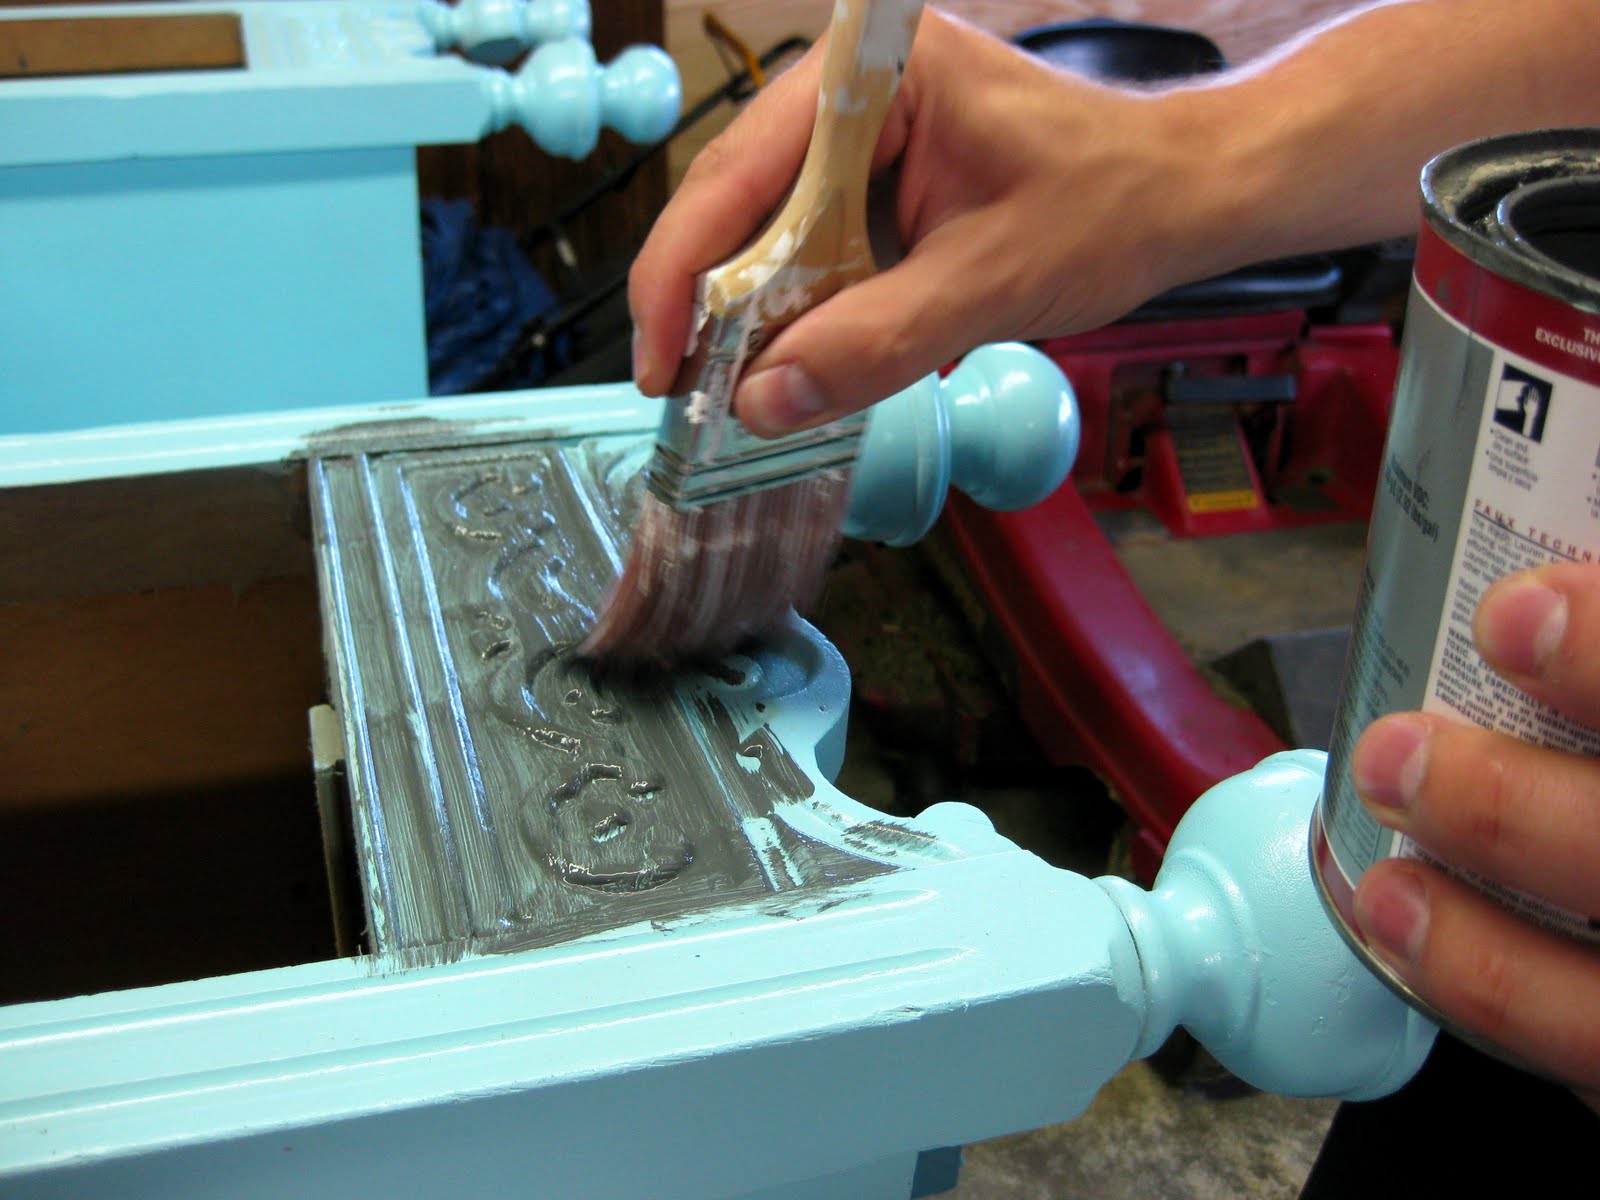
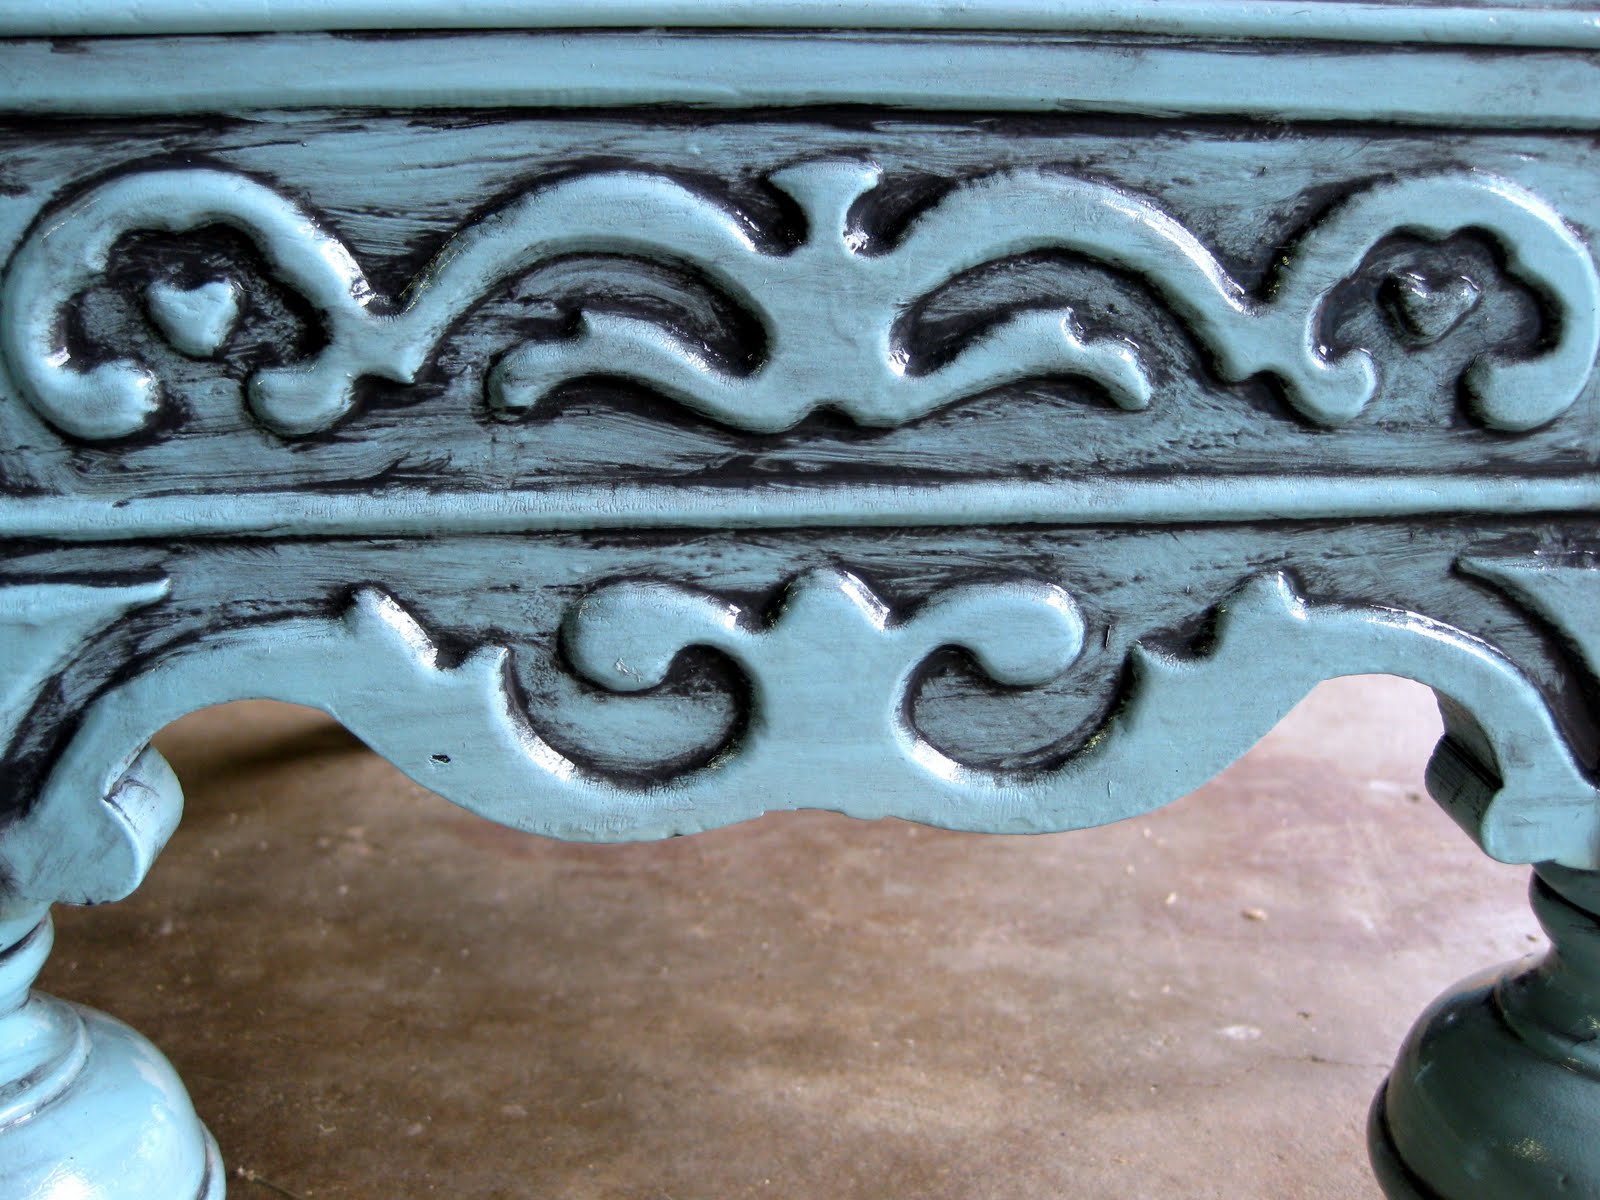
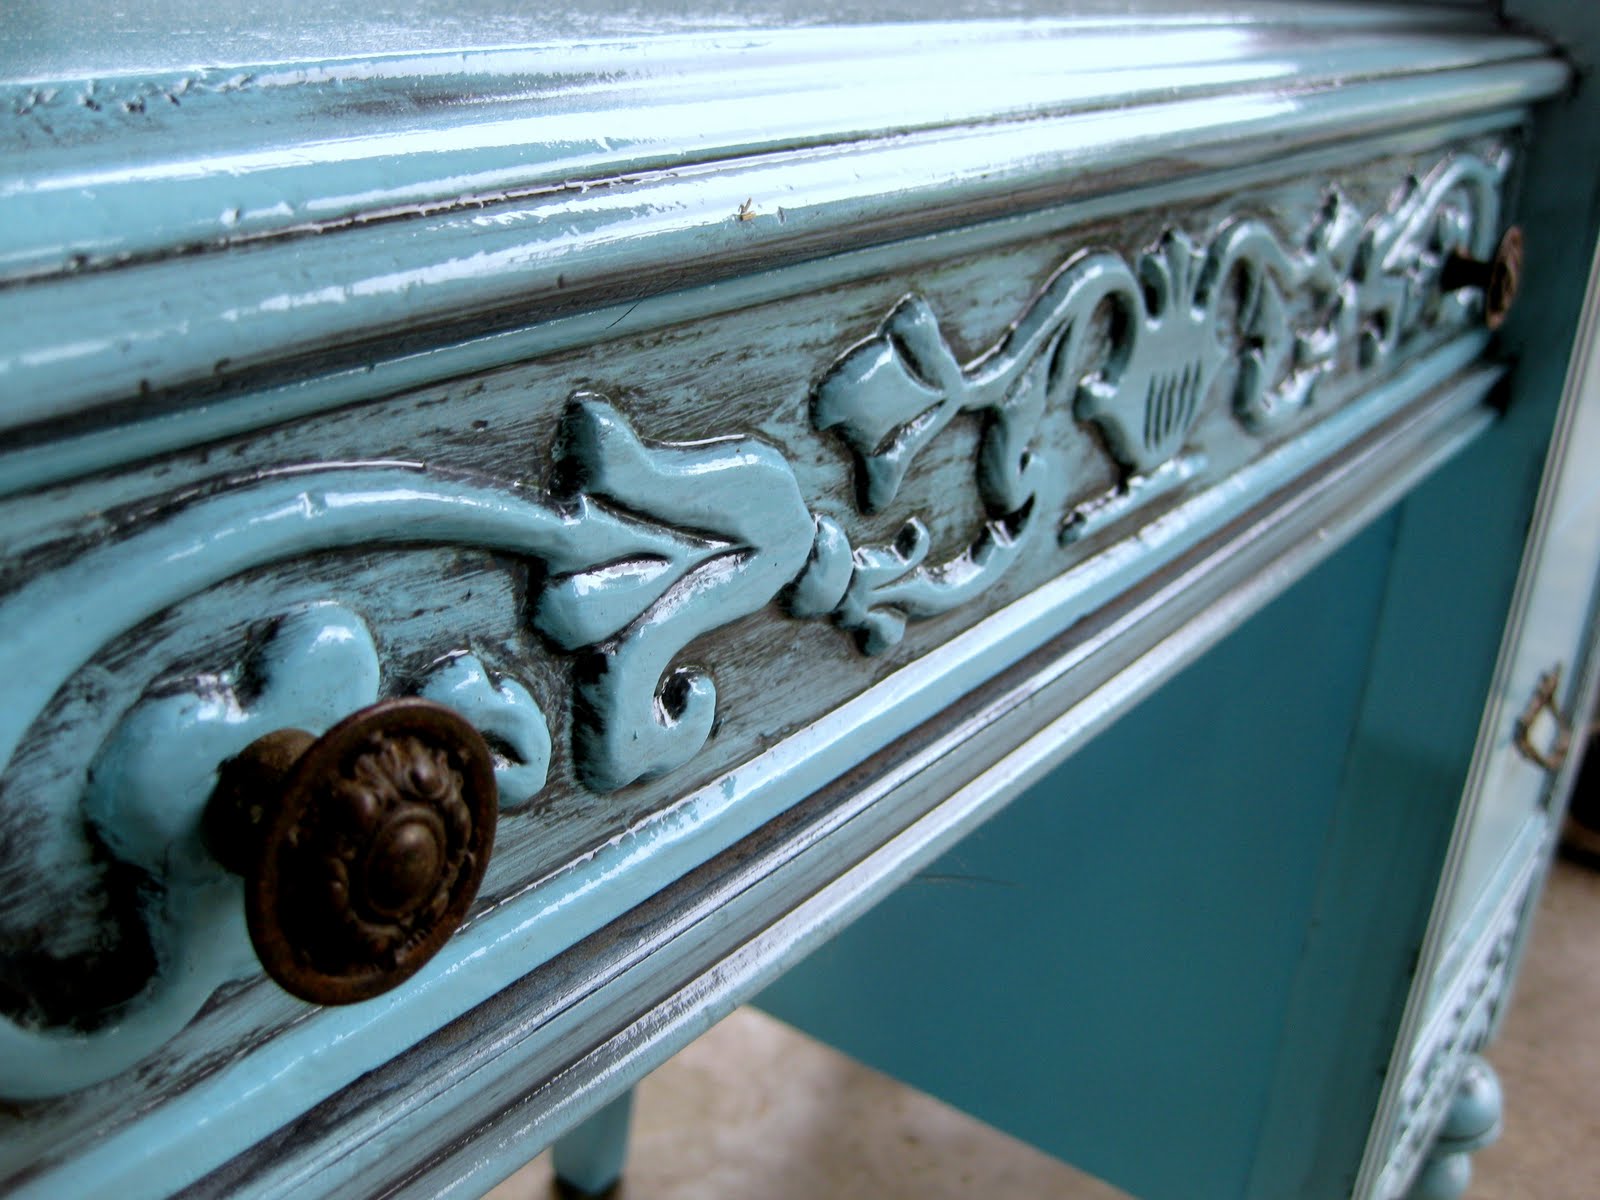
We gave her a fresh coat of Krylon’s ‘Blue Ocean Breeze,’ and my favorite part comes next… glazing! Full GLAZING tutorial HERE! And you can purchase the technique glaze here.
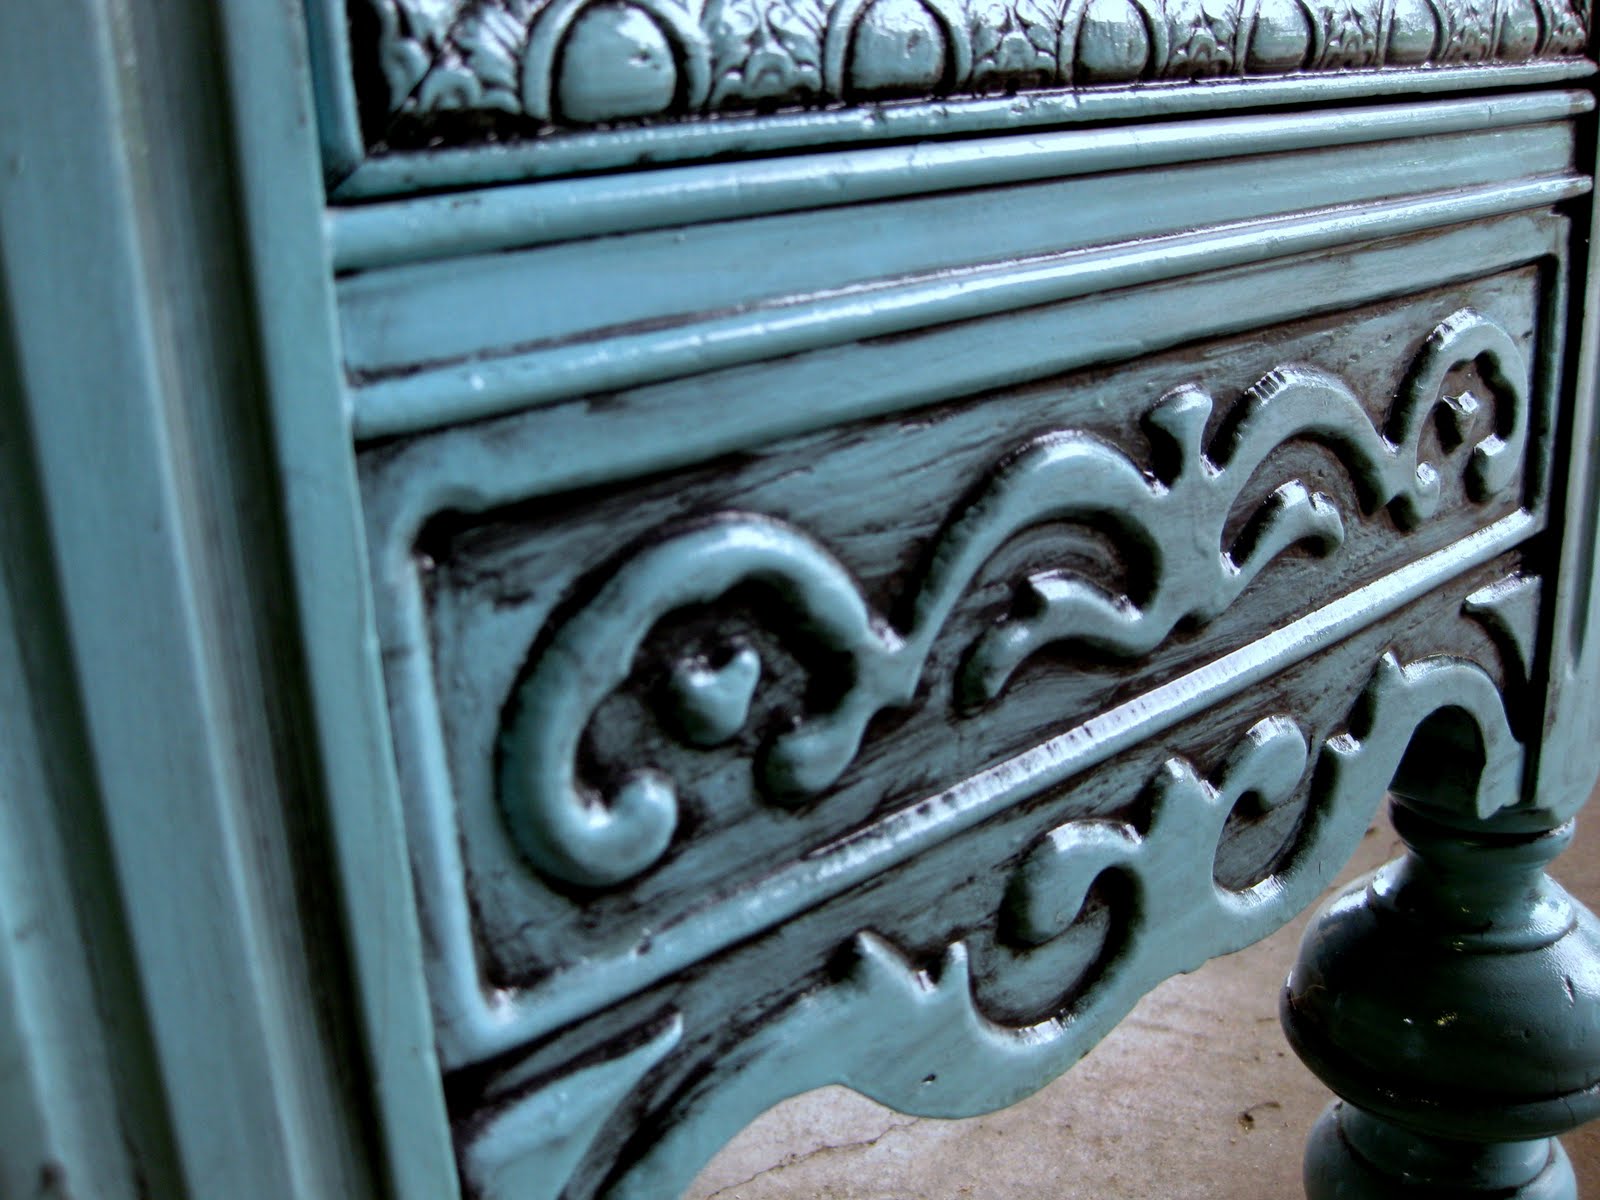
What do you think? An improvement? Yes? There are TONS of pictures below… mostly because Eloise just has so many great details! I didn’t want to miss any! Enjoy…

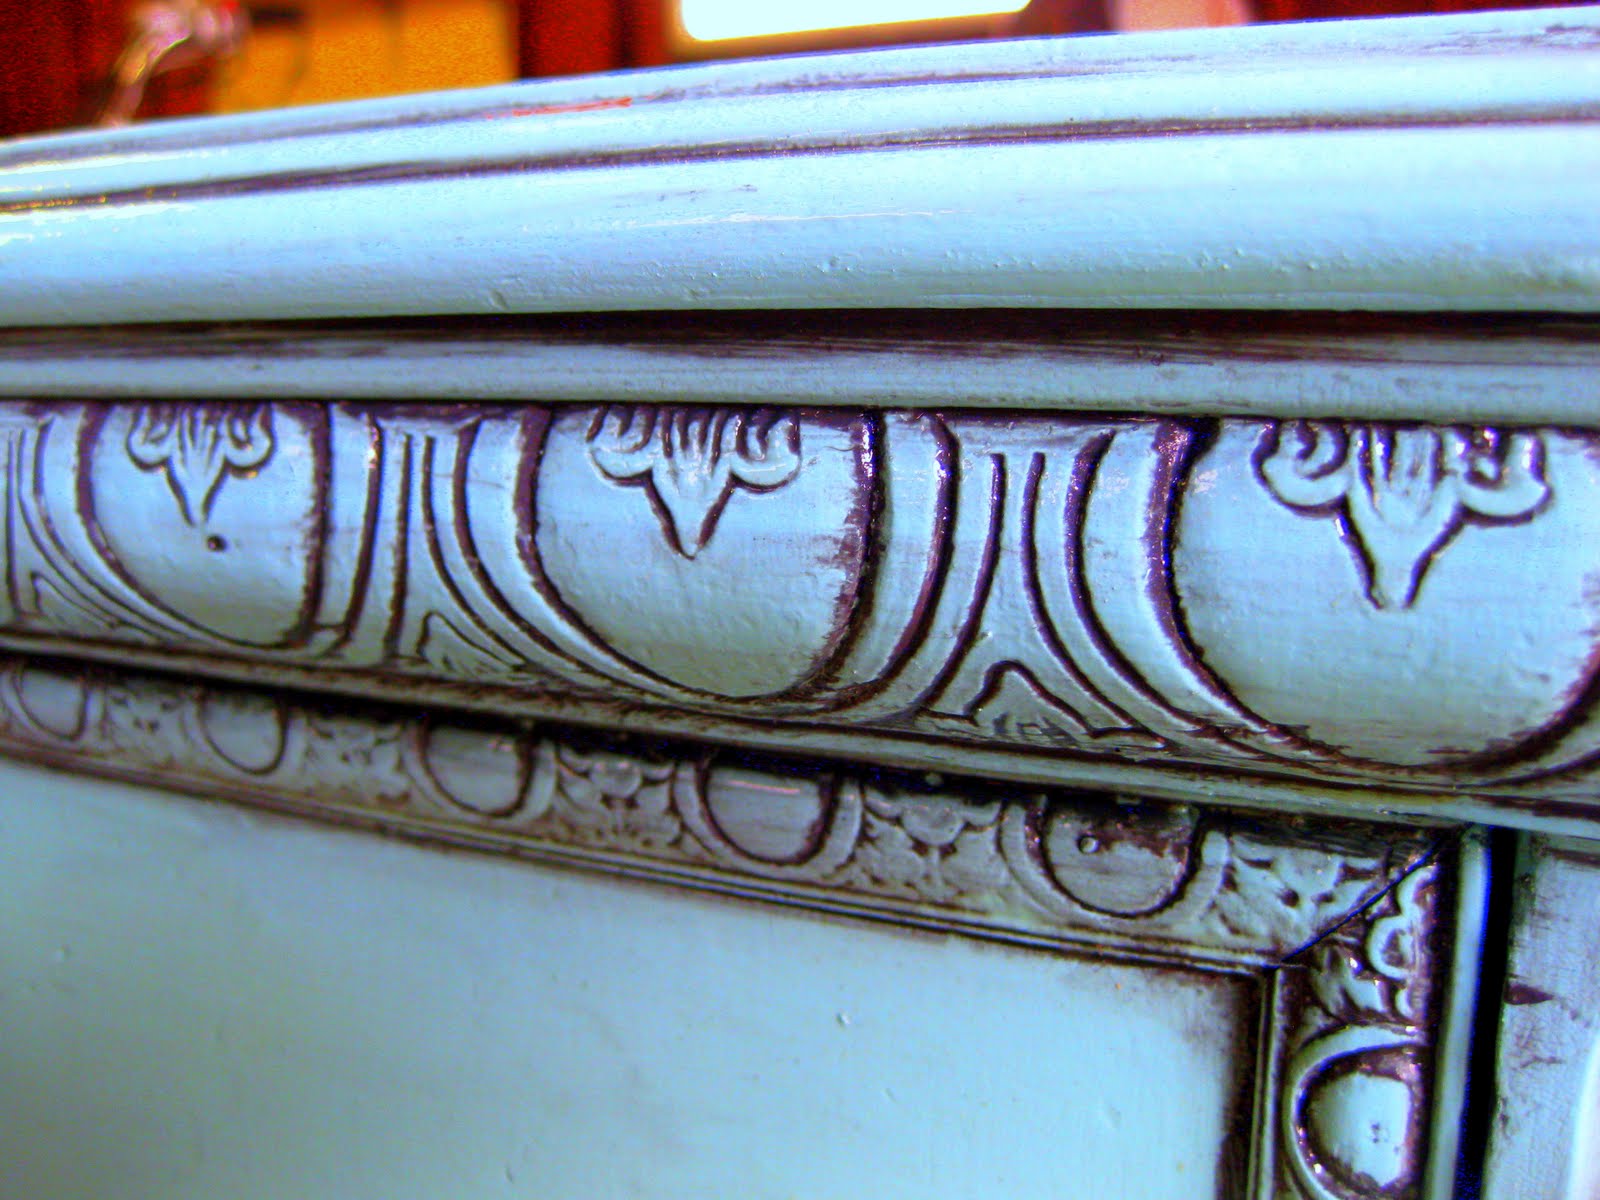


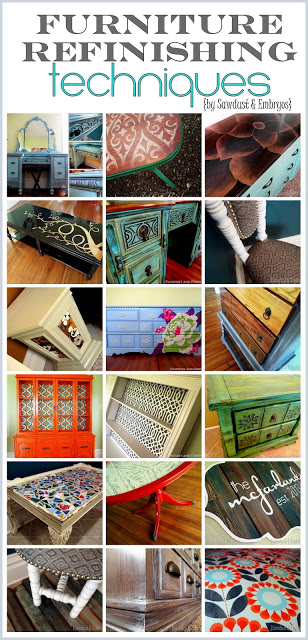
I love it so much! Be sure to check out our other Furniture Transformations and Refinishing Techniques!
*this post contains affiliate links
Related:
-

We love the original wood of our library, and wanted to find a desk that…
beautiful work I have one that I want to restore I will use everything you did to see how it fits me. one question did you change the mirror or did you use something to renew it please let me know
It‘s a dream
I have that exact same dresser. The silvering on the mirror is chipping and has little black spots. How can I fix it? Also can you show us the room the dresser is in, so we can see the setting it needs to be in? Thanks!
Sorry, we sold this vanity years ago.
You could gert a glass company to replace the mirror. Resilvering might be hard to find someone to do that.
Can you use a polyacrylic over a glaze to protect the furniture? I have heard that you cannot.
You TOTALLY can.
Hi I have an old piece of furniture maybe 50 years old or older are you interested in purchasing it it’s a vanity it has beautiful mirrors also Wheels on the legs need TLC that you can provide
While I think you have done an beautiful job on this project, I’m afraid I would be the couple 50 years from now; I would prefer to see the piece brought back to it’s original grandeur.
Absolutely agree. When I saw the original, I was thinking “Please don’t paint it” .
I was hoping you’d just refinish it with some stain.
Fortunately the days of painting beautiful antiques are coming to an end.
I’m just wondering how you went about sanding this? How did you sand all the ornamental pieces/ curves, etc? I have a painted piece that I am sanding down and want to stain the natural wood, but I’m finding it difficult if not impossible to sand in all the ornamental grooves without messing up the piece :(.. any advice would be appreciated!
Hey Lindsey! Since we were painting (opposed to staining), it wasn’t necessary to sand through the existing finish. We just sanded it enough to rough it up so the primer would have something to stick to. If you’re refinishing a piece to stain it, you’ll want to use stripper to get in the cracks and crevices. We have a tutorial for that too! (stripping is a pain in the A though, just warning you!)
https://realitydaydream.com/2013/08/we-stripped-our-front-door-tutorial-on.html
I love that you didn’t go all Annie Sloan chalk paint on this. It seems that is all we see nowadays. I like the different applications that make the details popl As usual, awesome paint tutorial.
Awesome! My sister Val in Lethbridge, Alberta just told me about your site and this dresser which in my opinion, is a work of art!! Thanks for NOT doing the chalk paint thing which is getting really tiresome!
You’re super sweet! This is still one of our favorite furniture transformations to date. 😉
I NEVER leave comments, however:
1. I’ve just found your site, and have been unable to pry myself away for over an hour now.
2. You’re a creative genius! I love that the projects are simple enough for the average Jane to conquer, and the finished products change the entire feel of the space, and or piece.
3. Now I have these awesome budget friendly guides to finally break up the monotony of our completely neutral, bare walled house.
4.The mirror photo. Your wide eyed silly face made me laugh. 🙂
Just awesomeness everywhere.
You are SO SWEET! Thanks for taking the time to leave such a nice comment! 🙂
Wow, the pictures are absolutely beautiful. I would’ve loved to have details about how you applied the glazed and wiped it off, etc. When I’ve applied glaze, my piece always looks dirty. Yours is absolutely gorgeous.
Linda… I just realized I never responded to your comment. I’m so sorry! When you’re glazing, the outcome depends a lot on the sheen of the paint you’re glazing on top of. If it’s a flat or eggshell paint, your piece will end up looking a lot ‘dirtier’. If you have a glossy piece, you’re able to wipe ALL the glaze away… just leaving it in the cracks. Depending on the piece, we like both looks. It’s just really up to your personal preference. Hope this helps!
Wow….. Dope! It’s just D-O-P-E! Beth, Ms. Lady- you are the Bomb.com!!!!
If you ever get tired of Ms. Eloise (like that’ll happen) PLEASE send her my way! 🙂
Keep up the fly work!
Ooh… Dope! It’s just DOPE! Beth, Ms. Lady- you are the Bomb.com!
If you ever get tired of Ms. Eloise (right, NOT!) PLEASE send her my way! 🙂
I am working on a project like Eloise, but it has three coats of previous paint should I strip the paint in sand it or just sand it? And how do you stand in the nooks and crannies? I’m having a real hard time, I started on one of the 2 nightstands and I have a lot of tiny pieces and CRUSTY stuff in the corners. Please help 🙁
Massy
Massy, if you’re just wanting to paint it, don’t worry about stripping anything. Just sand everything down slightly so it takes the ‘sheen’ of the previous paint, and then prime and paint! Simple! Please send pics when you’re done!
I cant attach pictures here 🙁 Where can I email them to you?
You can email us at sawdustandembryos@gmail.com
gracias por compartir su lindo trabajo esta muy lindo ,,felicidades vivi
IM SPEECHLESS !! I TOTALLY LOVE YOUR SITE AND IVE ONLY SEEN 2 PIECES SO FAR. THE BUFFET ( WHICH I FELL IN LOVE WITH & THE COLOR ) AND THIS VANITY. I AM DEFFINATLY GONNA TRY THIS. ITL BE MY FIRST TIME BUT AFTER SEEING WHAT YOUR PIECES LOOK LIKE BEFORE/AFTER…YEAH IM DEFF TRYING. KEEP UP THE AWESOME JOB NICK & BETH !!
wowwwww!!! you have such incredible furniture finds! crushing over your love of color!!
Hi Shanna! We just used a black/gray glaze on this piece.
I love this piece! Great job! I was also wondering what color of glaze you used?
http://restorationredoux.blogspot.com
Ilove this piece. It turned out so awesome. The detailwith how the wood swirls and the glaze picks up on them so nicely. You have a great eye for redoing furniture. So enjoy looking thru your pieces that you have brought back to life. Thanks for sharing.
I found one just like this last night at my local thrift shop! I am inspired to try doing this technique and doing it bold like you have! I would have never thought of blue, but it is so perfect.
Super fun! Do you tint your own glaze by adding paint to plain glaze?
I rarely make comments but I have to tell you the transformation is absolutely gorgeous!!!
GREAT job!
Wow, congratulations for seeing such potential! I absolutely LOVE the result! Gorgeous!
Anna(via BetterAfter)
Visiting from Better After, and that dresser is jaw dropping!! Absolutely amazing!
Oh…my…it’s so pretty! I came over from Better After. It truly is a thing a beauty.
I wish I had the money I would totally buy this – it is gorgeous!
Want! The mirrors, the carved details – it’s lacy furniture!
Love…Love…Love it:)
Can you share what glaze you used? I see that it’s RL but what shade is it? I lurv it
A beatiful find!
Chas @ A Woman’s Haven
http://onewomenshaven.blogspot.com/
I am so JEALOUS! This is such a crazy awesome piece of furniture!!! Great job!
love your guts
mandi
I love everything about it! From the beautiful detail, the color, the glaze! Thanks for sharing how you did it too!
Oh wow, what a beauty!! That’s what I call a major craigslist score! And you did a wonderful job refinishing it. I’m sure you’ll enjoy it for years to come.
WoW! Saw you over on All Things Thrifty and what a beautiful peice!!!
Gorgeous! What an incredible piece. I just love how it turned out!!!
Wowzers, what a GORGEOUS transformation!
This piece is gorgeous! You did an awesome job. And how cool to find that photo…i love stories like that. It would be interesting to find out who they are 🙂
So…lucky…I am totally jealous!! You did a great job. Awesome color choice! Just found your blog and am looking forward to following you and seeing many more great finds like this one!
Sharon
WOW….I would love to have her in my house! You guys did an awesome job and should be proud!
She looks amazing!!!!! it’s a great piece…love the fact that you found some history tucked inside…you should track them down and get their story! i was wondering, do you still have that vanity you used to have? that would make a great project too if you haven’t redone it already!
Looks good! I’ve never glazed before. I should really give it a try sometime.
Gorgeous!