I may have a green thumb for my indoor plants, but when it comes to my flower garden? Yikes.

There are some pretty flowers that come up each year in this garden, but for the most part, it’s just a mass of weeds. And if I’m being honest, it’s not because I don’t have a green thumb for outdoor plants… it’s because I’ve always PRIORITIZED OTHER THINGS in the spring and summer.
However! Knowing that we’ll be putting our house on the market this summer, I know that cleaning up this space and giving it some love will make a world of difference in our curb appeal! So when Theisen’s challenged us to tackle a landscaping project, I was up for the challenge!
 *This post is sponsored by Theisen’s. #SpringAtTheisens – Thank you for supporting the fabulous brands that make Reality Daydream possible!*
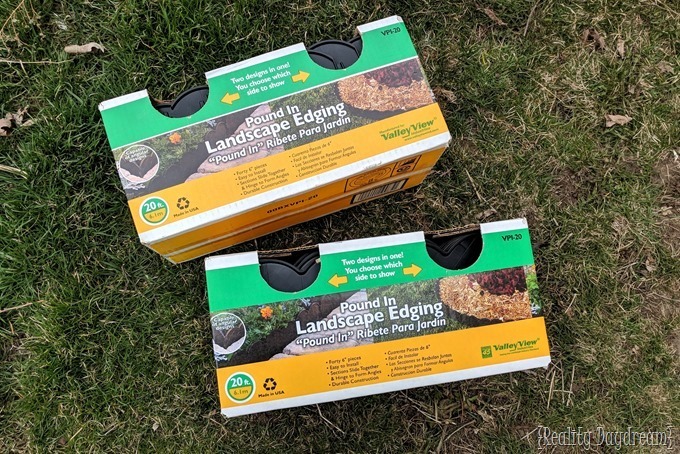
Armed with my volatile sidekick (age 3 is no joke) we ventured to Theisen’s to gather up some mulch, landscape edging, a bird feeder, and lots of pretty plants!
Side note, I almost bought this because it’s AMAZING. But I wasn’t sure it would fit the nature of this project. ![]()

My first order of business was to remove that rock boarder and rusty wirey fence from the edge of the garden, and pound in some landscape edging. The goal is to have crisp edging as well as a little ‘lip’ to keep the mulch from spilling over.

To get a straight line, poke skewers into the ground and tie string to them. Make sure the string is pretty taut so you have a nice straight line to start your edging.

I poured water along the string line to allow the dirt to soften up. Then I pushed a spade in along the line to gently loosen the soil and make it easier to push in the landscape edging.

Push those guys in nice and snug, one at a time. You may need to give a few of them a little tap-tap with a rubber mallet to help them get down in there far enough.

These pieces slide right together and go in surprisingly easy! After I put each one in, I pressed the loose dirt down around it to keep it nice and snug.

Next, I pulled out all the dead weeds and raked out all the dead leaves that had settled in over the winter. And it’s time to throw down some mulch! I chose the Cypress mulch because I loved the color of it, and my youngest daughter is named Cypress!

I had bought two bushes for either side of this flower bed to ‘anchor’ it. And now that I’ve mulched, it’s easier for me to visualize exactly where I want those to go! Since I was wearing flip-flops, I recruited my strong husband to dig a couple holes for me.

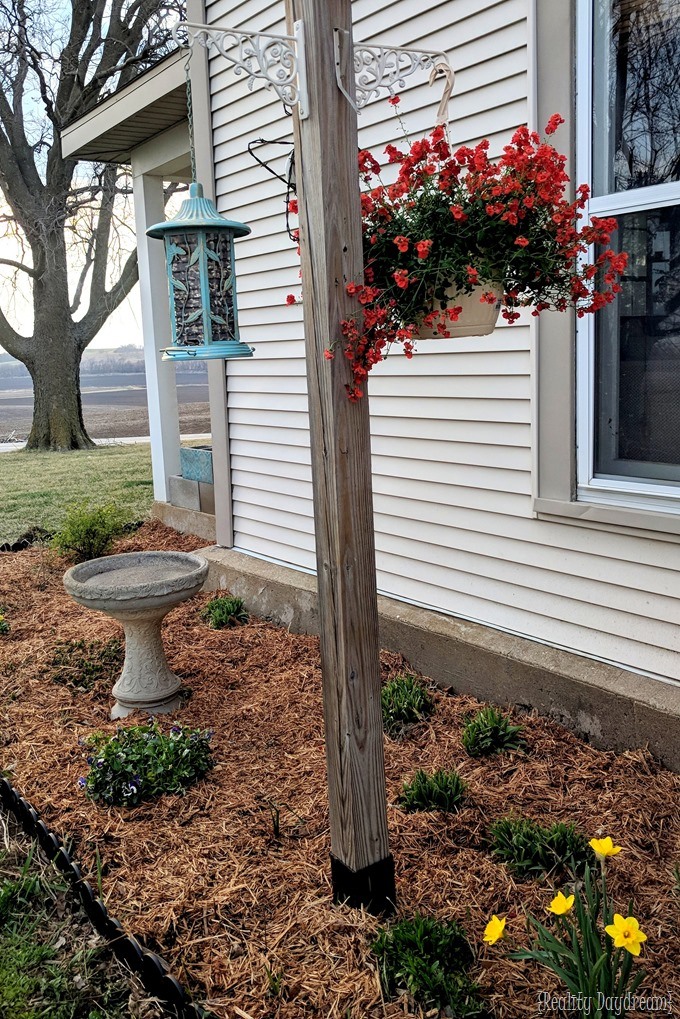
In addition to the shrubs (that will eventually get bigger!), I put in a few pansies I got at Theisen’s garden center, and hung a flowery hanging basket and birdfeeder on the birdhouse rungs. Does anyone know what kind of flowers these are? (below)

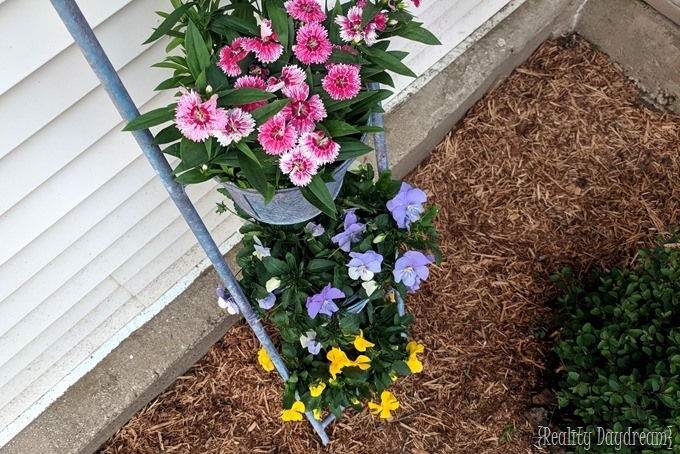
I also found this really cute galvanized metal 3-tier ladder planter that totally gives the garden some extra personality! Theisen’s has a ton of beautiful and unique planters, and it was so much fun browsing through them! My favorites were this one and this one. But I love how this 3-tier planter gives the garden some ‘height’ since for now my plants are still small. We’ve had a really late spring, but those tiger lilies in the back will be taller than me in a couple months!


I can’t wait until all of these plants fill out this spring and summer. I will keep you updated on how things are looking!


Now if only our grass would green up a little bit!

I’m sooooo happy with how this flowerbed turned out, and can’t wait for it to flourish over the summer! I’ll be sure to keep you updated on it’s progress via Instagram Stories, so be sure to follow me there! And huge thanks to Theisen’s for making this process so FUN and simple!
Happy weekend!
~Bethany
~~~~~~~~~~~~~~~~~~~~~
Thanks for pinning


Looks great! I know the feeling all to well. Projects you’ll do someday because it needs to get done. Low and behold it takes all of a day to do. Im finishing a project i started last year. I turned my front yard into a flower garden. I came about your really cool posting because I was trying to figure out how to put the same edging in. You really did an awesome job and the before and after pics are fantastic. Thanks for posting, i think i got it except my edging is going in round.
Thanks Again
Julie Ann
I was thinking Nemesia but Erin might be right. I hate it when the plants don’t have tags!
Right! It’s the worst!
Looks like Diascia. No tag in the plant?
No tag! Isn’t that lame?! 😉
That looks like such a satisfying project. It looks awesome!
It was SO satisfying! I’m ashamed it took me so many years to do something that literally took me an afternoon.