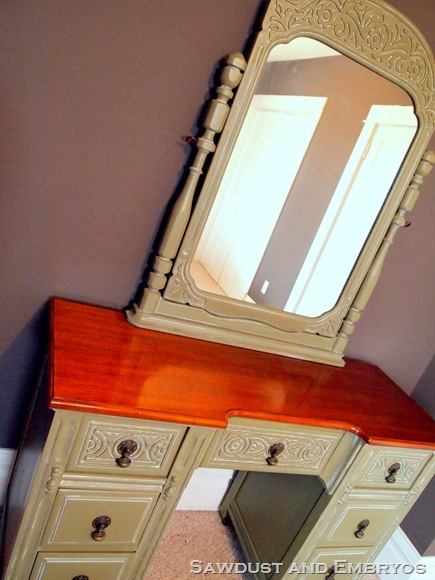
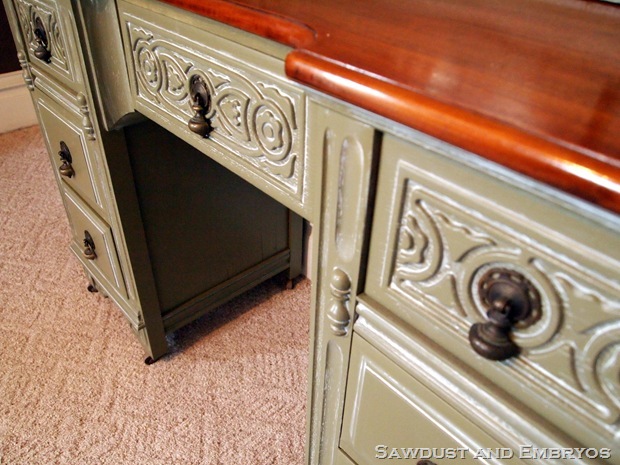
You may or may not remember this vanity transformation that we did a few months back. It wasn’t necessarily meant to have distressed furniture painting techniques. I had tried out ‘white glaze’, and it just looked MEH.
Chances are you DON’T remember it… because it wasn’t very memorable. It wasn’t one of our favorites. Not by a long stretch. You see, we wanted to try the white glazing technique, which is all well and good. And we liked that aspect of the finished product. But the base color, while beautifully creamy and… neutral (this color) was a little TOO neutral, and well… MEH. Some things can only be described as MEH. And that’s likely why you don’t remember this vanity. Let’s look at it together and collectively YAWN:
*this post contains affiliate links
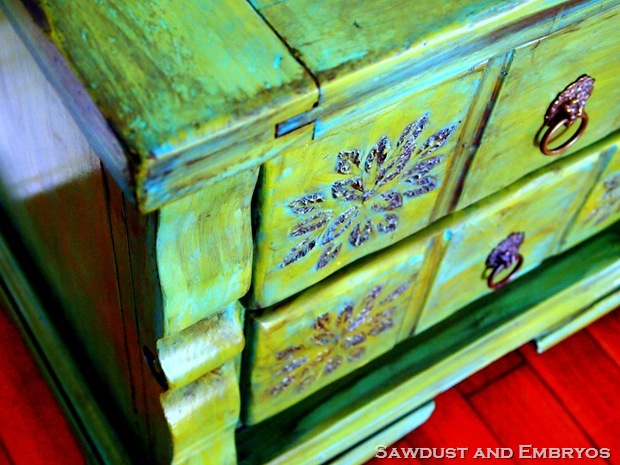
Well, so our client Marcy (whose dining set we’re currently finishing up), had asked us awhile back if she could buy this vanity… only add a little LIFE to it. I think her exact words were ‘it’s a little too tired” and I couldn’t agree more. She wanted us to use this photo as inspiration and distressed furniture painting techniques for the finished look of the vanity. So a few weeks ago, I practiced on this little guy (using the exact technique as the person from the inspiration photo).
Marcy loved it, but she requested that the vanity be a little more blue, and a little less green. My pleasure! That’s why I practice techniques that I’m not familiar with before I apply it to a piece of furniture for a client!
My first thought was, if this vanity is going to be less green than the end table that I practiced on, I should probably start with a not-so-florescent-green-base-color. So naturally I would paint it a more dull neutrally-greeny color. OH WAIT! It’s already a dull neutrally-greeny color. Well snap.
Distressed Furniture Painting Techniques
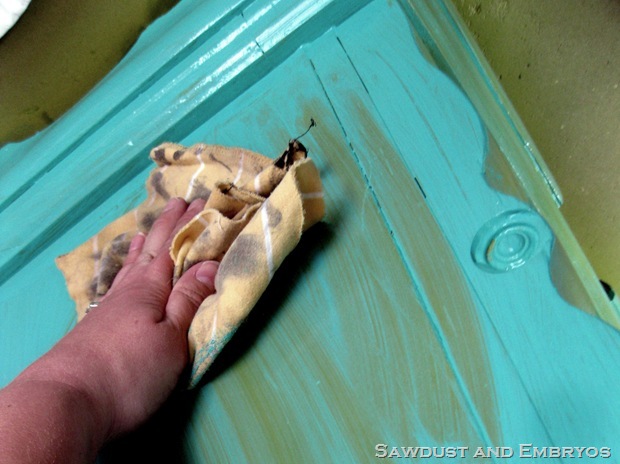
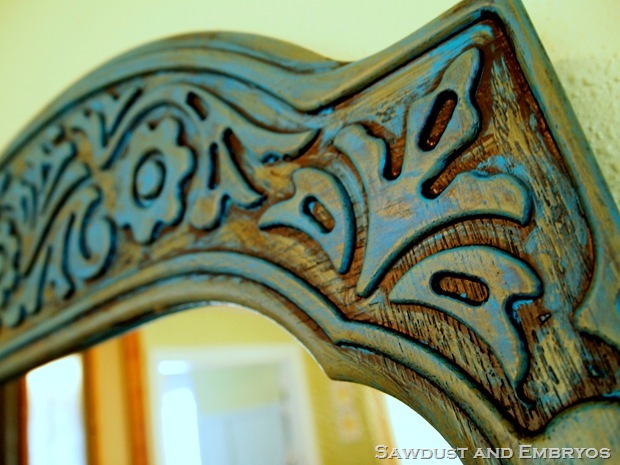
Using the same techniques that I used on the above pictured End Table, I dry-brushed on some turquoise acrylic paint and wiped it around. And then I dry-brushed on some brown glaze and wiped the majority of it off. (See my Glazing Tutorial HERE)
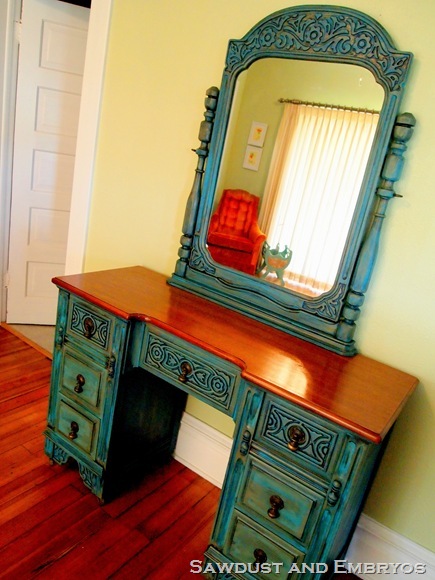
And I was left with this crazy-awesome madness:
I love all the dimension, contrast and layers of this look. Distressed furniture painting techniques are so fun!
And it gave me the perfect rustic turquoise beauty that Marcy was looking for (I HOPE!). It looks pretty darn awesome to ME!
I’ll be using this technique again… promise! FOR SURE.
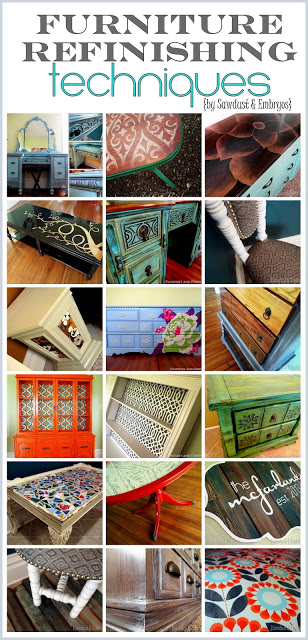
And be sure to check out our other distressed furniture painting techniques, Furniture Transformations and Refinishing Techniques!
As always, thanks for pinning!




This is the most beautiful furniture I’ve ever seen 😍
Thank youuu for sharing 💙
Thank you!! 🙂
How did you make the design thats carved in the wood darker? The reason why I’m asking is, someone asked me to touch up a sign they had hanging up on their patio, which was exposed to the outdoor weather, which made it dull and peeling. So I repainted the background color of the plaque, but I didnt know how to make the design (thats carved in) a darker color than the background without it looking unnatural. The Original colors were like an antique white stained wood, and the design was a dark wood color. I dont know if I explained it well, but do you think you could give me some advice please? I desperately need some help? ????
Hey Cristy! I have a really easy fix for that! It’s called ‘Glazing’! I’ll post a link for you below. SOmetimes technique glaze is hard to find in stores, but it’s worth noting that wood stain works for this too! Just be aware that if the paint layer below is a matte finish, it will stain the paint as well… not just in the cracks and crevices. But if the paint finish is satin or semi-gloss, it wipes off the paint pretty easy. Here’s that link!
https://realitydaydream.com/furniture-glazing-tutorial/
Thank you so much for sharing. You two do awesome work! This was my inspiration piece for a recently completed project. Your blog so fun and informative to read. Keep up the good work!
Would you recommend this method on a piece without much detailing? Something with more plain smooth surfaces?
Yes I think it would still look great! It won’t have as much depth without the decorative crevices, but it will still be awesome. Send pics when you’re done!
wow, it looks really beautiful after the paint job. I wish I could find a good piece like this! My search continues…
Batty4Beauty.com
Love this piece! I am curious as to why you used acrylic paint? I love the way this turned out with all colors showing through. did you do any sanding to get the neutral color to peek through? Im going to play around with the gLazing! love it!
I just read your tutorial. I got it!;) Thanks for your awesome blog!!
Why thank you! We almost always use the original hardware for pieces. That’s part of why I LOVE older furniture! Why don’t they make awesome hardware anymore. People would buy it, I’m sure! This particular piece DOES have stunning hardware… my favorite so far I think!
Where DO you find your hardware?? They always look like originals from old pieces, but…you have to have a TON of old pieces..and, while maybe you DO, maybe it’s from some super secret fabulous store I’ve never heard of?? Menards?? LOL?? Really where!?
:o) GORGEOUS!!
It looks so good on your hardwood floor
You’re furniture projects are incredible! Your blog was recommended to me by one of your readers so I’m glad I stopped by to become a follower. I am an Iowa blogger also so it is fun to connect!
I’ll just comment what I just said out loud… “Holy buckets! That’s sweet!” LOVE it!!!!
Ummm, oh yeah!!
I have to say that definitely adds to the character of the vanity. Much cuter!
Much better this time around! Added a nice little zing to the finished product. Love it!