Putting up wallpaper with wallpaper paste can be intimidating, but I’m sharing alllll the details, tips, and tricks (including links to the tools I used) in this post because I loooooove you.
Having a giant historic home that needs SO MUCH WORK, it’s difficult to try and decide what is a priority and what can wait.
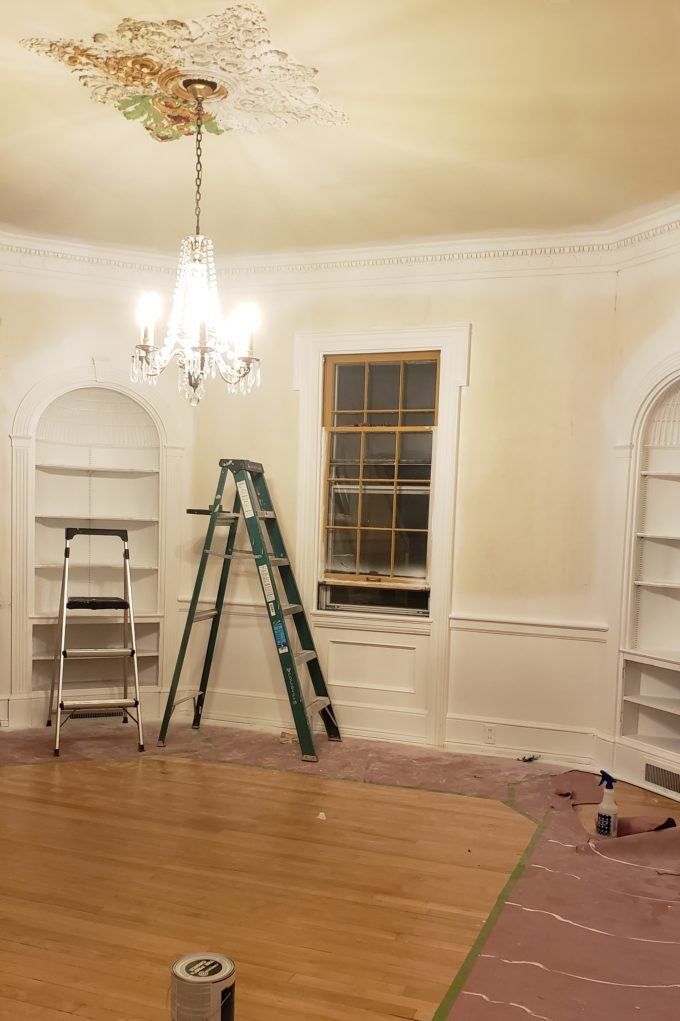
Our dining room needs some major cosmetic work, but it’s just that: COSMETIC. So other rooms and projects have taken a priority.
Meanwhile, I can’t STAND this room. And we eat dinner here every night.

Not only is it mustard yellow and burgundy, it’s also on the north side of the house and only has one window that gets zero direct sunlight since it’s north facing. It is THE MOST DREARY OF ROOMS.
And, since this room is ‘nothing special’ yet, it ends up being a dumping zone for all types of crap.

About a month ago, since Nick had a work trip coming up, I started planning and plotting to tackle this room while he was gone.
I’ve been wanting to wallpaper a room for quite awhile, so when Walls Republic reached out about partnering, THE STARS ALIGNED. And I found thee most perfect wallpaper.

*This post is sponsored by Walls Republic. Thank you for supporting the fabulous brands that make Reality Daydream possible! This post contains affiliate links.*
I looooove the Monstera leaves, and the color palatte. And I could tell it would be light enough to keep the room feeling bright (especially after all the trim gets painted white)!
As SOON as Nick walked out the door, the girls and I got to work emptying this room and removing the doors from the built-ins. The girls were just as excited about this project as I was!!

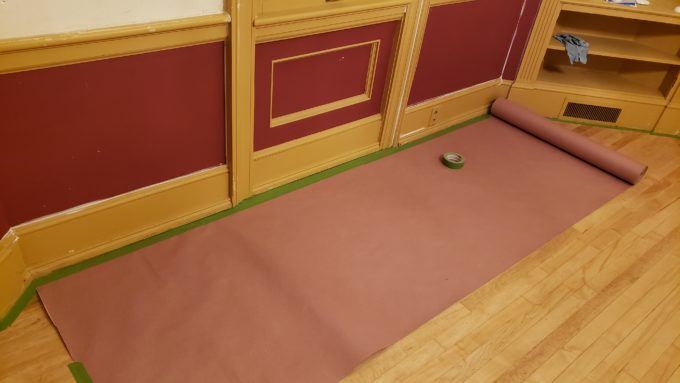
I used a roll of resin paper to protect the floors, and taped around the floorboards. The prepping phase is the least fun, but it’s always worth it!
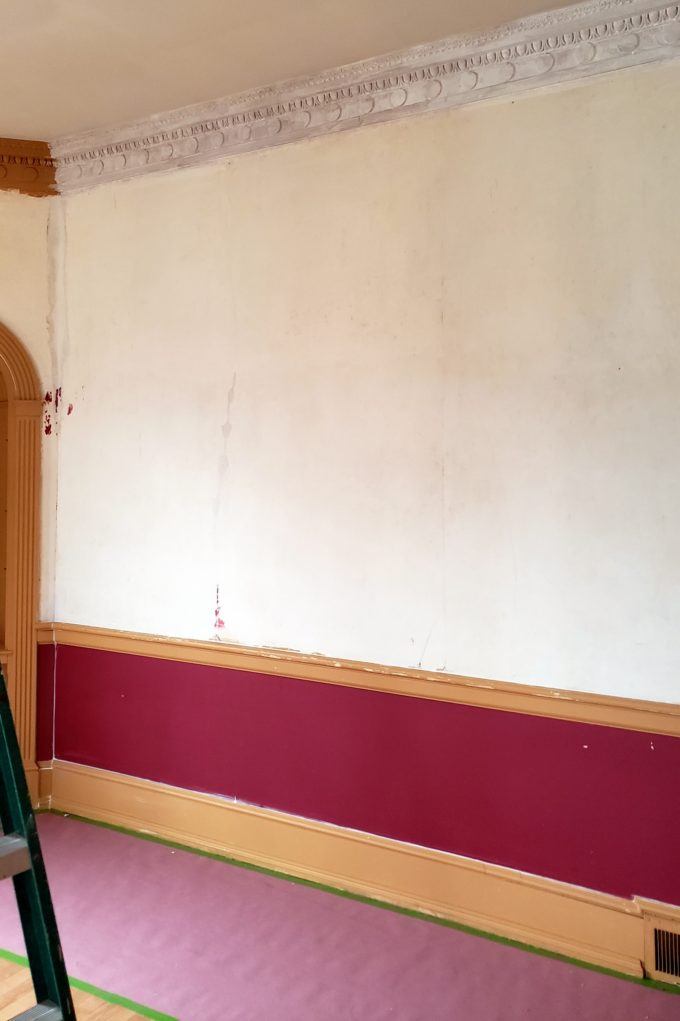
I went around the chair rail with a putty knife and scraped off all the wallpaper paste and goobers from removing the old wallpaper. I also wiped down alllll the trim and walls to get rid of any dust or oils so that the paint would be as durable as possible.
There were SO MANY places where the trim was pulling away from the wall and leaving gaping cracks. My parents stopped by for a visit that day, so my dad helped me caulk all the cracks. WHAT A DIFFERENCE THAT MADE!

Finally, it’s time to paint! We do have a paint gun, but Nick is usually the one that uses it, and he’s known for leaving pieces of it all over the house, garage, basement, etc after each use. So rather that blow my cover by calling him to help locate all the pieces, I decided to just brush paint all the trim.
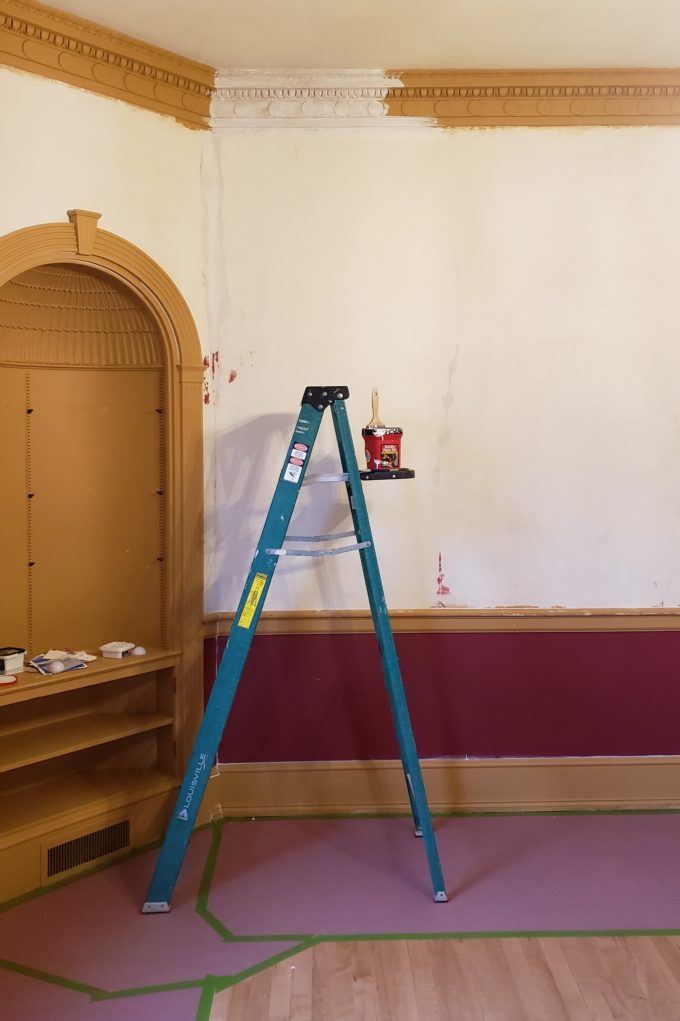
It didn’t take me long to realize that this would take WEEKS to paint by hand. Just this one wall of crown moulding took me 5 hours for two coats (and it still needed more coats).
In desperation, I concocted a plan. I texted Nick and told him that a friend of ours was wanting to borrow our paint gun for a project. There was a lot of back and forth about where the pieces were and such, and we even had to FaceTime at one point. But it was all in the name of preparing the paint gun ‘for a friend’!
This is the Graco TC Pro Cordless Paint Gun. And it SAVED THE DAY.
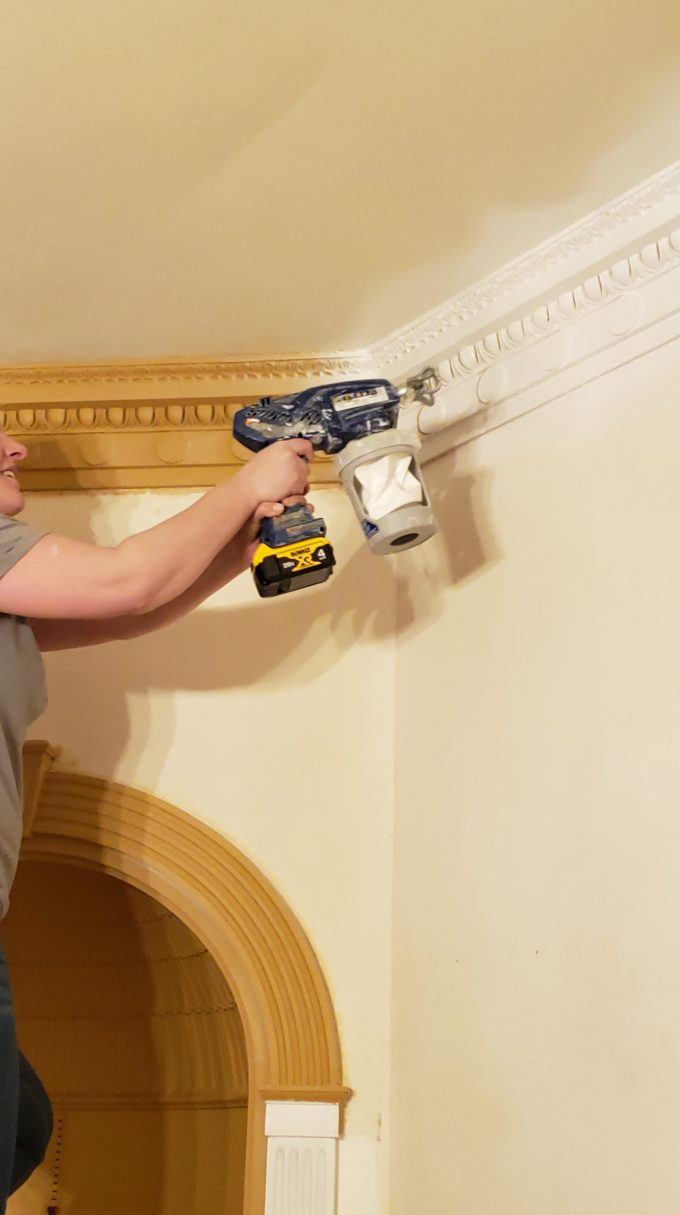
My friend Dana came over to help, and we had this room completely painted in about a half hour. It also helped that we switched paint to Dutch Boy Platinum Plus which has SUCH good coverage. We only needed one coat.
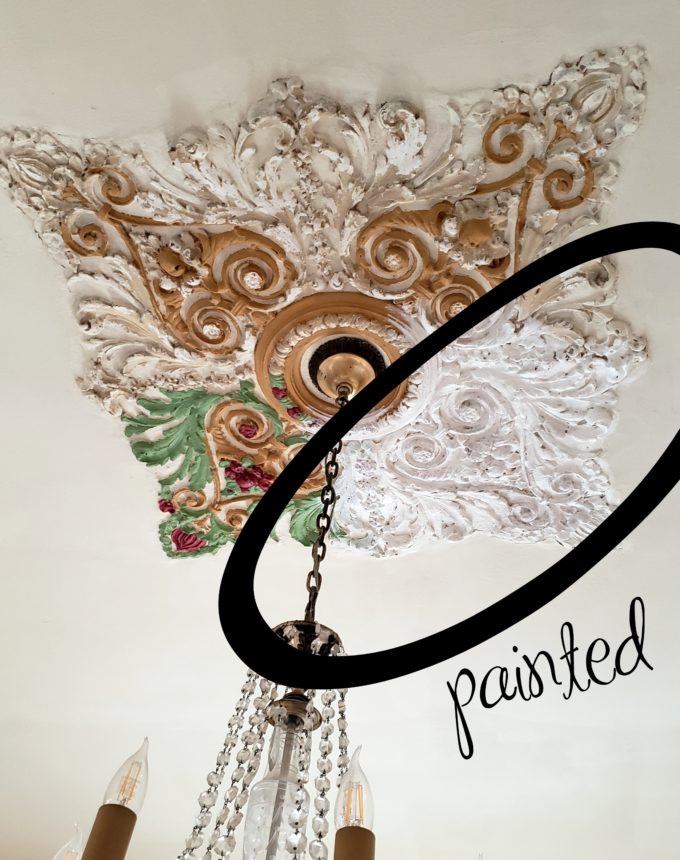
My friends Brianna and Katie stopped by and helped me with touchup and painting that derrrn ceiling medallion. What a difference! This ceiling medallion is plaster and is original to the house. I LOVE it.
Are you guys ready to get to this wallpaper tutorial? Because BOY do I have a lot of tips and tricks to share!

Let’s start with a supply list, shall we?
Supplies for putting up Wallpaper with Wallpaper Paste
- Wallpaper
- Wallpaper Paste (I used almost 2 gallons for this room)
- Razor Blade (I used my new Fiskars knife)
- Smoothing tool
- Seam Roller
- Paste Brush
- Small level
- Scissors
- Measuring tape
- Long folding table
- Wet washcloths
Everything I know about wallpapering, I learned from my friend’s mom, Pam. She came and helped me, and is truly the queen of wallpapering. Let’s just say this isn’t her first rodeo.

But let’s start at the beginning, shall we?
The very first strip of paper, just measure the length of the wall, and give yourself and extra 6″ or so on each end. But for the subsequent strips after that, you have to make sure that the repeat lines up. If you have a patterned paper like we do, you can just count how many of a certain leaf you have, and make sure that the strip you cut will line up perfectly (plus 6″ on either end). There will be scraps you won’t use, but SAVE THEM! They’ll come in handy eventually, I promise.
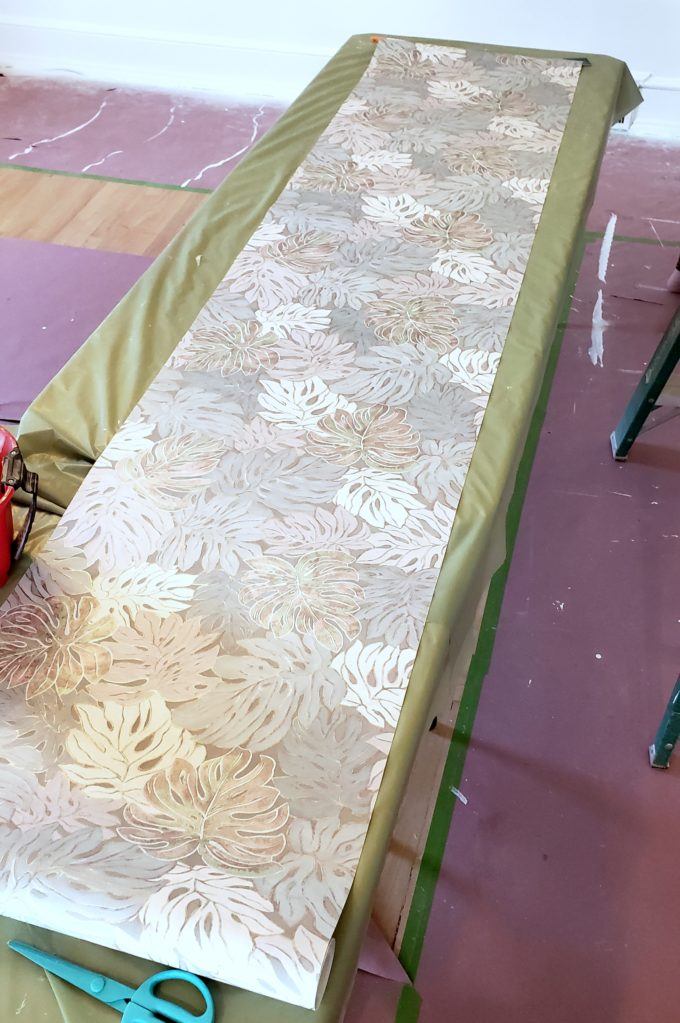
Having a folding table makes this process so much easier. Can you imagine bending down to the floor the whole time?
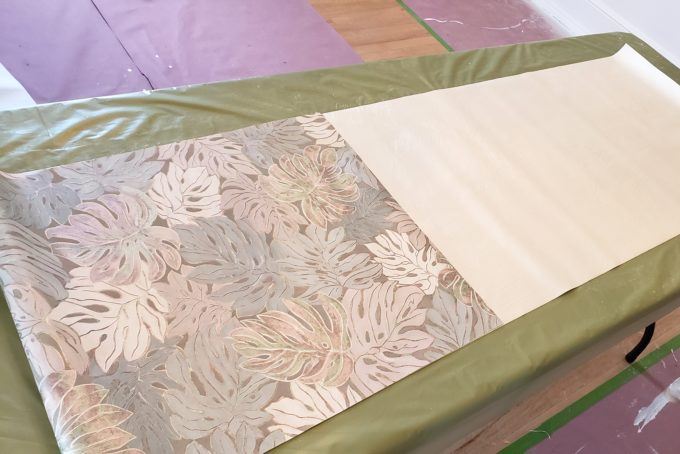
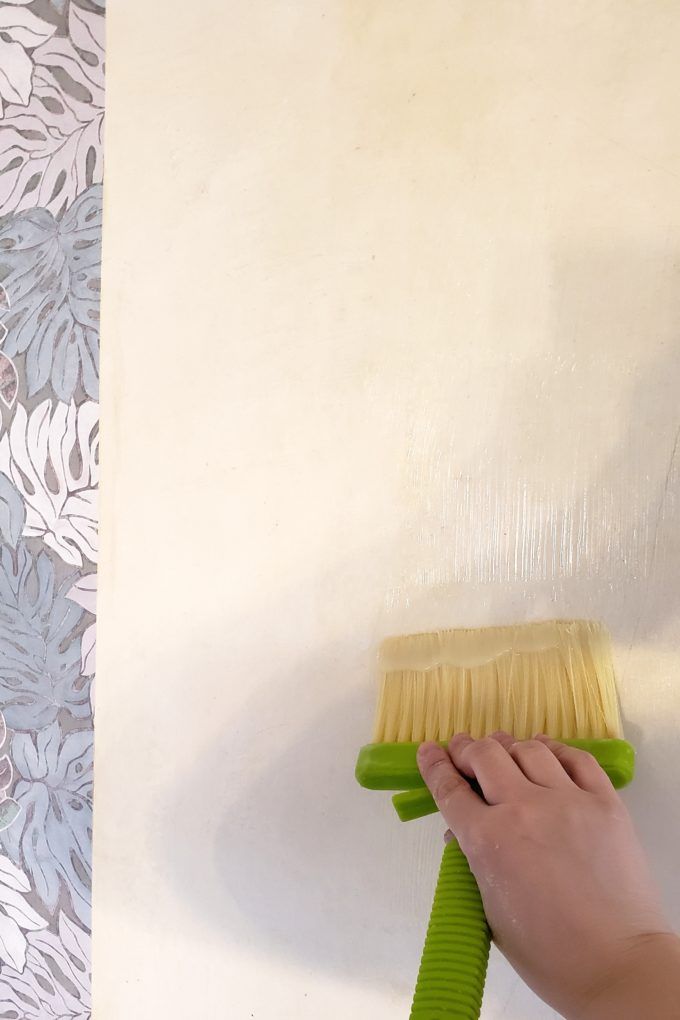
Anyway, once your strip is cut to the right length, flip it over and start slopping the wallpaper paste on with your brush! It’s ok to really load up your brush with paste, because it’s easy to spread it around until it’s a thin layer. Make sure you get all the way to the edges!

Once you have good coverage on your wallpaper strip, fold each end in toward the center. This will allow the wallpaper to soften while you’re doing the next step!

If your walls are painted, you can skip this next step. but because our walls are raw plaster (ala 1932), the would soak up the plaster and not create a good strong hold with the wallpaper. So we brushed a coat of the wallpaper paste on the wall as well for maximum adhesion!
Now we’re ready to put our strip of wallpaper up! Pam taught me that it helps to have the top side of the wallpaper on the same side of the table at all times to help you remember. Go ahead and peal back the top side of the strip on your table, leaving the bottom half still folded.
Then climb your ladder, line up the pattern, and press into place!

You can start smoothing it out a little with your scraper tool, but before you get too far, you’ll want to check and make sure your strip is level. Even if it’s off a tiny biy, you need to reposition so things don’t continue to get more and more off as you go!

If it’s off a little, just simply peal it off and reposition! Once you have it perfect on top, you can peal down the bottom half of the strip, and smooth it into place. Use your smoother tool to squeeze out any excess paste. Be sure to push away from the seam. Scrape off any excess paste, and wipe the edges with a wet cloth. Use your seam roller on both sides to really press the edges down. If you find that there’s a spot that needs more past, just use your finger to put a little more under the edges.
Use your scissors to cut off the majority of the excess at the top and bottom of your strip. Then press the smoother right up into that corner to crease it, and then slice it with your sharp razor. Try to make it as straight as possible! I forgot to take a picture of the actual slicing, but here’s a pic of it ready for slicing.


This whole process is SO FUN!!
We made our way around the room, adding one strip of wallpaper at a time! My friend Lindsay (Pam’s daughter) came and helped the next day too!

I feel like I should address the elephant in the room… there will be strips that need to go around doors and windows.
You will still cut a full strip and put it up along the ceiling as you would if there were no ‘obstructions’. Then, use scissors or your razor to cut off excess so you can start to smooth your wallpaper into place around the door/window trim, and use the smoother to smooth and press the wallpaper into place. Then cut off the excess!

If I can do that around these rounded built-in corner shelves, then SO CAN YOU!
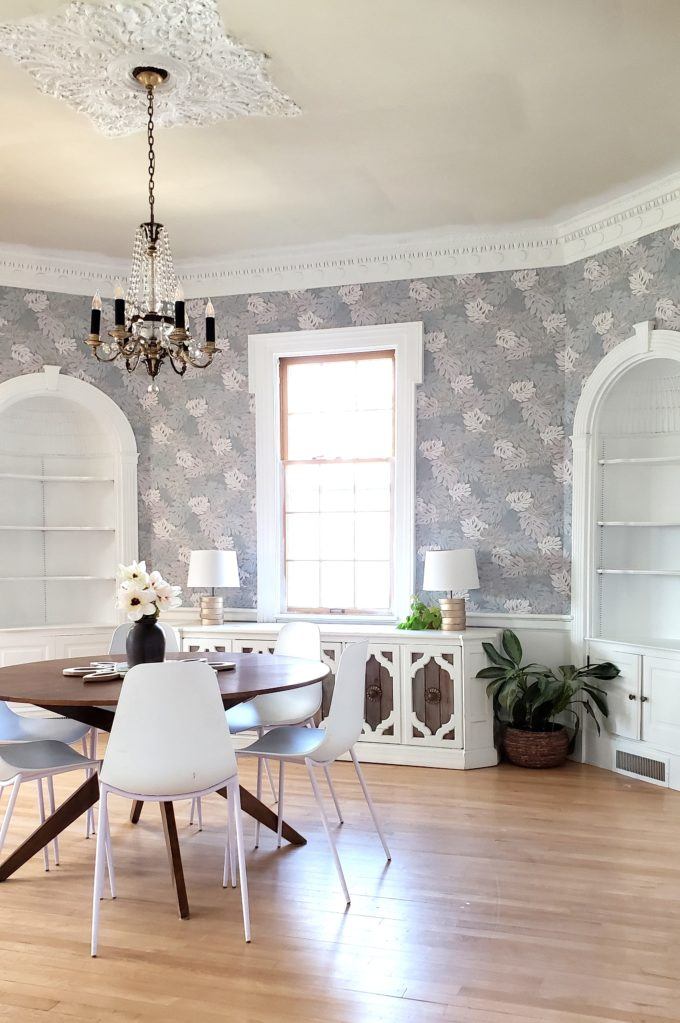
Oh! You noticed that the chandelier looks a little less… ancient? I cleaned it! And removed some of the dangly crystals! And painted the candlesticks black!
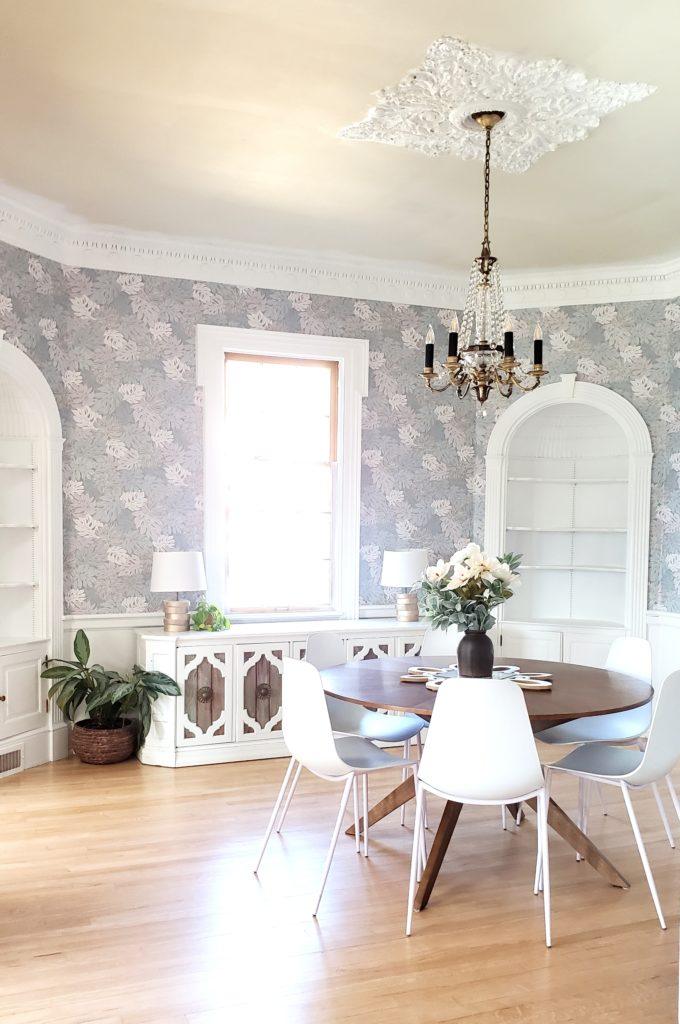
The ceiling still needs to be painted, but I’m trying to decide if I want it white, or a color. Maybe a pale blue or lavender pulled from the colors in the wallpaper?
I think I’ll wait until the new table and rug are in place to make that decision (coming soon)!
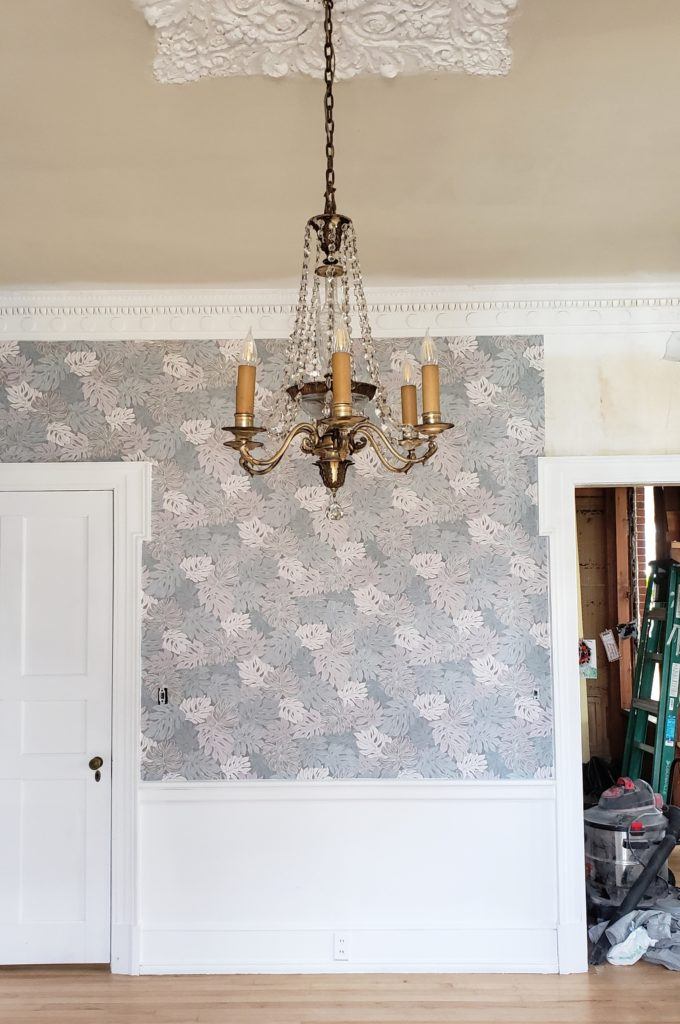
Isn’t this a CRAZY before and after?


I have to add that this wallpaper by Walls Republic is sooooo high quality and easy to work with. Even Pam, who has wallpapered with a LOT of different brands over the years, was SO IMPRESSED with how easy this wallpaper was to work with, and how beautiful and vibrant the print is.

Obviously I still need to paint the mullions on the window (they’re still mustard – GROSS), and figure out how I’m going to style those corner shelves. But I’m SO HAPPY with the progress in this room! And Nick was semi-surprised/excited to see it when he got home from his trip.
If you want to watch the whole thing unfold in real time, I documented the whole process in my Stories on Instagram and saved it to a highlight on my profile. Actually two highlights… called ‘Dining Room‘ and ‘Dining Room2‘.
Bethany
P.S! If you want to see the story of how we found this home and why we bought it (and see some CRAZY pics of what it looked like when we moved in), click HERE!
~~~~~~~~~~~~~~~~~~~~~
Thanks for pinning!

Related:
-

I've had this idea in the back of my mind for quite awhile... why not…
-

We love the original wood of our library, and wanted to find a desk that…
-

This is a sponsored post written by me on behalf of Masonite Doors. All opinions…
This is one of the best postings I have ever read on wallpapering!
Beautiful transformation!
Awesome work! I love this design and highly appreciate. Thanks for share this amazing wallpaper paste idea with us.
Wow, it looks amazing! Such a difference. I love the idea of a pale lavender ceiling; that would be so pretty.
What a difference! Looks so much brighter.
Oh my!!! The dining room turned out beautifully!! I love wallpaper and happy it’s coming back into vogue!!
EEEEEEEEK!!! IT’S SO GORGEOUS!!!!!!
Excellent pattern, excellent job done excellenty (that’s a word, …now)
Such a pretty room!!! Way to vision it s’ potential & transform it!!
This is an absolutely AMAZING TRANSFORMATION!
Bethany, you are such an inspiring woman. The reality of life…of the messes, the kids and the time they take…the preciousness of that time..and the weariness that overcomes all moms! You just blow me away with your insights and encouragements. And your remarkable sense of humor! It permeates your honest yet sometimes hilarious posts! (Outlets anyone?)
Anyway….. keep on keepin on. And YOUR TALENT, GIRL!
PS. I am still holding out for a song one day. Can’t wait to see the stage finished in your new, gorgeous basement rec room. ??✌️