Oh man… I know I told you guys I was planning to post the after-pics of our dining chairs by the end of last week. But then I got violently ill, and then it was the weekend. Sooooo. Sorry! I’m better now! And so are these chairs!
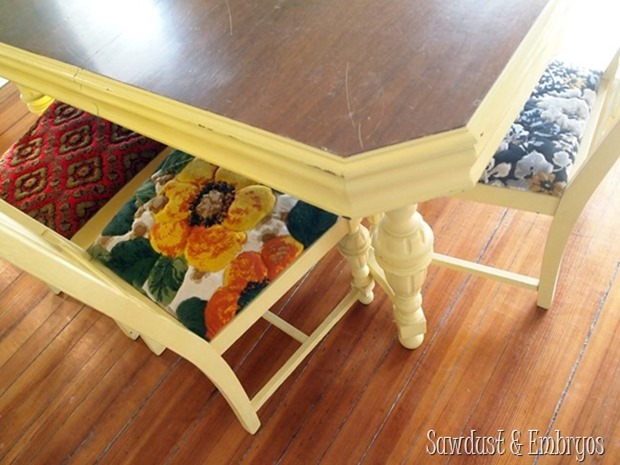
Do you recall how they started out when we first received this set from my Grandmother??
The mismatched vintage fabric and bright yellow paint is endearing in it’s own way, but it just didn’t go with the flow of our home. And you KNOW I can’t just leave things as-is!
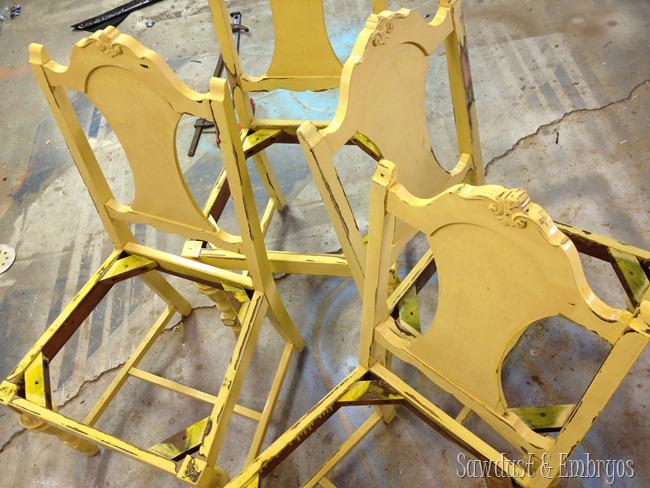
We showed you last week how we reinforced each chair to be more stable and secure (that post here), and sanded off the glossy-ness of the yellow paint to prepare them to be repainted.
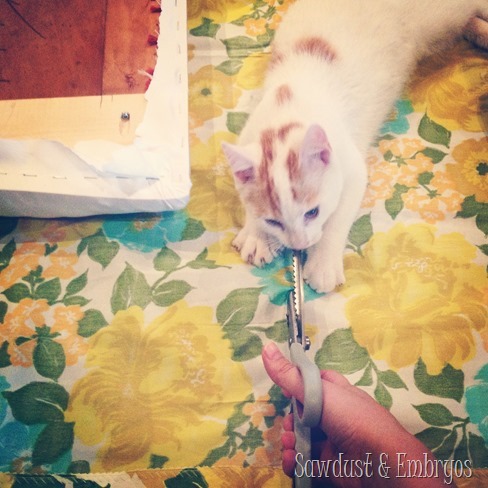
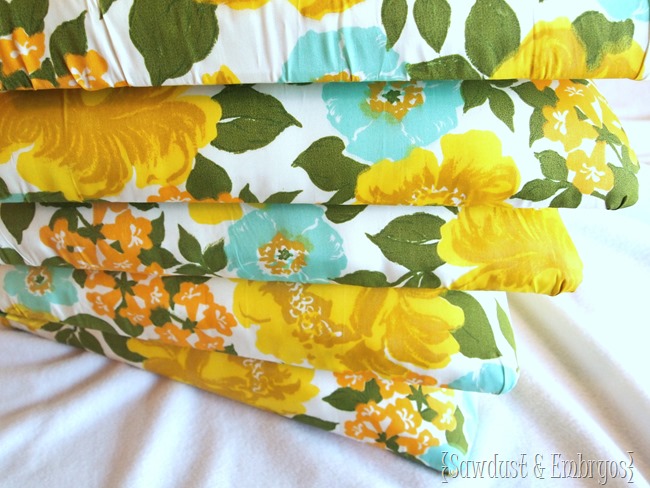
And if you follow on instagram, you may have guessed that we’re using this (also vintage) fabric to reupholster the cushions!
Nick was skeptical. And I know you are too.
I had a vision of using mint and gold as accents in the dining room, so I went to Etsy and did a search for ‘Vintage Floral Mint Fabric’… and would you believe there were thousands of search results? I didn’t have anything specific in mind that I was looking for. Just browsing. But when I saw this fabric, I knew we were meant to be together.
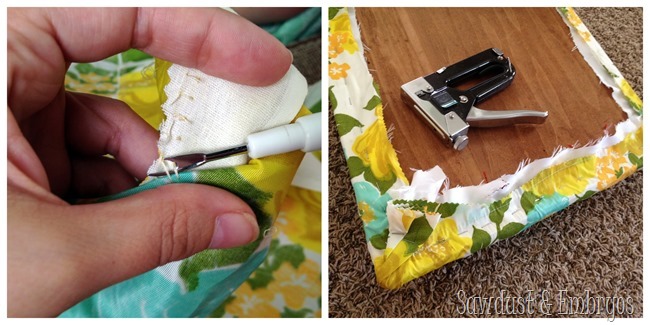
It’s actually two curtain panels. And I paid $50 total… which is pretty fantastic since it’s genuine vintage! I had to do some seam-ripping in order to have enough to upholster all 6 chairs, but it worked out perfectly!
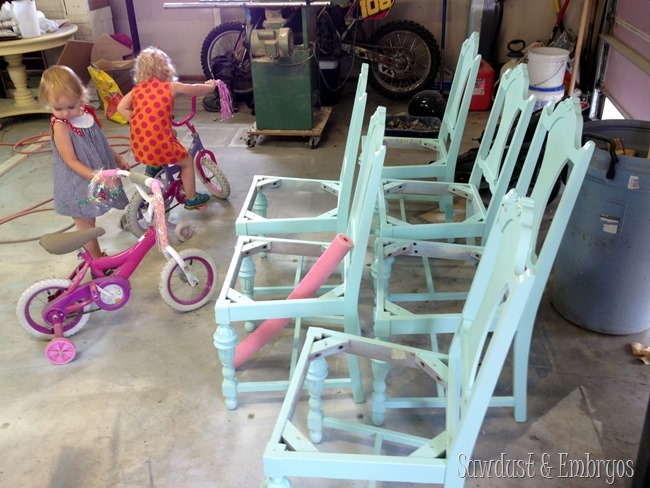
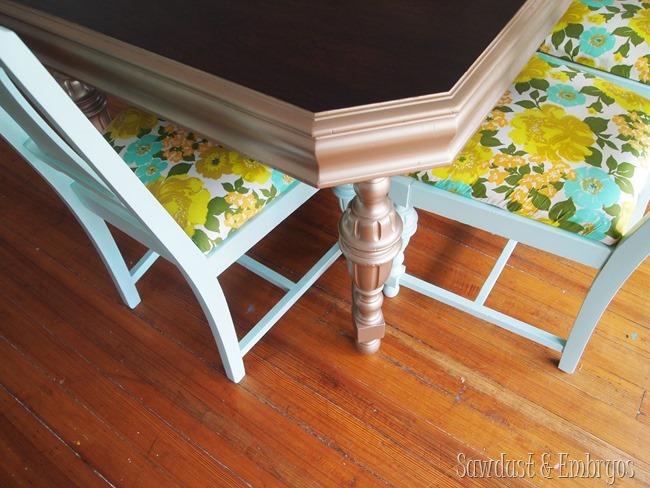
Meanwhile, Nick did the fumey work (in the interest of Baby Sy’s brain development) of painting the chairs with the paint gun. We went with the same minty color we used on this desk (Sherwin Williams ‘Waterscape’) because we love it so much. And because it was the perfect muted version of the mint flower in the fabric.
Here’s a very ‘real life’ pic of the chairs in the garage. Isn’t the pool noodle a great accent?
After a couple coats of paint, we sealed with Rustoleum Ultimate Polyurethane… which is actually water-based, so it doesn’t have a yellowish tint!
We haven’t added the clear plastic to the the chair cushions yet (like we did here), because we’re wanting to research some other fabric-protecting options this time around. You know we’ll keep you posted! Until then, we won’t be having spaghetti for dinner with the food fights that happen around here. Oh wait, that’s just what it looks like after our two tiny spawns are done eating.
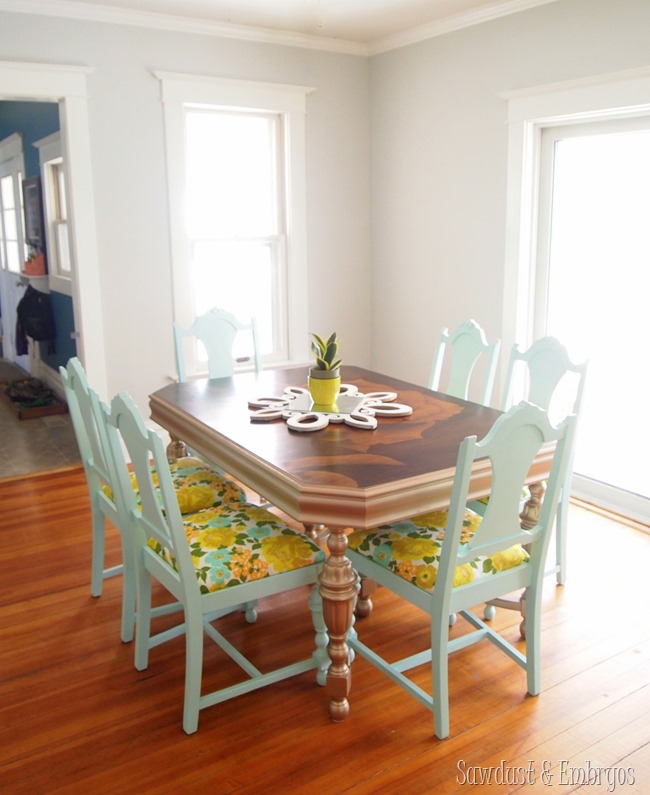
We ended up pulling up the painted linoleum rug because the pattern was tooooo busy paired with that big floral print, so I’m going to have to repaint it! Good thing it’s such a simple fix… rather than paying for a NEW 6×9 area rug. Those suckers are expensive!
I’m proud to report that Nick is loving this look and how the dining room is coming together! Though I’m thinking some of you are still not loving the vintage fabric I chose for the cushions because it reminds you of that horrific wallpaper in your kitchen back in the 70’s… and to you I say: GREAT NEWS! You can just sit back and be glad these chairs are in my house and not yours, right?! Right. And knowing how often I like to change things out, it will likely not stay like this for long. Upholstered dining cushions are one of those amazing things that are easy to change for a new pop of color or pattern when the mood strikes.
In this room, we still plan on:
- hanging curtains on the window and sliding glass door (likely a solid color because of the busyness of the chair cushions)
- repainting a linolium area rug for under the dining table
- Designing/rehanging the gallery wall above the credenza
- Installing recessed lighting
If you haven’t already, be sure to check out these other DIY updates we’ve made in our dining room recently!




hi just wanted to say from lil old new zealand that you are my FAV blog on both counts of sawdust AND embryos … and i really need your help!! i have a queen anne china cabinet and a queen anne duchess and mirror and im officially stuck on what colour to do it!!???
@Carrie,
I totally agree with you. Don’t like that table with the chairs.
I love the chairs! And the fabric! I used the Thompsons fabric spray and love it!
Ashley, did you use Thompsons on your dining chairs? How does it hold up to things like ground-in spaghetti?!
I love the fabric! 🙂
Ok I love the chairs. Love the table. Loving them together ….not so much. Wondering if it is my monitor?? They seem like radically different styles. What am I missing?
Carrie… it’s ok! We knew it wouldn’t be for everyone! Part of our design ‘style’ is being eclectic and ‘brave’ with things we try! We love mixing and matching different styles and era’s… or industrial / vintage looks
LOVE the vintage fabric. Hope you pick a yellow for curtains! And as for fabric protection, I had a couch set treated with a Teflon product right at the furniture store (they charged an extra $80) before I had my 3 boys, and I must tell you that it repelled orange pop, popsicle drips, etc… for years! When they demonstrated it in-house, the salesperson made a funnel out of a treated Kleenex tissue and poured Coke into it! Not only did it not leak through, but after pouring it back out and sponging the tissue with another tissue, it didn’t stain!.You can now get Teflon treated fabric (also UV protected) for blinds and such. Enjoying your posts. Rest lots and feel better.
That is fascinating! We need to look into that!
Sooo pretty! 🙂
Try this new product called “Never Wet” by Rusteoleum. I saw it on FB and I was blown away! It should work wonders on the chair with kids. Anxious to hear your thoughts on this new product.
We’re totally looking into Never Wet Sheri! Great minds think alike!
If you use the Thompson Water Seal be sure to let us know what you think. I’m wondering about using it on some outside cushions.
I personally love the chairs! Love the color, love the fabric. You did great!
We hadn’t thought of Thompsons… thanks for the suggestion! And I’m glad you love the chairs! 😉
Girl, you gotta get some of this. I haven’t used it yet (still need to find fabric, and use your chair reinforcements). I got this tip from a blogger (:( can’t remember who right now), and it will come home with our fabric.
http://www.lowes.com/ProductDisplay?catalogId=10051&catalogId=10051&langId=-1&langId=-1&productId=4634321&partNumber=478188-8-TH.010502-18&storeId=10151&N=0&N=0
Ooo definitely going to try! Thanks for the link!
Wait…Did I blink and miss a previous post or mention in this post on what color you painted the table base? Is it a gold? Maybe that is a post for another day?
(Chairs look great)
Bridey, we didn’t have a dedicated post to the new dining table color, so don’t feel bad! We mentioned it in the post about the stained flower on the top surface of the table. The actual paint color is Modern Masters ‘Warm Silver’, which obviously translates to a muted gold. We love it! Here’s the link to that post: https://realitydaydream.com/2014/06/shading-with-stain-a-video-tutorial.html