Good Afternoon! My name is Nick and I am a crown-aholic. Today I would like to talk to you about my obsessive crown molding disorder.
It started with the ceiling (part 1), then the all consuming powers of the crown found it’s way into the shelving; I just can’t get enough crown. I find myself craving things like Burger King and Crown Royal. What is happening? What is next… the dining area, hallway, and kitchen cabinets? SO many things to crown… so little time.
Yesterday we talked about crown molding and creating precise inside corners. Today I want to share with you how to build a crowned shelf, outside corners and then we will break down the cost of installing crown molding. It’s cheaper than you probably think!
We started be measuring the area for the shelf and purchasing some 1X4’s.
Tip: Last year I found that I could save about 50% on the 1X4’s by switching to a standard grade instead of a quality grade. The difference is that the standard grade might have a few more knots and the edges might have some bark left on them. Since these will be painted and we have a full understanding of what will and won’t work for this project the minor imperfections didn’t matter. I have also found that the actual quality or straightness of these boards are often better than the quality brand, in the most part because they haven’t been picked over.
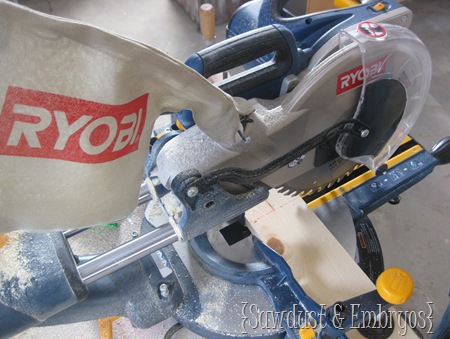
Once we got the lumber home and acclimated, we started cutting the boards for the shelf to length. I have loved playing around with this new saw that RYOBI provided us!
Like I mentioned yesterday, it has quick-set angles that click into place at 90*, 45*, 30*, 22.5*, and 15* so it is fast and easy to set when cutting angles. After cutting each board I would check the fit and mark it for it’s desired location (i.e. north wall, south wall, etc).
Knowing that we wanted the edges round with a groove in the top (to keep picture frames from sliding off), I marked where those would be on the board. Don’t skip this step, it is to easy to get disoriented… trust me, I KNOW!
 |
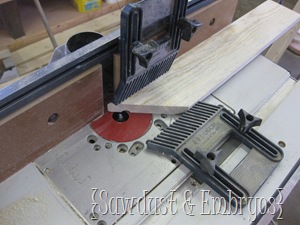 |
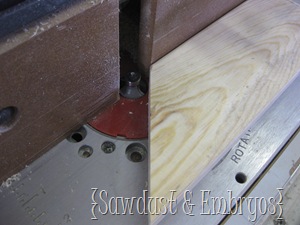
Set the routing table up; rounding the front corners w/ a 1/4” half round bit, Then we reset everything to use a 3/8 rounded grooving bit.
Note: Anytime you are working with something that has the potential to kick back, use your feather boards (blue clamp things in right picture) and a push stick. We care about your safety and… fingers! Besides, using the feather boards provided a consistent pressure across the work piece giving you a smoother more uniform cut.
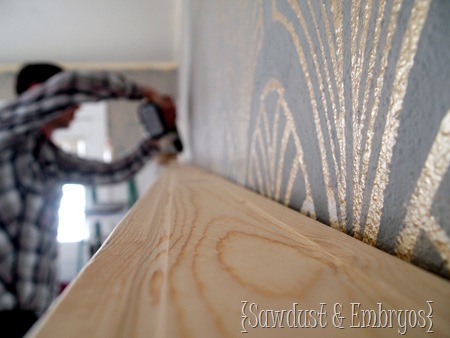
Alright! Lets get this shelf up! Installing the shelf is pretty self explanatory, since each piece has been test fitted and marked, Riiight? Put the shelf on top of the board and batten, drill a pilot hole slightly smaller than the screw and screw it to the board and batten. I used 1 1/4” construction screws spaced about 16” apart for this.
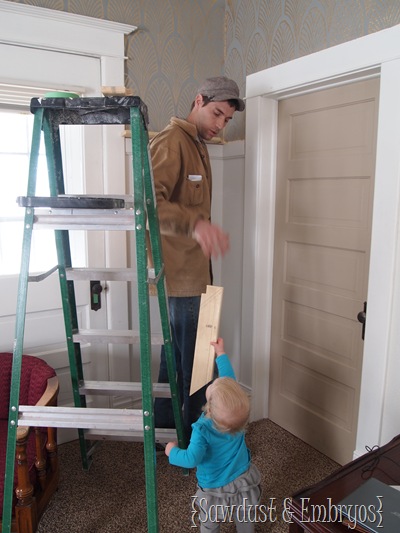
Paisley even helped. Watch out fella’s these girls might just turn out to be master craftsmen (craftsWOmen?).
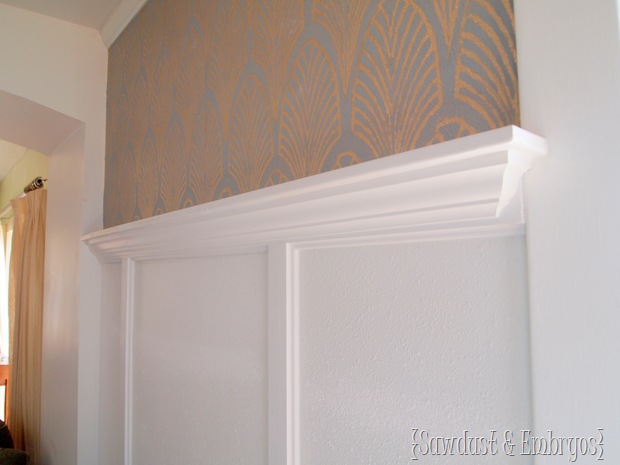
Shelving? Check!
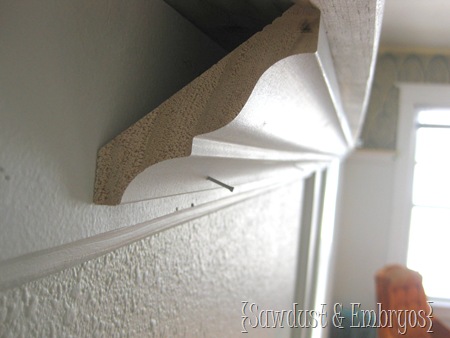
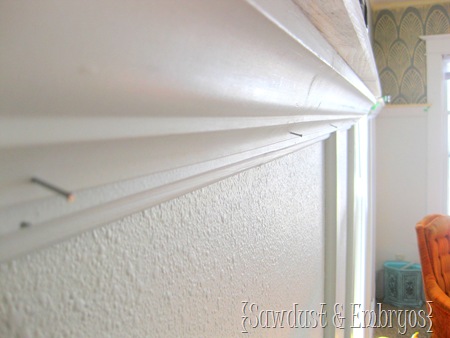
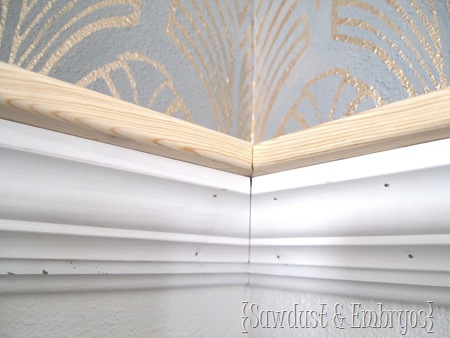
Now, let’s get our crown on! Cutting and installing this crown is going to be very similar to our previous post on crown molding, but remember when cutting a inside corner the bottom will point to the corner and on a outside corner the top will point to the corner.
Because we will be installing directly to the board and batten and the shelf we will not be needing the backer boards we put up for the ceiling.
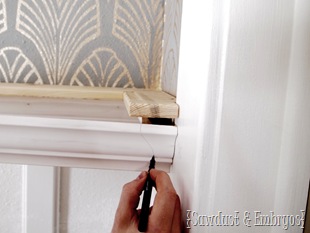
The Install: Now that this piece has been cut to size, I held it up and drilled some pilot holes. I am using 1” brad nails for the bottom nail and 4d finish nails for the top nail. I like to start the with the bottom nails tap them in a little and then stand back and check for straightness. It also helps to use a use a chalk line or to draw a line where the bottom should be. Then I nail them in and set them with a nail set.
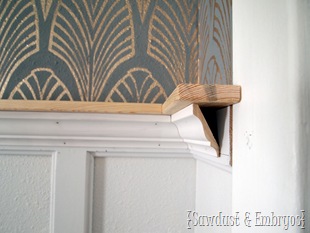
Because no two pieces of wood are the same, I like to cut my corners out of one piece of trim. Granted you have to determine where you want your seams, and this worked out well for these shorter corner pieces.
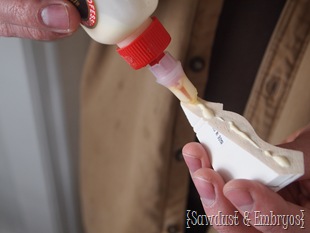
As mentioned yesterday, you will save yourself a lot of headache if you mark the angles you need each time before cutting. Every time I thought I had it down I would skip this step, mis-cut! We glued these end pieces into place using tape to hold them into place until the glue was dry.
 |
 |
 |
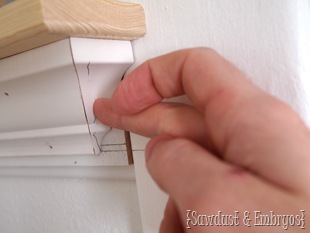 |
After things have cured and the tape has been removed, work a little glue into the outside corner’s seam and rub it with the side of a nail or something smooth this will push wood fibers into the seam making it appear seamless!
Now that your shelf is fully crowned, it is time to do the load test. You know they will be climbing up here some day. You don’t really need to find a toddler by the way. This was just for fun!
 |
 |
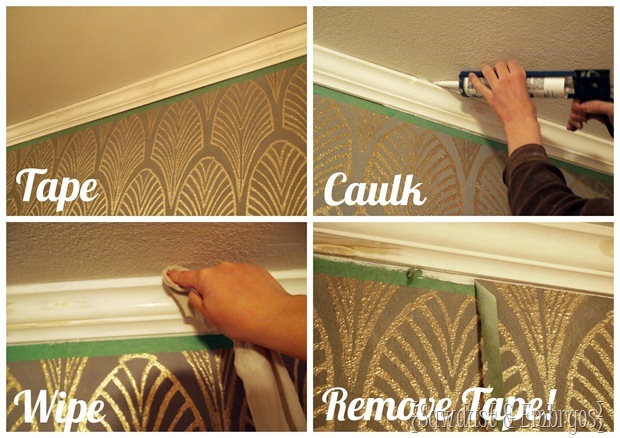
The tough stuff is done! Next up? A little caulk action. Same concept as Part 1 of our tutorial.
Because the crown molding came pre-primed, we only needed to prime the 1×4 shelf, and then paint everything white! (Full disclosure? we’ve not painted yet… just primed. It’ll get done, promise!)
Here’s a little cost breakdown:
Crown/Shelf
| per | total | |
| 1X4 (qty 5) | $ 1.82 Each | $ 9.10 |
| Crown Molding (qty 5) | $ 7.65 Each | $ 38.25 |
| 4D Finish Nails | $ 2.68 LB | $ 2.68 |
| 1” Brad Nails | $ .99 | $ .99 |
| 1 1/4” Construction Screw | $ 4.49 LB | $ 4.49 |
| Painter’s Caulk | $ 1.74 | $ 1.74 |
| Primer (Quart) | $ 5.99 | $ 5.99 |
| Paint (Quart) | $ 4.99 | $ 4.99 |
| $ 68.23 |
Crown Molding (yesterday’s crown tutorial)
| per | total | |
| 1X4 (qty 6) | $ 1.82 Each | $ 10.92 |
| Crown Molding (qty 6) | $ 7.65 Each | $ 45.90 |
| 4D Finish Nails | $ 2.68 LB | $ 2.68 |
| 2 1/2” Construction Screw | $ 4.49 LB | $ 4.49 |
| Painter’s Caulk | $ 1.74 | $ 1.74 |
| Primer (Quart) | $ 5.99 | $ 5.99 |
| Paint (Quart) | $ 4.99 | $ 4.99 |
| $ 76.71 | ||
| Lifetime of awesomeness | Priceless! |
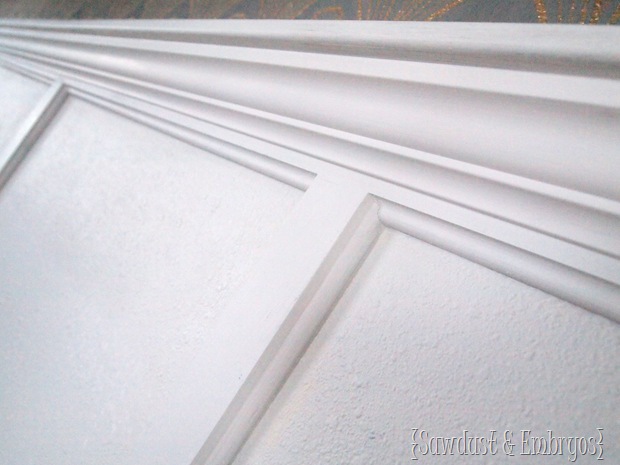
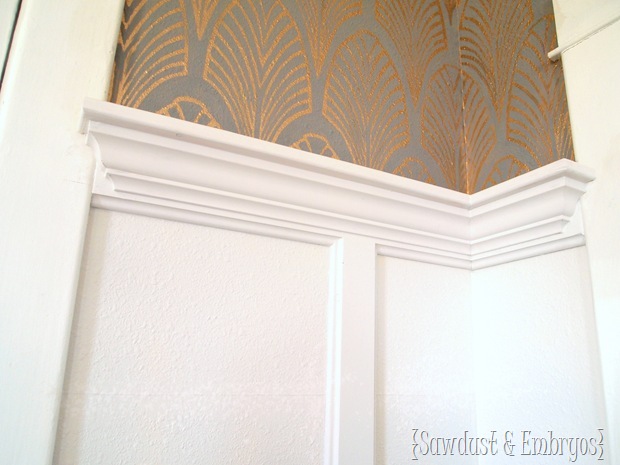
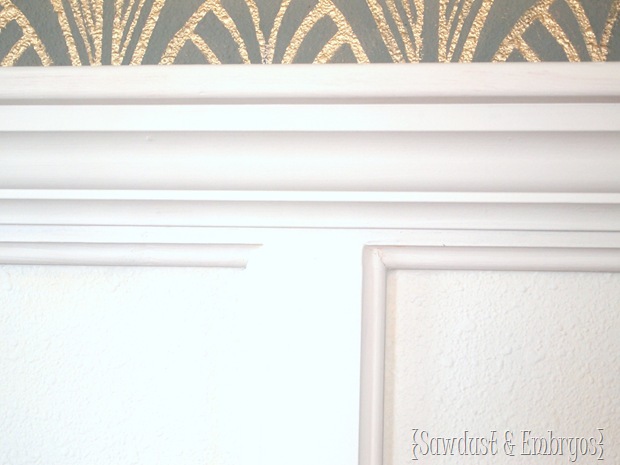
If you decided to do both Crown Molding as well as the Crown Shelf… you would only need to buy 1 lb of 4D nails, and 1 qt of primer and paint so that price would be $131.28 BAM! Paired with the board and batten, it’s such a dramatic crisp effect!
It definitely adds something special to a room… a little architectural interest, if you will.
We hope these simple steps will give you the confidence to add a little crown to your home. It makes such a big difference!
Here’s a BEFORE reminder for ya:
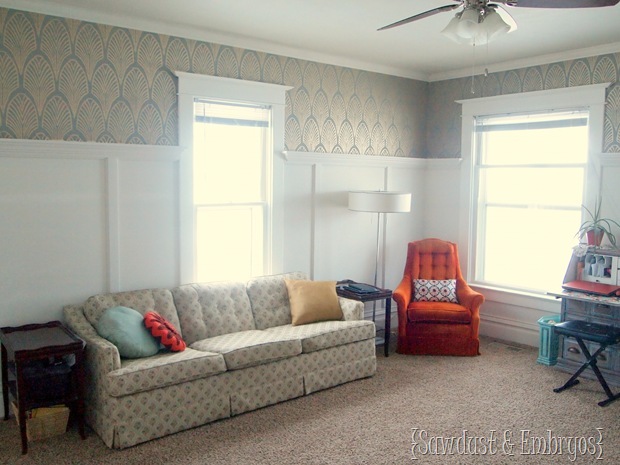
And some AFTER action!
Special thanks to RYOBI for helping us out with this project! Make sure you come back here on Friday, because RYOBI is going to hook one of YOU up too! Get excited!
Now go pin this. Because you’re gonna need it.
And pin this while you’re at it.
As always, feel free to ask any questions whatsoever! Over and out…
![1x4's for Crown Molding Tutorial by Sawdust ad Embryos[6] 1x4's for Crown Molding Tutorial by Sawdust ad Embryos[6]](http://lh5.ggpht.com/-B_qthLA-cNM/UUDZHY2_KUI/AAAAAAAADYU/cBOVbDVexwo/1x4%252527s%252520for%252520Crown%252520Molding%252520Tutorial%252520by%252520Sawdust%252520ad%252520Embryos%25255B6%25255D_thumb%25255B3%25255D.jpg?imgmax=800)
![P1150032_thumb_thumb[3] P1150032_thumb_thumb[3]](http://lh5.ggpht.com/-3Ew_0iQV-SQ/UUDcg0f9IFI/AAAAAAAADdM/hi_QRSQ2ioc/P1150032_thumb_thumb%25255B3%25255D_thumb%25255B2%25255D.jpg?imgmax=800)


That is beautiful. I’ve tried to do some trim work before and learned that I suck at it and am completely awkward with angles (inside and outside). I ended up using putty for almost every joint. I love your work and am hoping my hubby will look at this tute and try for me.
…by the way, the wallpaper is incredible too.. beautiful. You guys did a great job in there!
Thank you! It’s actually not wallpaper… it’s a stencil!! Here’s the link to that post if you’re interested. 🙂
https://realitydaydream.com/2013/02/operation-stencil-living-room-complete.html
Fantasic guys! The room looks amazing!
you guys are so talented
You know, if you can’t get enough of crown, I know a place you could get your fill and get fed with anything your heart desired! Was that a clear enough hint? I’m just say’n…….