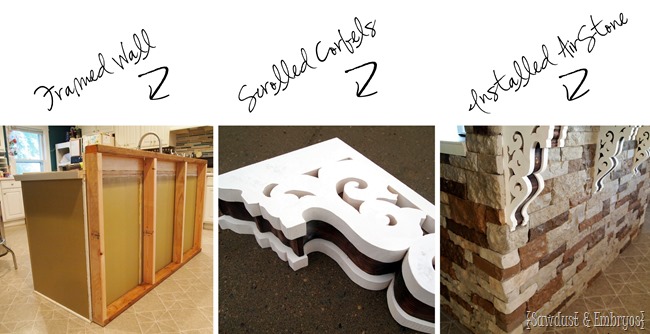
Today I’m hear to share the final chapter in my Breakfast Bar build that I’m tacking BY MYSELF! As you know, I framed in a wall to the existing kitchen island, made my own corbels with the scroll saw, and installed AirStone over the plywood bar.
The next obvious step is to add a counter top… but given the fact that our existing counters are old (and it would be impossible to match) I knew I would need to find something to contrast so it wouldn’t clash. I immediately knew that I wanted to bring in the Dark Walnut Stain from our dining table, which is visible from the kitchen. So it was a matter of finding a slab of unfinished wood in the right dimensions.
Then a light bulb went off… LIVE EDGE!
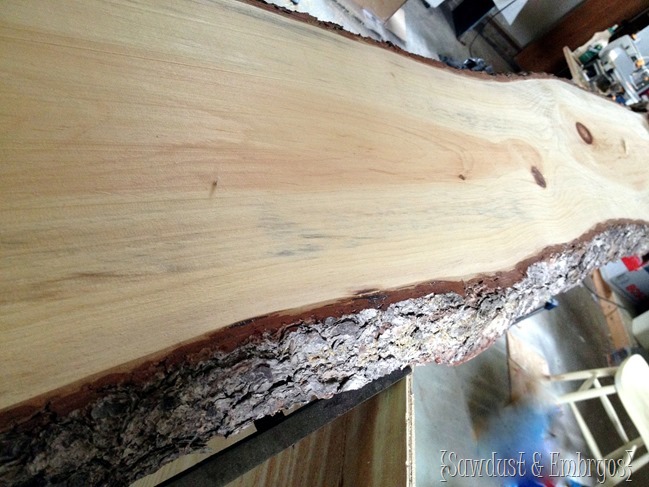
One morning while the girls were at school, I traipsed into our local lumber yard with my tape measure. They have slabs of live-edge wood lined up in their lobby. It needed it to be at least 6 feet long, and varying between 15” and 18” inches wide. There was ONE that was perfect, and it happened to be pine… which was lucky, because it was only $45 compared some some others that were close to $500 (WHA?!).
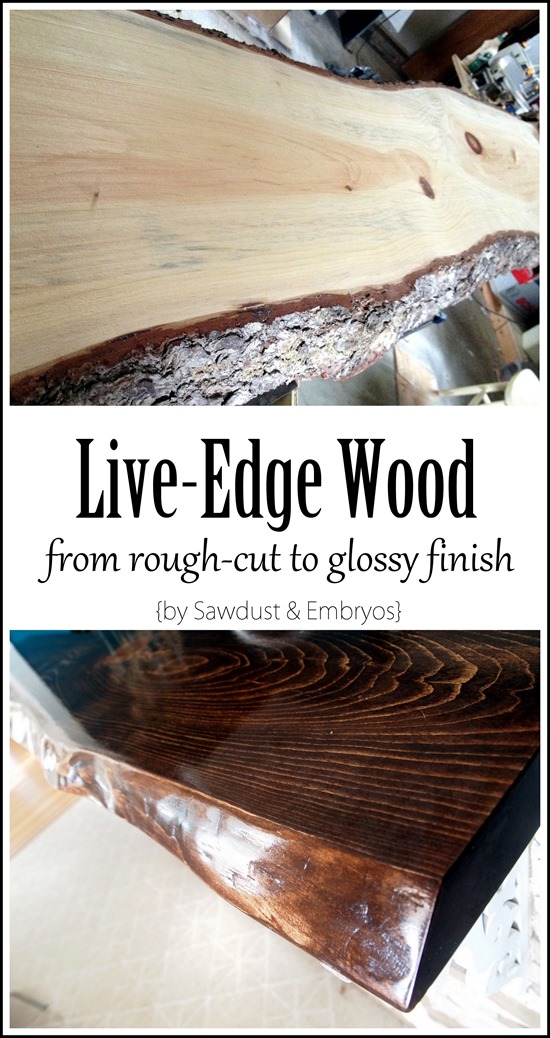
If you’re not familiar, ‘Live Edge’ wood is a slab of rough-cut wood sliced right off the tree… bark and everything!
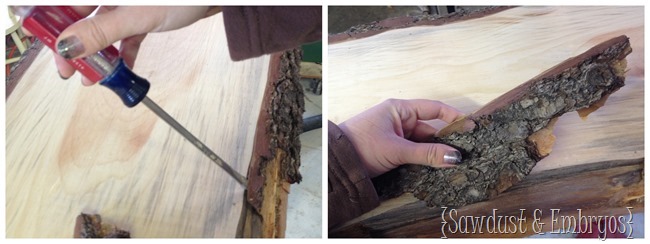
I loved the character that the bark added, but it was unstable and I knew it wouldn’t stay in place. Plus, I don’t want my kitchen to feel like a rugged log-cabin… so I chipped off as much bark as I could with a flat-head screw driver and a hammer.
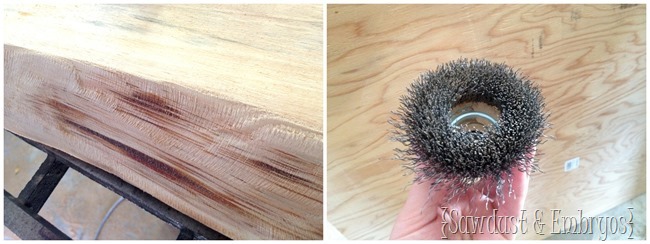
One side came off easily, but the other side was much harder. After doing some research, I bought a wire-bristle attachment for our grinder and WENT TO TOWN. This thing will take your face off in .02 seconds, so exercise caution and make sure you’re not distracted by any nearby toddlers. Also, don’t let your toddlers operate this either.
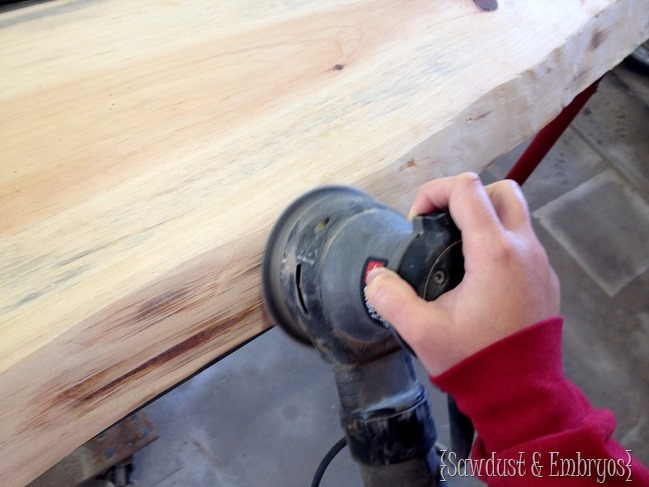
After removing all the bark with the wire bristles, it left a very rough edge where you could actually see the ridges from the individual wires. So I sanded the whole thing down (including the top and bottom surface) using the RYOBI orbital sander… starting with 60 grit, then 80, then 120, then 220. It’s ok to let your toddlers help with this part.
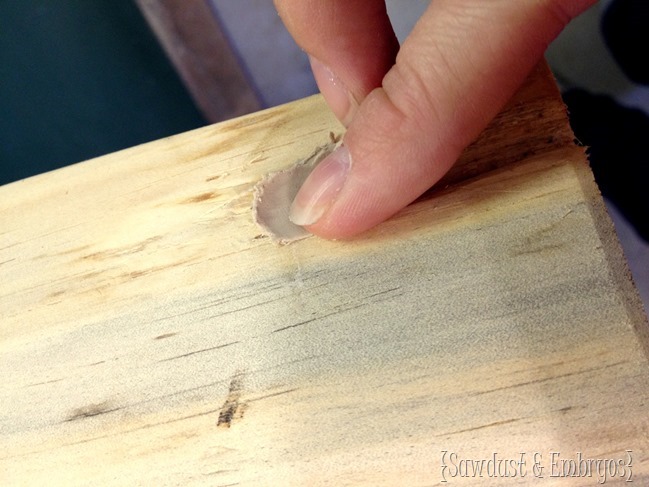
There are often imperfections and large knots involved with live-edge wood, which totally contributes to it’s character in my opinion. But there were some pretty deep gouges in some places, as well as deep groves in knots. I just filled these holes with Kwik Wood (get your mind out of the gutter!) and once dry, sanded till it was smooth and flush with the rest of the wood.
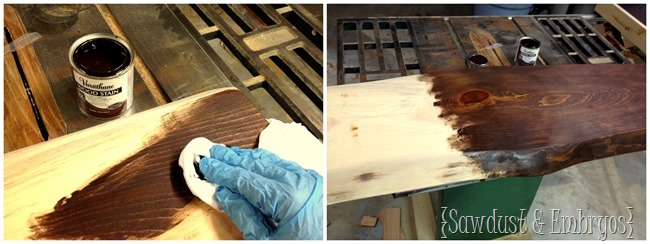
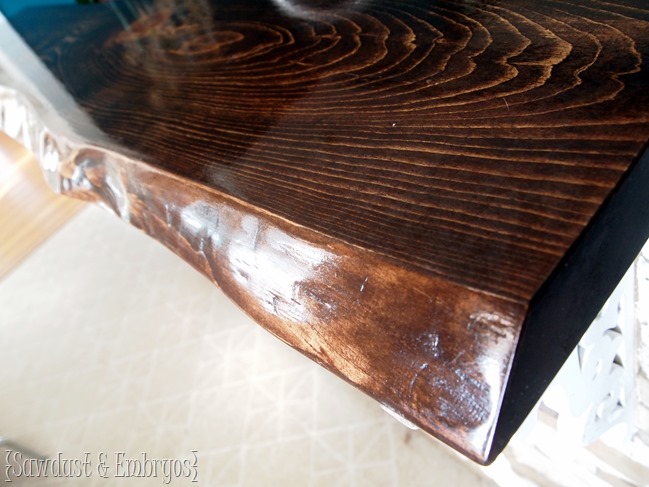
Now I’m finally ready to stain and seal! Since I’m wanting this to flow together with the dining room, I chose the same RustOleum Dark Walnut stain. I get tired of washing out paint brushes with mineral spirits, so I just use a rag to apply the stain these days.
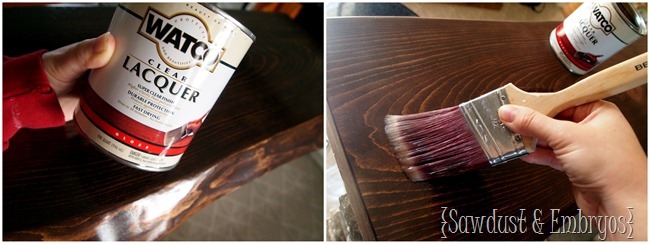
I actually put two coats of stain on, because I wanted a really rich dark brown. Then, after letting that dry overnight, I was ready to seal! I wanted something super shiny to give it a more modern feel, and something uber durable too. So when RustOleum asked us if we had any projects to try out their new lacquer product, we knew this would be the PERFECT thing!
Lacquer is a resin formula and is intensely glossy and more durable than poly. It goes on soooo thick and smooth! And it self-levels so there aren’t any brush marks. You could use this in your paint sprayer as well (and it also comes in a spray can!), but we chose to brush it on since we had brought the wood into our house to acclimate. The fumes are pretty strong, so if you can’t apply it outdoors, be sure to open lots of windows and fans! Since I’m pregnant, Nick applied it right before we went to bed, and we left the windows open all night so the fumes would fully dissipate overnight. We put on 4 coats total, lightly sanding with 220 grit in between each coat.
I wish I could convey to you just how glossy and smooth this finish is. It’s the look and feel of epoxy with out the mess, expense, and bubbles. It turned out SO AWESOME!
I’m wanting to add some super modern-feeling barstools that are chrome/acrylic to balance the ruggedness of the island. Especially since we’re planning to eventually replace the fridge and stove with new stainless steel ones! I mentioned this last time, but I’m planning to extend the kitchen cabinets up to the ceiling, and re-do the backsplash asap. And I’ll be adding a built-in bench/mudroom area with hooks and all… and I’m planning to use the same live-edge wood for the bench top to pull everything together!
This has been SUCH a fun and empowering project to tackle by myself! I could not be more proud of myself! AND it’s given me the confidence I need to tackle these other areas in the kitchen too. It’s a good thing, because Nick has been busily working on the plumbing in the laundry room/bathroom… I’ll have to give you an update on that soon!
UPDATE!! >> Click here to see all the changes we’ve made to the kitchen since writing this post!
Disclosure! This post was sponsored by RustOleum, but as always… ALL opinions, ideas, photos, etc are out of our own complicated noggins. This post also contains affiliate links!


Love it!! I’m wondering how the varnish held up??? I am making a bathroom vanity out of live edge. I am trying to decide what to finish it with.
Do you have to let the slab dry before doing this, and how and for how long?
I’m not sure. Our slab was already dry.
From what I understand, oak needs to cure for 2 to 3 years out of elements but not indoors because it’ll dry to fast. Drying the slab too fast can cause it to crack.
I am wanting to put in wood countertops like these in my kitchen. I was wondering if the lacquer you used would be okay to use on surfaces that would have food on it?
Love it!! Is the clear safe for food? I have some butcher block countertops that are unfinished. I just plan on sanding and leave them as they are but I need a sealer or something that is good safe. What do you recommend?
Hey Jessica… for butcherblock counters, I would use an oil that’s specific for butcherblock. You don’t want to seal it completely like we did with this live-edge breakfast bar. If you go to the sealant section of your local home improvement store, you’ll see options that are specific to butcherblock surfaces. Hope this helps!
Love this!!! What size and type of screws did you use to attach the frame to your existing base?
Hey Angie! It’s been awhile, but if our memory serves us, we used 3″ construction screws at and angle. And screwed the base straight down into the floor. I talk about the framing more in the pot linked below, but for ome reason I didn’t talk about HOW I attached the frame. I wasn’t as good at including details in my blog posts 4 years ago! 😉
https://realitydaydream.com/adding-a-breakfast-bar-to-the-island/
HoW did you install the brackets to the air stone? I’m doing a similar project and am wondering.
Hey Bethany, if you read the previous post about the airstone installation, there are a lot more details like that. We installed the corbels before the Airstone, and then just installed the airstone around it. Does that make sense?
You are my hero! If you can build a bar all by yourself while PREGNANT, then no one in this world has any excuse for anything. I’m a huge fan of this project. I feel like every kitchen needs a bar. It’s what spurred our entire remodel in the old house. I was able to find some pretty good deals on bar stools on Overstock.com. I’m excited to see what you do!
Other than the brackets I’m loving the idea!
I did shelves with that wood — although my peices were only $3 each!!!! I live in a small town and guy sells them for super cheap. They are gorgeous!
Absolutely in love with this project!
Stunning job Beth. I love everything you do. God bless! Vikki in VA
This turned out just beautifully! The live edge, the stain, the gloss. Love it!! xo
Can you name the lumberyard? I have family in Iowa and would like to have them pick me up a couple of those. It looks awesome. You have such great ideas!
Debra, it’s called ‘Logs to Lumber’ in Marshalltown, but they have weird hours and aren’t necessarily open when they say they are. Might want to call first to make sure someone’s there. HAHA! That’s an Iowa small business for ya. 🙂
LOL yes it is. Every time we go home to visit it’s sticker shock. But I still adore Iowa (in the summer) HAHA
love the live edge & dark stain! Looks fantastic 🙂
I’m obsessed! Love it!
FYI, Lacquer is a good product but NOT more durable than polyurethane. Lacquer has it’s advantages but being the most durable is not one of them.
That is gorgeous! I am so impressed, I sure wish I had 1/4th of your talent.
That looks SO AWESOME!! I am so jealous of your new island. 🙂